LITTLE CHICKEN BEAN BAGS
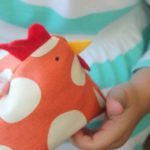
These chicken bean bags are just about the cutest things that you can make with your sewing machine. Use them as pin cushions, bean bags or even rice packs!
Yield: 1 bean bag
Cost: $1
Equipment
- scissors
- pins
- Permanent Marker
- sewing machine
- needle
- stuffing
- rice
Materials
- cutting template (print here)
- felt
- thread
- fabric
Instructions
- Cut out felt templates for the face and a large rectangle of fabric for the chicken body. Lay the felt pieces in the upper right corner of the long rectangle of fabric.
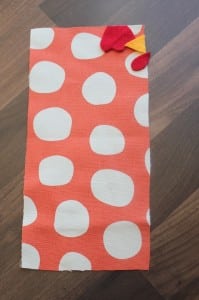
- Bring the bottom of the fabric to the top with the fold along the bottom. Pin to keep beak and details in place. Stitch top and right side, leaving left side open.

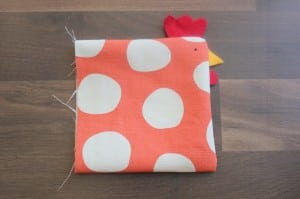
- Turn right side out. Add an eye. You can hand sew this or use a sharpie pen like we did. Very gently so that it doesn't bleed.
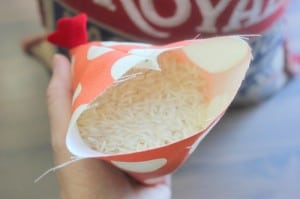
- Fill 1/3 with fiber fill and 1/3 with rice or small beans. Leave the rest open to allow room to close the bottom.
- To turn your bean bag into a pyramid shaped one vs. a flat square, line up your seams so that the side seam lies flat as the back of the chicken. The front seam where the beak is and the back seam will line up and it will turn into the pyramid shape. Turn under raw edges and pin closed.

- Hand stitch to close.
Video
Notes
You can fill this little chicken with stuffing, rice, beans or walnut shells. Can be sized down to make a paper weight or pin cushion!