Sock Pumpkins
Make darling sock pumpkins in 10 minutes! Perfect for fall or Halloween decor. You'll want to make an entire sock pumpkin patch!
Yield: 1 sock pumpkin
Cost: $1-$2
Equipment
- scissors
- measuring tape
- hot glue gun/glue
Materials
- 1 sock
- 3/4 cup rice
- small handful pillow stuffing (polyfil)
- small hair elastic
- needle
- embroidery thread 32"
- felt leaf template
- scrap of felt for leaf
- scrap of felt for stem (3.5" x .5")
Instructions
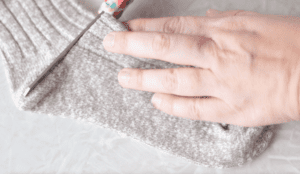
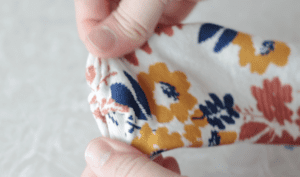
- Cut a crew sock in half, right through the center of the heel. Decide if you'd like to make your sock pumpkin with the top half or the bottom half of the sock then refer to the instructions below.
How to Make a Sock Pumpkin With the Foot of the Sock
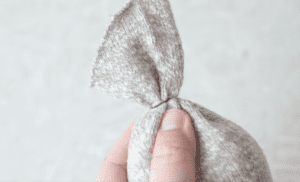
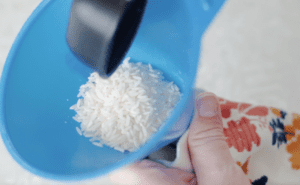
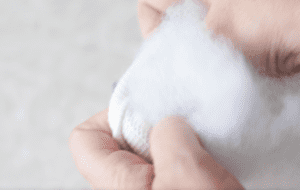
- Fill sock with 3/4 cup of rice and a small handful of pillow stuffing.

- Tie off with a hair elastic.Note: you can also tie it off with dental floss or yarn.
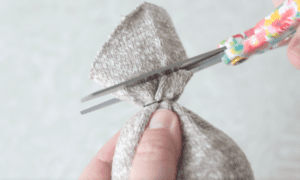
- Trim ecess sock with scissors.
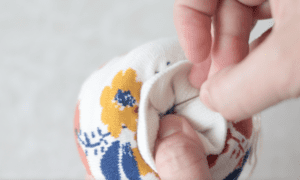
- Cut a strand of embroidery thread that is 32" long. Thread it through a needle. Tie a knot at the end.Press the sock ball down to squish it down a bit (this makes it easier to insert the needle).Poke the needle through the center of the sock and out the back. Pull until the knot hits. Bring the needle around to the top again, insert through the center and out the back again, then pull the thread TIGHT. You'll notice that you've created one of the pumpkin grooves on the side of the pumpkin.
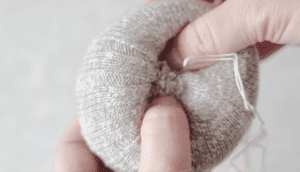
- Continue this process until you have 6 sections (dimples). NOTE: I highly recommend referring to my step-by-step video for a great visual on how to create the pumpkin sections/shape using the thread.
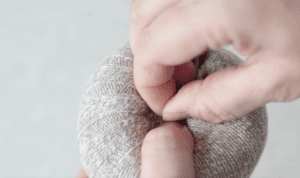
- When you've completed the previous step, pull the thread tight as you tie a couple of knots on the bottom of the pumpkin. Trim excess thread.

- Hot glue the leaf to the top of the pumpkin.

- Roll the strip of felt up tightly.
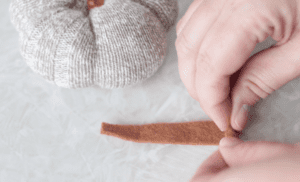
- Add a dot of hot glue to secure the end of the felt.
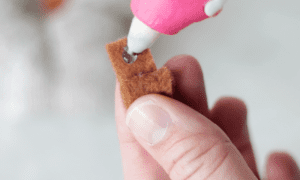
- Glue the felt stem to the top of the pumpkin.

How to Make a Sock Pumpkin with the Top of the Sock
- Turn sock inside out. Tie off the raw end with a hair elastic.

- Turn sock right side out.
- Fill sock with 3/4 cup of rice.
- Add a handful of pillow stuffing.
- Tie a hair elasic around the opening a few times to close off sock.At this point the instructions are the same for the top of the sock pumpkin and the foot of the sock pumpkin. Follow steps 4-10 to finish your sock pumpkin.