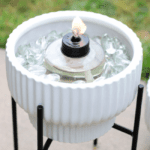
DIY Tiki Torch Planter
Create ambiance at summer BBQs with a DIY tiki torch planter. Use on a table or place in a plant stand. Easy to make and burns bright!
Yield: 1 planter
Cost: under $20
Equipment
- lighter
Materials
- 1 8"-12" planter
- 1 small tabletop tiki torch
- citronella tiki torch fuel
- rocks optional
- 4-6 bags decorative glass gems
Instructions
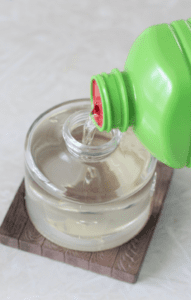
- Fill tiki lantern with clean burning citronella fuel. Leave 1/2" headspace. Wipe up any drips.Screw on the tiki lid and make sure that the wick doesn't stick out more than 1/2" from the top.
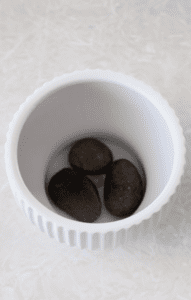
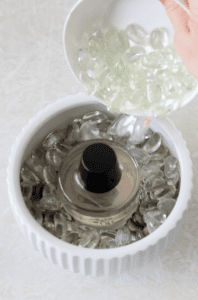
- Fill the bottom of the planter with a few stones or sand (optional). If you don't have rocks you can buy a couple of extra bags of glass gems.
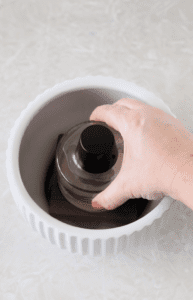
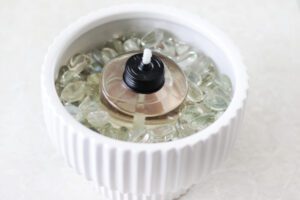
- Place the tiki lantern inside the planter.
- Fill the remaining space with decorative glass gems or small pebbles.
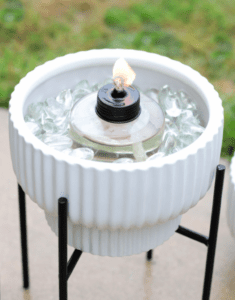
- If using it on a table you're all set! If you'd like to place these around your yard you can set them on a plant stand.
- Light the torch and burn as long as you'd like. Use the snuffing cap to put out the flame when not in use. Refill as needed. See safety tips below.
Video
Notes
Use With Caution
- Never burn the tiki torch planter indoors. Always burn outside with proper ventilation and fresh air.
- Never leave an open flame unattended.
- If using a funnel to refill fuel, use a designated funnel that won't be used for anything else. Wipe up any drips before lighting the flame.
- Always snuff flame out with the snuffer cap included with the torch lantern.
- Do not burn near anything flammable such as beach towels, napkins, tablecloths, etc.
- Do not fill the planter with anything flammable or with items that will melt. Rocks, glass gems, and sand are good options.