Make a Scrunchie In 10 Minutes!
How to make a scrunchie in 10 minutes! This step-by-step tutorial will have you making fabric scrunchies like a pro!
Yield: 1 scrunchie
Cost: Under $1
Equipment
- scissors
- sewing pins
- safety pins
- measuring tape
- sewing machine
Materials
- 1 9" piece of 1/4" elastic
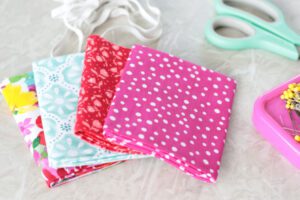
- 1 20" x 4" rectangle of fabric
- coordinating thread
Instructions
- Watch my step-by-step video (it displays under the first photo in the post) before beginning this sewing project.Seam allowances: 3/8"Gather supplies.
- Fold the fabric in half with the wrong side of the fabric facing you. Once folded it should measure 20" x 2".
- Mark 3" from each end of the scrunchie fabric.
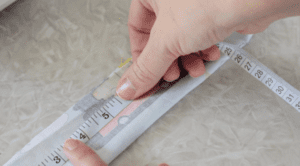
- Mark it with a pin on each side.
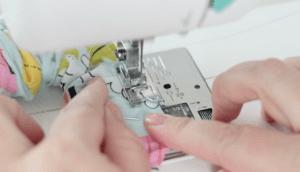
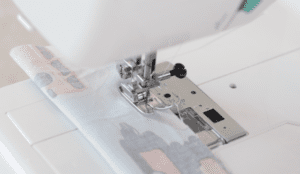
- Begin sewing the side seam at one pin and end once you reach the other pin. The ends should be open. TURN SCRUNCHIE RIGHT-SIDE-OUT.
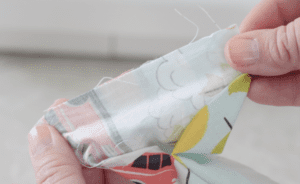
- Bring the ends of the scrunchie together, lining up the top of the fabric with the right sides facing and the inside of the fabric facing you.Pin in place.Stitch across the top.
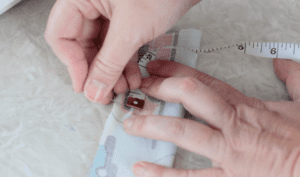
- Attach a safety pin to each side of the elastic.
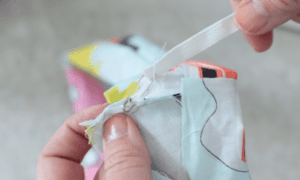
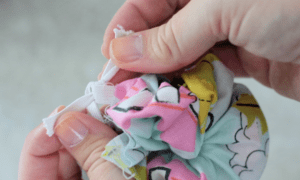
- Attach one end of the elastic inside the opening of the scrunchie.Feed the other end of the elastic through the tube until it comes out the other side.Remove safety pins.
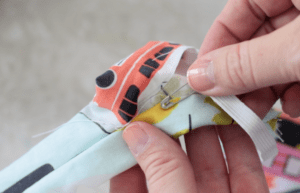
- Tie the ends of the elastic into a double knot.
- Fold raw edges over, lining them up with the seam and pin into place.
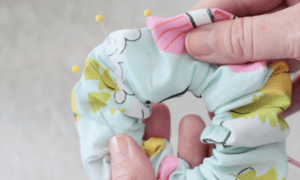
- Top stitch the opening closed.