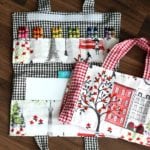
DIY ART CADDY SEWING TUTORIAL
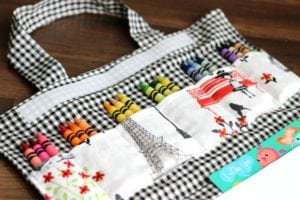
The perfect little travel caddy to hold crayons and art supplies! This quick and easy art caddy sewing tutorial will show you how to make your own!
Cost: $5
Equipment
- sewing machine
- iron
Materials
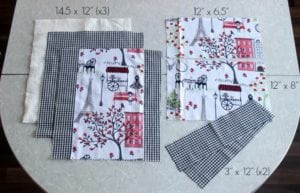
- Outer fabric 14.5" x 12"
- Lining fabric 14.5" x 12"
- Thin quilt batting 14.5" x 12"
- Upper pocket 12" x 6.5"
- Lower pocket 12" x 8"
- Straps 3" x 12" x 2
- Velcro 8"
Instructions
- Cut fabric and organize fabric pieces.
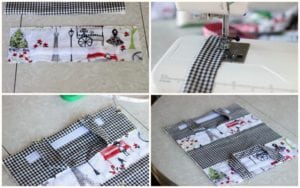
- Adhere fabric and batting with basting spray or baste a few stitches along the top and the bottom to keep it together. I used basting spray.
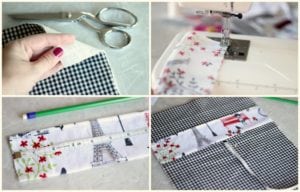
- Fold the upper pocket in half (right sides together) and sew along the long side. Turn right side out, press, and top stitch along the top.
- Mark 2" increments along the pocket.
- Find the midway point on the lining/batting piece and mark with a pin. Place pocket 1" above the pin and pin in place.
- Sew along the 2" lines that you marked previously to create sections.
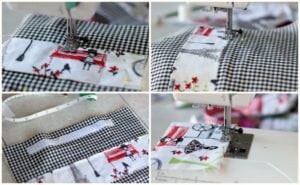
- Stitch across the bottom. You will now have 6 sections to hold crayons, etc.
- Place half of the Velcro 3/4" from the top and center it with the sides. Pin. Stitch in place.
- Fold the bottom pocket in half, right-side-out, leaving the sides and bottom edges raw. Top stitch along the top. Press.
- Pin other section of Velcro 3/4" from the bottom of the lower pocket. Pin. Stitch into place. Pin onto the lining fabric, lining up raw edges and pin into place.
- Fold each strap in half, right sides together and stitch along the side. Turn right side out and top stitch along the side seams. Leave ends raw.
- Pin straps 3" from the sides of the lining piece on each side, lining raw edges up.
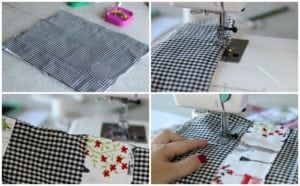
- Place top fabric on top of lining/batting piece, right sides together. Pin all the way around, leaving a 4" section to turn later.
- Stitch all the way around with a 3/8" seam.
- Turn right side out, and fold raw edges of the opening closed. Pin. Top stitch around entire fabric caddy.
- Top stitch a seam along the midway point of the caddy to make it easier to fold in half when closing.
- Fill with art supplies.
Notes
14.5" x 12" I added a decorative strip of fabric to my outer fabric, but this is optional. You can use the same fabric for the outer fabric and the lining fabric.