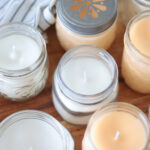
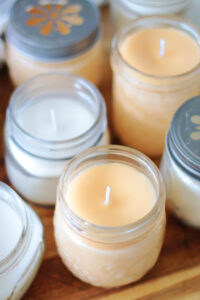
Homemade Beeswax Candles
Make your own bees wax candles with beeswax pellets and coconut oil. Homemade beeswax candles burn clean, are pretty, and make great gifts.
Cost: $3/candle
Equipment
- saucepan
- candle pot or pyrex measuring cup
- spoon
- wick holders or clothespins
- hot glue gun/glue or glue dots
Materials
- 1 lb. beeswax pellets
- 1/2 cup coconut oil
- jars
- candle wicks
Instructions
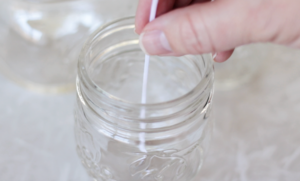
- Attach wicks to the bottom of the jars using hot glue or glue dot stickers.
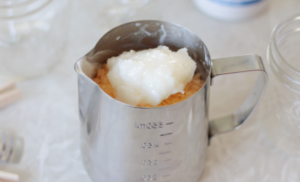
- Pour wax pellets into candle pot or large glass measuring cup.Add coconut oil.
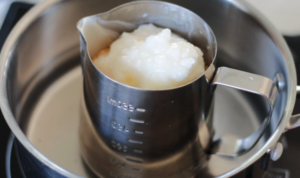
- Add an inch or two of water into a saucepan. Place candle pot into the center of the saucepan. Water should not cover more than 1/3 of the candle pot.Heat on medium heat. Simmer until wax and coconut oil are melted.
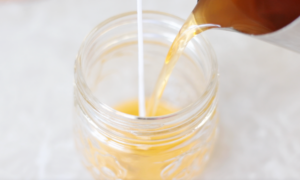
- Remove candle pot from double boiler and place on a hot pad. Allow wax to cool until it starts to look slightly cloudy.
- Slowly pour wax into jars.
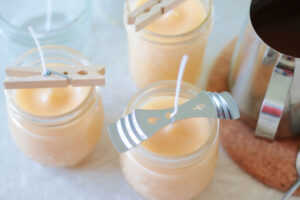
- Use a clothespin or wick holder to keep wicks centered.
- Allow candles to cool completely before trimming wicks to 1/4-1/2".
Video
Notes
1 pound of wax will fill 4 (8 oz) jars.
Tips
- You might notice that your candle starts out looking perfect, but after a few hours has a sinkhole. This is because as candles cool, the wax naturally shrinks. To prevent (or lessen the effects of this), allow your wax to cool for a few minutes before pouring it into your jars. The wax will start out hot and clear, but after a few minutes will look slightly cloudy. I've had the best results when I pour my candles at this stage. You can also fix sinkholes by using a heat gun over the top, allowing the top layer to melt and fill in the hole. Another way to fix sinkholes is to reserve a small amount of wax and pouring it over the surface to fill in the hole once the candles have cooled.
- Do NOT trim your wick until your candle has had a chance to cool completely and sinkholes have been filled in.
- Do not overfill candle jars with wax. If using a canning jar, fill to just below the first ring. Jars that are uniform and don't change shape work best.
- The first time you burn your candle, burn it long enough for the entire top layer to melt. This will prevent tunneling.
- Use a wick large enough for your candle to prevent tunneling. If your candle diameter is wide, consider using an additional wick or two.
- If you use a bowl or pan for pouring wax that you'd like to re-use for another purpose you can remove the excess wax by placing the cooled container into the freezer. Once the wax is frozen you can chip it off of the container.