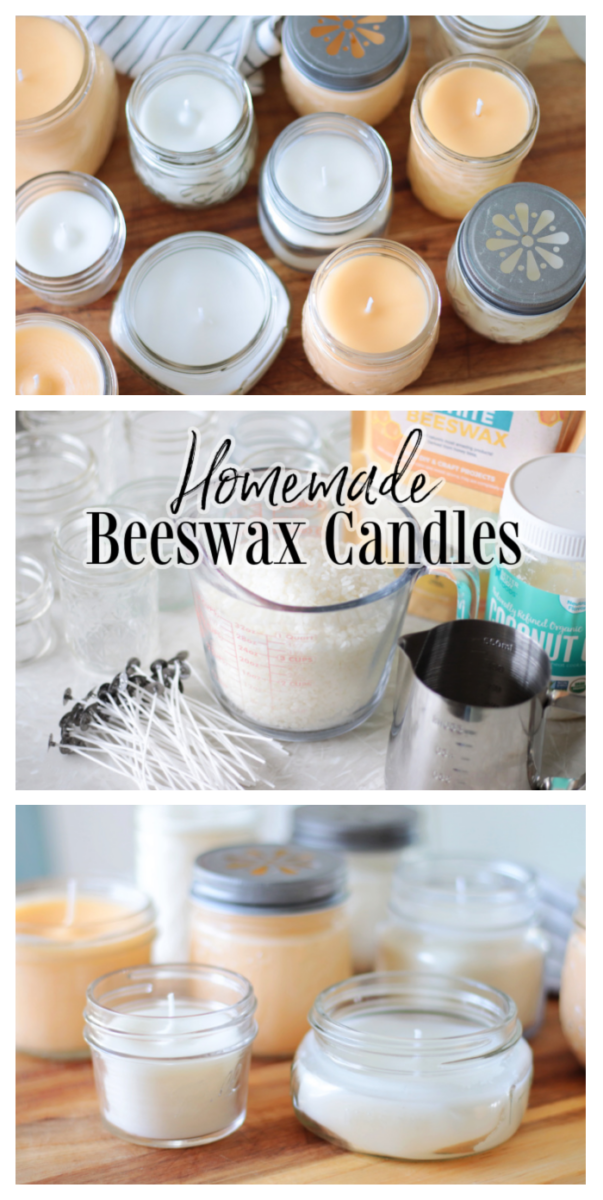
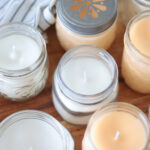
Make your own beeswax candles with beeswax pellets and coconut oil. Homemade beeswax candles are clean burning, are pretty, and make great gifts. This post contains affiliate links.
You might also like our homemade lotion bars, our homemade lip gloss, and our homemade DIY bath bombs.
Watch our step by step video!
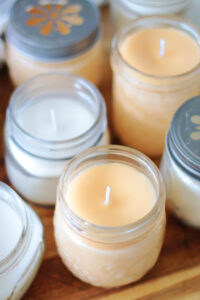
Homemade Beeswax Candles
These beeswax candles are easy to make and are wonderful gifts. Beeswax burns clean doesn't leave black smoke, and actually helps to purify the air. Beeswax also releases negative ions that trap dust in the air. These candles aren’t fragrant (you can add scents if you’d like), but they still provide a cozy atmosphere and a warm glow.
You'd need a lot of essential oil or candle scents to adequately scent a candle. I have wallflowers in my home that are highly fragrant so we leave our homemade candles unscented.
Beeswax Candle Making Supplies
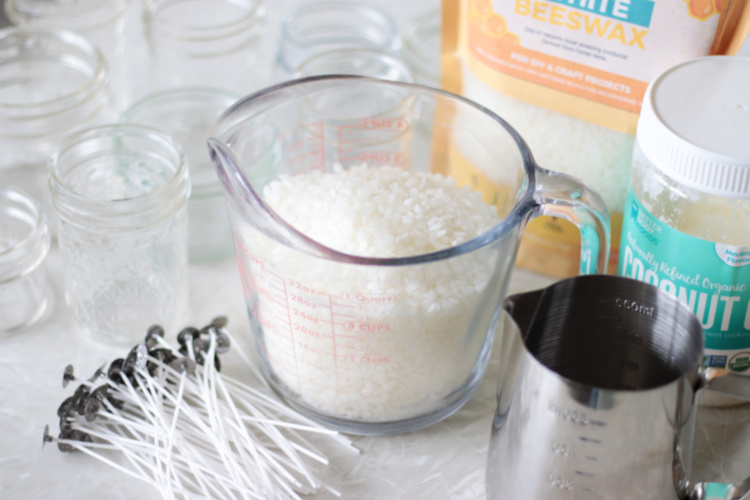
You only need a few supplies to make your own candles!
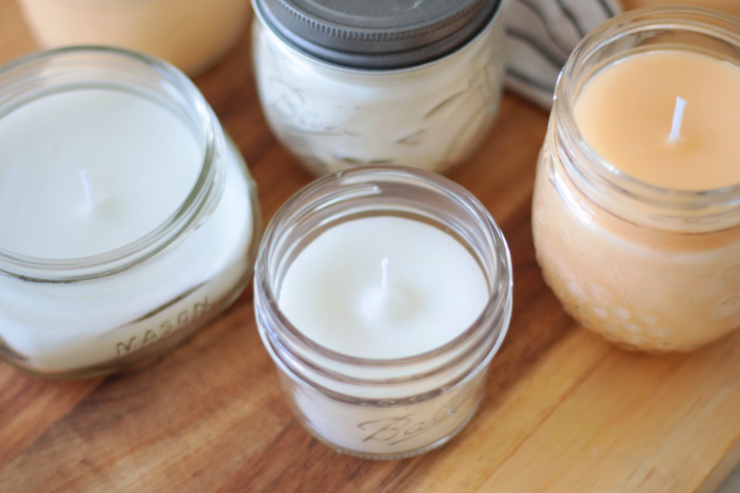
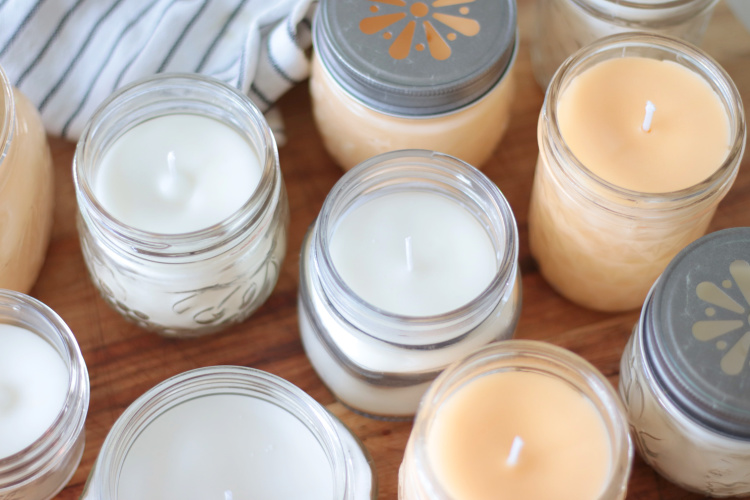
- Glass jar: I like using small canning jars because I always have them on hand. Glass votives would work well too.
- Beeswax pellets: you can buy beeswax pellets in white or yellow. Beeswax pellets should have a honey aroma. I tried several brands and had varying results. Some smelled sweet and melted beautifully and others smelled musty or like chemicals and were clearly a blend of waxes. When I burned them they put off a musty odor that was not pleasant. The ones I linked to were our favorites for melting and they smelled good. Once these ones are melted down and poured the scent fades, leaving an unscented candle.
- Coconut oil: adding a bit of coconut oil helps the candle burn longer and more consistently. Add ½ cup of coconut oil for every pound of beeswax.
- Wicks: You want to make sure your wicks are large enough to adequately melt the wax evenly, but not too large that it will burn too hot. The ones that I use are the perfect size for jars with a width of up to 3" in diameter. If you'd like to make a wide candle you’d want to add a second wick or make a 3-wick candle. You can also use wooden wicks, but I haven’t tried those before. You can also use wooden wicks, but I haven't tried those before.
- Hot glue or wick stickers: you can easily attach the wick to the jar with a dab of hot glue or a wick sticker.

- Wick holder: you can use metal wick holders or a clothespin. This will keep the wick in place while the wax hardens.
- Wax pot: I bought a small one on Amazon that holds up to 1 pound of wax (½ pound is ideal since I also add coconut oil). You can use a larger pot if you'd like to make more candles at once. You can also use a glass pyrex measuring cup. I like having a designated wax pot because beeswax isn't easy to clean off of the pot. Having a designated pot is ideal because I can just let the excess wax harden on the edges without worrying about using it again for food prep. Note: the pot that I purchased came with wick holders and wicks. The wicks in the set were TOO SMALL (only burning a 1" circle of wax) so I used the ones linked above instead.

- Saucepan: you'll need to create a double boiler for melting the wax. You can do this with a saucepan and a wax pot or glass pyrex measuring cup.
- Spoon: you'll need something to stir the wax. A spoon or wooden dowel works great.
DIY Beeswax Candles Tutorial
There is always a risk when burning candles. Make this project and burn candles in your home at your OWN RISK.
Homemade Beeswax Candles
Equipment
- saucepan
- candle pot or pyrex measuring cup
- spoon
- wick holders or clothespins
- hot glue gun/glue or glue dots
Materials
- 1 lb. beeswax pellets
- ½ cup coconut oil
- jars
- candle wicks
Instructions
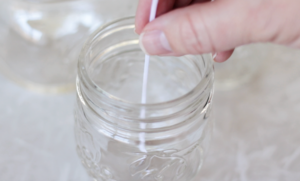
- Attach wicks to the bottom of the jars using hot glue or glue dot stickers.

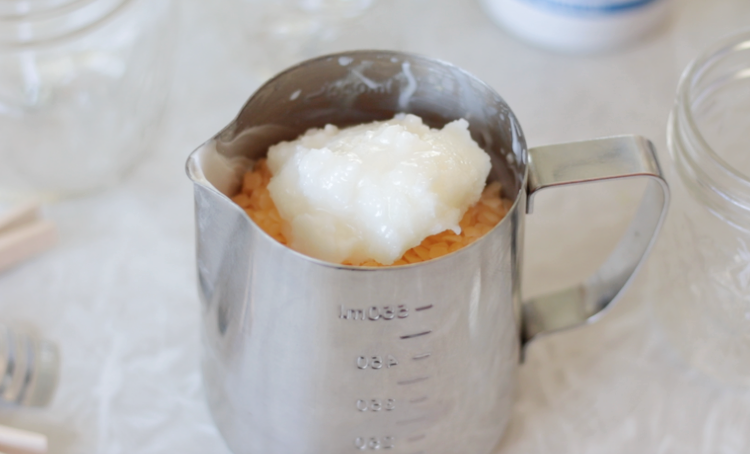
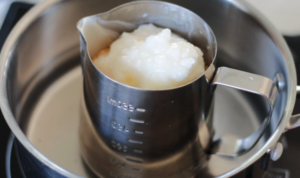
- Pour wax pellets into candle pot or large glass measuring cup.Add coconut oil.

- Add an inch or two of water into a saucepan. Place candle pot into the center of the saucepan. Water should not cover more than ⅓ of the candle pot.Heat on medium heat. Simmer until wax and coconut oil are melted.

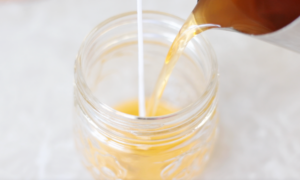
- Remove candle pot from double boiler and place on a hot pad. Allow wax to cool until it starts to look slightly cloudy.
- Slowly pour wax into jars.

- Use a clothespin or wick holder to keep wicks centered.

- Allow candles to cool completely before trimming wicks to ¼-1/2".


Video
Notes
- You might notice that your candle starts out looking perfect, but after a few hours has a sinkhole. This is because as candles cool, the wax naturally shrinks. To prevent (or lessen the effects of this), allow your wax to cool for a few minutes before pouring it into your jars. The wax will start out hot and clear, but after a few minutes will look slightly cloudy. I've had the best results when I pour my candles at this stage. You can also fix sinkholes by using a heat gun over the top, allowing the top layer to melt and fill in the hole. Another way to fix sinkholes is to reserve a small amount of wax and pouring it over the surface to fill in the hole once the candles have cooled.
- Do NOT trim your wick until your candle has had a chance to cool completely and sinkholes have been filled in.
- Do not overfill candle jars with wax. If using a canning jar, fill to just below the first ring. Jars that are uniform and don't change shape work best.
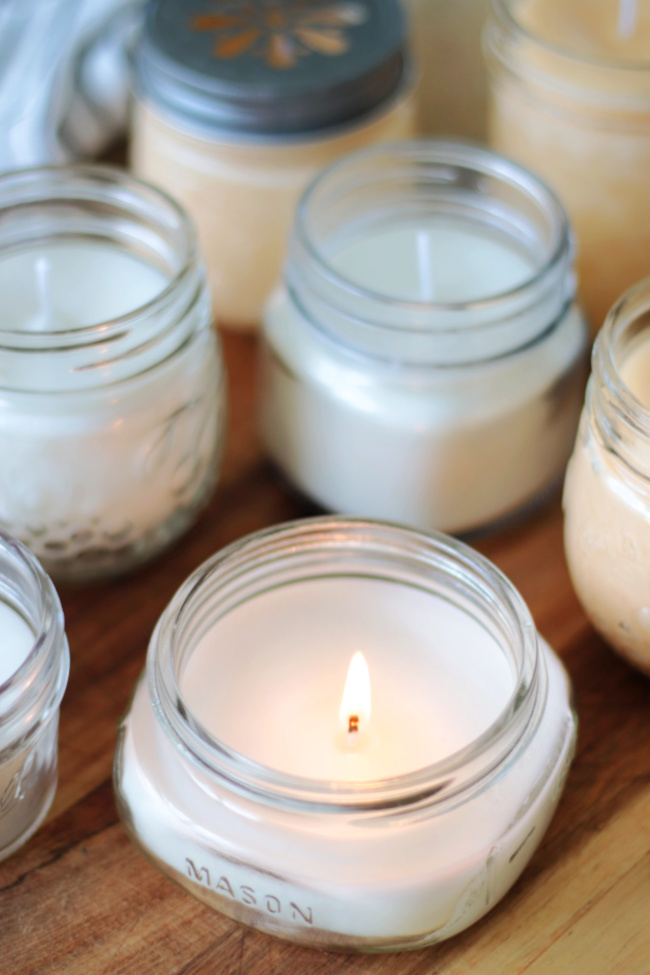
- The first time you burn your candle, burn it long enough for the entire top layer to melt. This will prevent tunneling.
- Use a wick large enough for your candle to prevent tunneling. If your candle diameter is wide, consider using an additional wick or two.
- If you use a bowl or pan for pouring wax that you'd like to re-use for another purpose you can remove the excess wax by placing the cooled container into the freezer. Once the wax is frozen you can chip it off of the container.
Tips for Making Beeswax Candles
- You might notice that your candle starts out looking perfect, but after a few hours has a sinkhole. This is because as candles cool, the wax naturally shrinks. To prevent (or lessen the effects of this), allow your wax to cool for a few minutes before pouring it into your jars. The wax will start out hot and clear, but after a few minutes will look slightly cloudy. I've had the best results when I pour my candles at this stage. You can also fix sinkholes by using a heat gun over the top, allowing the top layer to melt and fill in the hole. Another way to fix sinkholes is to reserve a small amount of wax and pouring it over the surface to fill in the hole.
- Do NOT trim your wick until your candle has had a chance to cool completely and sinkholes have been filled in.
- Do not overfill candle jars with wax. If using a canning jar, fill to just below the first ring. Jars that are uniform and don't change shape work best.
- The first time you burn your candle, burn it long enough for the entire top layer to melt. This will prevent tunneling.
- Use a wick large enough for your candle to prevent tunneling. If your candle diameter is wide, consider using an additional wick or two.
- If you use a bowl or pan for pouring wax that you'd like to re-use for another purpose you can remove the excess wax by placing the cooled container into the freezer. Once the wax is frozen you can chip it off of the container.


herbalmansion.com says
Can it be decorated with dried flowers?