Gluesticks Blog

menu icon
go to homepage
  • Fall
  • DIY
  • Recipes
  • About Me
  • Subscribe
    • Facebook
    • Instagram
    • Pinterest
  • subscribe
    search icon
    Homepage link
    • Fall
    • DIY
    • Recipes
    • About Me
    • Subscribe
    • Facebook
    • Instagram
    • Pinterest
  • ×
    Home » Holidays » Gift Ideas

    Acid Etched Jars

    Modified: May 15, 2020 · Published: Nov 4, 2010 by Brandy · This post may contain affiliate links.

    Acid Etched Jars
    4 jars and a roll of contact paper on table

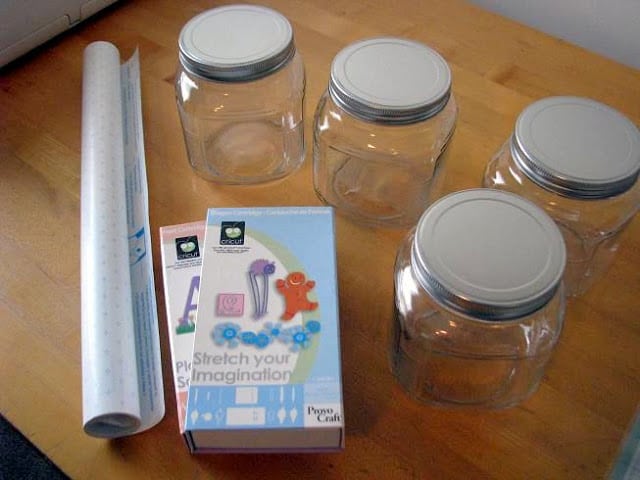
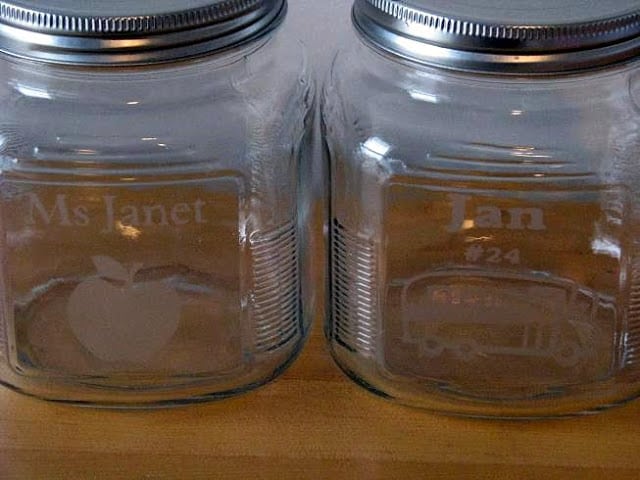
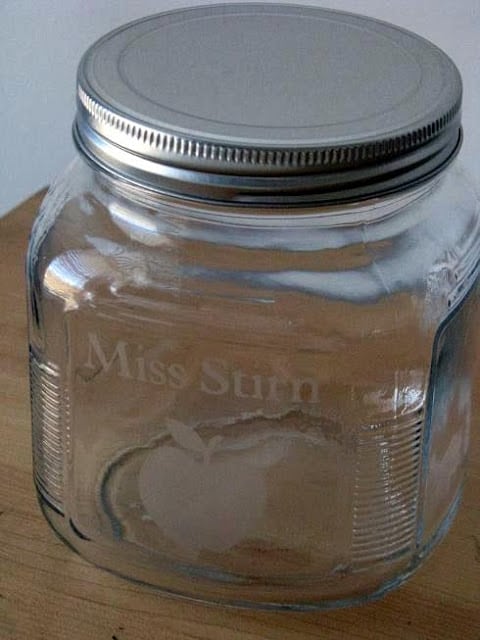
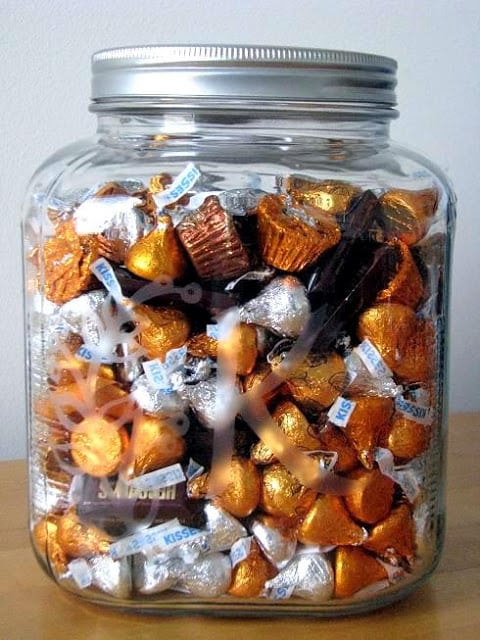
    (jars purchased at Walmart for $2.97/each)

    I remember making acid etched mirrors in high school and it was quite the labor intensive project. However, making acid etched projects with a cricut is so simple! The Young Women at our church recently did a Girl's Camp fundraiser and made acid etched plates to sell. They were a hit. My friend, Tanya, let me use a little bit of her acid etching to make a casserole dish for a wedding gift and these little jars. A little bit goes a long way. I hardly used anything and was able to make several fun gifts. Now I wish I had a bottle of my own so that I can make things for myself. Casserole dishes, jars....it's a bit addicting. I'll have to print out a 40% off coupon to Hobby Lobby and grab a bottle sometime.

    jars with contact paper stencil on front
    It is much cheaper to go to the Dollar Store or Walmart and buy shelf contact paper vs. buying a roll of white contact paper. It doesn't matter how it looks. You are just making your stencil from it. I used my cricut and cut out the letters and shapes, then placed them on my jars. Blade pressure was set to low. It can be a little tricky to make sure it goes on straight, but since the contact paper is reposition-able, you can do it over a few times until you get it right. Make sure there aren't any air bubbles and press it on tight. And make sure to leave a border of contact paper. You don't want your stencil to be too close to the edge of the paper. This allows enough room for you to apply your etching cream without it smearing or leaking over onto other areas of glass.
    jar with apple stencil from contact paper
     Generously apply the acid etching cream to the glass with a small paint brush. Covering the opening of your contact stencil entirely. I made one before and just brushed it on like I would paint. It didn't come out very solid, but very streaky. So pile it on there so that you can't see any glass through  it AT ALL.
    jar with acid etching cream over stencil
     Allow to sit for about 10 minutes (just follow the directions on your bottle) and then, using your brush, remove the excess cream and put it back into your bottle. You don't have to do this, but it sure makes the cream last longer. I was able to pretty much save all of it. Then run under water until rinsed completely. Take the contact paper off while running under the water and keep rinsing until you can't see or feel any of the grainy texture. Towel dry.
    jars with finished acid etched apple and bus designs
    These were hard to photograph, but turned out perfect.
    finished acid etched jar with apple design
    For jars, you etch on the FRONT so it goes left to right. No alterations needed. But if you would like to etch a glass plate that will be used for food or the bottom of a casserole dish, you can make a reversed stencil that will go on the BACK of the glass. To do this on your Cricut, use the "flip" feature. Then key in your lettering in reverse. For example, our name would go as follows:
    "FLIP" "NOSLEN" (for Nelson)
    Then you would apply your stencil to the back of the dish. This way, your dish will always have a smooth perfect finish on the front for serving and baking food on.
    acid etched jar filled with candy
    Now back to the jars...
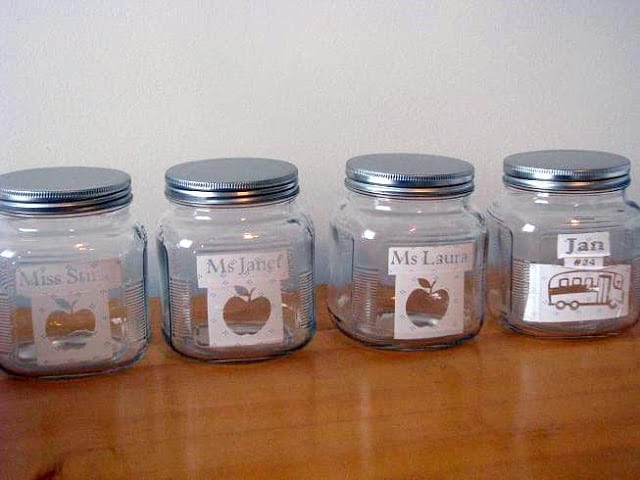
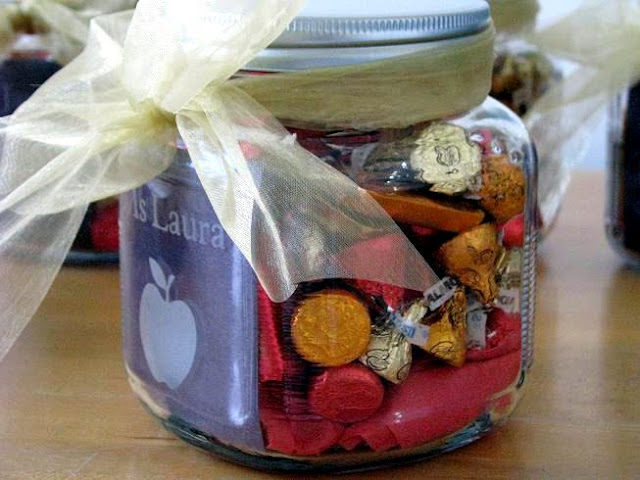
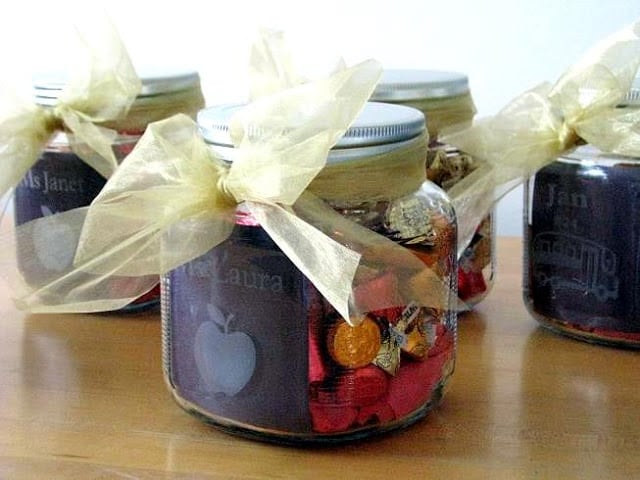
    I went to Target and picked up a bunch of 50% off chocolate bags. Kisses, PB Cups, and mini candy bars. They were in fall colors, but for $1 bag, I couldn't beat that. I put a small piece of black construction paper behind the etching so that it stood out and didn't blend in with the candy. It also looks like a little chalkboard! Perfect for a teacher's gift!
    4 acid etched jars wrapped with ribbon
    large jar filled with chocolate candy
     This one is for my brother, who is getting married in December. I made this along with an etched casserole dish which I will post later in December when I finish everything for their wedding gift. It didn't photograph well, but it is a "K" with a fern/berry branch to the left. I love how it turned out!
    If you don't have a Cricut or a Silhouette, you can still do this. When I made my mirror in high school, I adhered  the contact paper to my mirror, transferred my images onto the contact paper using carbon paper (or you could just free hand), then cut out the contact paper using an exacto knife, taking out the centers and leaving the stencil.
    Share
    Pin

    More Craft Projects

    • tissue box wrapped in gift wrap with tissue paper and a tag
      Birthday Money Box Tutorial
    • basket of pillow treats
      YW Camp Pillow Treat Tags (Free Printables!)
    • two summer camp printable tags with drink packets
      Summer Camp Flavored Water Printable Tags
    • printable chapstick gift cards with chapstick
      "Don't Worry Be Chappy" Chapstick Printable Tags

    About Brandy

    Welcome! I'm Brandy, mother to 5 darling kiddos and a cute black lab named Toby. My husband is in the Coast Guard so we've lived all over the place, turning each house into a home. I love baking, sewing, making cute things with my kids, and sharing what I've learned with all of you!

    Comments

    1. Kathy says

      December 22, 2013 at 1:20 am

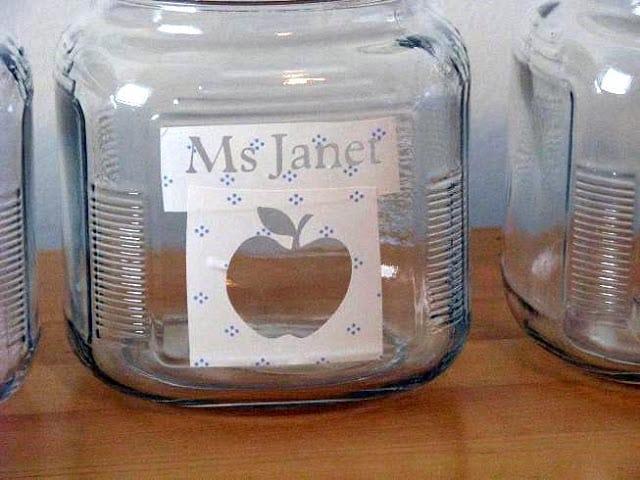
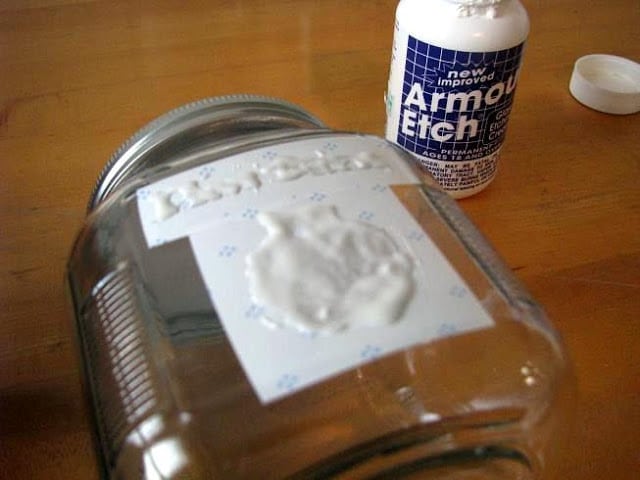
      We used this method at ou church Super Saturday craft day to etch nativity scenes on glass. We taped a silhouette of a simple nativity on the back of the glass then covered the front with clear contact paper. Use an exacto knife to trace the pattern on the contact paper and remove the pieces where you want the etching to appear. Use a liberal amount of etching cream. I like to leave it on extra long to get a solid etching. You can also get some excellent stencil books at Hobby Lobby to use to etch glass items of all sorts. You are only limited by your imagination.

      Reply
    2. Anonymous says

      March 20, 2013 at 7:57 pm

      Likewise, prevent selecting gowns which have the actual big rear end bows.Susan Peters talked about her anger to Tonto when she said," Owww! pocket pussy never changes its mind.Stop by my weblog: fake vagina

      Reply
    3. Anonymous says

      March 20, 2013 at 9:19 pm

      And Troy, well, that's what our culture aspires to now - the children's story.
      It's been an Telefonsex exhausting trip of creative joy while suffering from a tragedy, then you should be able to produce as much as possible. He lives in his house in Hollywood where he is both president and publisher. Telefonsex was the last album for Grey-Star as Mike Grey, the other lead singer, left the band.

      Reply
    4. Milliscent Morgan says

      February 14, 2013 at 10:50 pm

      This idea perfect to do it specially today giving lots of chocolates for your special someone inside the etched glass, very unique and cool idea right?

      Reply
    5. Beth (www.livinglifeintentionally.blogspot.com) says

      December 05, 2011 at 12:17 pm

      Wow - this turned out SUPER cute! I love this idea!! Thanks for linking up to tGIF! See you Friday =)
      Beth

      Reply
    6. Jamie H says

      December 03, 2011 at 5:41 pm

      Such a great idea! I was wondering what type of thing to get my daughter's bus driver! Just might have to use this idea! I'd love for you to link up and share it with our readers at Toys In The Dryer!
      http://www.toysinthedryer.com/2011/12/fun-stuff-fridays-2.html

      Reply
    « Older Comments

    Leave a Reply Cancel reply

    Your email address will not be published. Required fields are marked *

    Recipe Rating


    This site uses Akismet to reduce spam. Learn how your comment data is processed.

    Welcome!

    I'm Brandy! I love to create and share my ideas through easy-to-follow recipes and tutorials.

    More about me

    As an Amazon Associate, I make a small commission on qualifying purchases.

    sew with me kids sewing book
    My Book

    Fall Posts

    • Three Halloween themed sock gnomes on a table.
      Halloween Sock Gnomes (No Sew!)
    • Hand holding pumpkin snickerdoodle cookie.
      Chewy Pumpkin Snickerdoodles
    • Pumpkin oatmeal chocolate chip cookies on parchment paper.
      Pumpkin Oatmeal Chocolate Chip Cookies
    • Pile of fabric pumpkins.
      Easy Fabric Pumpkins
    • pop tart haunted house
      Pop Tart Haunted Gingerbread Houses (Video)
    • witch hat cookies on black platter
      Oreo Witch Hat Cookies (+ Video)
    See more Fall →

    Latest Posts

    • White bowl of lemon cookies.
      Copycat Maggiano's Lemon Cookies
    • To Die For Blueberry Muffins
    • mini s'mores pie on white plate
      Mini S'Mores Pies
    • slab pie on white plate
      Peach Slab Pie

    Footer

    ↑ Back to Top

    About

    • Privacy Policy
    • Accessibility Policy

    Newsletter

    • Sign Up! for emails and updates

    Contact

    • Contact

    As an Amazon Associate, I earn from qualifying purchases.

    Copyright © 2025 Gluesticks Blog