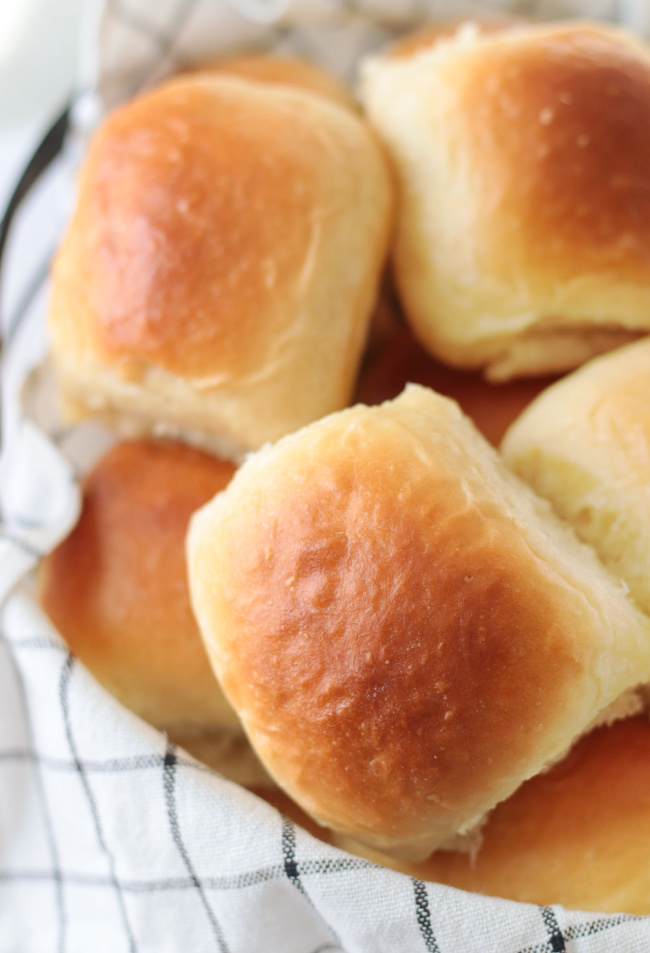
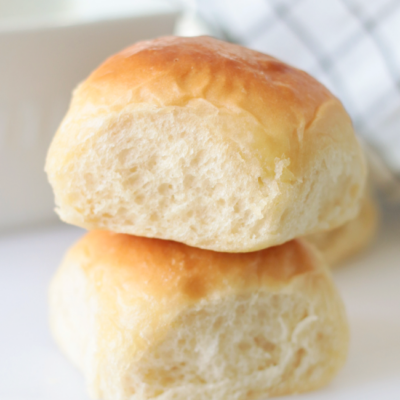
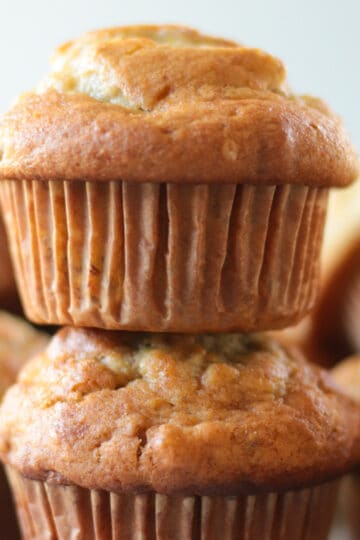
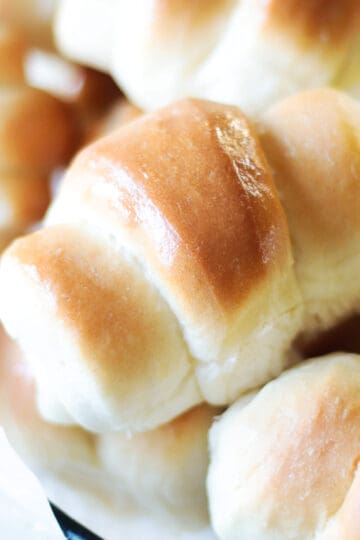
Homemade Hawaiian rolls are ridiculously soft and delicious. The perfect dinner roll, sweetened with pineapple juice and brushed with butter.
You might also like our knotted dinner rolls, old-fashioned Amish dinner rolls, or pretzel dinner rolls!
If you like King's Hawaiian rolls, you'll love my homemade version. They are ridiculously soft and fluffy with just the right sweetness and melt-in-your-mouth texture. Where did Hawaiian rolls originate?
According to King's Hawaiian, "Our mouthwatering tale begins in the 1950’s in Hilo, Hawaii. There Robert R. Taira, the Hawaiian-born son of Japanese immigrants who graduated top of his baking class, opened his first bakeshop: Robert’s Bakery. Here is where the first soft round loaves of the Original Hawaiian Sweet bread were made. According to locals, the loaves rarely ever made it home before being devoured."
I altered one of my classic dinner roll recipes, and my family agreed that these were some of the best rolls that I have ever made. They are my go-to dinner roll recipe now, not just because of the amazing flavor, but because of how SOFT they are. They can't be beat.
Why I Like This Recipe
- Softest rolls ever. That is not an exaggeration. These rolls are pillowy soft and light. Spread with butter, they are absolute perfection.
- Not overly sweet. They are a sweet dinner roll, but still pair perfectly with savory foods. The pineapple juice gives a delicious sweetness without being overpowering. You can serve these as dinner rolls or sliders.
- Freezes well. One batch makes 24 rolls. Enough to serve with dinner and then leftovers for lunches. Leftover rolls can be frozen for up to two months in a Ziploc bag and thawed on the counter.
What Others Are Saying
LOVE this recipe, I tried it out and it’s AMAZING!!!---Sarah
Jump to:
Tips and Tricks
- Tip for those who don't own a stand mixer: If you do not have a stand mixer, you can make this dough by hand using a Danish dough whisk in a large mixing bowl. Mix the ingredients together, then knead on a lightly floured surface for 5+ minutes. I rarely use a wooden spoon to mix dough anymore; a dough whisk is much more efficient and works great!
- Letting the dough rise: The dough will rise faster in a warm spot. I preheat my oven for 1 minute, then shut the heat off. It makes the oven just warm enough for the dough to rise.
- Do NOT add too much flour: this is a SOFT dough and might start out sticky. That's totally normal. Don't worry, it will come together, and because you didn't add a lot of extra flour, the rolls will be soft and airy.
Ingredients

- Pineapple juice: canned pineapple juice works great for this recipe. You'll need two small (6 oz.) cans or 1 ½ cups.
- Sugar: this recipe calls for twice the amount of sugar that I typically use in dinner rolls. Don't try to reduce the amount. These are a sweet roll and won't be the same without the pineapple juice and sugar.
- Butter: I highly recommend not using oil or shortening in place of the butter. Butter adds great flavor, both in the dough and brushed over the finished rolls.
- Yeast: you can use instant or dry active yeast. I always rehydrate my yeast in water, no matter what kind I use, out of habit.
- Water: just a small amount of water to help activate the yeast.
- Egg: eggs add a richness and makes the rolls fluffy.
- Salt: for flavor
- Flour: you can use bread flour or all purpose flour. I use all purpose flour.
See the recipe card for full information on ingredients and quantities.
How To Make Hawaiian Rolls

Step 1: Pour pineapple juice into a microwave-safe bowl. Heat for 90 seconds in the microwave.
Step 2: Add butter and sugar to pineapple juice. Stir. Allow hot pineapple juice to sit until it cools to around 110 degrees (warm, not HOT) and the butter is mostly melted.
Step 3: While the pineapple juice cools, combine water and yeast in a small bowl. Let it sit until it puffs up.
Step 4: Pour pineapple juice mixture, water and yeast mixture, and egg into a stand mixer bowl. Mix on low using the paddle attachment. Add salt and flour, 1 cup at a time, and mix on low.
Swap the paddle attachment out for the dough hook and mix on low for an additional two minutes, or until the dough starts to pull away from the sides. Add ¼ cup of flour, if necessary, but like I mentioned before, this is a soft and sticky dough, not as firm as most bread doughs. DO NOT add too much flour.
Scrape the sides of the bowl with a rubber spatula and form it into a ball in the center of the bowl (see photo above).

Step 5: Loosely cover the bowl with plastic and let rise in a warm location for 90 minutes.
Step 6: Punch dough down to deflate. Transfer dough to a lightly floured surface and form into a ball.
Step 7: Divide the dough in half and then in half again (you will have 4 portions of dough).
Step 8: Form 6 balls from each portion of dough, for 24 rolls.

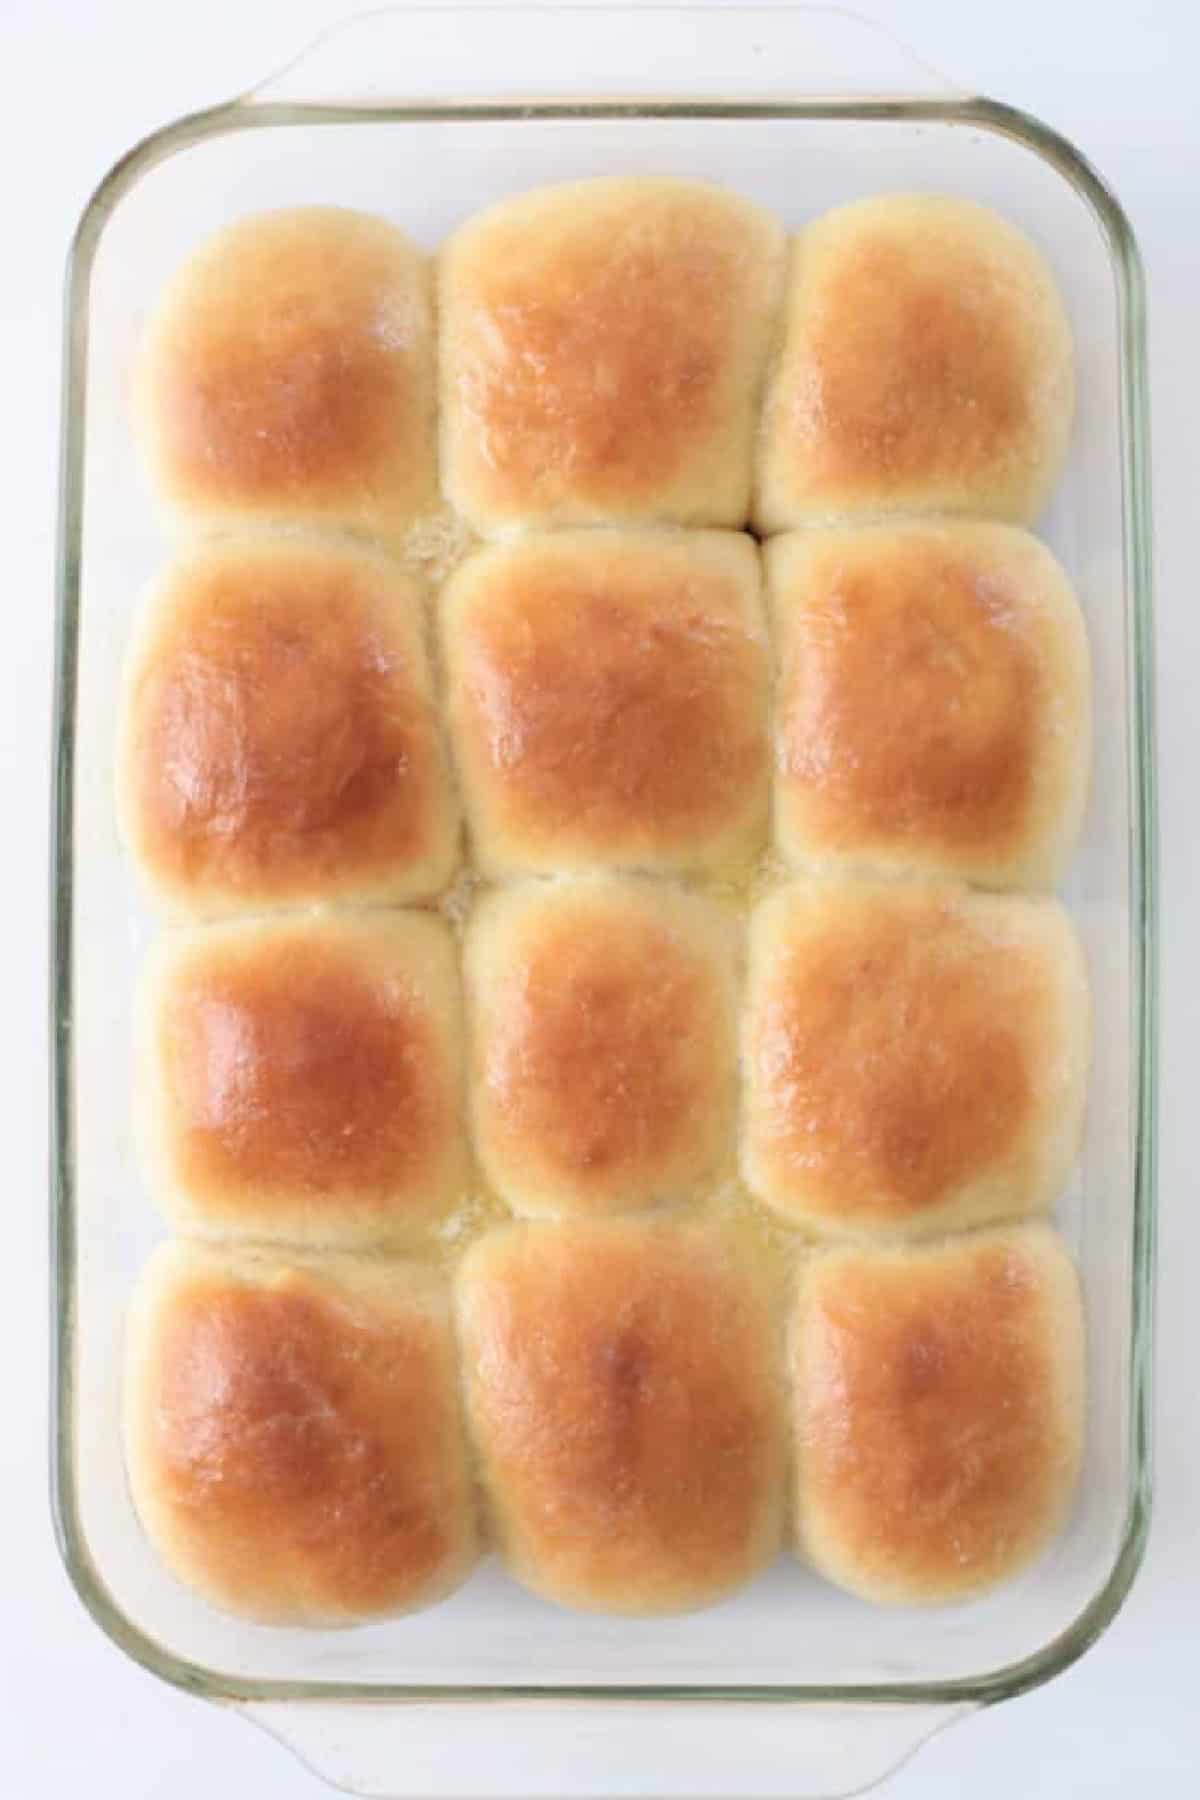
Step 9: Place rolls in two greased 9"x 13" baking pans (12 rolls per pan). Cover with plastic and let rise until doubled, about an hour.
Step 10: Preheat oven to 350 degrees. Bake rolls for 20 minutes or until tops are golden. Brush hot rolls with melted butter.
Rolls will stay fresh for up to 3 days if stored in an airtight container or bag. These rolls freeze beautifully in an airtight container for up to 3 months.
Hawaiian Rolls FAQs
Pineapple juice as well as a bit of sugar are in Hawaiian rolls which gives them their distinct flavoring.
Rolls will stay fresh for up to 3 days if stored in an airtight container or bag. These rolls freeze beautifully in an airtight container for up to 3 months.
I always use bread flour or all-purpose, whichever one I have on hand. My favorite brand is King Arthur.
For the most part, I use whatever yeast is available. Most of the time, it's the instant yeast that comes in a large package from Sam's Club. When I use dry active yeast, I add 10-15 minutes to the rise time. Technically, you do not need to proof instant yeast, only dry active yeast, but I've gotten so used to proofing my yeast that I proof it for every recipe.
More Roll Recipes To Make


MADE THIS RECIPE AND LOVED IT? 💛 Please leave a STAR rating and COMMENT below! Post it to Facebook or Pinterest to easily share with friends!
Hawaiian Rolls
Ingredients
- 1 ½ cups pineapple juice (12 ounces)
- ½ cup granulated sugar
- ½ cup butter (1 stick)
- ½ cup warm water
- 4 ½ teaspoons yeast (instant or dry active)
- 1 large egg
- 1 ½ teaspoons salt
- 6-7 cups all-purpose flour (see notes about flour)
- ¼ cup melted butter (to brush over rolls)
Instructions
- Pour pineapple juice into a microwave-safe bowl. Heat for 90 seconds in the microwave.
- Slice butter into small squares. Add butter and sugar to pineapple juice. Stir. Allow hot pineapple juice to sit until it cools to around 110 degrees (warm, not HOT), and the butter is mostly melted.
- While the pineapple juice cools, combine water and yeast in a small bowl. Let it sit until it puffs up.
- Pour pineapple juice mixture, water and yeast mixture, and egg into a stand mixer bowl. Mix on low using the paddle attachment. Add salt and flour, 1 cup at a time, and mix on low.Note: this is a SOFT dough and might be sticky. That's totally normal.
- Swap the paddle attachment out for the dough hook and mix in low for an additional two minutes, or until the dough starts to pull away from the sides. Add ¼ cup of flour, if necessary (see notes at the bottom of the recipe about flour).
- Scrape the sides of the bowl with a rubber spatula and form the dough into a ball in the center of the bowl (see photo above).Note: If you do not have a stand mixer you can make this dough by hand using a Danish dough whisk in a large mixing bowl. Mix the ingredients together, then knead on a lightly floured surface for a few minutes until it comes together.
- Loosely cover the bowl with plastic and let rise in a warm location for 90 minutes.
- Transfer dough to a lightly floured surface and form into a ball. Divide the dough in half and then in half again (you will have 4 portions of dough). Form 6 balls from each portion of dough, for 24 rolls.
- Place rolls in two greased 9"x 13" baking pans (12 rolls per pan). Cover loosely with plastic and let rise in a warm place until doubled, about an hour.
- Preheat oven to 350 degrees. Bake rolls for 20 minutes or until tops are golden.
- Brush hot rolls with melted butter.

Brandy says
These are probably the softest dinner rolls I've ever made. My family loves these!
Sarah says
LOVE this recipe, I tried it out and it’s AMAZING!!! I want to make these for my MIL, however she is severely allergic to pineapple. Do you think orange juice would be a good substitute? Or is there another substitution you can think of that will produce the same results? I’m new to making bread….
Brandy says
Hi Sarah! This made my day, I'm so glad that you liked them! I don't see why you couldn't use orange juice. They might not taste as sweet, but I think orange would still give a delicious flavor!
Nicki says
Any idea how these work with gluten-free flour that’s cup for cup?
Brandy says
Hi Nicki, I've never baked with gluten-free flour, I'm sorry I'm not more help!
Holly says
Hi there. This recipe is delish! But I don’t see when to add salt. I added it before the flour but don’t know if that’s okay. Thanks:)
Brandy says
Yes, that is correct! I updated the recipe card to reflect that, thanks!
Eileen says
So happy that I’ve found this blog…you have all types of rolls which I can choose to bake …..thank you so much….
Brandy says
Happy to have you here! 🙂