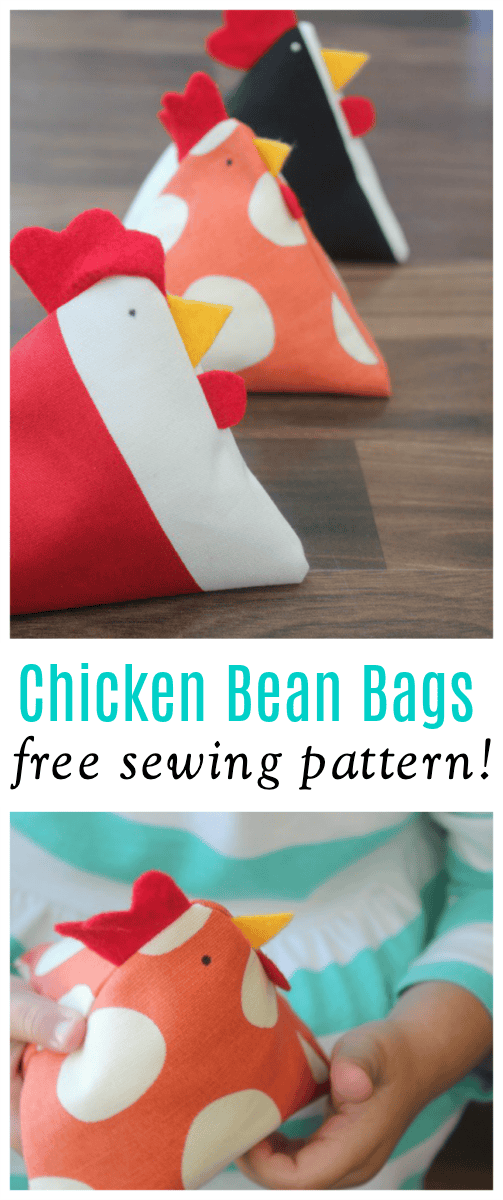
These chicken bean bags are just about the cutest things that you can make with your sewing machine. Use them as pin cushions, bean bags or even rice packs! This post was originally shared in 2014, and now includes a step by step video. This post contains an affiliate link.
If you like this simple sewing project you'll love our sugar cookie pincushions, 5-minute hand warmers and fabric wired headband tutorial!
Watch our step by step video!
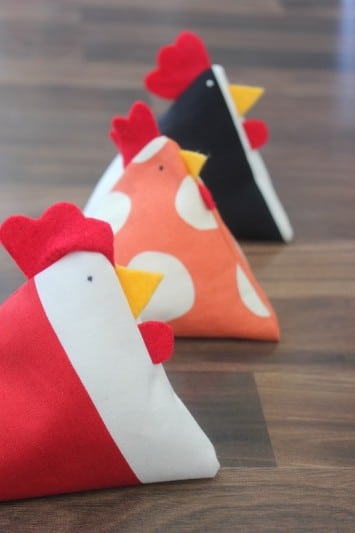
Ruby loves chickens. I thought it would be fun to make her a chicken softie, but fell in love with these chicken bean bags instead. We started with one and she loved it so much that we made a few more. They take about 10 minutes so it's easy to make an entire flock! Her little chickens go everywhere with us. Grocery shopping, church, on her tricycle, and in her bed.
The sewing inspiration came from Anjie's Blog. Red Ted Art saw the original and created some photo instructions. Ours are slightly larger than the original, and since neither one came with a printable pattern, I quickly drew one to make it easier to keep them uniform when making them by the dozen, ha!
You can download it here: Little Chicken Bean Bag PDF
LITTLE CHICKEN BEAN BAGS
Equipment
- scissors
- pins
- Permanent Marker
- sewing machine
- needle
- stuffing
- rice
Materials
- cutting template (print here)
- felt
- thread
- fabric
Instructions
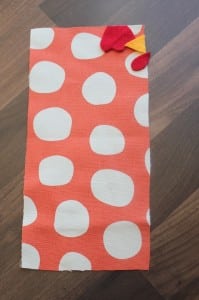
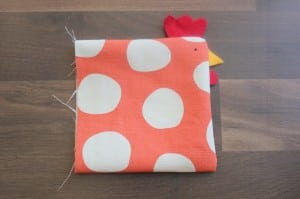
- Cut out felt templates for the face and a large rectangle of fabric for the chicken body. Lay the felt pieces in the upper right corner of the long rectangle of fabric.

- Bring the bottom of the fabric to the top with the fold along the bottom. Pin to keep beak and details in place. Stitch top and right side, leaving left side open.

- Turn right side out. Add an eye. You can hand sew this or use a sharpie pen like we did. Very gently so that it doesn't bleed.
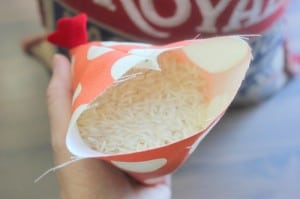
- Fill ⅓ with fiber fill and ⅓ with rice or small beans. Leave the rest open to allow room to close the bottom.
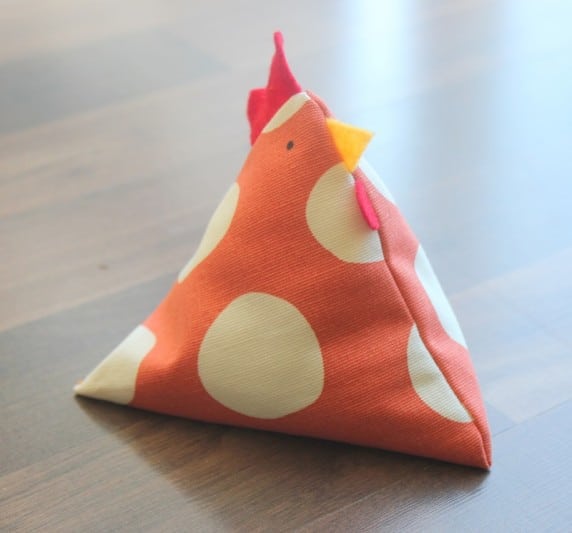
- To turn your bean bag into a pyramid shaped one vs. a flat square, line up your seams so that the side seam lies flat as the back of the chicken. The front seam where the beak is and the back seam will line up and it will turn into the pyramid shape. Turn under raw edges and pin closed.
- Hand stitch to close.


Video
Notes
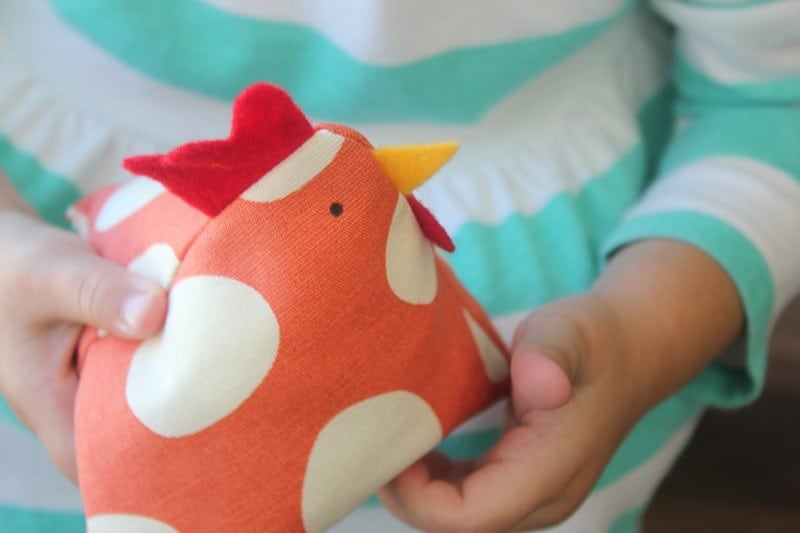
This little orange one is my favorite. Ruby's too.
I'm thinking that this little pattern would make a great base for so many fun animal bean bags! A puppy, a cat, or even a pig.
Can you think of any others? What a fun little party favor or stocking stuffer, or homemade birthday gift!

For 60 more sewing projects, check out my sewing book for kids!


C Brooks says
Seems pretty simple and a great project for beginners.
If we just used rice, could we microwave this?
Brandy says
Absolutely!
Karen ONeal says
Brandy, I wanted know the actual dimensions of the rectangle for the body of The little chicken bean bag? Thanks, Karen
Brandy says
The rectangle is 4" x 7.5" 🙂
Dannielle North says
So fun, so easy, so doable. Thank you
Brandy says
You're welcome! 🙂
Ros says
Do you just allow the fibrefill and the rice to mix within the chicken? I wondered about putting the weight into a pouch inside
Brandy says
Hi! Yes, I put the fiberfill in first and then the rice. Our chickens are pretty old now and the fiberfill has flattened down some, but the rice works great and stayed at the bottom, didn’t seem to mix in with the fiberfill.
Ros Jess says
Thank you
Susan says
I love these and the Yuba City chickens too!
Ashlee says
I LOVE the chicken bean bags.
i am making one for my little brother for Christmas this year but i am just wondering what fabric you used?
cheers, ash
Brandy says
Thank you Ashlee! I used a home decor fabric that was a little thicker because I liked the pattern, but you could definitely use a basic cotton!