I am so excited for our next guest on Gluesticks! I am absolutely in love with this Cupboard Door Turned Art Desk and was thrilled when the girls from iCandy handmade agreed to share it with you today!
******
Jen and I were thrilled to be asked to participate in Brandy's series on Creating a Homemade Holiday.
Thanks so much for having us!
We run a little sewing and craft blog called iCandy handmade where we share tutorials and inspiration for our readers. We'd love it if you stopped by our neck of the blog-o-sphere and take a look around! As Jen and I are both of a creative mind, we love to make things for our kids, and our loved ones. Creating things for our families and homes is what makes us tick. So, naturally, giving homemade gifts tops it all!
I love to watch the look on my friends and families faces when they open up something that was made specifically for them. It's magical!
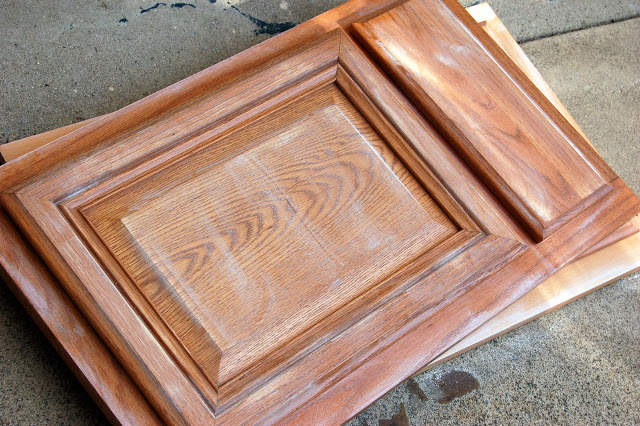
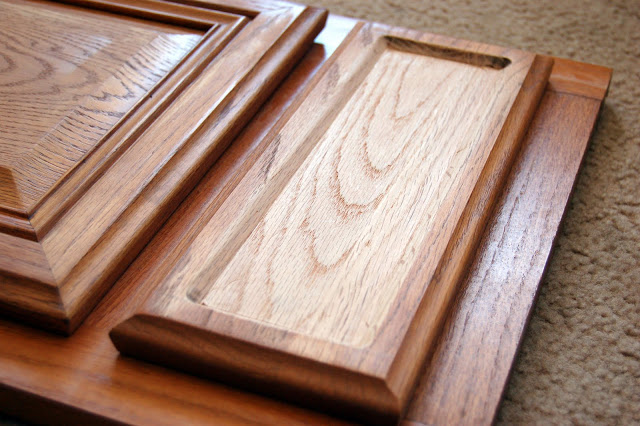
A while ago, I concocted a little art desk for 2 of my kids that I made from the most random thing:
a sample cupboard door. {random}
My kids loved them then, and they still love them now! They do puzzles on top of them, they store their art work in the little alcove, and, as it's been a year and a half since I made them, I'm so pleased that they still love them as much as they did when I first gave them to them!
I hope you can use this little tutorial to spark some creativity and play in your little ones this season!
My Father in Law owns a restoration company in Phoenix and often times has cupboard door styles or carpet squares that have been discontinued, and he no longer uses. My original plans for these sort of vanished, but since I had them in my garage, I was determined to find something unique to do with them.

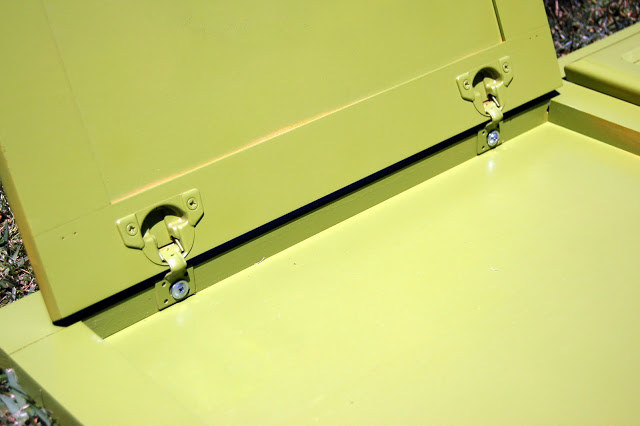
The drawer does not open, but the cupboard door does...and it leaves about an inch of space to keep something in it...like art masterpieces or a few sheets of homework paper...hmmmm
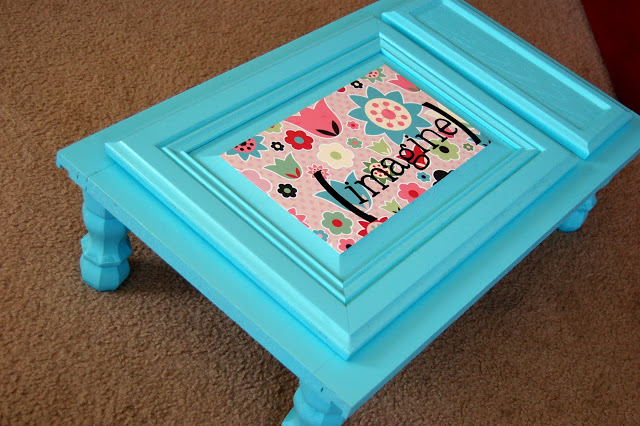
I bounced some ideas off of Jen, and this is what I came up with...I give you the
Cupboard Door-Gone-Art Desk
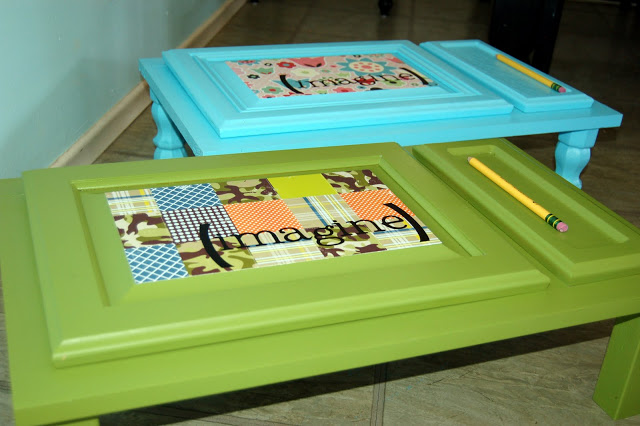
I made one for each of my littles, and so far, they're totally diggin' it!
If you want to know what I did, here's a quick run-down on what I did:
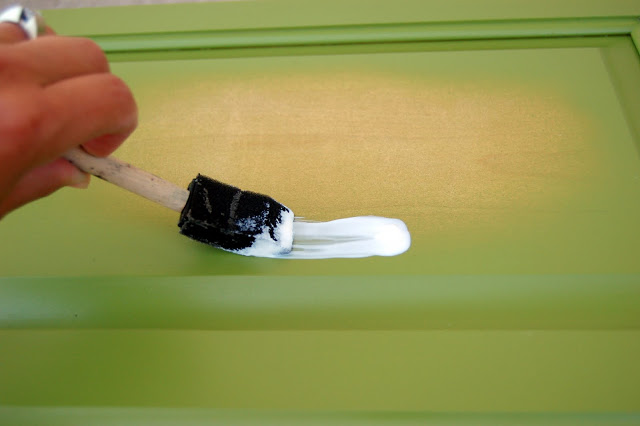
First things first, I had to sand the suckers down to give the paint something to stick to.
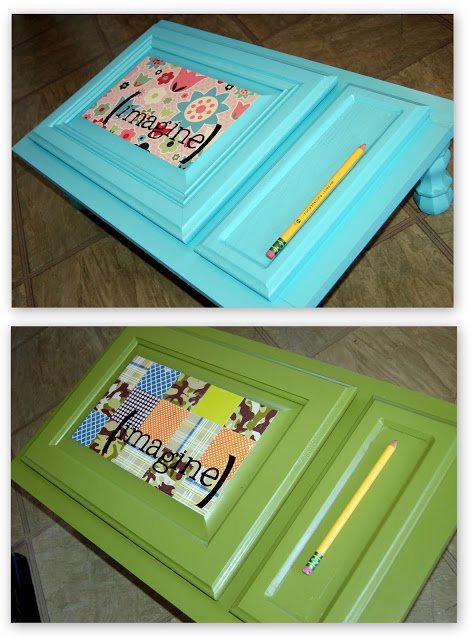
I wanted to use the drawer as a supply holder. I bounced back and forth between routing out a groove in it to hold several pencils, or drilling a few large holes to hold cups of different supplies like crayons and markers. The fact that I don't have a router was the only reason I was leaning in the other direction, but the promise of homemade donuts convinced my neighbor to help me with this part.
We used a plain router to dig out the middle and then an edger to work on the sides.
My neighbor is awesome!

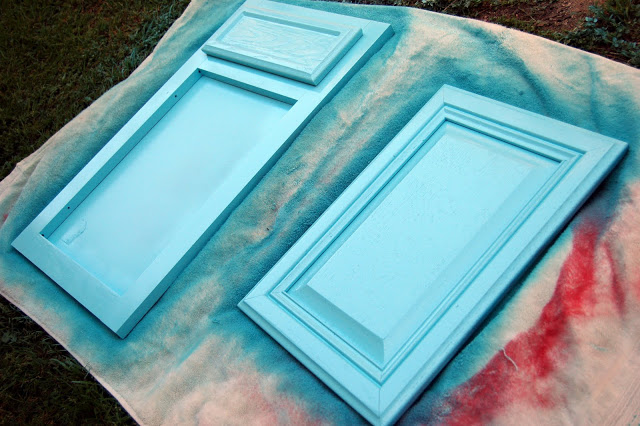
Next I spray-painted each piece...
{I used Rustoleum's 2x Spray paint, Aqua in Satin for the turquoise one, and Eden in Satin for the green one.}
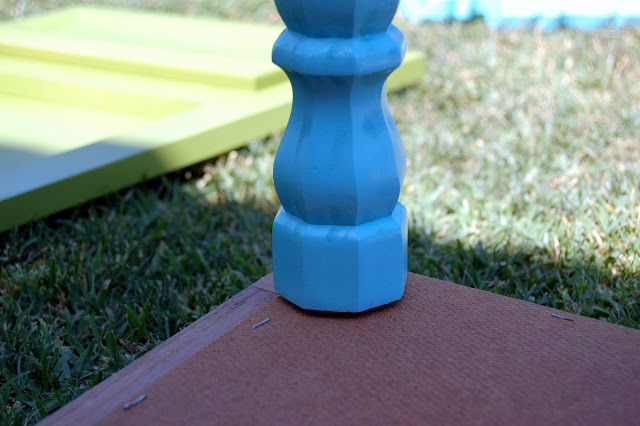
...including the legs which I got at Home Depot for a little less than $3 each
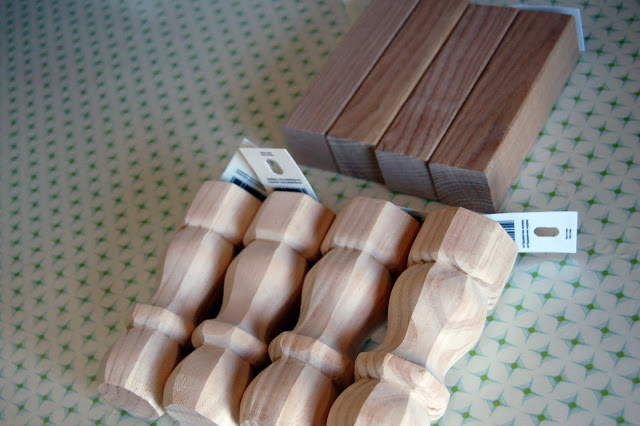
they came with a little screw in the end, which I thought was perfect...as I'd just drill a little hole in each corner, and glue them in with liquid nails.
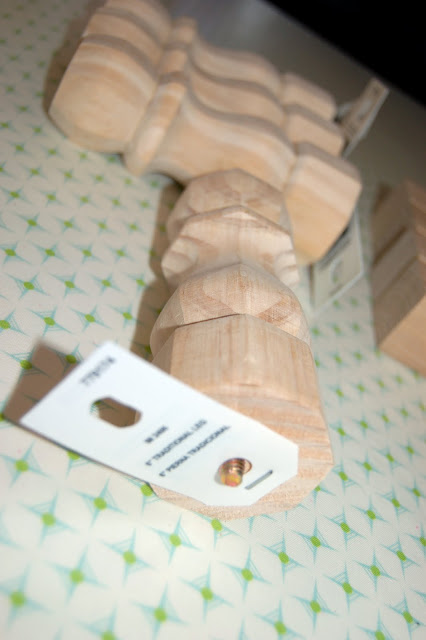
So, I used a ⅜" drill bit and drilled a hole 1 ½ inches in from each side about the depth of the screw (umm...is that a bolt, sorry for my lack of tool knowledge! screw it is!)
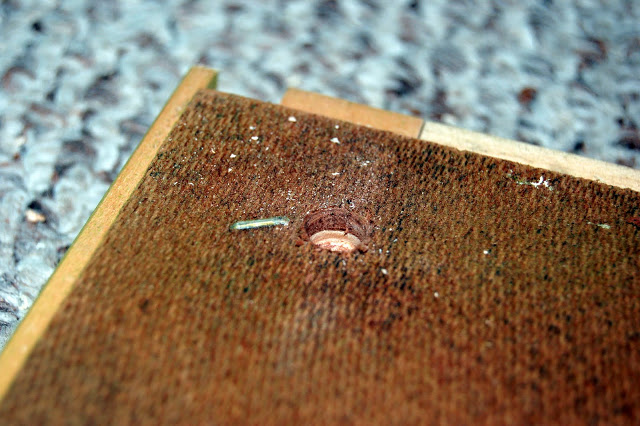
I filled up the hole with liquid nails plus a little dairy queen dollop on top, stuck the screw in the hole and twisted it all the way down to the liquid nails squeezed out the side. I just smoothed out the excess glue with my finger and turned it upside down with a weight on top to let it set over-night. The Liquid Nails is completely paintable, so after it set, I re-sprayed the cupboard and the legs, and then covered it with a couple layers of clear top-coat.
I screwed the cupboard door back into place after the glue had completely set:
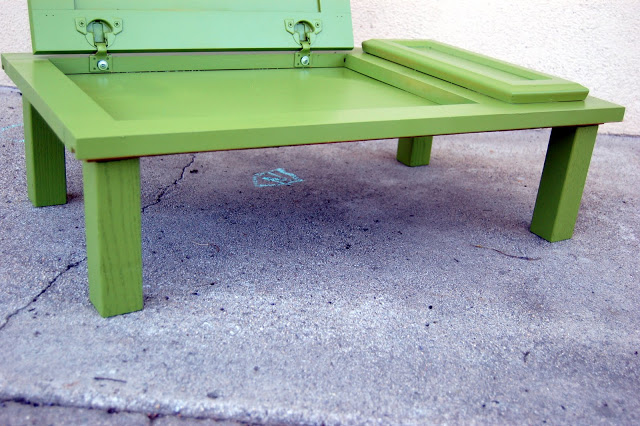
Here we are so far:
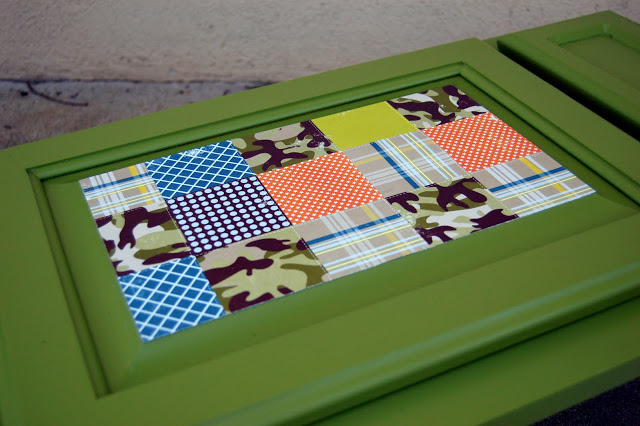
I cut a piece of scrapbook paper to fit the inner panel of the door and mod-podged it in place.
While that was drying, I used my Gypsy and Cricut to cut some black vinyl to spell out the word (imagine)
I used 'doodletype' font...which seems to be my fav lately.
After applying the vinyl, I re-coated just the top of the cupboard door with a light layer of top coat to protect the vinyl and the paper from little picky fingers.
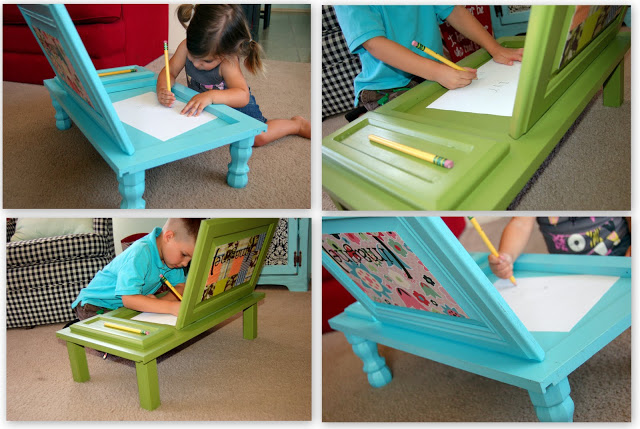
...and this is what we've got:
My kids have been begging to use their 'desks' through the whole process, and I think it'll be so fun to have a little art center for them to use with our little projects. I can just imagine my little girl feeling so grown-up at her own little desk! I love that the cupboard door can close and hold about an inch-worth of stuff...extra papers, or old projects or papers. Or a place to store homework until it's done. I might still attach a little clip on the inside top of the cupboard door to stick a finished project for it to dry, or whatever, but we'll see.
I hope this little project has inspired you to something similar! Whether you have cupboard door and drawer face like I did or not, you could use any old sheet of wood and put those little legs on for super cheap to make it your own.


Olivia Heartelly says
I know you get this a lot but this is by far the most creative DIY ideas that I’ve seen and surely this idea is totally useful for my art class activity next week. Thanks for sharing!
GlueSticksDirect.com