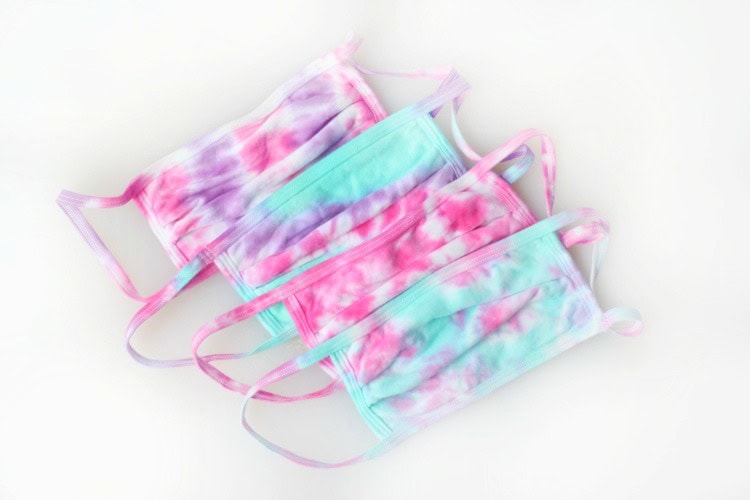
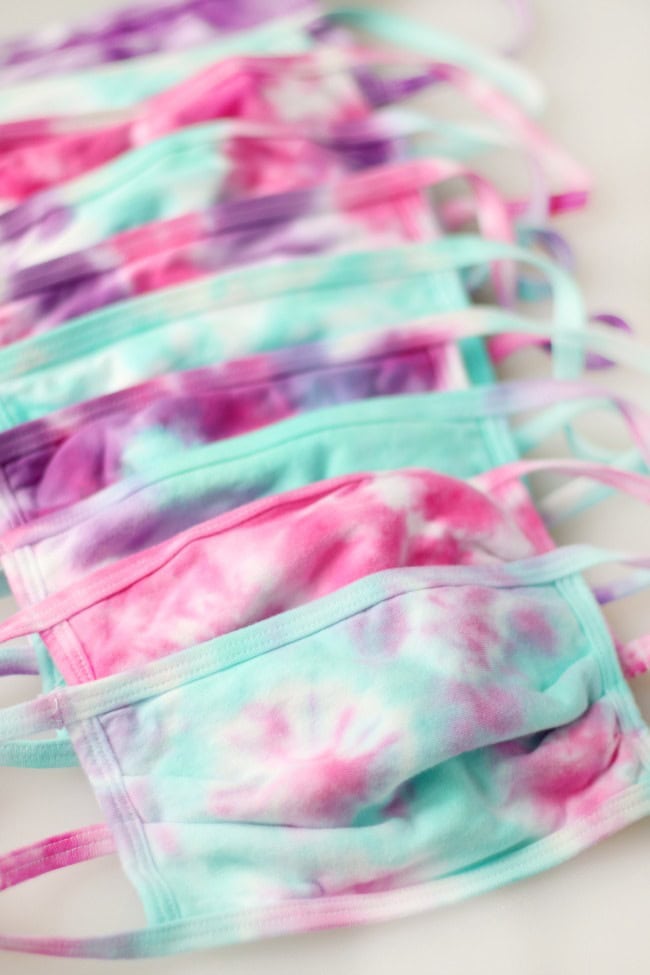
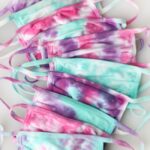
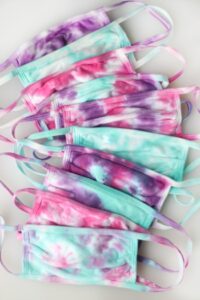
DIY tie dyed face masks are a fun summer activity! Easy to make, and so bright and colorful! So many unique designs.
Our painted sticker rocks and temporaty tattoo soap are also fun summer activities for kids!
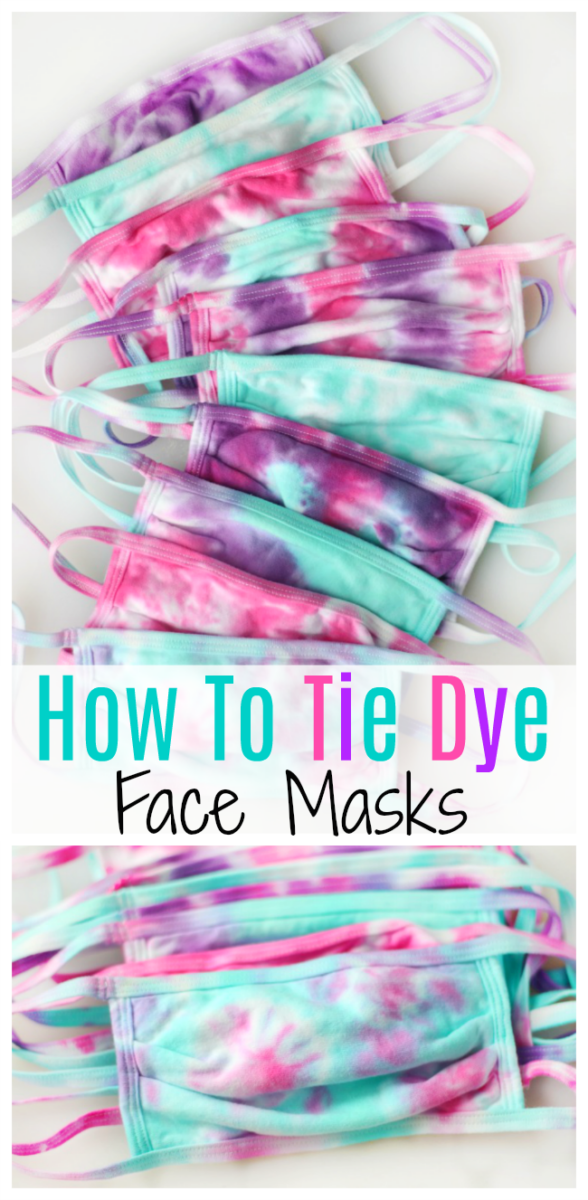
Watch our step by step video!
Summer crafts are looking a bit different in 2020. Am I right? If you had told me in February that my girls and I would be tie dying face masks for a summer craft, I would have thought you were crazy. Yet, here we are. We made a bunch of masks for ourselves and to give to friends and it was a lot of fun!
We are still unsure what school will look like in the fall. Regardless of whether or not masks will be required at school, they will most likely be required at other public places for quite some time. It's nice to have a stash of clean ones ready to go.
Tie Dyed Cotton Face Masks
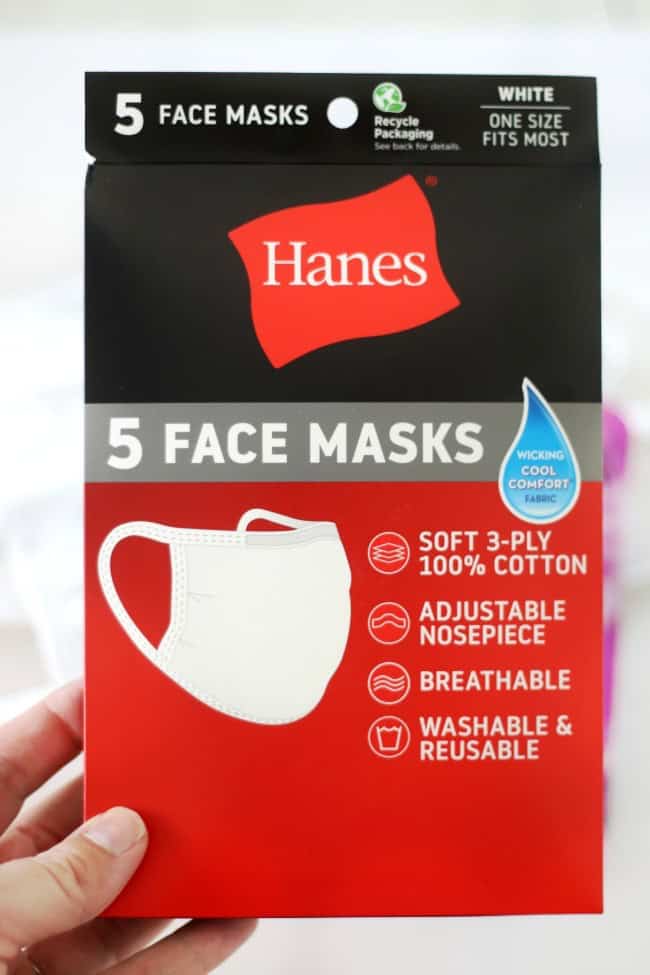
I sewed up a bunch of fabric masks in April, but really prefer these cotton ones that you can purchase at the store. Our local Walmart sells them in packs of 5. They are soft, wash up well, and have an adjustable nose band. They are the perfect size for teens and adults.
Ruby ties a clear rubber band around the ear loops to make them smaller for her (8 years old). Works like a charm.
DIY Tie Dyed Face Masks
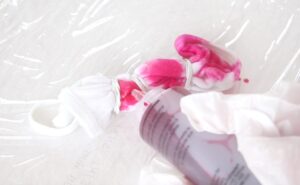
The process for tie dying masks is the SAME as it is for tie dying t-shirts. Be sure to check out our step by step video to see how we wrapped the masks in rubber bands to achieve these cool patterns! You can find more tie dye designs here.Â
My favorite part about tie dye is that it is super forgiving. You can literally wad the mask up and splat die one it, without giving any attention to wrapping it in a certain way, and the mask will turn out awesome.
Supplies for Tie Dye
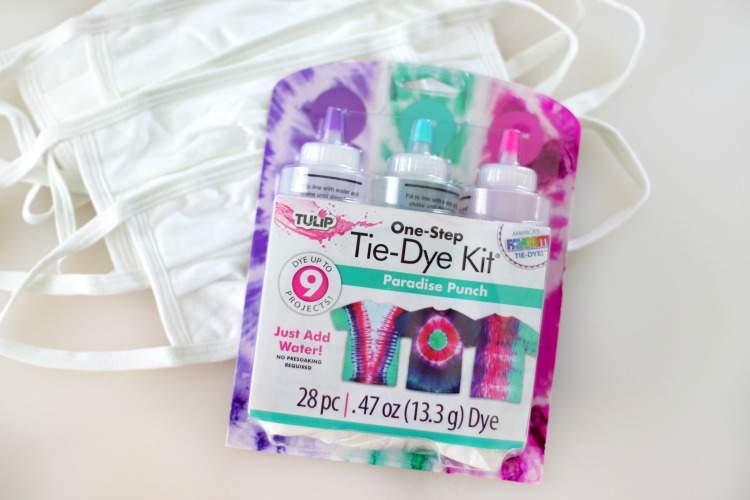
- The easiest way to tie dye anything is to pick up a kit. The kit comes with dye, gloves, bottles, and rubber bands. I found my kit at Walmart. We made 10 masks and had enough dye to probably make 20 more. You really don't need a lot of dye. We used up some of the leftover dye to tie dye white socks.
- You'll also want something to cover your work surface. We used a trash bag.
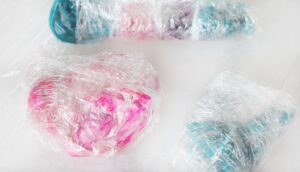
- We also placed pieces of plastic wrap under each mask while we dyed it. Then we wrapped the mask in the plastic wrap while the dye soaked into the fabric.
Pastel Colors vs. Bold Colors
When we tie dye, we let or projects sit anywhere from 6-24 hours. Again, it's forgiving. We wanted our masks to be more pastel hues so we soaked them for about 5 hours.
Step By Step Tie Dyed Face MAsk Tutorial
DIY Tie Dyed Masks
Equipment
- bowl of water
Materials
- cloth face masks
- tie dye kit
- plastic wrap
- trash bag
Instructions
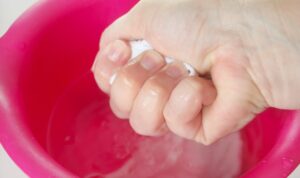
- Soak masks in water. Just until wet, then ring out.
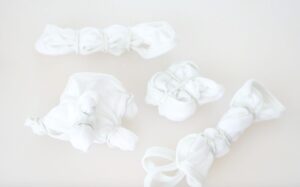
- Roll up the masks in different shapes and secure with rubber bands. Check out our video for step by step visuals for achieving horizontal, vertical, swirl and diagonal designs.
- Cover work surface with a plastic garbage bag. Place a piece of plastic wrap under each mask. Pour dye over mask.
- Roll up mask in plastic wrap. Let soak 4 hours for pastel colors and 6-8 hours for bold colors.
- Rinse masks with COLD water until the water runs off clear without any dye.
- Wash all masks together in the washing machine. A normal or quick cycle with warm water and a small amount of detergent works great. Dry in the dryer.
Video
3 More Crafts For Teens and Tweens
Fluffy Flip Flops10-minute Wired Headband TutorialDIY Pocket Fan

Leave a Reply