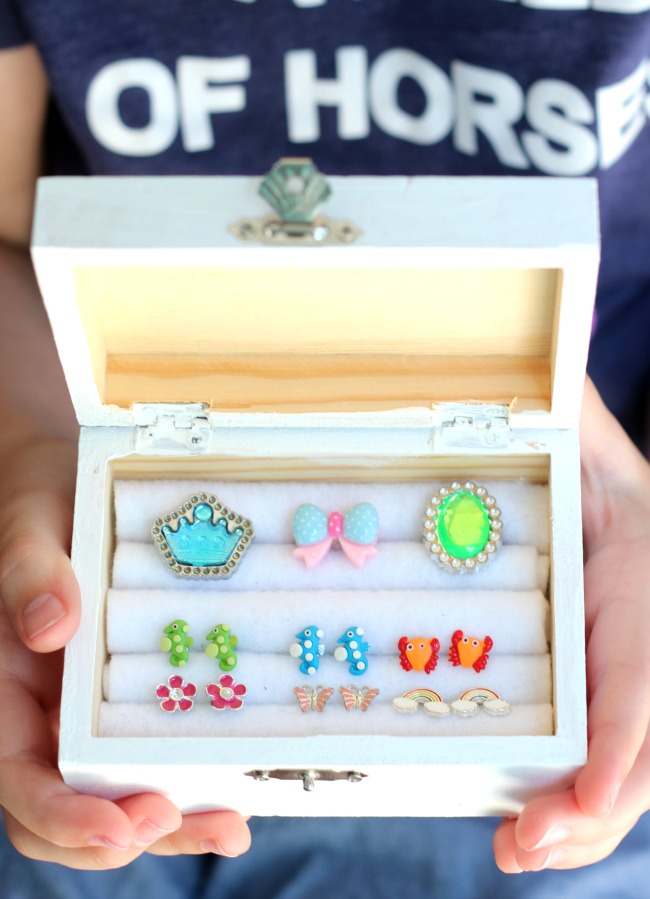
This DIY jewelry box is just the right size to organize earrings and rings with the addition of felt dividers. An easy project for kids! This post contains affiliate links and was originally posted in 2018.
You might also like our shrinky dink keychains, easy wire headbands, or hand-stamped rings!
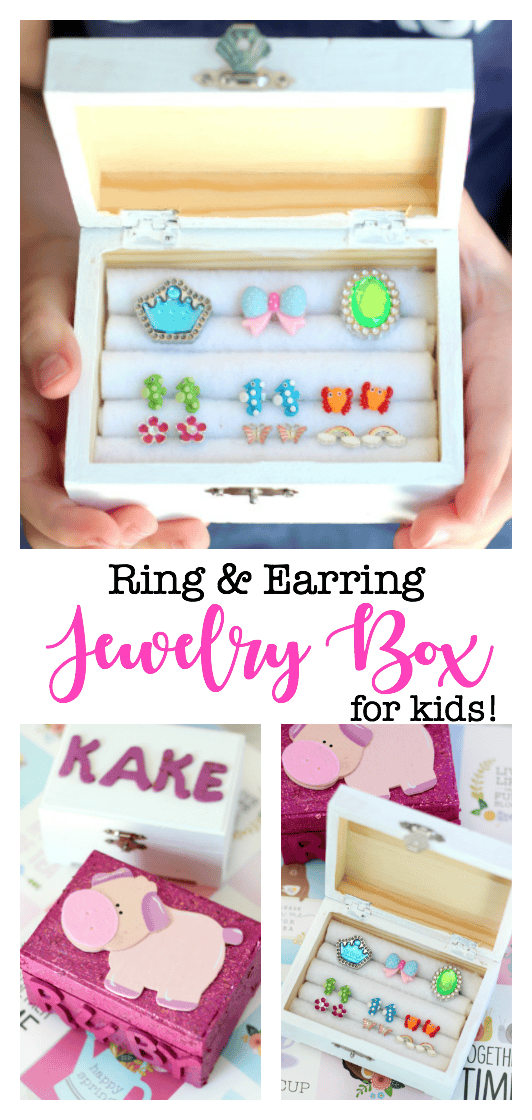
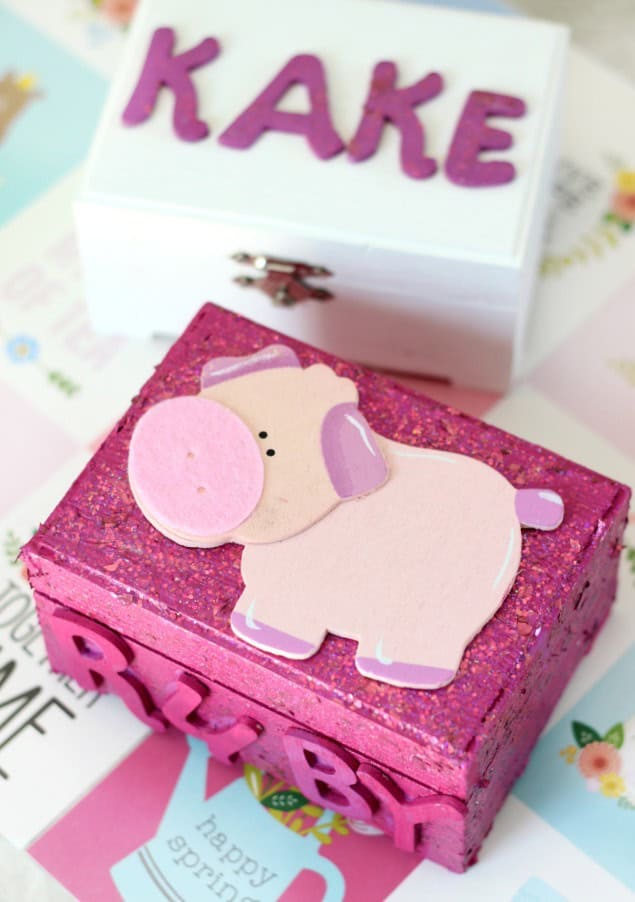
DIY Jewelry Box for Kids!
Supplies:
- unfinished wood box
- screwdriver (if your box has hardware that needs to be removed to paint)
- acrylic paint
- foam brush
- craft glue
- decorations, optional
- felt
- pencils, crayons, or wood dowels
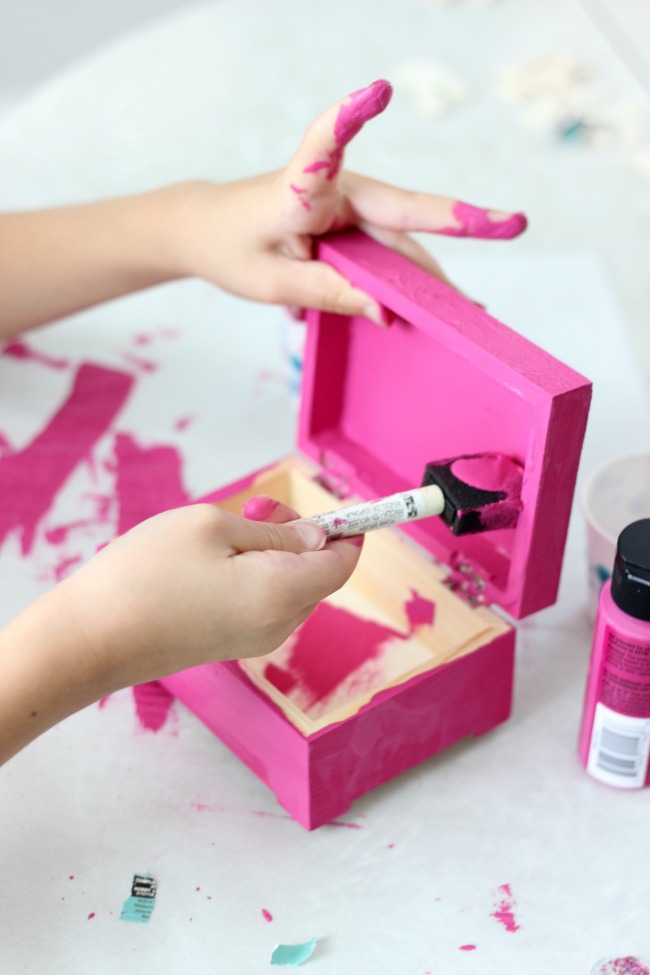
Step 2. Paint the inside and outside of the box and let it dry completely.
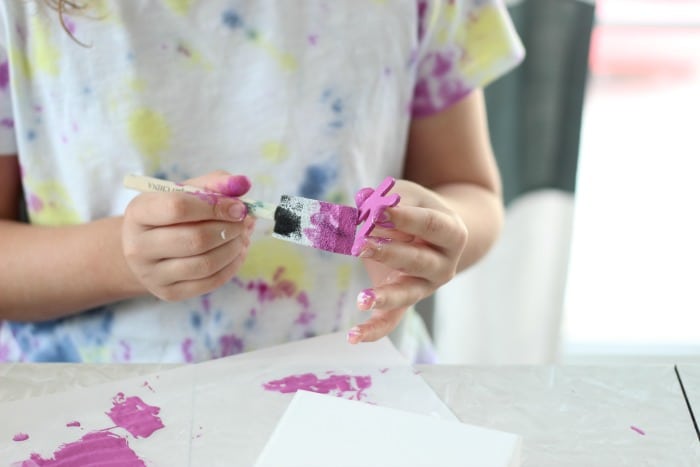
Step 4. Glue to the box with craft glue.
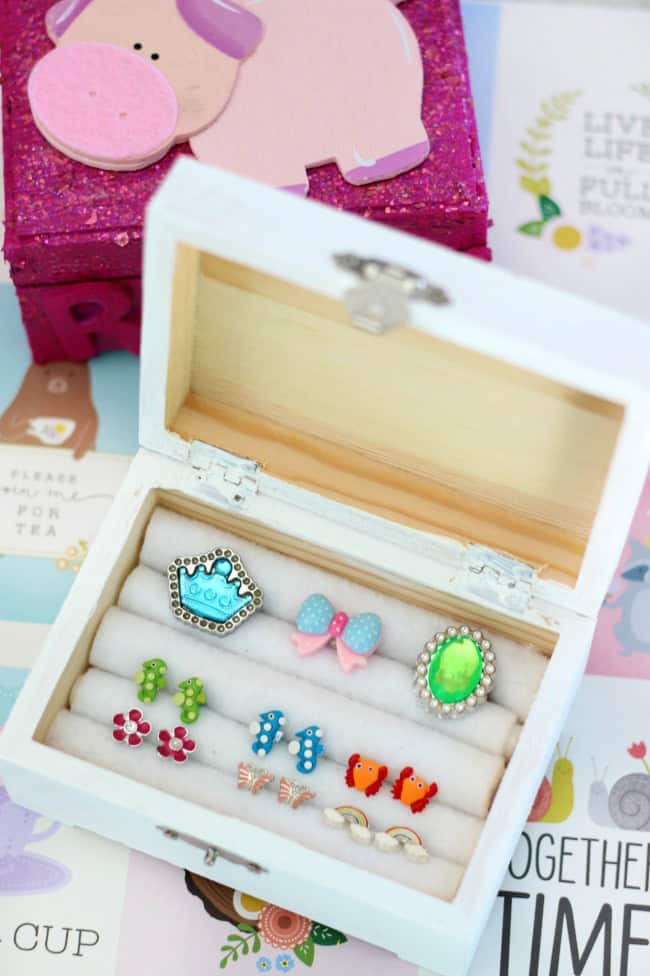
Step 6. Cut felt pieces to match the width of the box. The length is up to you, but ours were 3-4" long.
Step 7. Wrap the dowels with felt, tightly, and place in the box. Pack them in until they can't move.


Jenny says
This is so cute! I'll be featuring this tonight at Merry Monday!
Michelle Leslie says
The kids look like they're having an absolute ball Brandy. You're such a really cool Mom. I don't think there's anything more special than letting kids explore their creativity without having to stress about messing
Brandy says
Thank you so much Michelle! They are a lot of fun to create with!
Jennifer Wise says
What a cute idea! I love how personal they are. Pinning. 🙂
#sharingtimelinkparty