DIY tattoo soap bars are easy for kids to make, and the temporary tattoo stays on the bar of soap even after many washings! Add fun scents, too! This post contains affiliate links.
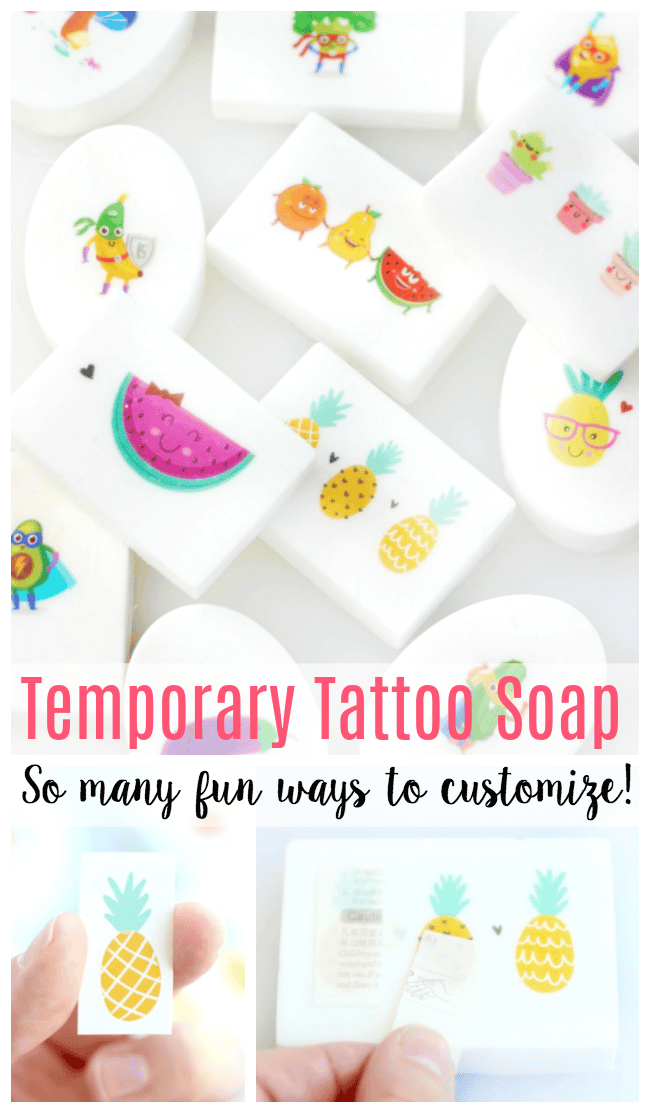
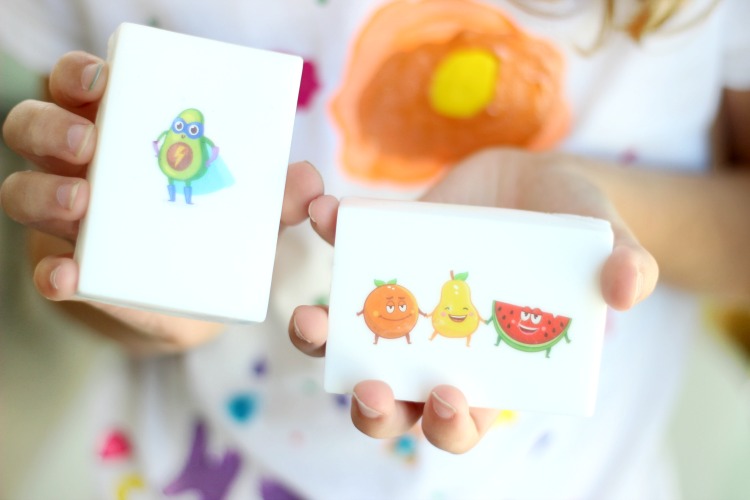
What can you make with a temporary tatooo + a bar of soap? THE CUTEST kids craft around. The girls had so much fun making these tattoo soap bars that we ended up having two playdates with friends so that they could make more. Pretty sure we have enough soap over here for a year, haha!
I saw an image of a white store-bought soap with a temporary tattoo on it, but when I clicked through it was a spam site. Don't you love those? Sigh. I thought, could it really be as easy as applying a tattoo to a bar of soap? Yep, it really is. And it isn't just on soaps either. You can also add temporary tattoos to mugs! I love these ones from Sara Hearts, and how about these Easter eggs from Simply Kelly Designs? CUTE.
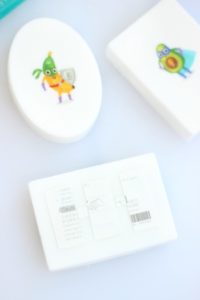
While I'm sure a white bar of store bought soap would work great for these tattoo soap bars, we decided to make our own. I thought a smooth surface vs. a soap that has the brand logo on it would adhere better, and melt and pour soap is such an easy activity to do with kids.
How long will the temporary tattoos last with normal hand washing?
I expected the tattoo to wash away after a few uses, but ours latest 5-7 days (with normal hand washing) before the tattoo started to wash off. If you want to extend the life of your cute soap, just let the soap air dry and apply another tattoo. It takes like 30 seconds.
What if your child plays with it in the tub and it soaks in the warm tub water for 15 minutes?
Don't worry, we tested this for ya. The tattoo will slide off after being fully submerged in hot for about 10 minutes. But again, just let it dry and apply a new one. It takes like 30 seconds.
How many soap bars can you make with a 2 lb. block of soap base?
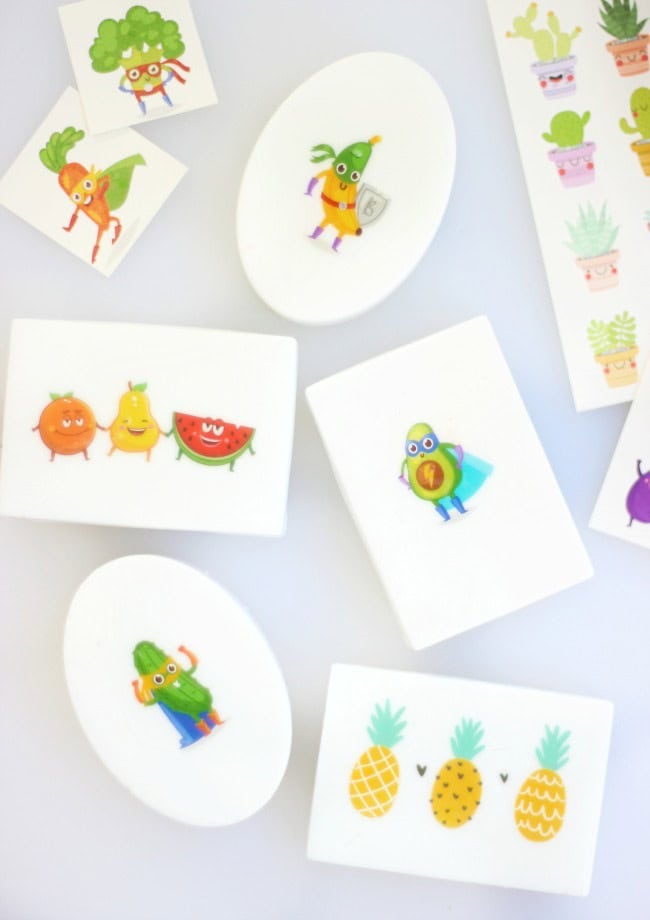
10 standard sized bars if using these silicone soap molds.
For more fun, check out these homemade soap projects!
Melt and Pour Glycerin Goldfish Soap
Step-by-Step Guide to Making Tattoo Soap Bars With Kids!

DIY TATTOO SOAP BARS
Equipment
- microwave
Materials
- 2 lbs. goat's milk melt and pour soap base can use glycerin, too
- ramekin
- popsicle stick
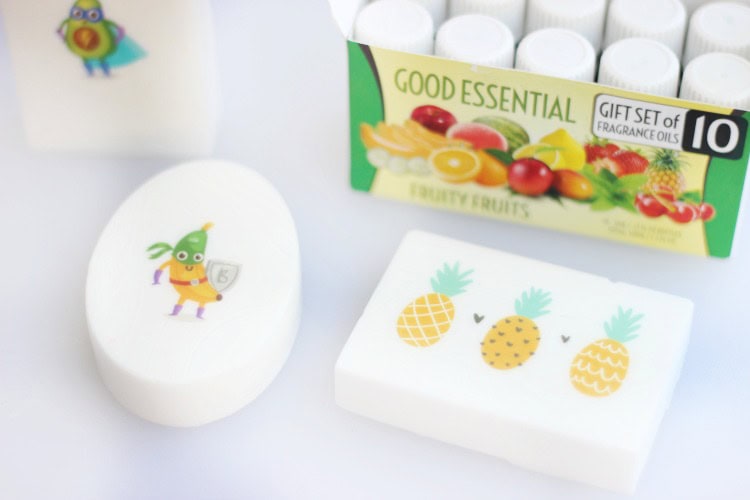
- soap scents
- soap molds
- temporary tattoos
Instructions
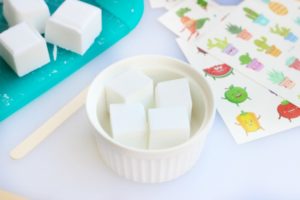
- Cut the block of soap base into cubes along the perforated lines. Place 4 cubes in a microwave safe dish and microwave for 20 seconds. Stir. Repeat in 10 second intervals until melted.

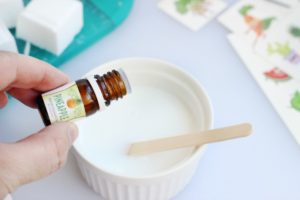
- Add 6-8 drops of soap scent oils. I have a box with 10 fruity scents and they all smell delicious: pineapple, mango, strawberry, watermelon, apple, cherry, cucumber melon, lemon, orange, and peppermint (obviously not fruity, so that one was a surprise!) These work great and can be used for homemade lip gloss, too.
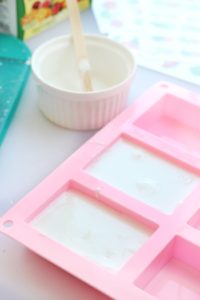
- Place soap mold onto a small baking sheet. Pour melted soap into a silicone mold. Allow to set in the refrigerator 30-45 minutes.

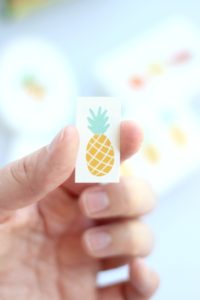
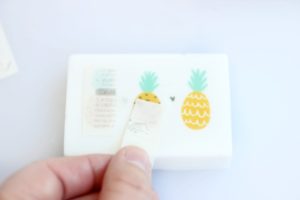
- Cut out desired temporary tattoo.
- Place tattoo onto soap.
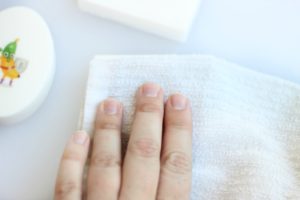
- Apply a wet sponge or wash cloth and hold for 30 seconds.
- Peel away backing.
Video
Notes

Continue this process to decorate each bar of soap until you have made at least 100 of them because they are just THAT FUN to make.

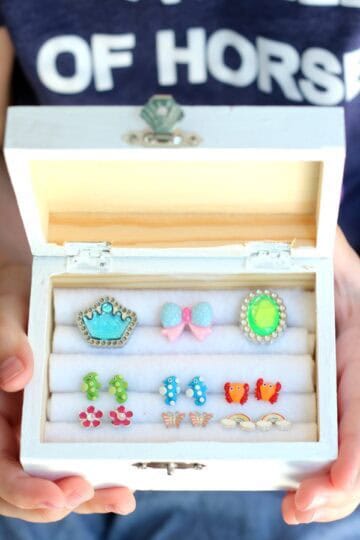
Wouldn't these be fun to make with kids at parties or as gifts for friends and teachers? The options are endless because the selection of temporary tattoo designs are endless!


Carrie Lowery says
How long does the soap take to dry in the mold?
Brandy says
It'll set up in about 30 minutes. Placing it in the refrigerator speeds up the process.
Jean says
I did this years ago using pictures cut from greeting cards and magazines, glued to a bar of soap then dip the picture side only in melted wax. They, too, lasted quite a while.
Brandy says
Ooo, I love that idea!