Chocolate nonpareils candy is the easiest candy to make! Eat plain or add to a cup of hot chocolate for a burst of flavor. Easy to customize and great for gift giving!
You might also like our hot chocolate bombs, our peppermint bark cups, or our hot chocolate sticks.
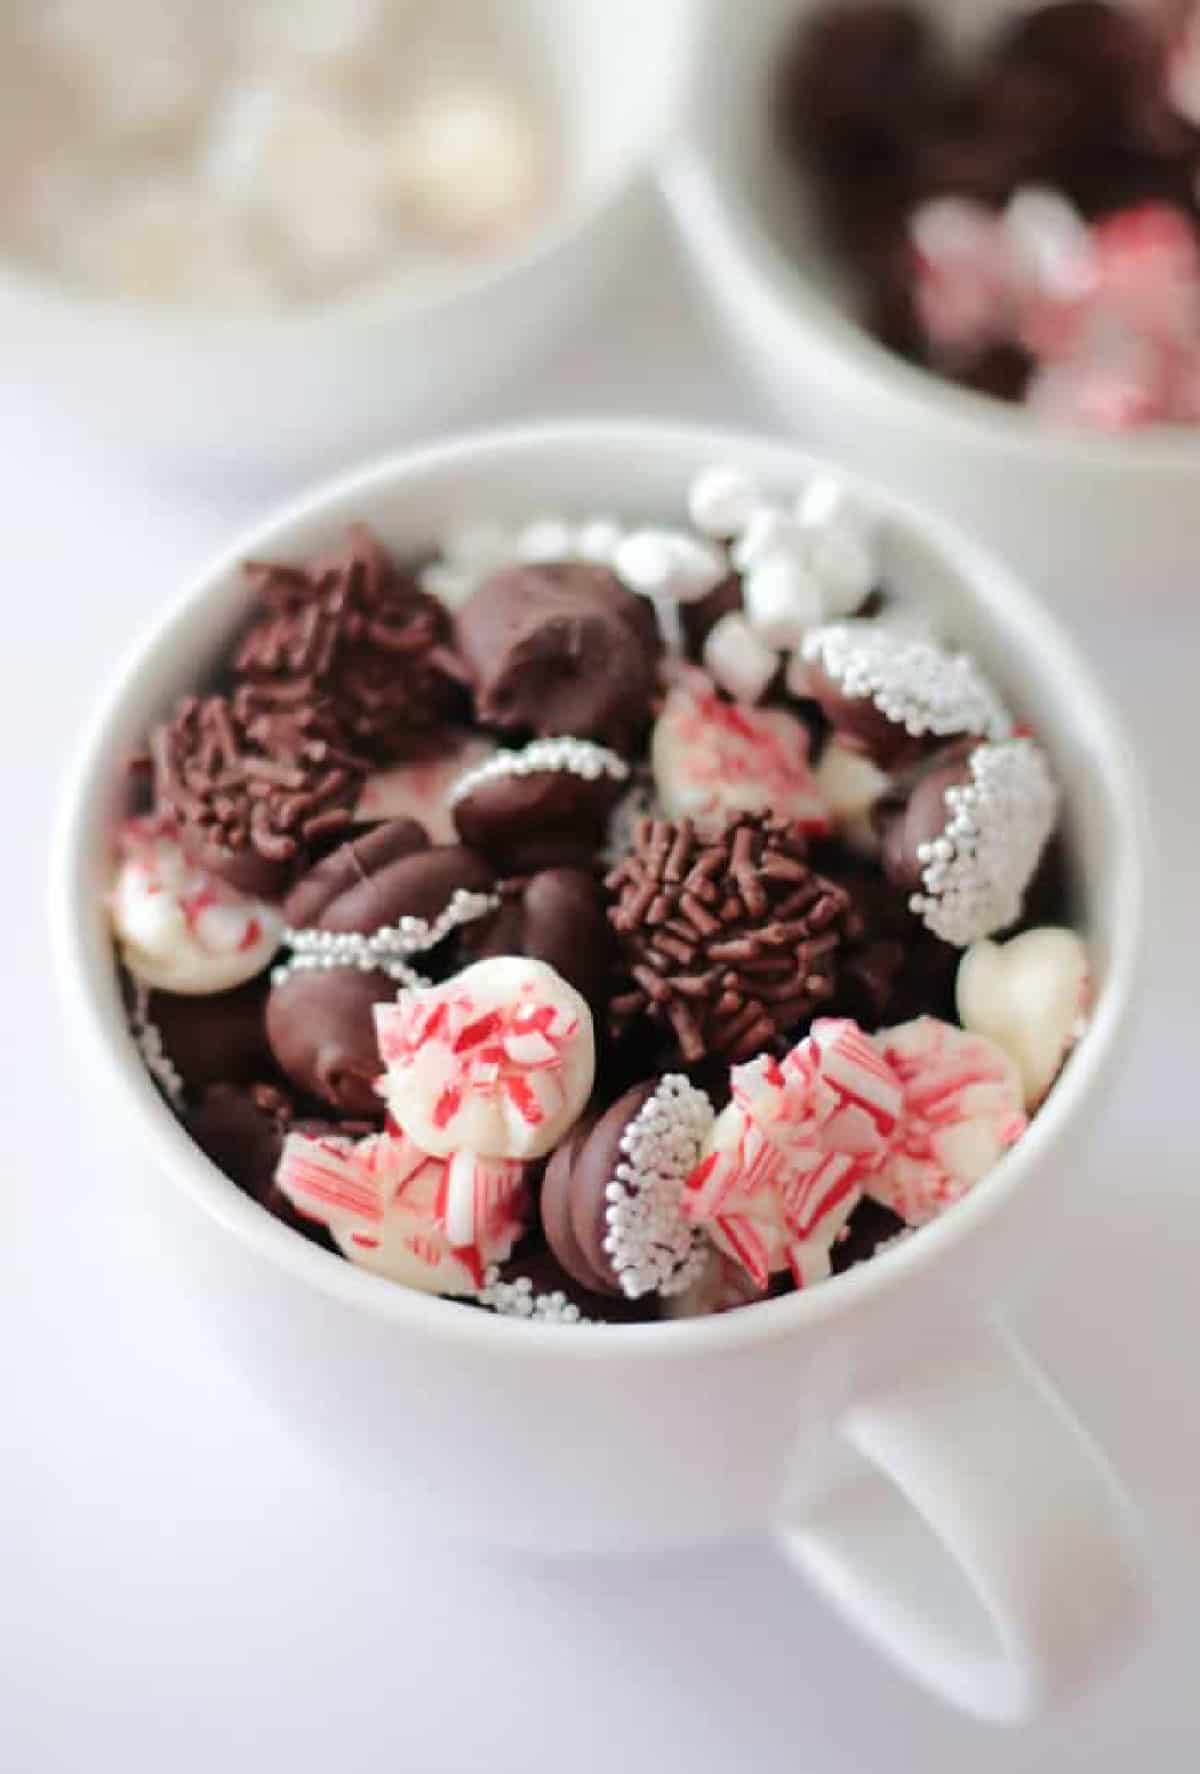
Have you ever had Sno Caps? They are basically melting chocolate wafers coated on one side with nonpareils (TINY sprinkles). Also known as nonpareils, these are a cute and chocolatey nostalgic treat.
Why I Like This Recipe
- Easy to make. The beauty of this recipe is that you don't need any candy-making skills. No thermometer, no special tools, no tempering. If you can melt chocolate in the microwave or a double boiler, you can make these!
- Easy to customize. Sno Caps are made with semisweet chocolate, but you can make this version with your favorite chocolate (white chocolate, milk chocolate, etc.)
- Long shelf life. These candies will stay fresh for months, depending on what you coat them in. Sprinkles will last for months, but mini marshmallows or crushed candy canes will soften after a week or so.
Jump to:
Tips and Tricks
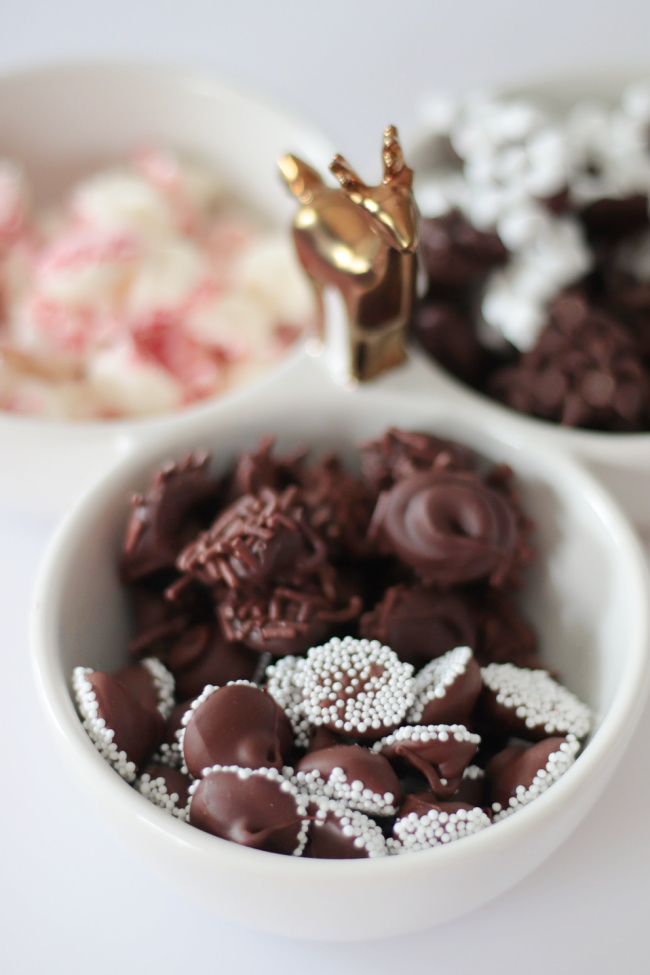
- Use in hot chocolate. These little drops of chocolate are delicious on their own, but you can also add them to hot chocolate. I filled a jar and set it next to our hot cocoa station. Add a few pieces of chocolate candy to a hot cup of cocoa for a boost of chocolate or peppermint flavor.
- How to melt chocolate. You can use chocolate chips or candy melts. When using candy melts, I microwave at 50% power in 30-second increments. When I use chocolate chips, I microwave at full power in 20-30 second increments.
- Crushed candy canes. Did you know that you can BUY crushed candy canes? I saw them at Walmart! It isn't hard to crush them up with a rolling pin, but having them unwrapped and pre-crushed definitely saves time.
Ingredients
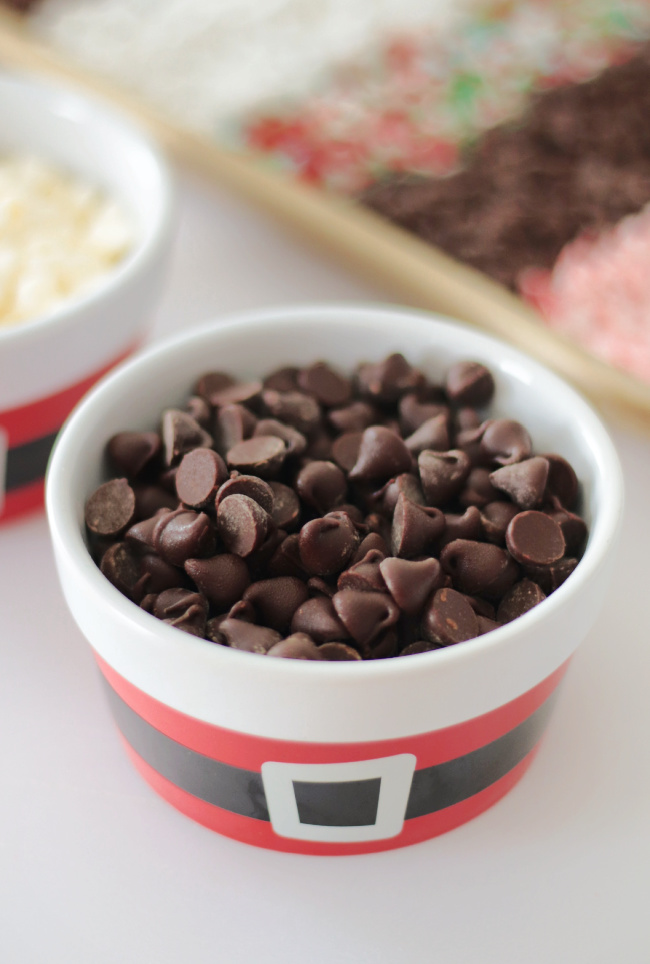
- Melted chocolate (I used melted chocolate chips, but chocolate wafers or melted chocolate bars work too). The amount of chocolate that you use is up to you. I didn't include measurements, but since you need to wait for the chocolate drops to harden before making the second batch, I recommend melting small amounts at a time (3-4 ounces) and then melting more as needed.
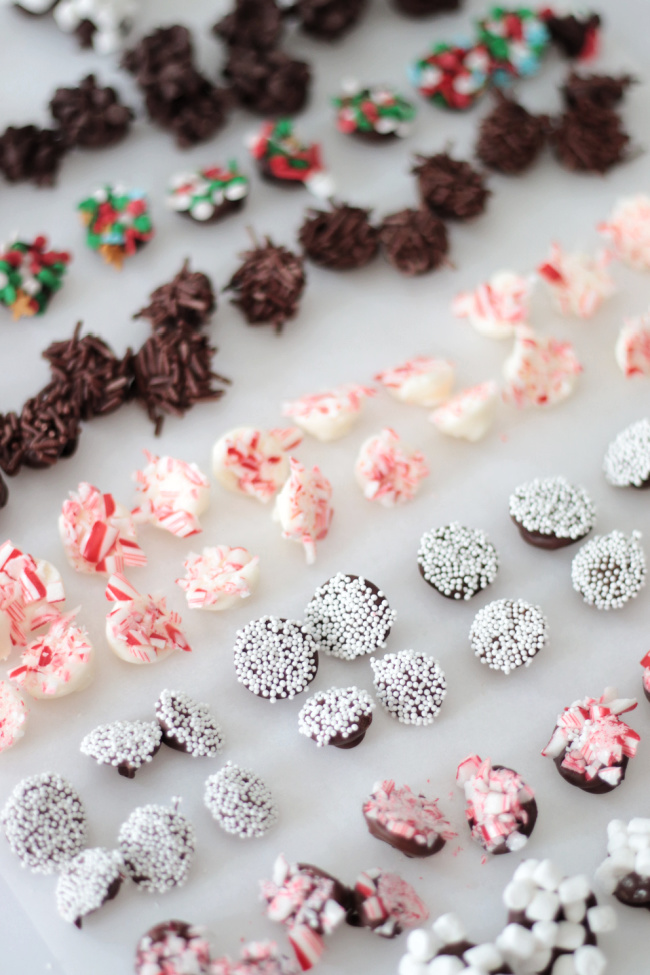
- Toppings: White nonpareils sprinkles are standard, but you can use any assortment of crushed candy canes, dehydrated mini marshmallows, nonpareils, chocolate sprinkles, mini chocolate chips, etc.
See the recipe card for full information on ingredients and quantities.
How To Make Chocolate Nonpareils Candy
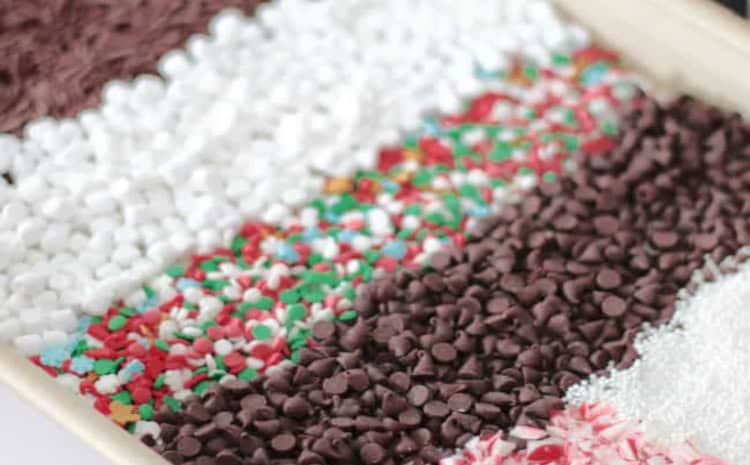
Step 1: Line a baking sheet with parchment paper, then cover the pan with rows of toppings.
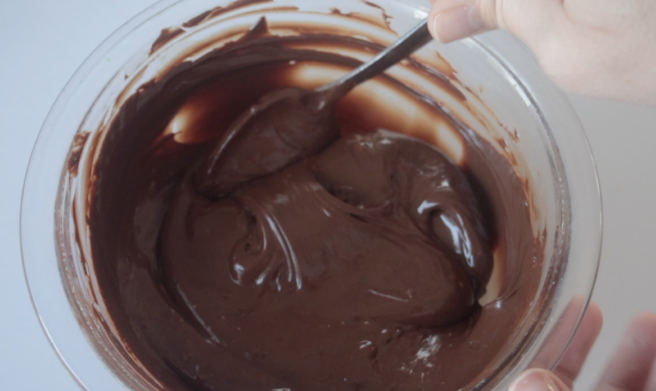
Step 2: Melt chocolate in a double boiler or microwave. When using candy melts, I microwave at 50% power in 30-second increments. When I use chocolate chips, I microwave at full power in 20-30 second increments.
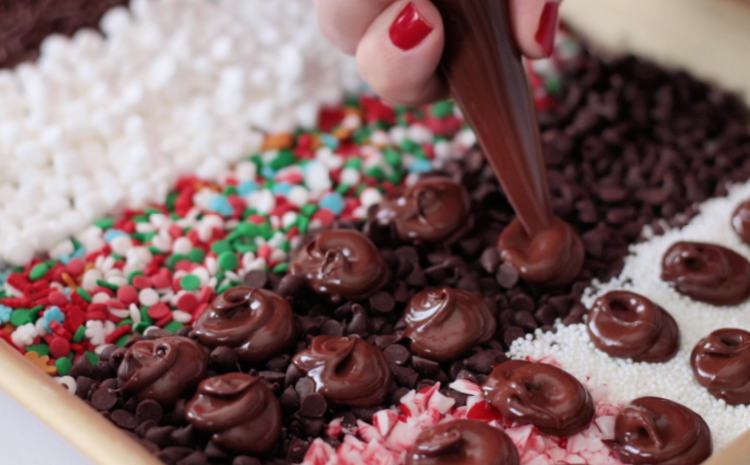
Step 3: Transfer the melted chocolate to a plastic pastry bag or ziplock baggie and pipe dime-sized dots of chocolate on top of the sprinkles and candy.
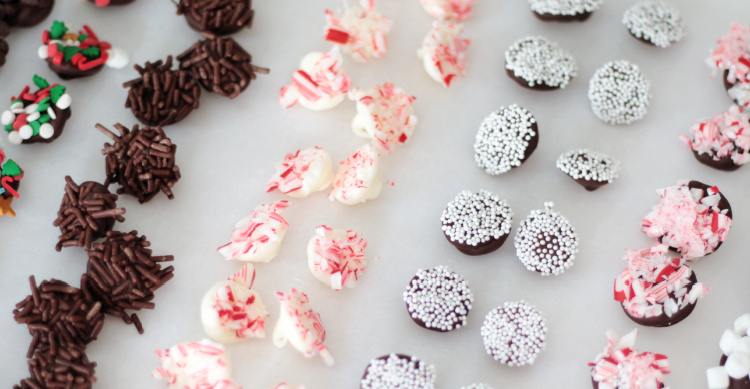
Step 4: Let the chocolate harden (placing the tray in the refrigerator speeds up this process). After the chocolate is set simply pull the chocolate candies off of the pan then pipe more drops of chocolate on the remaining sprinkles. Continue doing so until all the sprinkles and toppings have been used up.
Homemade nonpareils candy has a long shelf life. Store in an airtight container indefinitely. It seems like candy canes get a little sticky over time.
Nonpareils FAQS
Nonpareils are typically a chocolate or mint disc topped with nonpareil sugar sprinkles.
Homemade nonpareils candy has a long shelf life. Store in an airtight container indefinitely. It seems like candy canes get a little sticky over time.
More Candy Recipes To Make
MADE THIS RECIPE AND LOVED IT? 💛 Please leave a STAR rating and COMMENT below! Post it to Facebook or Pinterest to easily share with friends!

Chocolate Nonpareils Candy
Ingredients
- 1 cup chocolate chips, melting wafers or chocolate bars melted
- crushed candy canes
- nonpareils sprinkles
- mini chocolate chips
- mini dehydrated marshmallows
Instructions
- Line a baking sheet with parchment paper then cover the pan with rows of toppings.
- Melt chocolate in a double boiler or microwave.
- Note: When using candy melts I microwave at 50% power in 30-second increments. When I use chocolate chips I microwave a full power in 20-30 second increments.
- Transfer the melted chocolate to a plastic pastry bag or ziplock baggie and pipe dime-sized dots of chocolate on top of the sprinkles and candy.
- Let the chocolate harden (placing the tray in the refrigerator speeds up this process).
- After the chocolate is set pull the chocolate candies off of the pan then pipe more drops of chocolate on the remaining sprinkles. Continue doing so until all the sprinkles and toppings have been used up.


Leave a Reply