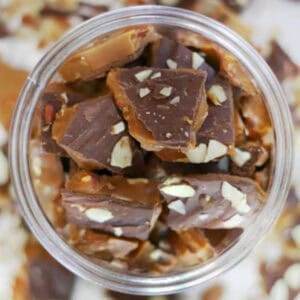
If you've ever felt intimidated by candy making, give this English toffee recipe a try. My recipe will help you get it right the first time with step-by-step instructions, photographs, and video. It's a family recipe that has been a holiday staple for over 35 years.
If you've tried making toffee and had the questions: "Why is my toffee soft?" or "Why won't my toffee turn brown?" you've come to the right place! I'll answer those questions and show you how to turn your next batch around in the right direction. You might also like our Churro toffee recipe or Take 5 toffee recipe.
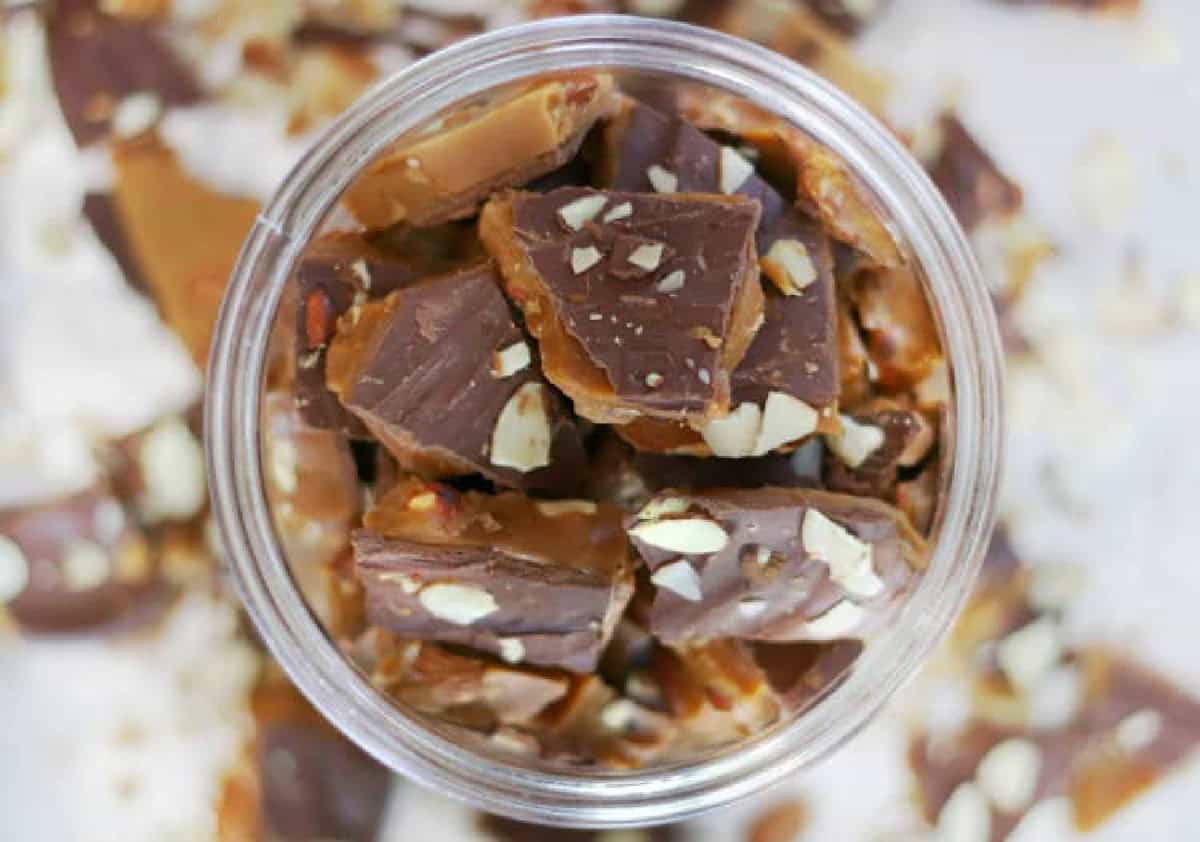
One of my FAVORITE holiday treats is this English toffee. My aunt made this for our family every year for Christmas, and I always looked forward to it! When I grew up and started my own family, I asked her for the recipe so that I could start making it for gifts.
My first batch was...gritty. Eww. And soft. I was SO bummed! When toffee is undercooked, it's not only soft and gritty, but it tastes bad, too. I wasn't going to give up. Making it is so much cheaper than buying it, so I tried again, and the second batch turned out great! I realized that I hadn't cooked it long enough. It's been smooth sailing ever since. I've made dozens and dozens of batches of toffee using this method, and it turns out perfect every time.
Why I Love This Recipe
- Easy to make. Toffee isn't hard to make and uses pretty basic ingredients! This method doesn't even require a candy thermometer.
- Simple ingredients. Sugar, butter, vanilla, and salt. That's the base of the recipe. Add nuts if you'd like, and don't forget to coat it in chocolate.
- Can be made in advance. If you bake for family and friends during the holidays, English toffee is a great treat to add to your lineup. You can make it days in advance since it stays fresh for a week at room temperature, which is considerably longer than most baked goods.
What People Are Saying
I had never made toffee prior to finding your recipe last Christmas. I have since made it seven or eight times and it has been perfect every single time. I just made the first of this season’s batches on a different stove and it was still perfect! Thank you so much for sharing this recipe!
Just made my first batch of your toffee and it came out pretty much exactly like you said it would! Your very clear instructions made it a breeze, and I’ll now be making several more batches to give as Christmas presents.
My first batch was the aforementioned disaster. But I just made my second, and it is beautiful and perfect!
Jump to:
Tips and Tricks for Perfect Engligh Toffee
- Do not double the recipe. My aunt told me it is better to make this toffee in single batches so that is what I have always done.
- Use a wooden spoon. Metal spoons will heat up as the mixture heats up. A good old-fashioned wooden spoon or silicone spatula works well, as they do not conduct heat.
- Use a clean, dry pan for each new batch.
- Cook over high-medium/high heat. Don't be afraid to crank the heat up once the mixture begins to simmer. This is NOT a low and slow recipe. It's HIGH and fast.
- 5 minutes is a guide. By all means, if after 5 minutes your toffee still isn't the color of a brown bag, keep it on the stove for another minute or so. Every stove cooks differently. The 5-minute timer is a guide.
Ingredients
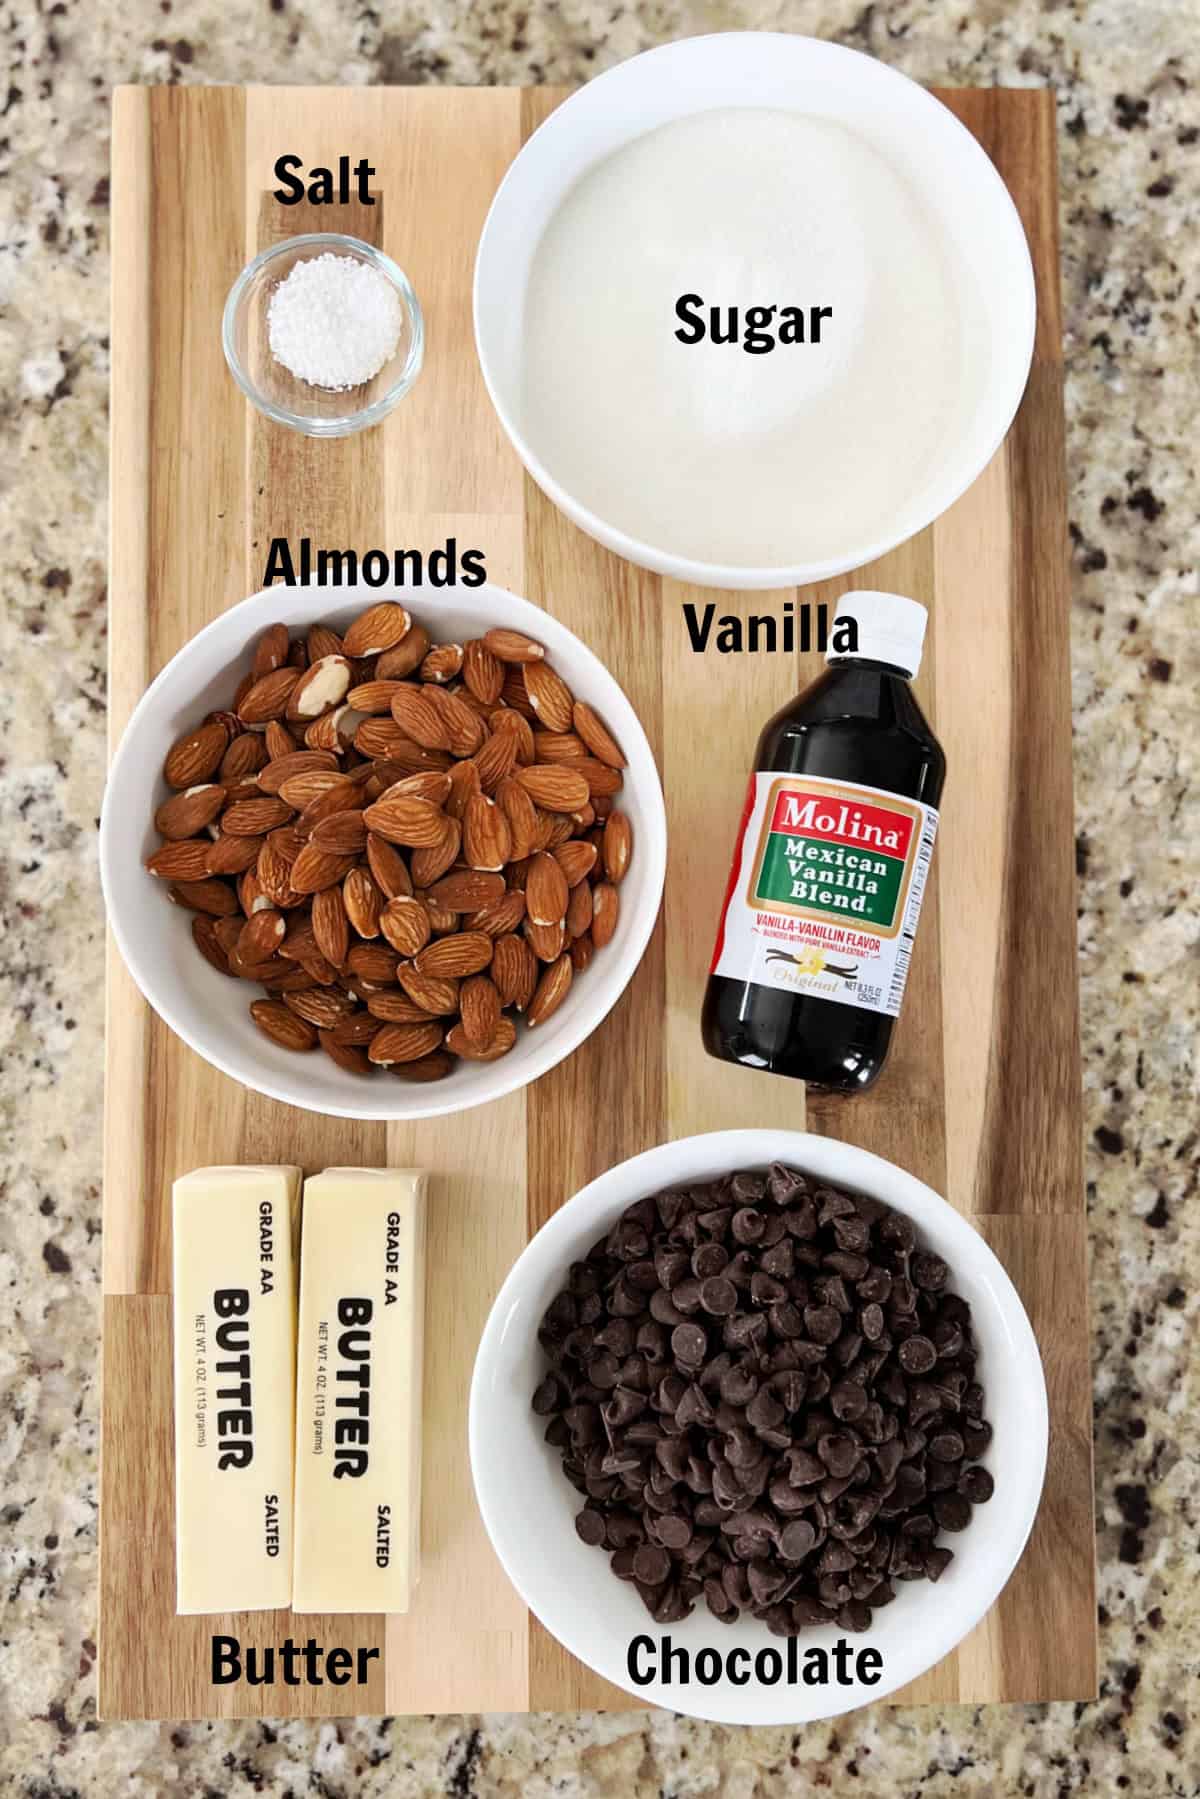
- Butter: Use salted butter and DO NOT use margarine.
- Sugar
- Vanilla
- Salt
- Almonds: I like using whole almonds in the toffee and sliced almonds on top, pecans or walnuts would be delicious too.
- Chocolate: The toffee is coated in melted chocolate. Use chocolate chips or melting wafers.
See the recipe card for full information on ingredients and quantities.
How To Make English Toffee
Before you dive into our English toffee recipe and make your first batch, be sure to read through my entire post and the helpful tips at the end! You can also watch the video in the recipe card or check out my Instagram highlight videos titled “Toffee” where I make a batch in real time.
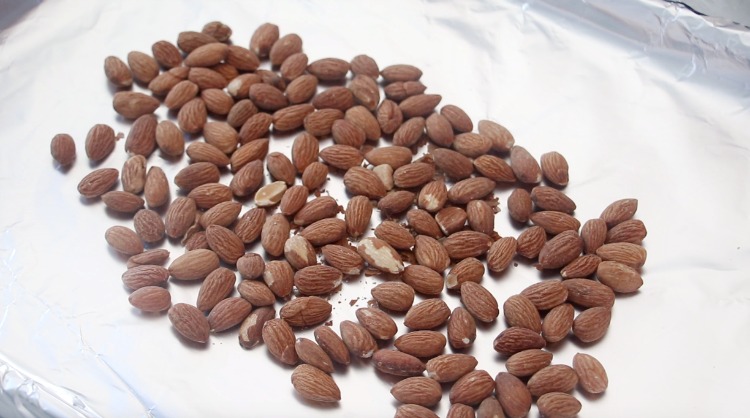
Step 1: Line a baking sheet with foil. If you'd like almonds inside the toffee, not just on the top, toss a handful of sliced or whole almonds onto the baking sheet (about 1 cup). You can also use walnuts, pecans, mixed nuts, or just leave the nuts out all together.
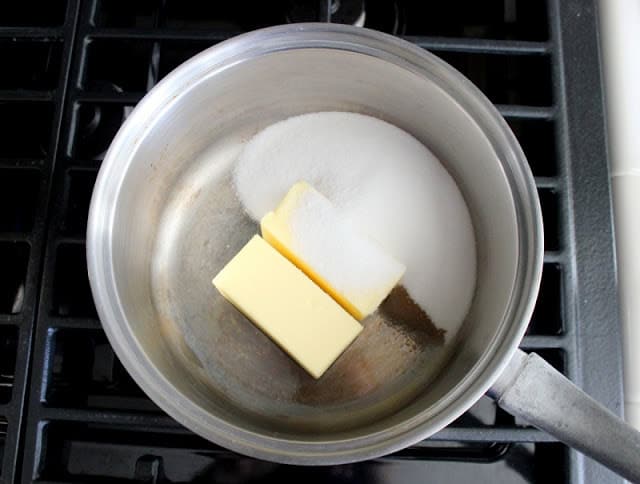
Step 2: Heat butter, sugar, vanilla, and salt in a heavy saucepan on medium heat until the butter is melted. Turn the temperature up to medium HIGH and stir constantly until the mixture comes to a boil.
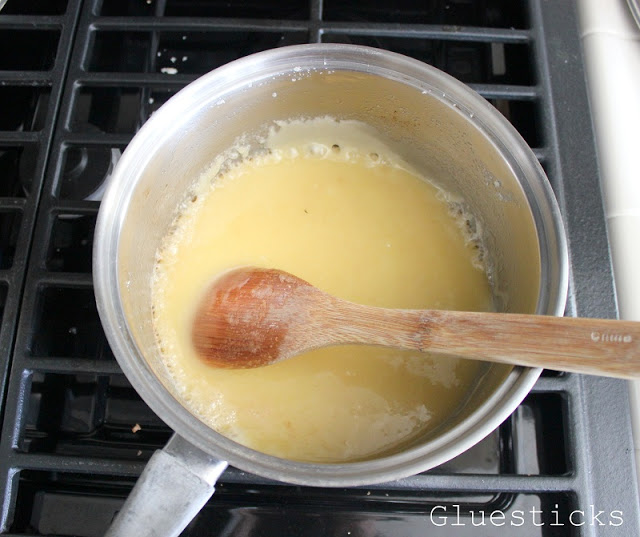
Step 3: Set your timer for 5 minutes and DO NOT let ANYTHING disturb you while you stir. The photo above is what it looks like after stirring for two minutes.
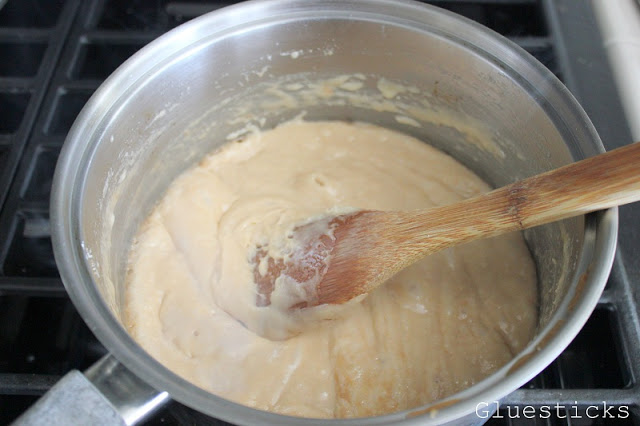
Step 4: Keep stirring. After 4 minutes, it has lost its yellow color and is turning brown. It is also looking frothy. But it is not done until it has turned the color of a brown paper bag. It may look done, and you may think it is burning, but keep stirring until your timer goes off. It may even smoke a tiny bit, and that is ok. If you are really concerned, lift your pan off the burner (while you are still stirring) to remove it from the heat, but still stir until your timer goes off.
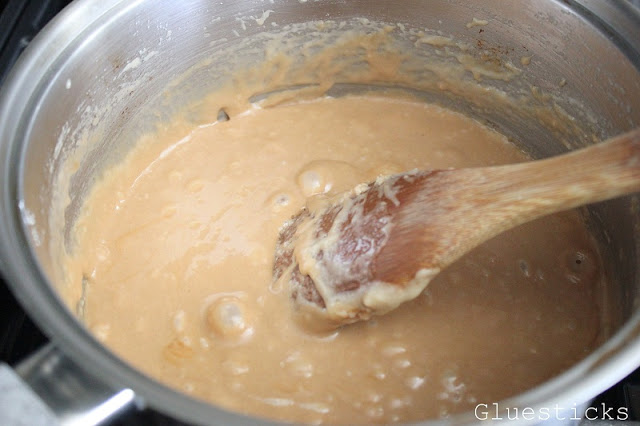
Step 5: After 5 minutes it should be nice and BROWN. There is a definite difference between 4 and 5 minutes of cooking. That extra minute makes all the difference in the texture. Remove from heat.
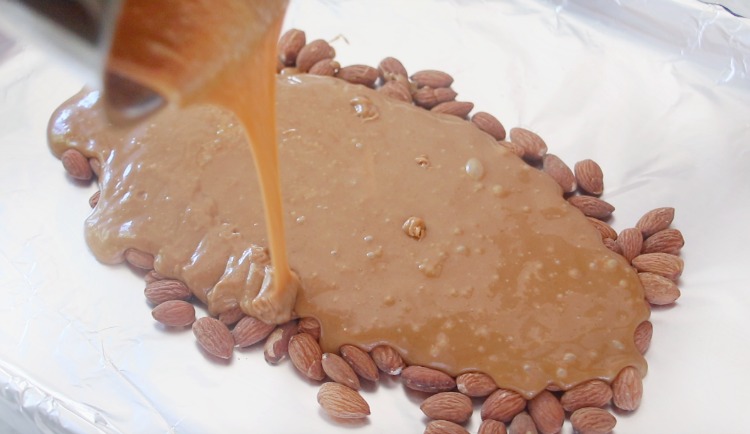
Step 6: Immediately pour hot toffee onto your foil-lined baking sheet. If you added nuts to your baking sheet, pour the toffee over the nuts. Do not scrape the bottom of the pan. As you pour, the bottom will brown, and you don't want that in your toffee.
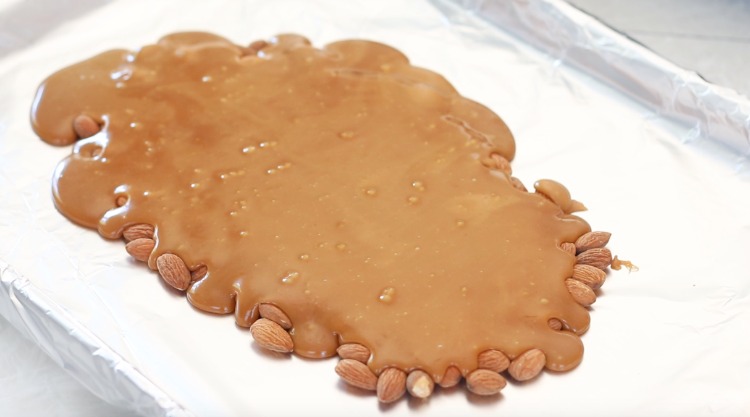
Step 7: Let cool. It should harden within a couple of minutes.
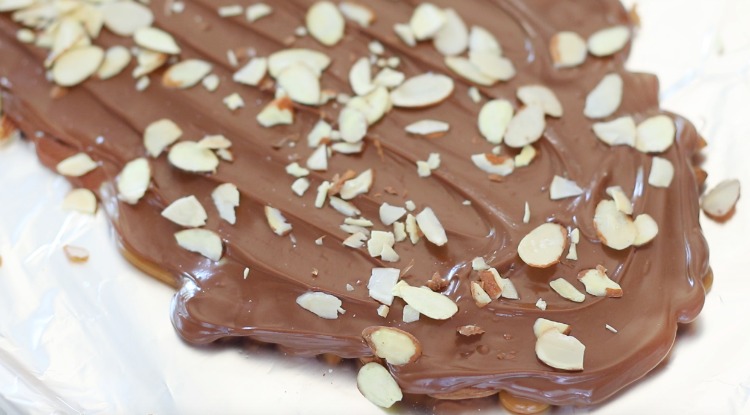
Step 8: Spread melted chocolate over the toffee with a small spatula or butter knife. Sprinkle with additional nuts, if desired.
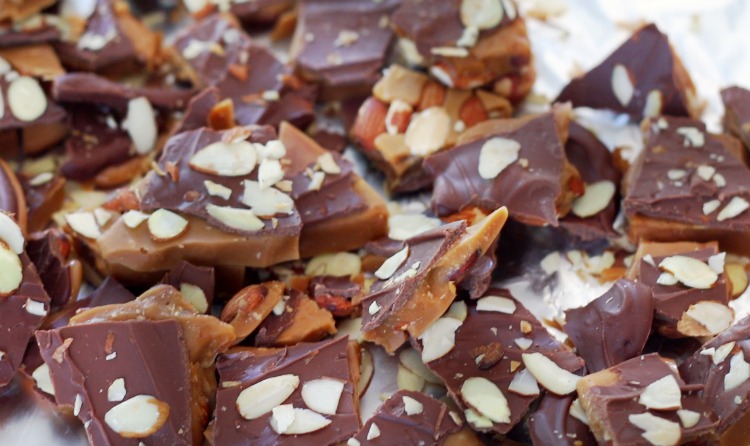
Step 9: Once the chocolate hardens, break the toffee into small pieces. Store in an airtight container indefinitely.
And that is it! No temps, no candy thermometer, no special tools required. JUST HEAT, and lots of it.
English Toffee FAQs
Do you like Skor Bars, Heath Bars or Almond Roca? If so, you'll love our English toffee recipe. It is SO MUCH BETTER than any of those! English toffee is made from sugar and butter and heated to the hard crack stage for a crunchy, buttery candy. I've heard that traditional English toffee isn't made with nuts, but we won't even go there. Toffee simply isn't the same without almonds. Many versions only sprinkle nuts on top of the chocolate, but mine has whole almonds in the toffee too. Of course, if you aren't a fan of nuts, you can leave them out.
No. English toffee must be made with butter. Butter is a key ingredient in any caramel or toffee recipe.
There are a couple of things that could be happening. 1: Your heat might not be high enough. 2: I haven't ever experienced this, but I have heard that if you use SALTED butter that it is better for toffee making. I only buy salted butter so maybe that's why I've never had my toffee separate. You also need to make sure that you are CONSTANTLY stirring the mixture.
It will turn brown if the heat is medium-high and you cook it for 5-6 minutes. Crank up that heat, don't let it simmer on low. It will start out yellow, then become light brown, then finally the right brown paper brown that you are looking for. Just keep stirring and cooking!
If your toffee doesn't have a hard texture (where you can snap it in half) you did not cook it long enough. Again, the 5-minutes is just a guide. Cook it until it is the color of a brown bag.
Toffee should be a combination of sweet and salty. A mixture of butter and caramel has a nice snap when broken into pieces. If your toffee is soft or gritty or tastes bitter, see the tips above for troubleshooting.
Toffee can be frozen up to 2 months. It also lasts quite awhile at room temperature if stored in a container.
Fill your pan with hot water and set it aside. It will start dissolving the toffee left inside and make it easier to clean.
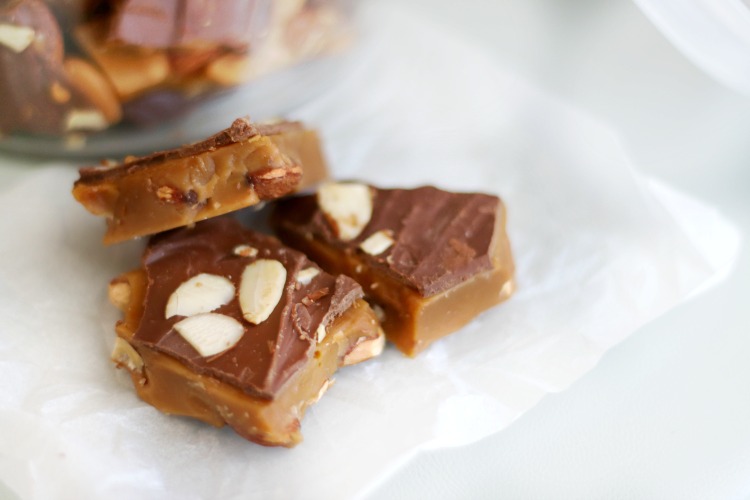
More Candy Recipes To Make
MADE THIS RECIPE AND LOVED IT? 💛 Please leave a STAR rating and COMMENT below! Post it to Facebook or Pinterest to easily share with friends!
English Toffee Recipe
Equipment
- baking sheet
- foil
- sturdy pan
- wooden spoon
- measuring cup
- measuring spoons
- spatula
Ingredients
- 1 cup butter (salted) DO NOT USE MARGARINE
- 1 cup sugar
- ½ teaspoon vanilla
- pinch salt
- 1 cup almonds
- 1 cup chocolate chips or melting chocolate
Instructions
- Line a baking sheet with foil. If you'd like to have nuts in your toffee, toss a handful of almonds onto the baking sheet. Set aside.
- Heat all of your ingredients (except for the nuts and chocolate) in a nice sturdy saucepan on med heat until butter is melted. Turn temp up to medium high and stir constantly until mixture comes to a boil.
- Set your timer for 5 minutes and DO NOT let ANYTHING disturb you while you stir. You must keep stirring your butter/sugar mixture so that it does not burn. And you must use a WOODEN spoon.
- Keep stirring until your timer goes off. It may even smoke a tiny bit and that is ok. If you are really concerned, lift the pan off of the burner (while you are still stirring) to remove it from the heat, but still stir until your timer goes off.
- Immediately pour hot toffee onto your foil-lined baking sheet. If you added nuts to your baking sheet, pour the toffee over the nuts.
- The toffee will be about ¼-1/2" thick. Do not scrape the bottom of the pan. As you pour, the bottom will brown and you don’t want that in your toffee.
- Fill your pan with hot water and set it aside. It will start dissolving the toffee left inside and make it easier to clean.
- Let cool. It should harden within a couple of minutes.
- Melt Ghirardelli bricks or wafers, Wilton melting chocolate, chocolate chips, or any other variety of melting chocolate in the microwave at 30-second intervals until smooth.
- Spread across your toffee with a small spatula or butter knife. I use about 2 Ghirardelli bricks per batch. If you melt too much that’s ok, it will harden again and you can just microwave it again another time for another use.
- Sprinkle with sliced almonds, if desired, while the chocolate is still soft. After it has set up, break toffee into pieces.
Notes
- Do NOT double the recipe
- You must use a WOODEN spoon
- Use a clean, dry pan for each new batch.
- Cook over high- medium/high. (My stove is gas and tends to cook really hot, really fast. So I usually drop the heat to medium for my toffee, but in years past when I had an electric flat top stove, med-high worked best.)
- The 5 minute cook time is just a guide. If you hit 5 minutes and your toffee still isn't the color of a brown paper bag, add an extra minute. Cook times vary on each stove.
Nutrition
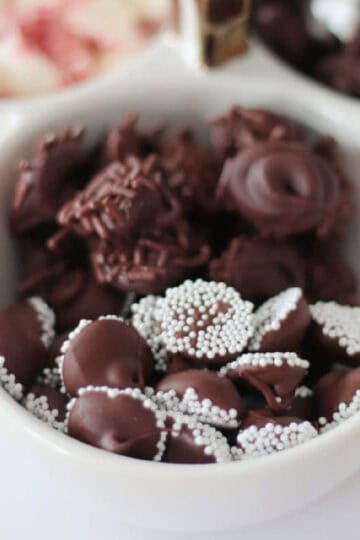
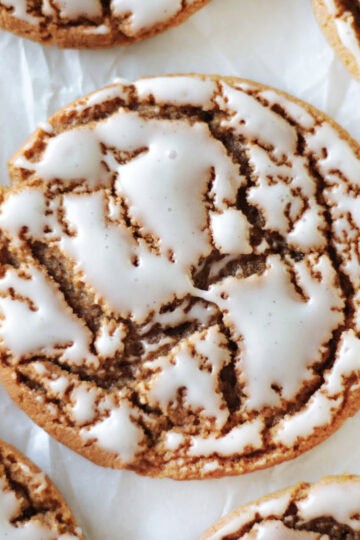
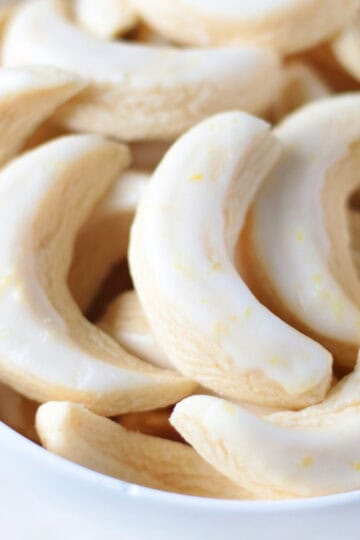
Here is a collection of holiday candy recipes to try from Taste of Home.




Amy says
I hope that these are as perfect as you say. I can't wait to try them. Thanks for sharing at Link Party Palooza.
Miz Helen says
Toffee is one of my all time favorites, and this is a fantastic tutorial! Hope you have a fantastic weekend and thanks so much for sharing with us at Full Plate Thursday!
Miz Helen
1010parkplace says
This actually looks doable! Thanks for the step-by-step and the photos. I may have to give it a try this weekend. I'm not as intimidated as I have been. Thank you & Merry Christmas, Brenda
Amanda Kolb says
I love toffee and making it really is pretty easy! I learned the hard way why you should use a wooden spoon, as the first time I made some I used plastic and it melted. Oops! I won't be doing that again! Thank you for sharing your recipe and tips at Merry Monday!
Mother of 3 says
That looks so yummy! Pinned.
Brenda says
I just made my "perfect" batch, which I was so proud of this Year. I have learned a few pointers on here, of what and what not to do, and this is not a fast process, but it will turn out good, if you are patient.
Leanna says
Awesome tutorial for making candy. I noticed where you inspired a 12 year old to make toffee for her friends. That is the best kind of compliment.
Great work this candy looks delicious.
Brandy says
Thank you, Leanna! That was probably to date, the best compliment that I've received. When she e-mailed me photos of all the different batches she made and the toppings she used on her chocolate. I never would have been able to do that at 12 years old, so her perseverance was awesome!
Brenda Beshears says
I agree, ONLY a wooden spoon works, or that is how it worked for me. I did use the metal spoon, and believe it or not, turning my heat up/down, doing this almost "6" times, yes, but I finally got it, and was so happy, but it took patience for me, and I finally GOT IT!
Patty says
I use a small stainless wire whisk for stirring and never have had an issue. I have seen the "wooden spoon only" rule in lots of places but I find the butter separates from the sugar if I use only the wooden spoon. I also use brown sugar in my recipe. Everyone seems to love it anyway!
Brandy says
Whisk? I'll have to try that! I've just gone with what my aunt said, and brown sugar sounds good too!
hmcrabtree says
I have followed the recipe exactly and stirred for over 15 minutes constantly. I never did get the brown color, it stayed the same color the entire time. Having a rough time finding the cause of this. My stove is electric, had it on medium entire time. Anyone know why it would stay the same light color even after a good 15 minutes or so of cooking/stirring?
Brandy says
Hi! That's very strange. I cook mine on med-high/high heat. I'm wondering if it never got hot enough to change color? I would crank the heat next time and see if that helps! Every stove is different, but I think med-high (just under high) would work.
hmcrabtree says
Guess what? I couldn't stand it anymore so I made a second batch. It still took 15 min of stirring but it turned out awesome! The differences? I used a wood spoon, I added more salt since my butter sticks were unsalted, I added a tbsp of half and half, and what's more, I turned UP the heat a bit. I was so paranoid about making the heat too high I think I had it too low. I saw the other range of temperature so I let it actually low boil and just kept stirring while a low boil, finally it turned brown! It is cooling now but it is already hardening. The chocolate however is still "tacky." What I tried off of the spoon after hardening tasted like a Heath bar. Very good! I guess the heat has to be just perfect.
Brandy says
Yay! So glad to hear that!
Brenda says
Well last year, I had a lot of problems (about 6 batches before I got it to turn out like it should), but finally got them worked out. You do need to use BUTTER, not margarine, and the color can make a difference too, so you have to watch it closely too when it boils. I was trying to use a candy thermometer, but that didn't work either.
Randy says
Hi,
I looked over your recipe, I assume you don't use a thermometer, only going by time of 5 minutes flat of boiling on Med/hi heat but with a gas stove. Gas is a constant heat so that causes me a problem and was my earlier thought after my first batch. I've noticed on the thermometer that the temp fluctuates a few degees as the burner keeps switching on and off, probably half the problem with cooking time. Definitely will try the wooden spoon. Your photos show 1 stick butter and looks like 1/2c sugar. I've always melted the butter and then added the sugar, is that a No No?
Brandy says
I don't use a thermometer. I go by the 5 minute cook time and how the toffee looks. Both when using the electric stove at our old house and our gas stove here. The photo shows 2 sticks of butter and 1 cup of sugar. The butter melts as it heats so you can add the sugar all at once or after it begins to melt. It's up to you.
Randy says
Thanks but that don't help me much. Cooking time doesn't mean anything if they have a reason for using a thermometer and times could vary if it needs to get to 300 or 310 degrees. Maybe I just need to cook until it starts to smoke, like it says somewhere in this post. My other questions weren't answered.
Randy says
!st batch was 2c white sugar and 4 sticks butter cooked on Medium (7 on a flat top electric stove) took about 45 minutes before reaching 285. It had good taste and was easy to bite off a piece but it sticks to the teeth and is a bit too hard so I threw it out. 2ns batch was 2 sticks butter, 1 3/4c white sugar, 1c of heavy cream and 1 tsp vanilla. cooked same way, 45 min up to 300 degrees. This was surprisingly edible and tasty, it stayed firm but very soft to eat, not chewy at all. I really like it. 3rd batch I figured I'd changed the flavor of the 2nd. Used 2 sticks butter, 1c white sugar, 1c light brown sugar, 1c heavy cream but forgot the vanilla but added corn syrup. Stirred every 5 minutes cooking for 45 min til it hit 300, this time with my new digital thermometer. Good taste but turned out exactly like 1st batch. Not gonna eat it and chance loosing fillings. So....is a couple Tablespoons of water of much importance? What seems to be going wrong? Apparently 1st batch at 285 degrees was not different than the 3rd batch at 300 so should I take it up to 310? Do I need to stir more often or constantly for 45 minutes? I used a whisk for stirring. Last 2 times I used a new 2qt ceramic sauce pan which I really like for cleanup later. Each time I used same brand butter and cream. I obviously am missing the delcate touch at some point. At this time my only guess is with the vanilla in the 2nd batch. I've read about using baking soda, does this do anything? I didn't believe in using the water because I read that the moisture needs to cook out before mixture caramelizes which causes the temp to rise so I didn't see any point adding the water. I'm gonna try the second batch again this weekend unless you have the magic touch I am missing. It's a waste of money trying these recipes if I have to throw them out. Amish make candy all the time, even bought their cashew crunch which is way awesome. Maybe I'll have to talk to them? Hope you can help. Thanks
Brandy says
Hi Randy! I haven't ever tried to switch up the recipe. I've been making this one (My aunt's recipe that is in the post) for 10 years and have had great results! It's tricky trying to adjust cooking times with butter and sugar, etc. I just go by the tips and tricks she shared with me like making sure to not double the recipe, only using butter (not margarine), watching the cooking time, etc. I've only used baking soda when I make caramel popcorn. You add a tsp. at the very end of the process before pouring over the popcorn. Here are the ingredients and measurements I use:
1 c. butter
1 c. sugar
1/2 tsp. vanilla
pinch of salt
almonds
The cooking time and other directions are listed in this post. It can definitely be frustrating to throw out a batch and waste those delicious ingredients. Good luck!
shopatblu says
Boy those look good! Wish I had some right now!
Randy says
Hi, I've tried this 3 times and only one was edible. I would like to ask questions and tell you what I did if you could please reply. Thanks
Brandy says
Sure! What happened?
Brenda Beshears says
Thanks. I'll see what happens when I try again. I guess I was just wondering if I try to press it down that would make it thinner, or just let it run on its own?
Brandy says
I've never tried pressing it down. I just let it run on its own and pour it across the pan instead of directly in the center.