
This English toffee recipe has been a Christmas tradition in my family for more than 35 years. It's buttery, crisp, coated in chocolate and almonds, and has the perfect snap every time. Best of all, you don't need a candy thermometer—just a few simple ingredients and a handful of techniques that make all the difference.
If you've ever wondered, "Why is my toffee soft?" or "Why did my butter separate?" you're in the right place. After making this recipe for more than 25 years, I've learned exactly what causes those problems and how to avoid them.
You might also like my Homemade Toffee Recipes collection, where I use this same English toffee recipe to make Almond Roca, Christmas Crack, Disneyland-inspired Churro Toffee, and Take 5 Toffee.
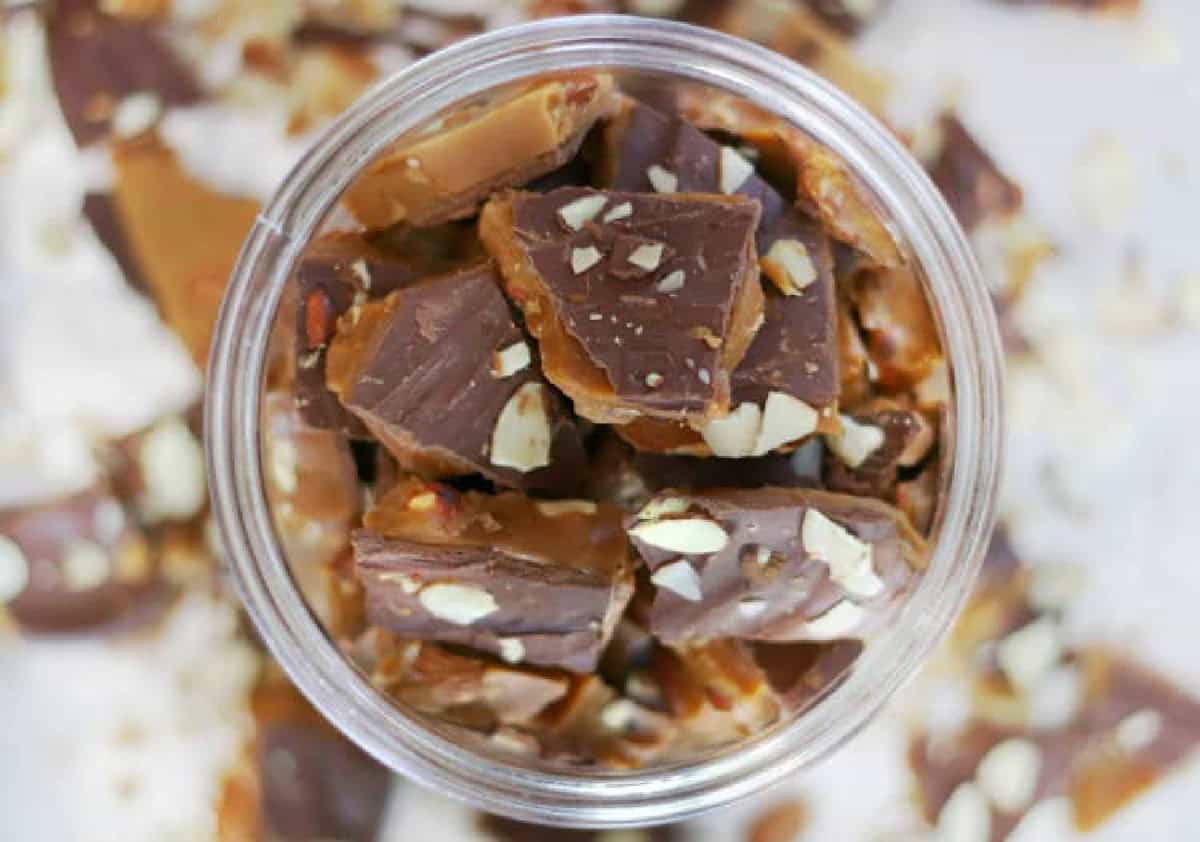
What Makes This English Toffee Recipe Different?
This isn't just another English toffee recipe pulled from the internet. It's the exact recipe my aunt has been making for more than 40 years, and after making it every Christmas for the past 25 years, I've learned exactly what works—and what causes toffee to fail.
My first batch was...gritty. Eww. And soft. I was SO bummed! When toffee is undercooked, it's not only soft and gritty, but it tastes bad, too. I wasn't going to give up. Making it is so much cheaper than buying it, so I tried again, and the second batch turned out great! I realized that I hadn't cooked it long enough. It's been smooth sailing ever since.
The technique has been refined through decades of holiday candy making, and once you learn it, you'll be able to make perfect homemade toffee year after year.
Why You'll Love This Recipe
- No candy thermometer required. I'll show you exactly what the candy should look like so you know when it's done.
- Family-tested for decades. This recipe has been made every Christmas for more than 35 years.
- Simple pantry ingredients. Butter, sugar, vanilla, salt, chocolate, and almonds are all you need.
- Perfect for holiday gifts. English toffee stays fresh longer than most cookies, making it ideal for Christmas tins and cookie trays.
- One recipe, endless possibilities. This same recipe is the foundation for my Christmas Crack, Churro Toffee, and Take 5 Toffee.
What People Are Saying
I had never made toffee prior to finding your recipe last Christmas. I have since made it seven or eight times and it has been perfect every single time. I just made the first of this season’s batches on a different stove and it was still perfect! Thank you so much for sharing this recipe!
Just made my first batch of your toffee and it came out pretty much exactly like you said it would! Your very clear instructions made it a breeze, and I’ll now be making several more batches to give as Christmas presents.
My first batch was the aforementioned disaster. But I just made my second, and it is beautiful and perfect!
Jump to:
My Best Tips for Perfect English Toffee
- Do not double the recipe. My aunt told me it is better to make this toffee in single batches so that is what I have always done.
- Use a wooden spoon. Metal spoons will heat up as the mixture heats up. A good old-fashioned wooden spoon or silicone spatula works well, as they do not conduct heat.
- Use a clean, dry pan for each new batch.
- Cook at medium-high heat. Don't be afraid to crank the heat up once the mixture begins to simmer. This is not a low-and-slow recipe. It's HIGH and fast. On my stove, I cook it at a 6 or 7 out of 10 (medium-high).
- 5 minutes is a guide. By all means, if after 5 minutes your toffee still isn't the color of a brown bag, keep it on the stove for another minute or so. Every stove cooks differently. The 5-minute timer is a guide.
Ingredients
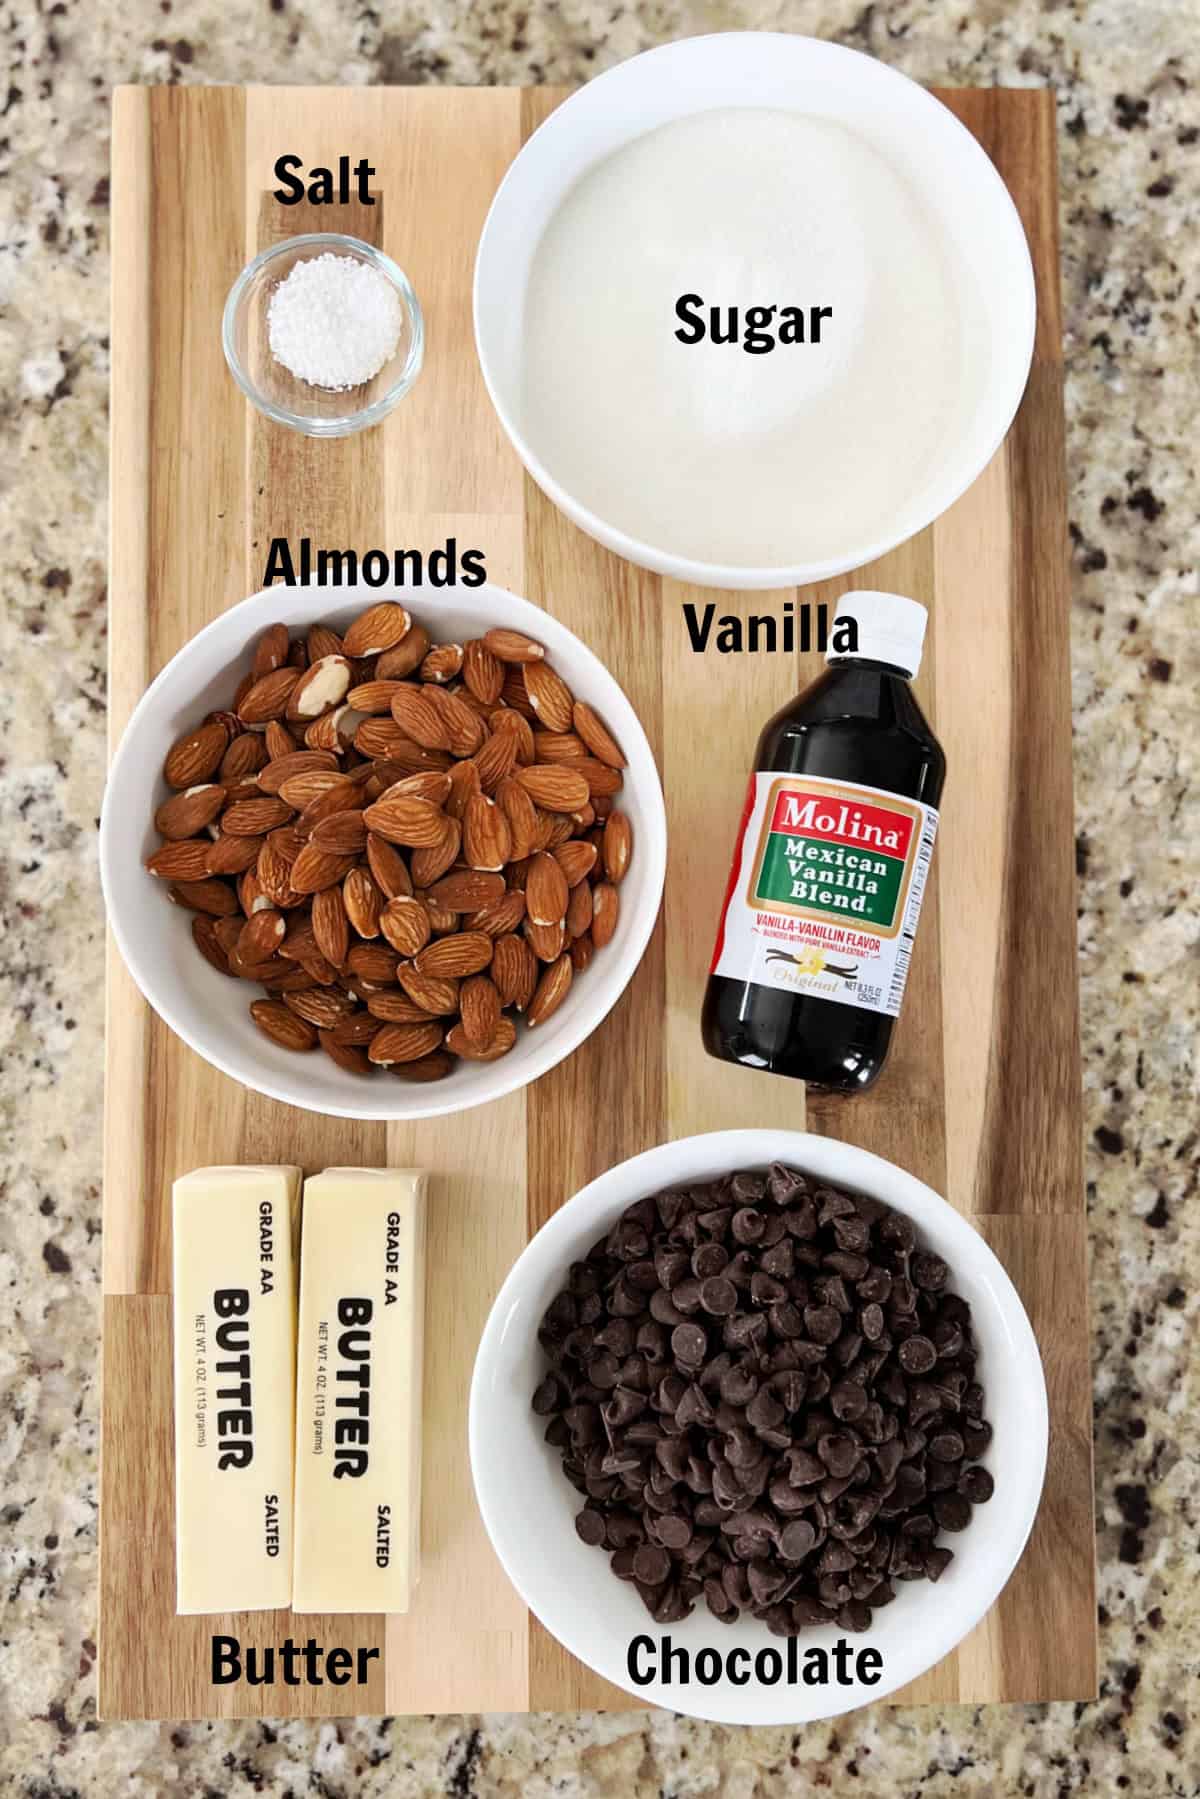
- Butter: Use salted butter for the best results. I don't recommend margarine because butter creates the rich flavor and proper texture that English toffee is known for.
- Granulated Sugar: Sugar caramelizes as it cooks, creating the crisp, buttery candy.
- Vanilla Extract: Vanilla adds warmth and rounds out the caramel flavor.
- Salt: A small amount balances the sweetness and enhances the buttery flavor.
- Almonds: I love using whole almonds inside the toffee and sliced almonds on top, but pecans, walnuts, or no nuts at all also work.
- Chocolate: Semi-sweet chocolate chips melt beautifully over the hot toffee, but milk chocolate, dark chocolate, or chocolate melting wafers all work well.
See the recipe card for full information on ingredients and quantities.
How To Make English Toffee
Before you dive into our English toffee recipe and make your first batch, be sure to read through my entire post and the helpful tips at the end! You can also watch the video in the recipe card or check out my Instagram highlight videos titled “Toffee” where I make a batch in real time.
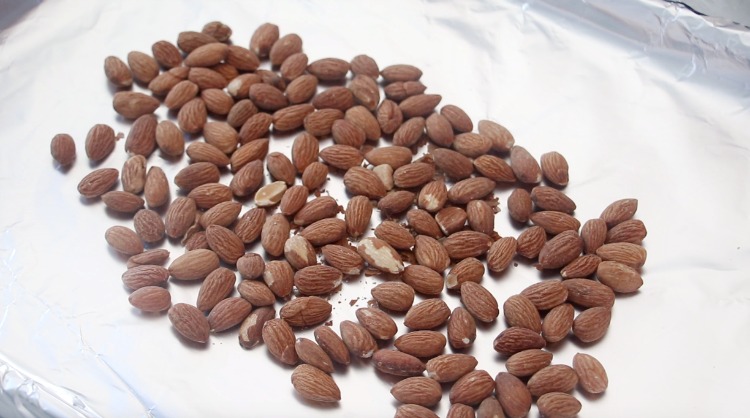
Step 1: Line a baking sheet with foil. If you'd like almonds inside the toffee, not just on the top, toss a handful of sliced or whole almonds onto the baking sheet (about 1 cup). You can also use walnuts, pecans, mixed nuts, or just leave the nuts out all together.
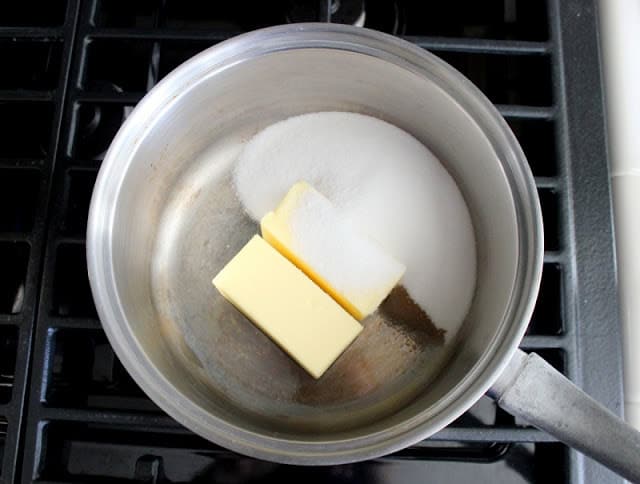
Step 2: Heat butter, sugar, vanilla, and salt in a heavy saucepan on medium heat until the butter is melted. Turn the temperature up to medium HIGH and stir constantly until the mixture comes to a boil.
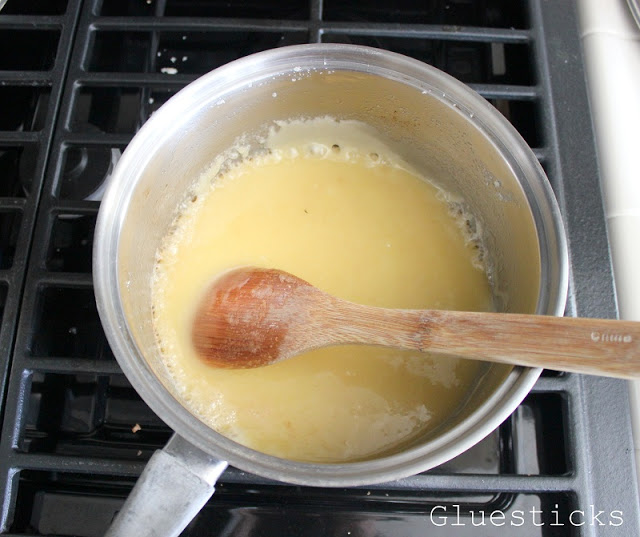
Step 3: Set your timer for 5 minutes and DO NOT let ANYTHING disturb you while you stir. The photo above is what it looks like after stirring for two minutes.
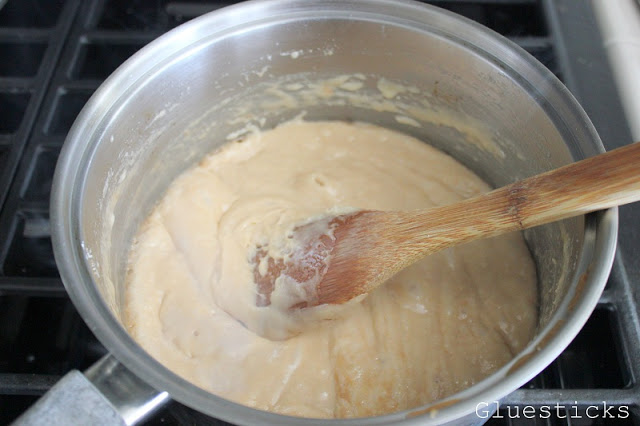
Step 4: Keep stirring. After 4 minutes, it has lost its yellow color and is turning brown. It is also looking frothy. But it is not done until it has turned the color of a brown paper bag. It may look done, and you may think it is burning, but keep stirring until your timer goes off. It may even smoke a tiny bit, and that is ok. If you are really concerned, lift your pan off the burner (while you are still stirring) to remove it from the heat, but still stir until your timer goes off.
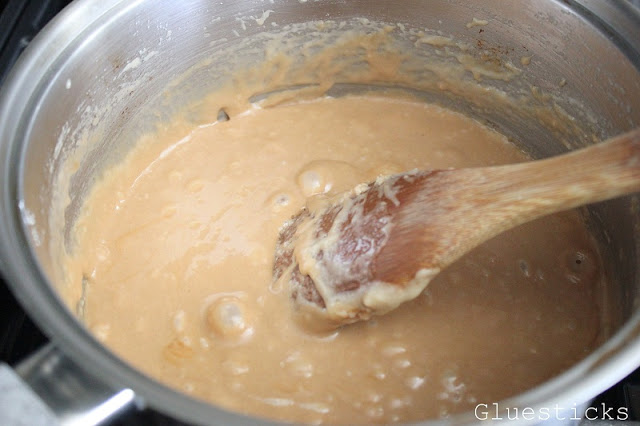
Step 5: After 5 minutes it should be nice and BROWN. There is a definite difference between 4 and 5 minutes of cooking. That extra minute makes all the difference in the texture. Remove from heat.
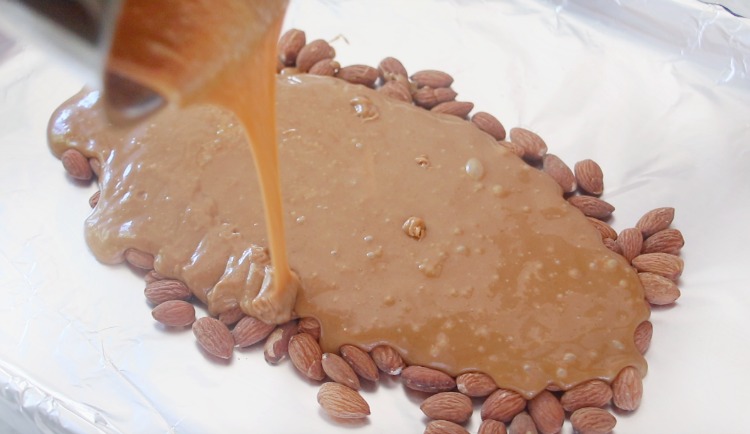
Step 6: Immediately pour hot toffee onto your foil-lined baking sheet. If you added nuts to your baking sheet, pour the toffee over the nuts. Do not scrape the bottom of the pan. As you pour, the bottom will brown, and you don't want that in your toffee.
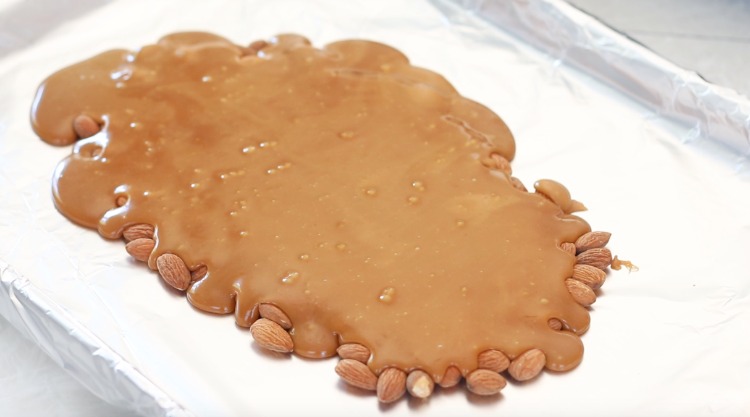
Step 7: Let the toffee cool until firm. It will begin hardening within a few minutes.
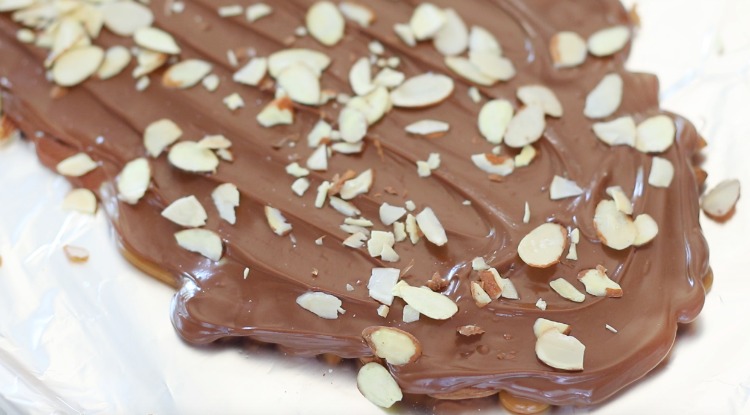
Step 8: Spread melted chocolate over the toffee with a small spatula or butter knife. Sprinkle with additional nuts, if desired. It's ok if the toffee is still warm.
Note: Instead of melting the chocolate separately, you can sprinkle chocolate chips directly over the warm toffee. Let them sit for 1–2 minutes until softened, then spread them into an even layer with an offset spatula or butter knife.
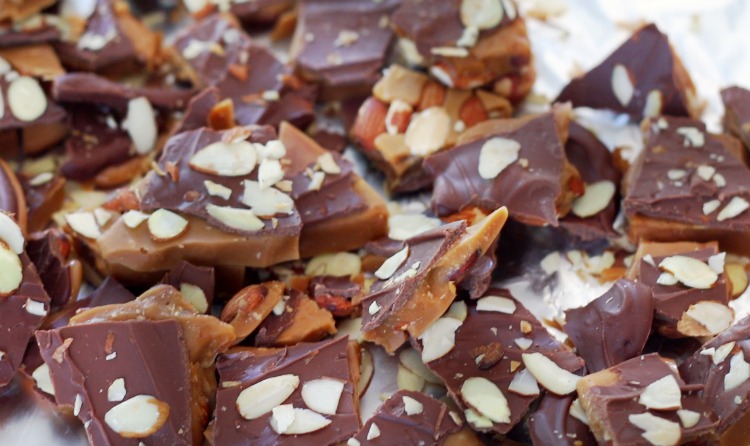
Step 9: Once the chocolate hardens, break the toffee into small pieces. Store in an airtight container at room temperature for up to two weeks, refrigerate for up to one month, or freeze for up to two months.
And that's it! No candy thermometer, no special tools, and no complicated candy-making techniques. Just a few simple ingredients and the right timing.
English Toffee FAQs
English toffee is a buttery candy made by cooking butter and sugar together until the mixture reaches the hard crack stage. Once cooled, it becomes crisp and crunchy with a rich caramelized flavor. Many versions are coated in chocolate and chopped nuts, making them a classic holiday candy.
If your toffee stays pale after five minutes, keep cooking. Every stove heats differently. Instead of relying only on a timer, use the color as your guide. The finished toffee should resemble the color of a brown paper grocery bag.
Soft toffee almost always means it wasn't cooked long enough. Instead of relying only on the timer, continue cooking until the mixture reaches the color of a brown paper bag. Properly cooked English toffee should cool into a candy that snaps cleanly when broken.
Butter separation is usually caused by cooking over heat that's too low, not stirring constantly, doubling the recipe, or using margarine instead of butter.
Making single batches over medium-high heat while stirring continuously helps prevent separation.
No. I've made dozens of batches using only timing and visual cues. As long as you cook the mixture until it reaches the color of a brown paper bag, you can consistently make excellent toffee without a thermometer.
Yes. Store completely cooled toffee in an airtight container for up to two months in the freezer.
Stored in an airtight container, homemade English toffee stays fresh for about 2 weeks at room temperature, even longer in the refrigerator, and up to 2 months in the freezer.
Grainy toffee is usually undercooked, or the sugar didn't fully dissolve before caramelizing. Cook over medium-high heat, stirring constantly, until the mixture reaches the proper color.
Absolutely. Almonds are traditional, but pecans, walnuts, hazelnuts, or even no nuts at all work well.
Chocolate can separate if the toffee is greasy or completely cold before the chocolate is added. For the best results, sprinkle the chocolate over the warm toffee and let it sit for a minute or two before spreading it into an even layer. As the chocolate sets, it bonds to the surface of the candy.
I always make English toffee with salted butter because the added salt enhances the buttery flavor, and I've found it consistently produces excellent results. If you prefer, you can use unsalted butter.
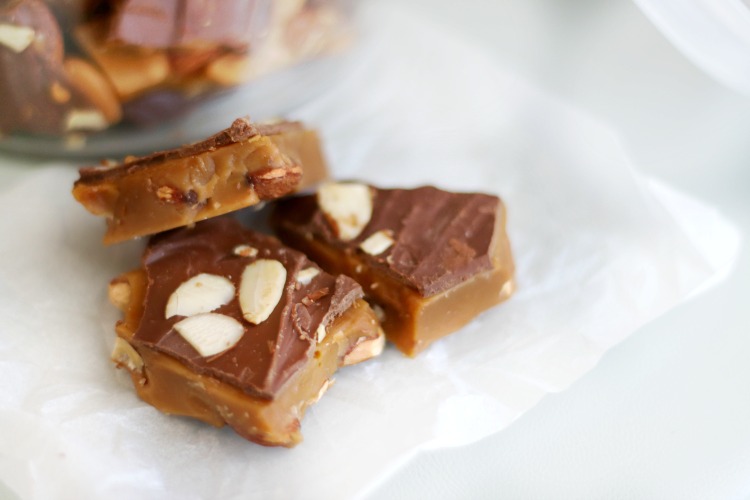
More Candy Recipes To Make




Love homemade toffee? This recipe is the foundation for all of my Homemade Toffee Recipes, including Christmas Crack, Disneyland-inspired Churro Toffee, and Take 5 Toffee. Once you've mastered this classic recipe, be sure to try those fun variations, too.
MADE THIS RECIPE AND LOVED IT? 💛 Please leave a STAR rating and COMMENT below! Post it to Facebook or Pinterest to easily share with friends!
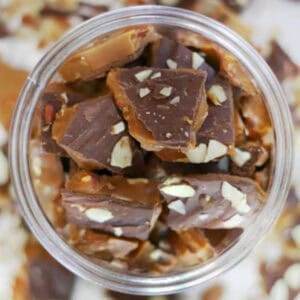
English Toffee Recipe
Equipment
- baking sheet
- foil
- sturdy pan
- wooden spoon
- measuring cup
- measuring spoons
- spatula
Ingredients
- 1 cup butter (salted) DO NOT USE MARGARINE
- 1 cup sugar
- ½ teaspoon vanilla
- pinch salt
- 1 cup almonds
- 1 cup chocolate chips or melting chocolate
Instructions
- Line a baking sheet with foil. If you'd like to have nuts in your toffee, toss a handful of almonds onto the baking sheet. Set aside.
- Heat all of your ingredients (except for the nuts and chocolate) in a nice sturdy saucepan on med heat until butter is melted. Turn temp up to medium high and stir constantly until mixture comes to a boil.
- Set your timer for 5 minutes and DO NOT let ANYTHING disturb you while you stir. You must keep stirring your butter/sugar mixture so that it does not burn. And you must use a WOODEN spoon.
- Keep stirring until your timer goes off. It may even smoke a tiny bit and that is ok. If you are really concerned, lift the pan off of the burner (while you are still stirring) to remove it from the heat, but still stir until your timer goes off.
- Immediately pour hot toffee onto your foil-lined baking sheet. If you added nuts to your baking sheet, pour the toffee over the nuts.
- The toffee will be about ¼-1/2" thick. Do not scrape the bottom of the pan. As you pour, the bottom will brown and you don’t want that in your toffee.
- Fill your pan with hot water and set it aside. It will start dissolving the toffee left inside and make it easier to clean.
- Let the toffee harden. Spread melted chocolate over the toffee with a small spatula or butter knife. It's ok if the toffee is still warm. Sprinkle with additional nuts, if desired. Note: You can also sprinkle chocolate chips over the hardened but warm toffee, let them melt as the toffee cools, then spread them evenly over the toffee.
- Sprinkle with sliced almonds, if desired, while the chocolate is still soft. After it has set up, break toffee into pieces.
Notes
- Do NOT double the recipe
- You must use a WOODEN spoon
- Use a clean, dry pan for each new batch.
- Cook over high- medium/high. (My stove is gas and tends to cook really hot, really fast. So I usually drop the heat to medium for my toffee, but in years past when I had an electric flat top stove, med-high worked best.)
- The 5 minute cook time is just a guide. If you hit 5 minutes and your toffee still isn't the color of a brown paper bag, add an extra minute. Cook times vary on each stove.


Jess says
This recipe is prefect! I tried to make toffee twice yesterday and failed, and ended up with a burn on my arm to show for it. I’m an avid baker and well-versed in caramel making, but I struggled with toffee! I was not content with just giving up on toffee, so I found your recipe. This method really is fail-proof! And I’m convinced it’s the wooden spoon!😂 I used a whisk and rubber spatula yesterday and I think my temp was too low, and I ended up with a crystallized, separated mess both times. But this worked perfectly!!!
Brandy says
Yay! Gosh, isn’t it the best feeling to have a batch of toffee turn out perfect? My first batch failed miserable when I started making it almost 20 years ago, but once you get it——you get it! Must be the wooden spoon. Haha!
Misty Critchfield says
Thank you for great instructions! It worked. (after I burned it using another recipe requiring it to get to 308 degrees!
Brandy says
I'm so glad you had great results!
Kim Mangus says
I have been using this recipe for several years. Toffee always turns out great!
Brandy says
Love to hear this!!
Heidi says
This worked perfectly the first time I tried it! I've never been successful with toffee before but your pictures made it easy. I had to go past the 5-minute mark before the toffee was the right colour, but I knew what colour to watch for so it was fine. Thanks for this recipe!
Brandy says
Yay! This makes me so happy! If I cook my toffee to 5 minutes on my stove in this house, it burns. So I have to cook it for 4 minutes. It's crazy how different stoves vary so much. 5 minutes is a good mark to go by and then you kind of just figure out what works best for your pan and pot!
Susan Raifsnider says
Third time's a charm! I tried two other recipes before I found yours; both more complicated and time consuming; both failures! I read through your entire directions, as recommended, before starting. I then followed recipe exactly as written and voila! Delicious toffee as promised. It's so awesome when a recipe turns out like it's supposed to, especially when it's a lot easier than others you've tried. Can't wait to share gluesticksblog.com with my fellow toffee lovers! Thank you!!
Brandy says
Yay! Susan, I'm so glad! Yes, I understand toffee failures all too well. Nothing it worse than soft, separated, or gritty toffee. I'm so glad you had a successful batch!
Elisabeth says
I just made a half batch as a test today. I had the problem of separation of the butter at the five minute mark, but I put the pan back on the heat and stirred briskly until it came back to a boil. About that point it came back together. I used a silicone mini ice cube tray and poured the candy into that. The second tray was a bit scorched(as you warned!) but the first was fine. Next time I will work faster. After the candy cooled I popped them out and dipped them in melted chocolate. They are great and it was fun to make them. Definitely doing this again. Thanks for all the great tips here.
Interestingly, Fannie Farmers recipe for almond brittle (basically the same but with almond cooked in) calls for cooking over low heat until the correct temperature is reached. I may experiment with that approach as well.
Brandy says
Using a mold is a great idea! Perfect portion control. I may have to try this as well!
AMC says
I tried this. Maybe my mistake was doubling the recipe. Also, I am filling molds rather than pouring the toffee onto pans to make 'bark.' All the shapes are quite thick (maybe an inch?) and they are chey. They started to cool and harden immediately after pouring into the molds. Now they have been in the fridge for an hour and they haven't hardened.?
Brandy says
Hi! Yes, doubling the recipe was your mistake, unfortunately! I haven't tried making them in molds, but I think the chewiness is from doubling the recipe. I'm sorry they didn't turn out! You can scroll to the bottom of the post for helpful tips on making the toffee that turns out just right. A wooden spoon, heavy sturdy pan, and med-high heat are the other key factors. Hope that helps!! 🙂
Quinn says
Thank you so much for this recipe! I'm in college and do not have very much to cook with. I found your recipe and knew I had sugar and butter! You made my day a sweet one! I will definitely make this again! It took quite awhile longer for mine to darken, but it still worked and tastes great! Again, thank you for the wonderful recipe!
Brandy says
Awesome! I'm so glad it worked out. It's definitely my favorite holiday recipe.
Christina says
This is a very interesting recipe! Pin it!! Thank you for sharing at Sweet Inspiration Link Party 🙂
Cherryl says
I've never had much luck making this, but I'm going to try this and see if it works this time!
Brenda says
It may have already been mentioned, but make sure you use a wooden spoon, when stirring after the 6 minutes. When i do this in the microwave, I generally do the 6 minutes (every microwave is different, so you may have to add, or subtract from the 6 minutes), as it has not started getting "amber" as yet. I do one minute at a time, and it take only 1 or 2 minutes more, and turns out very good.
Brandy says
Yes, thanks! A wooden spoon is a must!
AnnMarie says
There is nothing better than a crunchy piece of toffee! Thanks for the recipe!
Brenda says
I just made the toffee a couple days ago, and I was very pleased with it. Every microwave is different. After the 7 minutes (I did not stir or check it until the 7 minutes were up), I then checked the color of it, and stirred it as well. I then added a minute, and stirred, and then another minute and stirred, and by then, it was an amber color.
Lisa says
This looks delicious. My mother loves toffee and I often buy her toffee for the holidays. I have thought about trying to make it but have always been intimidated. Your step by step tutorial is very helpful and has given me the courage to give it a try. Thanks for the recipe!
Andrea says
I tried making English Toffee the other day, but didn't cook it long enough. It tasted fine, but was chewy and sticky. I decided to try to fix it by putting in in the oven. I put the pan in the oven and set the temperature to 350 degrees. I watched it closely until it started to turn a darker brown and was bubbly. I then poured it into a pan and boiled it until it reached the right color, stirring slowly. I then put it on another pan. Some of the butter separated, but it the rest hardened and tasted fine. I poured off the excess butter and finished the toffee. It ended up great.
Brandy says
Glad to know there is a way to still save it if it ends up undercooked at first!
Trish says
Hi im in the middle of making this and after 5 min in looks good and then the butter starts to separate away then begins ti look like curdled scrambled eggs but wont brown. Im constantly stirring and its at the right heat!
Please help!
Brandy says
Hi Trish! Did it eventually brown for you? If now, is very strange! You are using butter and not margarine and using med-high heat? Those are the two main factors and it sounds like you are doing it right.