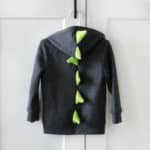
Fleece dinosaur spikes are sewn onto an existing hoodie to create a one-of-a-kind dinosaur hoodie that your little one will LOVE! This dinosaur hoodie tutorial is easy to follow and can be completed in under an hour.
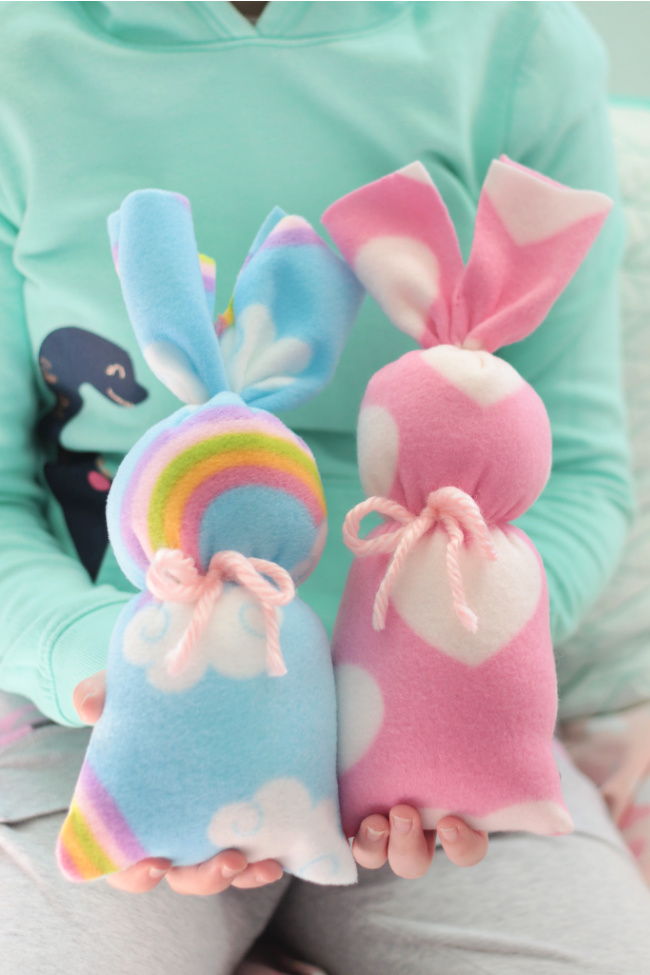
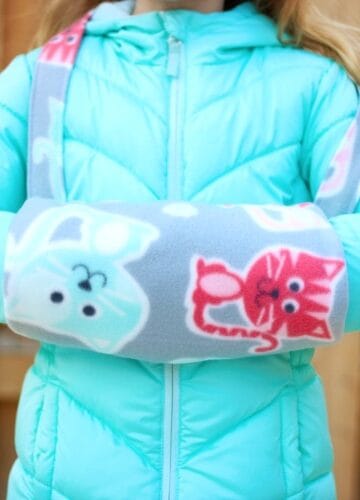
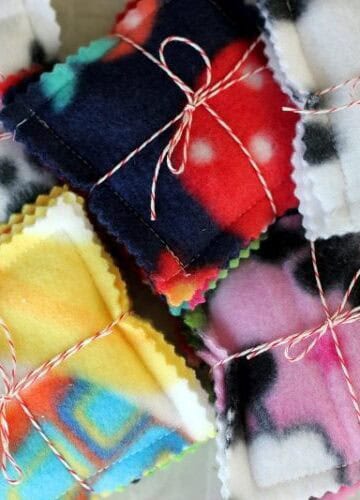
You might also like my fleece poncho tutorial, 10-minute scrunchies, or fleece mitten scarf!
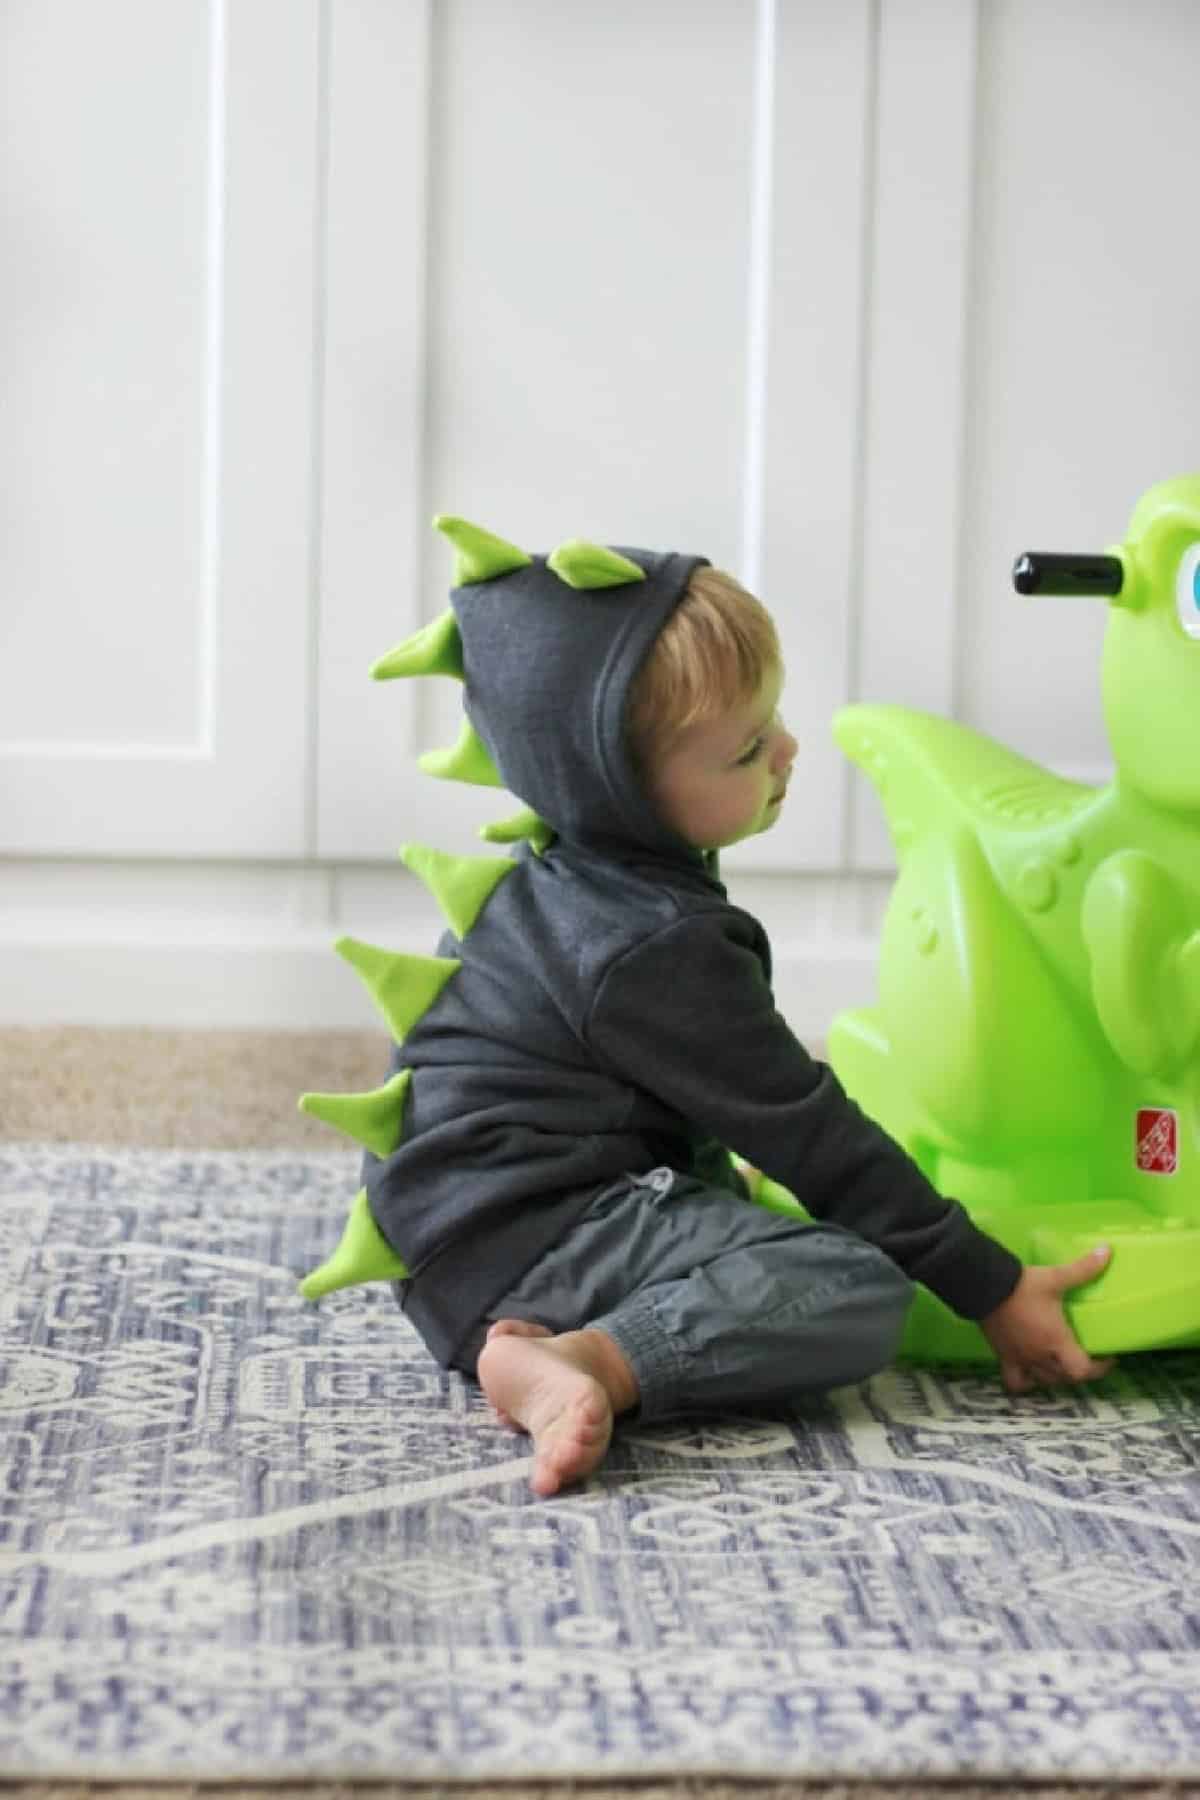
Mac has been obsessed with dinosaurs for well over a year now. With fall here and cooler temperatures just around the corner I thought it would be fun to make him a dinosaur hoodie!
Why I Like This Project
- 1-hour project. This darling hoodie comes together in under an hour and couldn't be easier to make.
- Doubles as a costume. Not only will this hoodie keep your little one warm, but it also doubles as an inexpensive Halloween costume! Add matching sweatpants and you're set!
- Fun to customize. Use pink or purple fleece to create a girlie dinosaur. Add eyes to the top of the hoodie or even a long fleece tail on the back.
What Others Are Saying
This worked out perfectly for me! The birthday boy could not stop roaring 😉 Thank you so much for sharing this.---Julie
Jump to:
Tips and Tricks

- Repurpose a hoodie. There's no need to reinvent the wheel. This dinosaur hoodie is made using an existing hoodie! If you already have a hoodie in your child's closet, AWESOME! Otherwise, you can pick up a hoodie at Walmart or Target for about $8. A few cuts and straight hems, and voila!
- How to add a dinosaur tail. If you wanted to make a tail, you could totally do so and replace the bottom spike with a long, chunky tail in the same shape. It looks cute as it is, nice and simple.
- Use fleece for the fabric spikes. There are numerous homemade dinosaur hoodies and costumes available online. I've noticed that many use fabric glue or felt. If you plan on using the hoodie as a costume for one or two uses those methods would be fine, but if you are looking for a wardrobe item to be used and abused by a toddler I would definitely recommend sewing the hoodie and NOT using felt. Felt is a great fabric for learning to sew. I use it all the time for kids sewing projects like my sugar cookie pin cushion, but it only washes up well a couple of times before is starts to ball up. Fleece is much more durable and also quite easy to sew with.
Supplies

- Hoodie: Any hoodie will work. Whether you are making a toddler or an adult-sized dinosaur hoodie.
- Fleece: The spikes are made out of fleece. ¼ yard should be plenty from a 60" bolt.
- Pins
- Scissors
- Sewing Machine
How To Make a Dinosaur Hoodie

Step 1: Cut 18 triangles from fleece.
Note: The base of the triangle should be 3.5". The sides can be whatever you'd like, but mine were 4".

Step 2: Stitch the sides of the triangle using a ⅜" seam. Trim close to the seam. Leave the bottom open. Turn the triangles right side out.

Step 3: Lay the hoodie on your work surface and cut down the center of the hood section. Continue cutting down the back of the hoodie until you have 2 sections. Yes, you are cutting the ENTIRE hoodie in half, down the back!

Step 4: Place the spikes along the back edge of one hoodie section. Pin into place.

Step 5: Attach the other section of the hoodie by pinning it into place, sandwiching the spikes in between the two layers. Make sure the side seams line up on the hood section and the bottom hoodie hem.
Note: You'll need to remove the pins that you previously used to arrange the spikes and add them again to create the sandwich of layers.

Step 6: Sew a ⅝" seam along the entire edge, starting at the hood and continuing down to the bottom edge. The hoodie is now complete!
Note: see how the bottom hem lines up perfectly? That is what I'm talking about in step 5. Don't start sewing until you've made sure you've pinned it just right!
Dinosaur Hoodie FAQs
There are numerous homemade dinosaur hoodies and costumes available online. I've noticed that many use fabric glue or felt. If you plan on using the hoodie as a costume for one or two uses, those methods would be fine, but if you are looking for a wardrobe item to be used and abused by a toddler, I would definitely recommend sewing the hoodie and NOT using felt. Felt is a great fabric for learning to sew, but it only washes up well a couple of times before is starts to ball up. Fleece is much more durable and also quite easy to sew with.
There's no need to reinvent the wheel. This dinosaur hoodie is made using an existing hoodie! If you already have a hoodie in your child's closet, AWESOME! Otherwise, you can pick up a hoodie at Walmart or Target for about $8. A few cuts and straight hems, and voila!
This is a 1-hour project, which will likely take you 45 minutes. It's quick, simple, and perfect for beginners.
Fleece washes well. You can wash and dry this dinosaur hoodie costume as you normally would for any other hoodie.

More Fleece Projects To Make

MADE THIS RECIPE AND LOVED IT? 💛 Please leave a STAR rating and COMMENT below! Post it to Facebook or Pinterest to easily share with friends!
Dinosaur Hoodie Tutorial
Equipment
- scissors
- pins
- sewing machine
Materials
- 1 Hoodie
- ¼ yard Fleece 60" wide bolt
Instructions
- Cut 18 triangles from fleece.Note: The base of the triangle should be 3.5". The sides can be whatever you'd like, but mine were 4".
- Stitch the sides of the triangle using a ⅜" seam. Trim close to the seam. Leave the bottom open. Turn the triangles right side out.
- Lay the hoodie on your work surface and cut down the center of the hood section. Continue cutting down the back of the hoodie until you have 2 sections. Yes, you are cutting the ENTIRE hoodie in half, down the back!
- Place the spikes along the back edge of one hoodie section. Pin into place.
- Attach the other section of the hoodie by pinning it into place, sandwiching the spikes in between the two layers. Make sure the side seams line up on the hood section and the bottom hoodie hem.Note: You'll need to remove the pins that you previously used to arrange the spikes and add them again to create the sandwich of layers.
- Sew a ⅝" seam along the entire edge, starting at the hood and continuing down to the bottom edge.Note: see how the bottom hem lines up perfectly? That is what I'm talking about in step 5. Don't start sewing until you've made sure you've pinned it just right!


Brandy says
This hoodie lasted us two years before my little guy outgrew it, and we passed it on to a friend! So cute, washed up well, and was easy to make!
BadMedisin says
That’s beautiful, and it suits your son perfectly. He looks so happy 🙂
I’m going to have to make a grown-up sized one for myself too… Not that I’m particularly grown up 😉 Thank you for such a clear and simple tutorial!
Brandy says
You’re welcome! 🙂
Julie says
This worked out perfectly for me! The birthday boy could not stop roaring 😉 Thank you so much for sharing this.
Brandy says
Julie, this made my day! So happy he loved it!