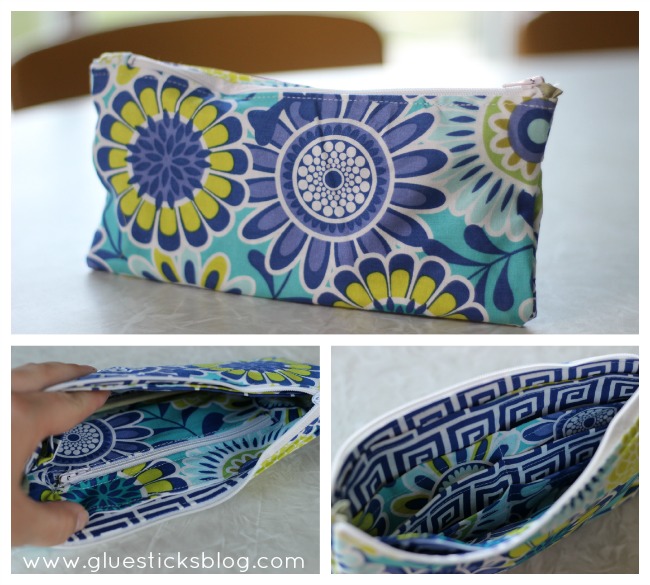
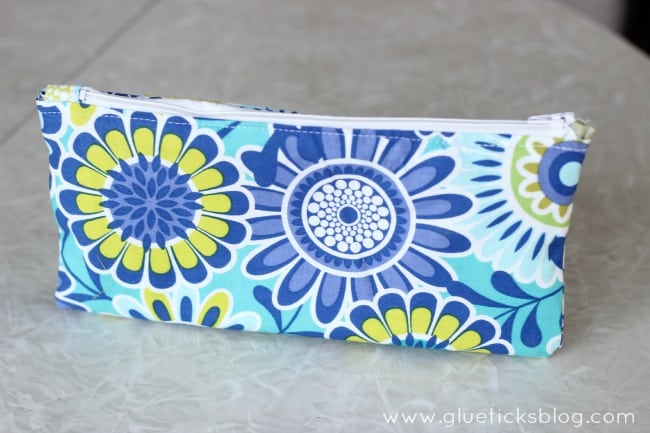
So I made myself a new wallet...the night before our big Disneyland trip this summer. Because that's what kind of crafter I am, an impulse crafter. I bought the fabric a while ago and finally found a tutorial that I liked. I was going to put it off until the end of summer when things slowed down, but then I decided that I needed a new wallet and I needed it that night!
Some may remember the wallet I made four years ago. It is one of the most popular posts on Gluesticks!
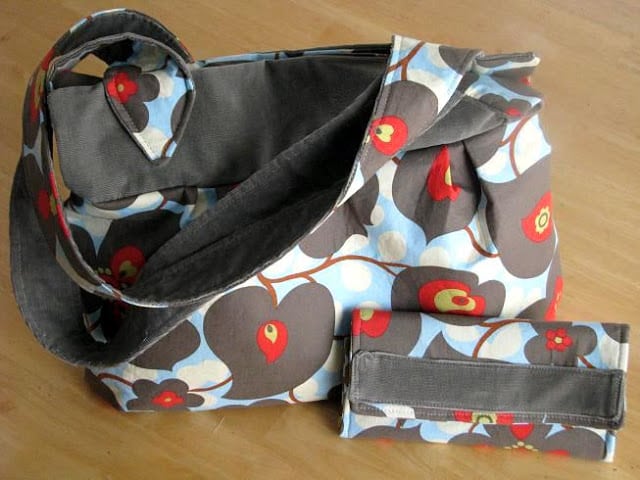
I made this wallet to match a purse that I made that year. This is the PERFECT wallet. There wasn't a single thing I didn't like about it, but it had become very worn and faded. The tutorial that I followed was fantastic too, but alas, the link no longer exists. I've found the photo of it on pinterest probably 100 times, but the links are all broken. I thought about trying to replicate it on my own, but the measurements are pretty exact and I didn't want to attempt it. You can still get the tutorial to the darling matching handbag I shared in that post and I shared a link to another wallet I made a long time ago that is similar.
What I loved about my old wallet was that it had an inside zipper for coins and an area for cards. Most tutorials only have card slots. I don't like having a separate coin purse and a wallet. I like a 2 in 1.
The tutorial that I found last month has both, yay!
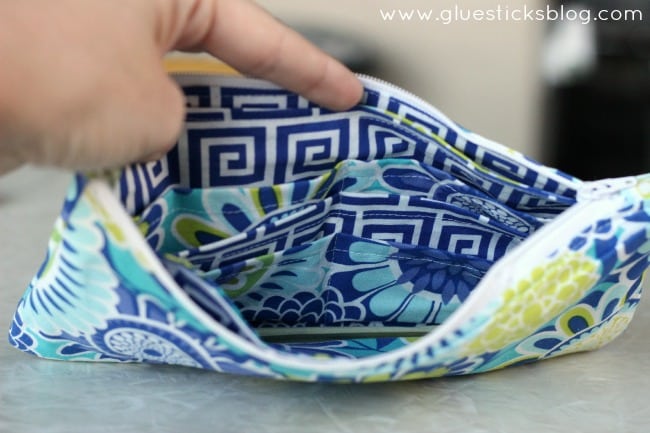
It has two large inside pockets that are perfect for receipts and coupons. On the other side of the first pocket is the card slot area.
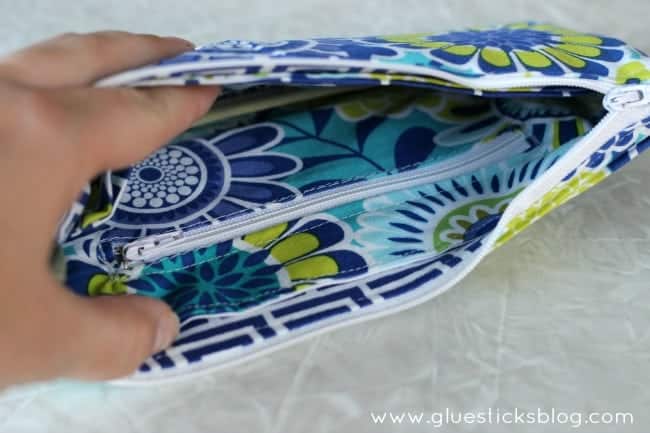
Flip it over and on the other side of the second inside pocket is the zippered area for coins.
The entire wallet has a zippered closure. I can also fit my phone inside of it and use it as a clutch if I want.
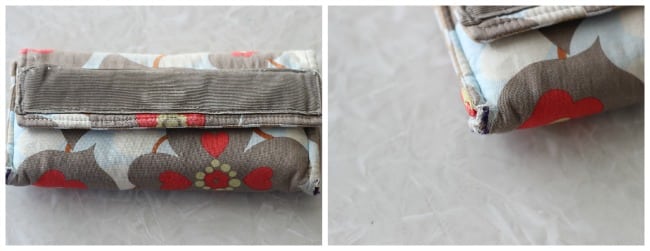
The only thing I would do differently next time is extend the zipper across the entire top instead of having a small tab on the left. The tutorial had a 1 ½" tab on the side and I thought that would be too much so I shortened it to only ¾" to make more room, but I think I could have done away with it completely and it would have given me even more room when opening it. Other than that I followed it pretty close to the actual tutorial from Sew Knit Me.
Links to my previous set can be found here. This bag is one of my all time favorite sewing projects! It turned out perfectly, was super functional and nice and big. I used it as a diaper bag as well.

Ashley Urke | Domestic Fashionista says
I literally can never get enough of little pouches like these! But to be able to customize them like this would make hunting for that perfect pouch so much easier! Love it Brandy! And the fabric you choose is beautiful as well!
Brandy says
Thank you, Ashley! I think choosing the fabric was the hardest part, haha!
Brenda says
You make me so wish I could sew Brandy. lol I'm not a seamstress at all. I can make a repair but that's about it. I think your wallet is amazing and glad you were able to find another pattern that you like.