Peppermint fudge is one of the easiest fudge recipes! Dark and white chocolate, with lots of peppermint flavor and crunch.
You might also like peppermint bark cups, peppermint hot cocoa bombs, or peppermint bark shortbread cookies!

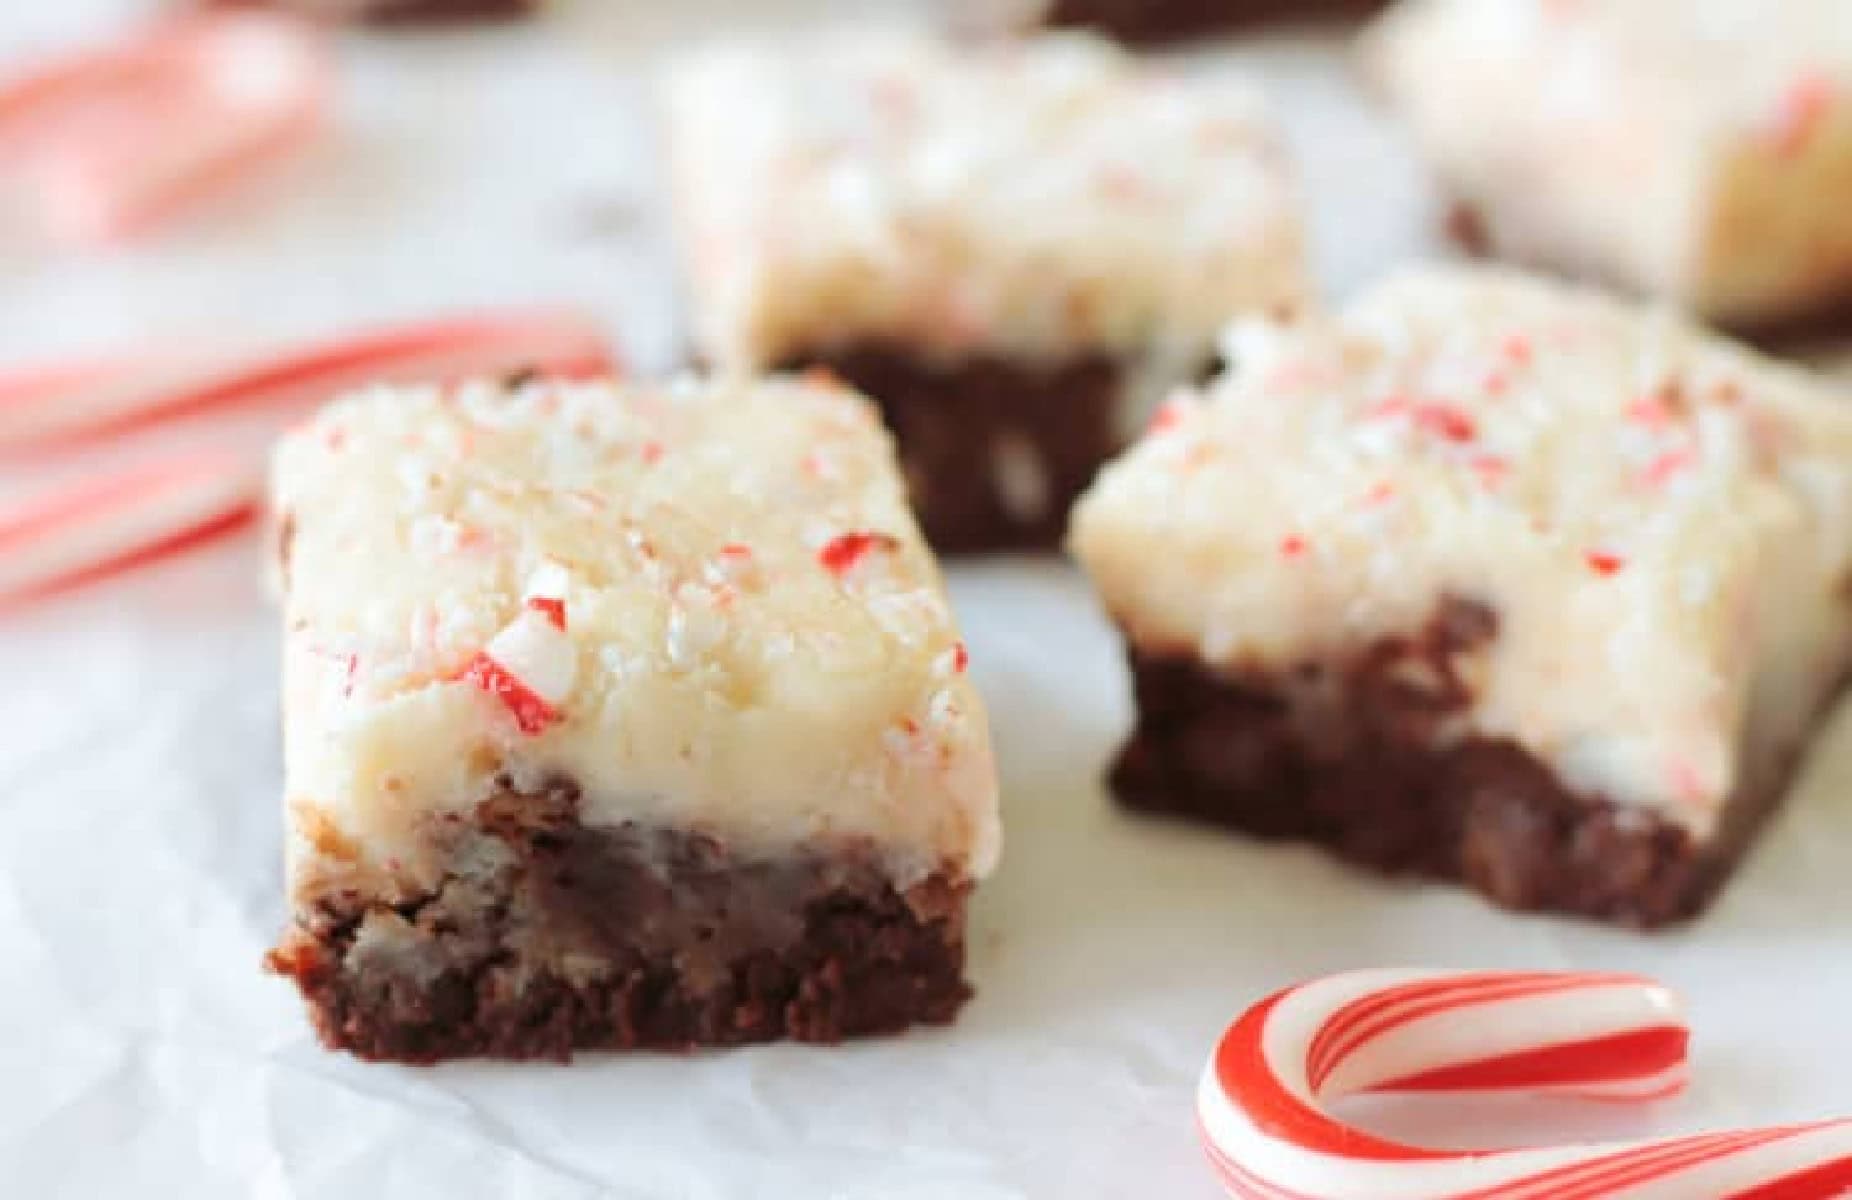
If you like peppermint bark, you'll LOVE this peppermint fudge. Soft, minty, chocolatey, and loaded with peppermint crunch. It's as pretty as it is delicious and perfect for holiday treat platters!
Why I Like This Recipe
- 5-minute fudge base. Have you tried making 5-minute fudge before? It's called 5-minute fudge, but that's just the active time it takes to mix the ingredients. It needs a little time to set up, so it's more like 30-minute fudge or 1-hour fudge, but you don't need a candy thermometer to make it, and you don't need to worry about cooking it until a certain stage. If you can melt chocolate chips in a pan or in the microwave, you can make this recipe!
- Two layers. Peppermint fudge has two layers, so it's a bit fancier than my basic fudge, but trust me, it's worth the extra few minutes. The layered fudge is so pretty!
- Perfect for holiday treat plates. This fudge recipe yields 36 squares, ideal for filling holiday treat plates.
Jump to:
Tips and Tricks
- Line the pan with parchment paper. You can butter a dish or line it with parchment paper. I prefer the parchment paper method because to remove the fudge, all you have to do is lift the sides, and the entire batch comes out of the pan.
- Do not overheat the fudge mixture. You don't need to bring it to a boil or simmer, just heat it until the chocolate chips are melted and smooth, and everything comes together.
- Refrigerate for an hour. The fudge is much easier to slice into squares once it has cooled. Refrigerating the fudge speeds up the process.
Ingredients
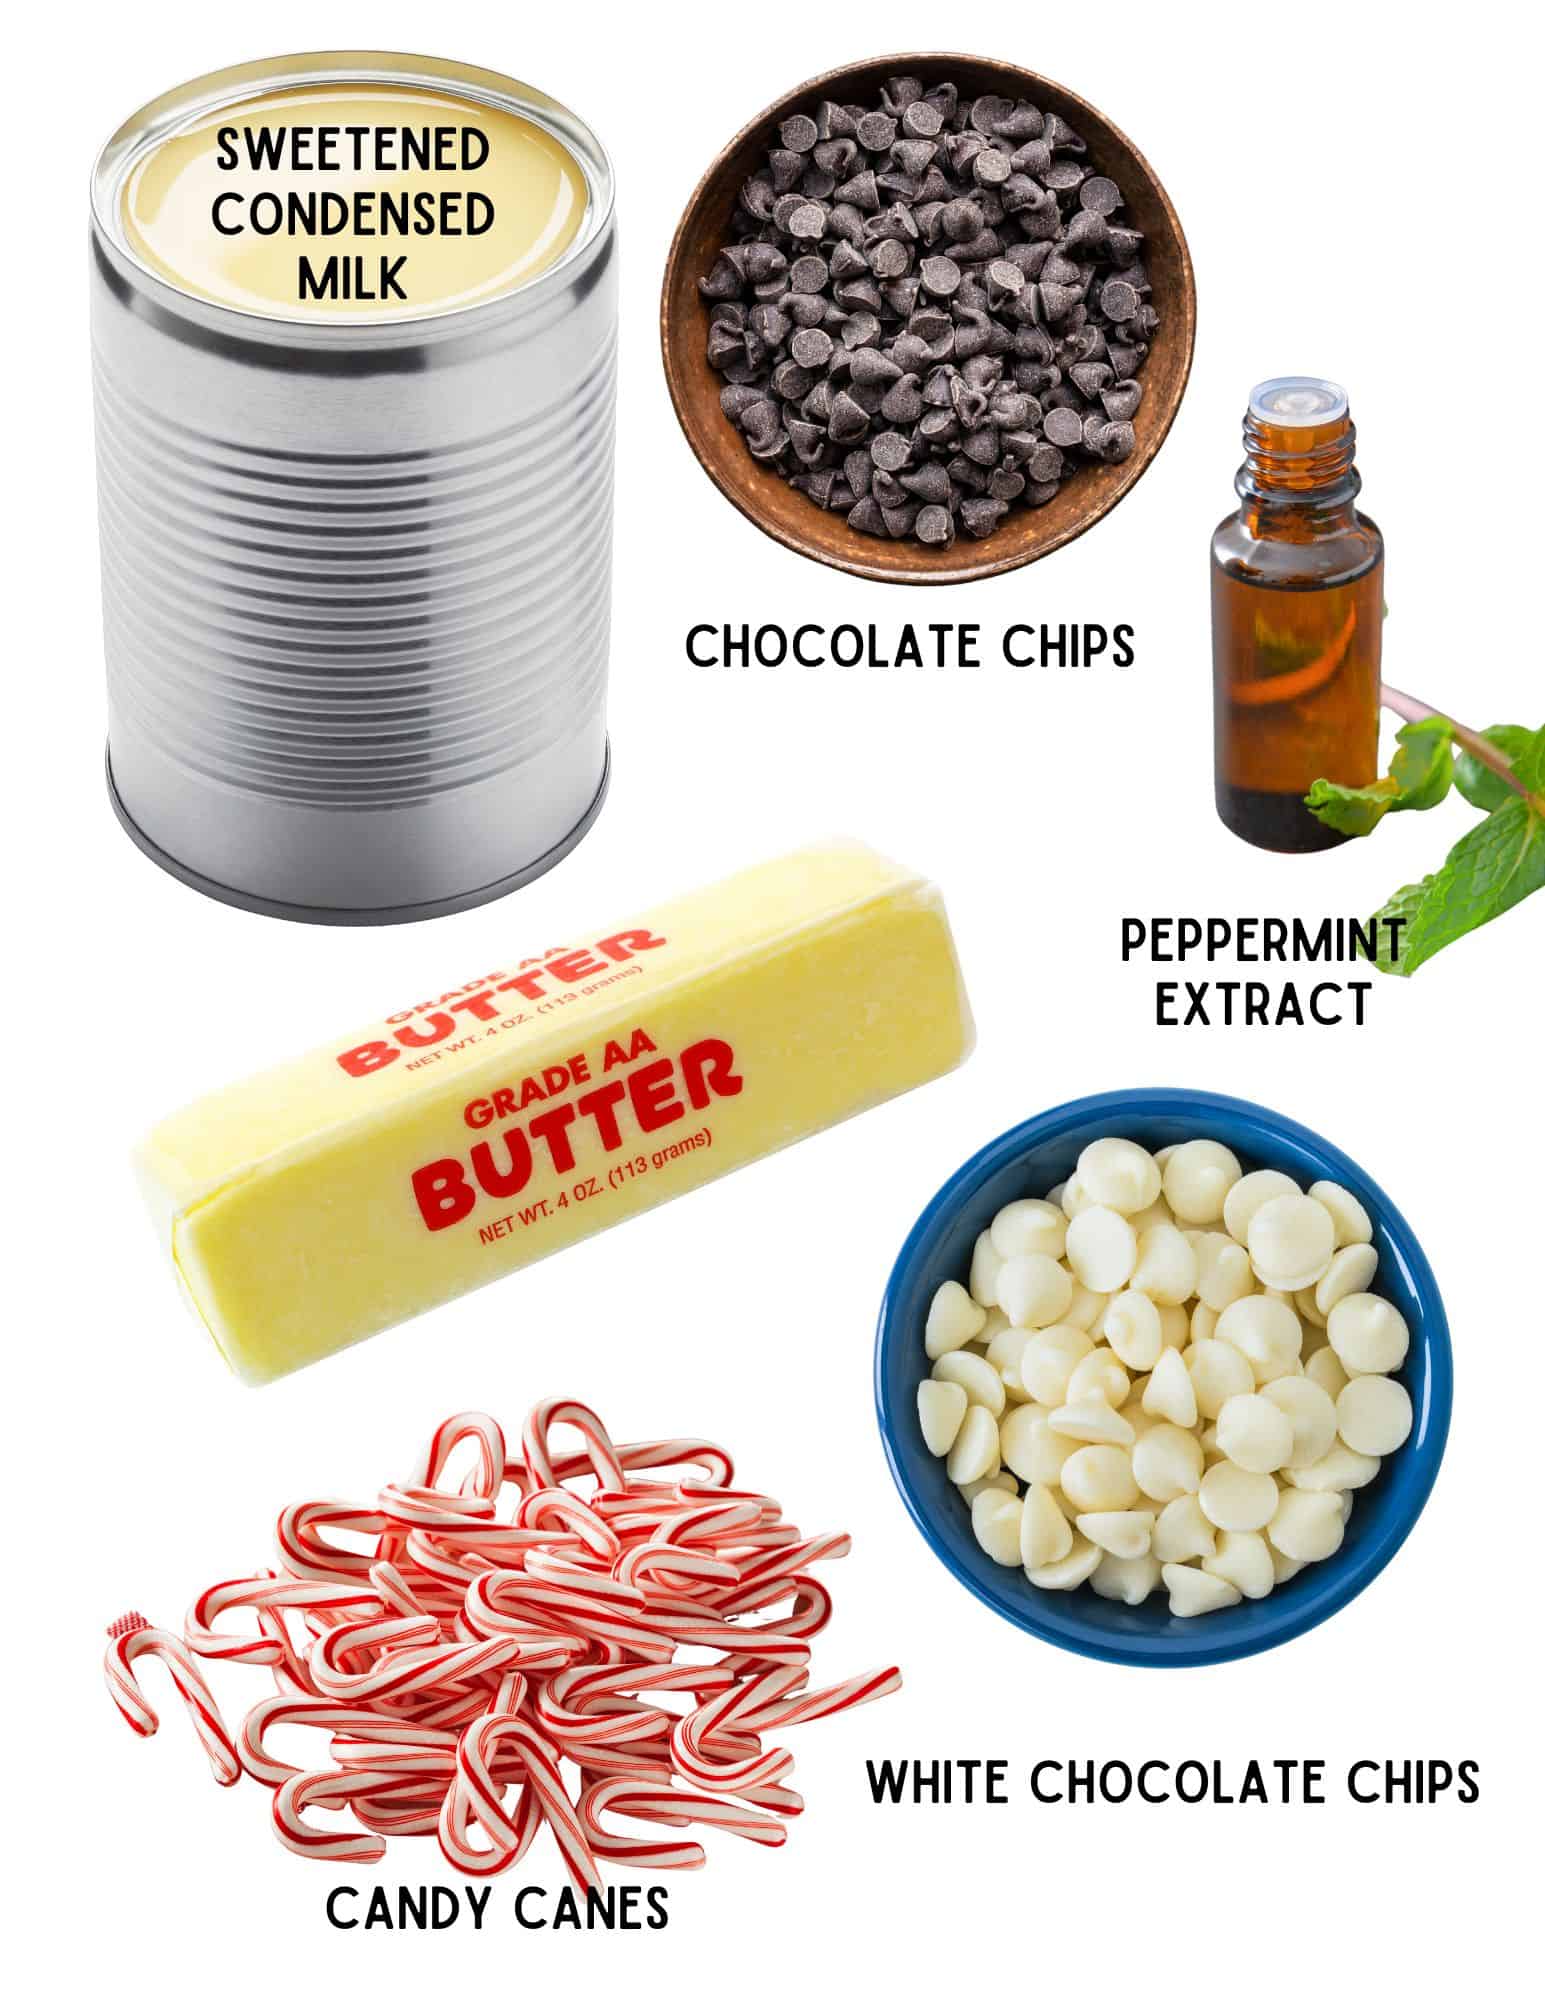
Chocolate Layer
- Semisweet chocolate chips
- Sweetened condensed milk
- Butter
Peppermint Layer
- White chocolate chips
- Sweetened condensed milk
- Butter
- Peppermint extract
- Candy canes or Starlight mints
See the recipe card for full information on ingredients and quantities.
How To Make Peppermint Fudge
Because we’re making two layers you are essentially making two (half) batches of fudge. Let’s start with the chocolate layer.
Prep: Finely chop ½ cup of hard peppermint candy. Set those aside. Line an 8x8 baking dish with parchment paper.
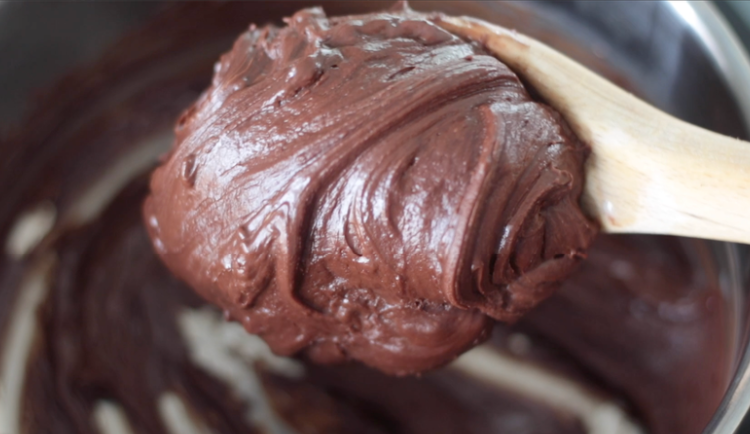
Step 1: Heat semisweet chocolate chips, butter, and sweetened condensed milk in a medium saucepan over low heat. Stir until smooth and chocolate chips have melted completely.
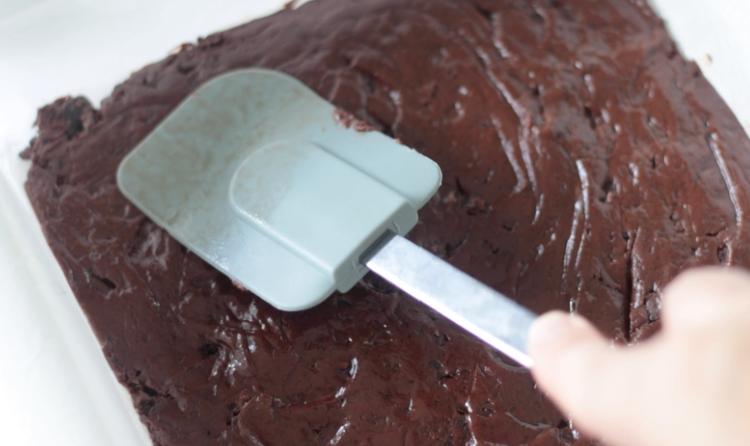
Step 2: Spread fudge mixture in baking dish with a rubber spatula.
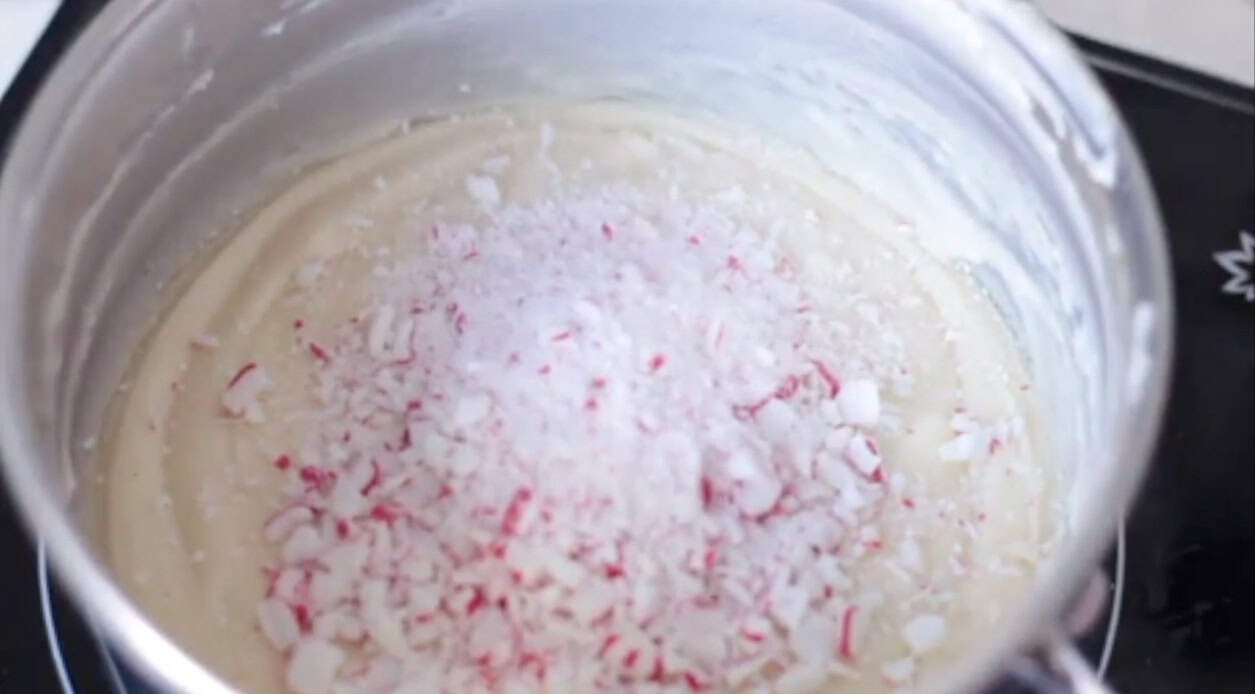
Step 3: Heat white chocolate chips, butter, sweetened condensed milk, and peppermint extract in a medium saucepan over low heat. Stir until smooth and the white chocolate chips have melted completely. Stir in crushed mint candies.
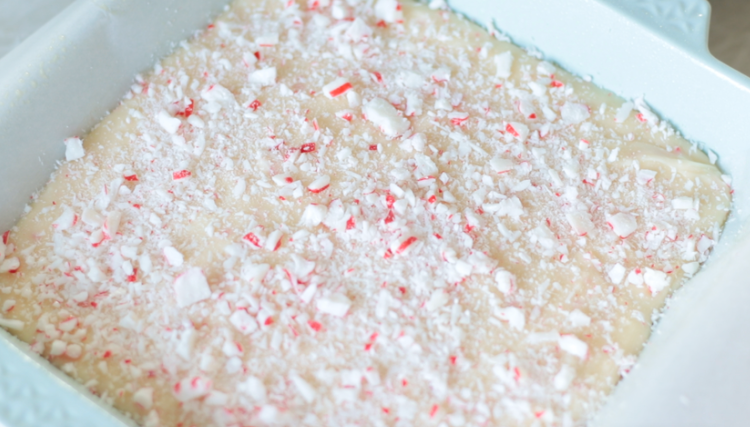
Step 4: Spread the mint fudge mixture in a baking dish on top of the chocolate layer with a rubber spatula. Sprinkle with an additional tablespoon or two of crushed mints (if desired).
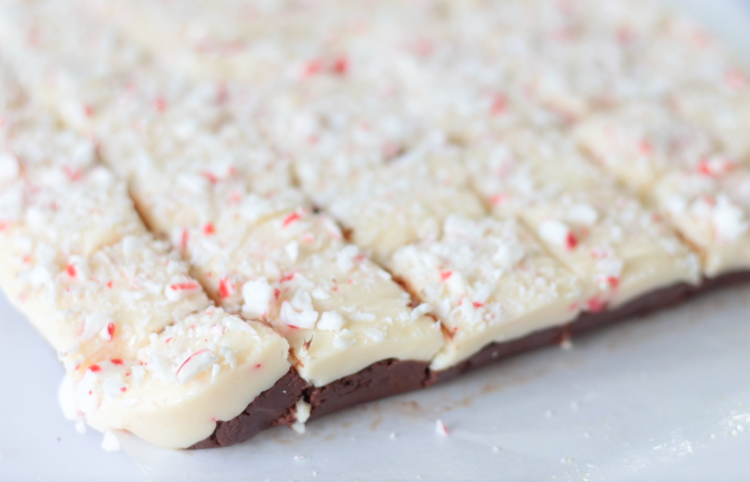
Step 5: Refrigerate fudge until cooled and set, about an hour.
Remove fudge from dish (lift parchment paper) and slice fudge into 36 pieces with a sharp knife. Store fudge at room temperature in an airtight container. The peppermint candy will be crunchy at first but will soften over time. Fudge is best eaten within 7 days.
Peppermint Fudge FAQs
5-minute fudge comes from the classic Betty Crocker cookbook. It's called 5-minute fudge because the ingredients are mixed and ready to press into a pan in 5 minutes or less. It's super easy to make and delicious, though it takes a bit longer to wait for the fudge to set before slicing.
For this recipe, I recommend making it as is. The combination of condensed milk and melted chocolate is what gives the fudge its soft texture. I do not recommend changing out ingredients if you want the same results.
Because fudge stays fresh for quite a while, it's a great make-ahead treat. Fudge can be stored in an airtight container for at least 7 days.
More Holiday Recipes To Make
MADE THIS RECIPE AND LOVED IT? 💛 Please leave a STAR rating and COMMENT below! Post it to Facebook or Pinterest to easily share with friends!

Peppermint Bark Fudge
Ingredients
Chocolate Layer
- ½ can sweetened condensed milk (7 oz.)
- 1 12 oz. bag semisweet chocolate chips
- 1 teaspoon butter
Green Mint Layer
- 1 12 oz. bag white chocolate chips
- ½ can sweetened condensed milk (7 oz.)
- 1 teaspoon butter
- ½ teaspoon peppermint extract
- ½ cup crushed peppermint candies (candy canes or starlight mints)
Instructions
- Line a 8x8 baking dish with parchment paper (or butter the dish to prevent fudge from sticking).
Chocolate Layer
- Heat semisweet chocolate chips, butter, and sweetened condensed milk in a medium saucepan over low heat. Stir until smooth and chocolate chips have melted completely.
- Spread fudge mixture in baking dish with a rubber spatula.
Mint Layer
- Heat white chocolate chips, butter, sweetened condensed milk, and peppermint extract in a medium saucepan over low heat. Stir until smooth and the white chocolate chips have melted completely.Stir in crushed mint candies.
- Spread the mint fudge mixture in a baking dish on top of the chocolate layer with a rubber spatula.
- Sprinkle with an additional tablespoon or two of crushed mints (if desired).
- Refrigerate fudge until cooled and set, about an hour.
- Remove fudge from dish (lift parchment paper) and slice fudge into 36 pieces with a sharp knife.





Leave a Reply