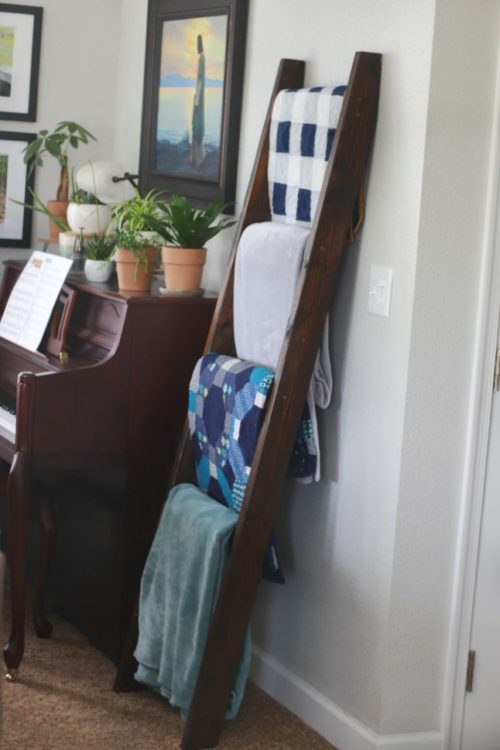
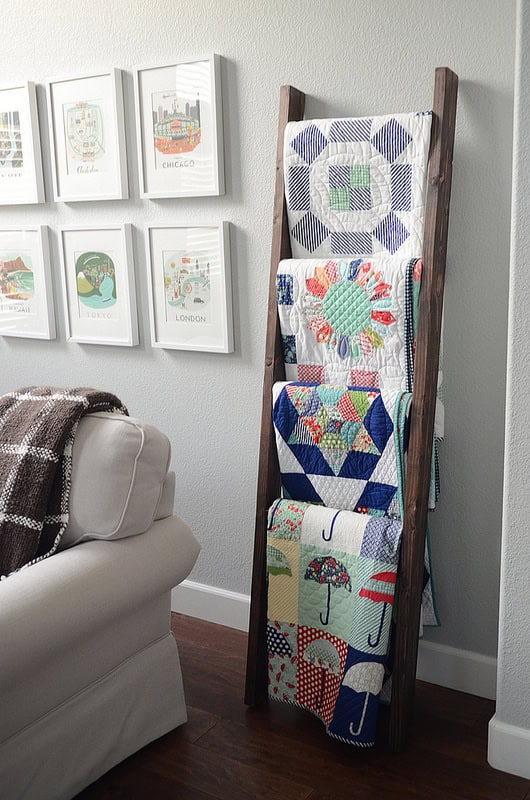
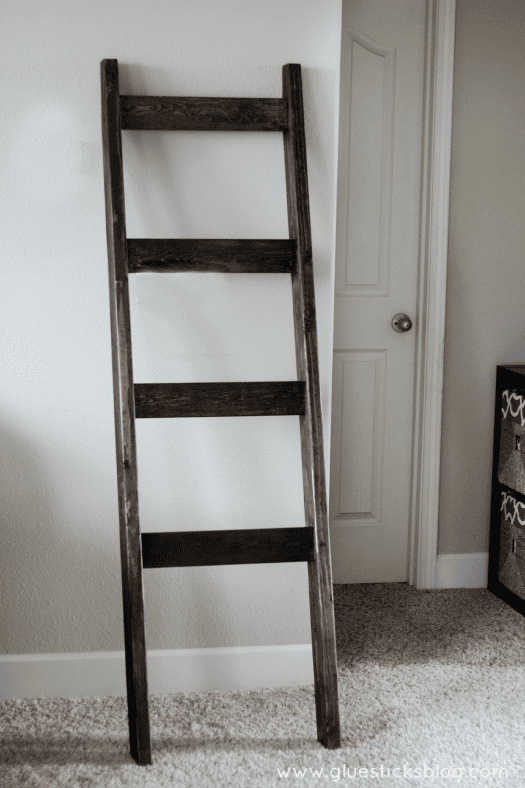
Make a beautiful wooden blanket ladder for under $15. It’s an easy DIY project that will allow you to display beautiful quilts or blankets in the open and make them easily accessible. This post contains an affiliate link.
This post was originally shared in 2015. Our blanket ladder is still holding strong and used in our home.
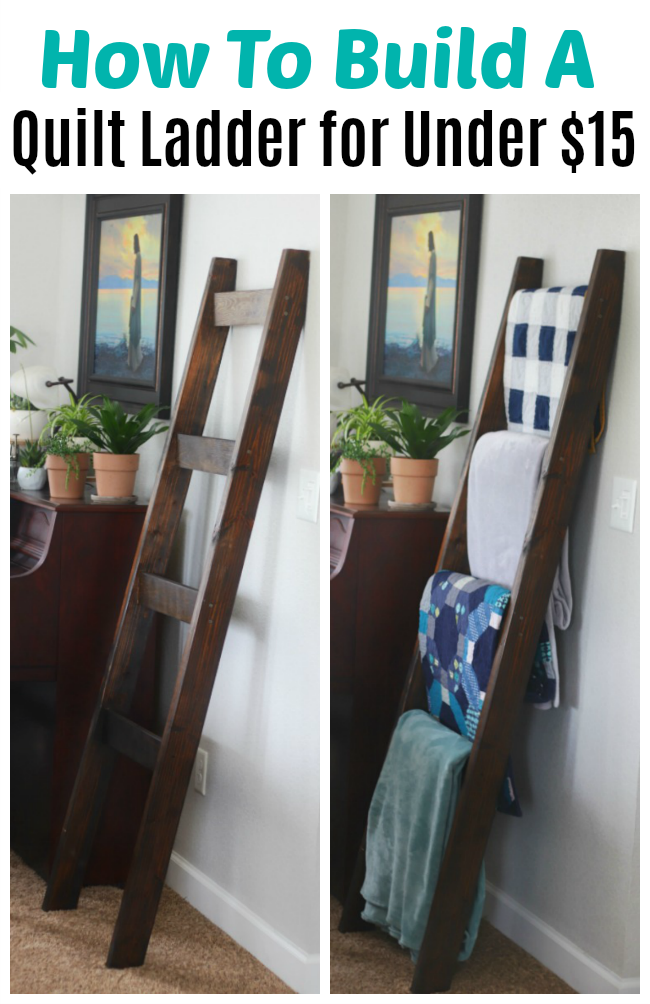
There were probably a hundred things my husband would rather have spent his Saturday afternoon working on, but he moved my blanket ladder to the top of his list and I absolutely love it!
I saw this one on Thimble Blossoms and fell in love. I showed it to him and we came up with the dimensions that we thought would work.
DIY Blanket Ladder Tutorial
He was able to cut the wood and put it together in about an hour and then we sanded and stained it.
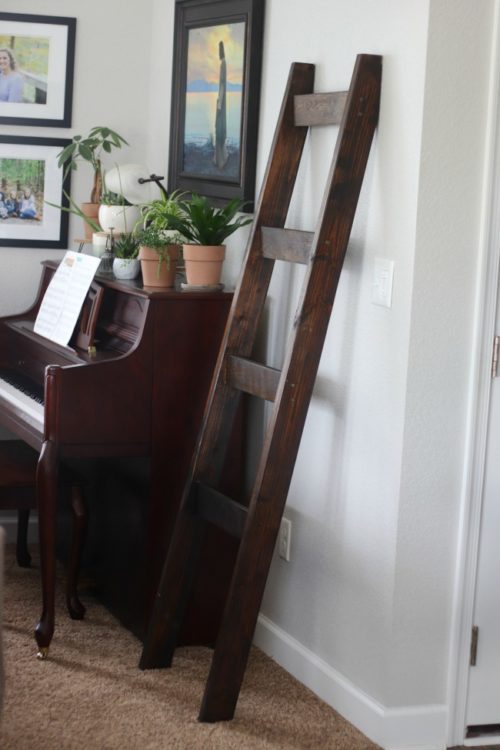
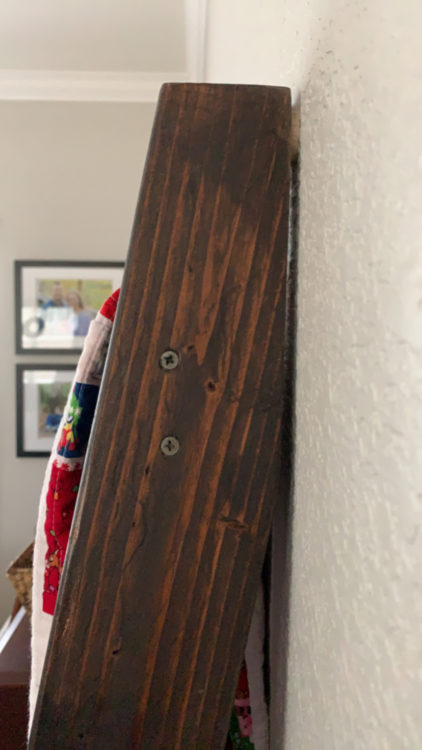
He angled the back so that the blanket ladder lays flush against the wall, and I added felt pads so that the stain didn’t rub off on the paint. Note: Cutting the wood on an angle is not mandatory. It can still be placed against the wall without cutting the wood to sit flush.
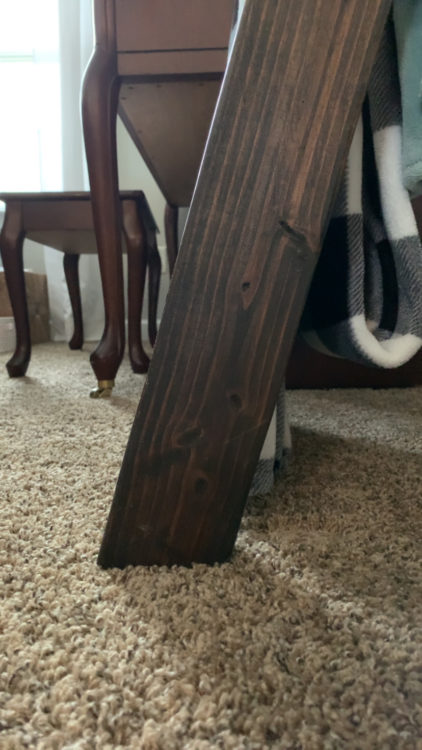
He also angled the feet so that it sat flush against the floor. Just simple cuts on the saw will take care of this!
How to Make a Blanket Ladder for Under $15
If you aren’t up for making your own, here’s a beautiful one using barn wood that you can purchase. But for $15, this homemade one is a great, affordable, option so let’s get started!
Blanket Ladder Supply List
- 2 (6′ length) 2×4’s
- 4 (18″ length) 1×4’s for the ladder rungs.
- wood screws
- tape measure
- miter saw
- Stain: Minwax Jacobean (dark walnut stain)
- paint brush/old rag (to apply stain)
dimensions we used to make this blanket ladder
You’ll need 2 (6′) 2x4s and 4 (18″) 1x4s.
If you don’t own a saw you can have your local hardware store like Lowe’s or Home Depot cut the boards for you. The first few cuts are free.
If you’d like the ladder to lay flush against the wall you can cut the 2×4’s on an angle. See photos above to see the angles against the wall and floor). I asked my husband what angle he cut them at, but it’s been so long that he doesn’t remember.
Note: Cutting the wood on an angle is not mandatory. It can still be placed against the wall without cutting the wood to sit flush. I just liked the added stability.
Blanket Ladder Instructions
- Cut wood to size.
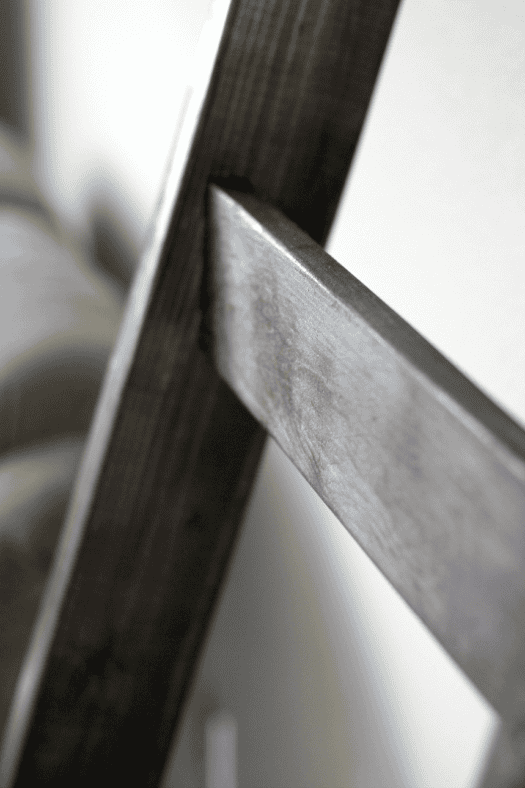
- Screw rungs in at a slight angle (tipping forward) so that the quilts have dimension instead of laying flat. (see photo above)
- The top rung should be 3″ from the top and each rung below is spaced 11.5″ down.
- After screwing and assembling the ladder apply a coat of stain (my favorite shade is Minwax Jacobean. I’ve used this for other projects too) and let it dry for 8 hours. Then apply a clear coat of spray lacquer (optional) and let it dry for 2 hours.
I’m not sure how much this would have cost to purchase, but we made it for under $15. We had to buy a can of stain, otherwise, this would have been a $10 project!
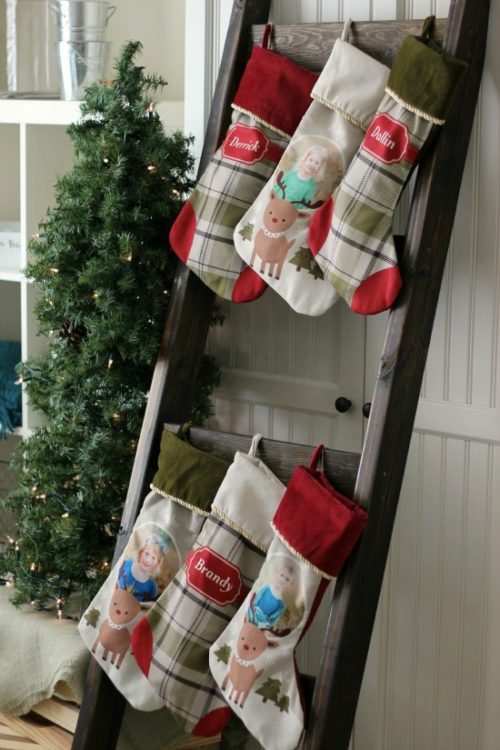
How To Use a Blanket Ladder As a Stocking Hanger/Ladder
Welcome! I'm Brandy, mother to 5 darling kiddos and a cute black lab named Toby. My husband is in the Coast Guard so we've lived all over the place, turning each house into a home. I love baking, sewing, making cute things with my kids, and sharing what I've learned with all of you!
Mauri Popp says
Love it! I might have to try this because we’ve been wanting to do something like this.
Brandy says
Thank you, Mauri!
Deb says
When I found your ladder on Pinterest, I knew I had to have my husband make me one. In fact, he’s made 2 and is working on the 3rd one for me. I just posted about it here:
http://girottifamily.typepad.com/mountain_musings/2015/04/pinterest-honey-do-list-x3.html
Thank you so much for the dimension suggestions! We followed them exactly, and I’ve loved the result!
Brandy says
Deb, they turned out beautiful! I’m glad I’m not the only one with a honey-do craft list! I did the SAME exact thing! I saw a photo of one I liked and asked my sweet husband to make one for me and we came up with some dimensions. And what sweet gifts too, thank you so much for sharing the link with me. I loved seeing the pics!
Carla Bethany says
Second diy ladder I’ve seen this week. There universe is telling to try this. And I already have cans of stain.
http://www.carlabethany.com/wall-decoration-ideas-abstract-painting/
eclecticredbarn says
Love how your ladder turned out. I have lots of quilts and need to get my husband to make me one.
Bev
JESS44903 says
Oh this is so pretty! 🙂
I would love for you to share this with my Facebook Group for Crafts, Recipes, and Tips and Tricks: https://www.facebook.com/groups/pluckyrecipescraftstips/
Thanks for joining Cooking and Crafting with J & J!
Mimi says
Great job Brandy! Fantastic work. Love, Mimi xxx
Ann says
Hi. Just caught this today– Happy 4th of July!
I am wondering what tools did you husband use to make the holes for the slats go into. Can you tell me
about it please?? I’ve never built anything before and would like to make this for my quilts or stockings– as you so cleverly did Christmas 2015.
Brandy says
Hi! He just screwed the slats into the side boards with a drill. Nice and simple!
Debora Cadene says
Love this!! Can you please tell me the angle cut you ended up using for the top and bottom?? I would love to make this for a special quilting friend, but don’t want to guess at what I need to do. Thanks so much. I can’t wait to make this for her.
Brandy says
My husband said he didn’t use a specific angle, just put it against the wall and estimated where it should be and cut that off. He also cut a little off the bottom legs as well. I’m sorry I couldn’t be of more help!
Dbas says
A simple but effective way to angle he bottom portion of the legs. Cut the board to the length you want first. Place a scrap piece of 2×4 on the floor lean the board against the wall lining it up with the board on the floor. Once you haveth position you desire, simply strike a line where the ladder leg meets the board in the floor place on you saw an cut. I hope that makes sense.
Julie says
LOVE this hack!!! Thanks for sharing it.
Jennifer nolen says
I like this. Really want to get 1 made. Thanks
Tabatha says
This may be a silly question, but we’ve made two of these already and I have to ask- did your husband run into the issue where the ladder seemed warped after it was together? When we lean them against the wall, the left leg is further out from the wall than the right, so it leans at a slight angle. My husband is using the Joey Johnny g instead of just nailing from the outside, but we can’t figure out where we’re going wrong!
Brandy says
Hi Tabatha! That is so strange! We’ve only made the one ladder, but didn’t have any warping at all. It sits flush against the wall. I’m really not sure what would have caused that and I asked my husband and he isn’t sure why that would be happening to you guys either.
Kristen says
Thankyou for these easy tips. I can’t wait to get to building.
Keeley Hollis says
Did you use anything on the bottom for grip or floor protection? Mine wants to slide with weight
Brandy says
We have carpet and it hasn’t ever slipped or slid. Do you have hard floors?
Robert says
How did he angle the rungs ?
Brandy says
Hi Robert! He said he kind of eye-balled that part. Brought them forward a bit, on an angle, instead of having them flush.
Roberto says
Thanks for your reply. Another question. How did your husband spaced the rungs? Did he used the center of the rung and did 11.5 down towards the center of the other rung? Or did he used the edge of the rung and then measured 11.5 to the edge of the other rung?
Brandy says
It measures 11.5″ from the bottom of one rung to the top of the next rung. Hope that helps!
Kelley says
11° is the cut on the bottom
Kelley says
Warping is caused by things not being made evenly. When we drill the holes we went through both of the two by fours simultaneously. We clamped and cut the angles at the same time also. I used a wooden dowel from a cabinet maker and we found the center on the end, tapped a small pilot hole and put in 3 inch finishing screws.
ZERELDA OR Daniel HAMMER says
I love the way the top of this is angled so that it won’t slide away from the wall. We’re going to use your plans to make two of these for displaying my quilts. Thanks!
Zerelda Hammer says
Do you know the angle you cut the top part of your 2×4’s? I see someone mentioned 11 degrees for the bottom at the floor. We have vinyl planking on our floors. Do you think we might need to secure the ladder to the wall so that it won’t slide away, or will it stay put with the correctly cut angles at the top & bottom? Thanks so much.
Brandy says
Hi! I’m not sure what angle they are cut at. My husband kind of eye balled it, but I need to ask him to see if he can figure it out. You don’t need to cut them at the top, I’ve seen some made with just 2×4’s. We just cut them so that they’d sit more flush. As far as the bottom, I think it helps them be more stable and our ladder sits perfectly against our new LVP floors (vinyl) without slipping!