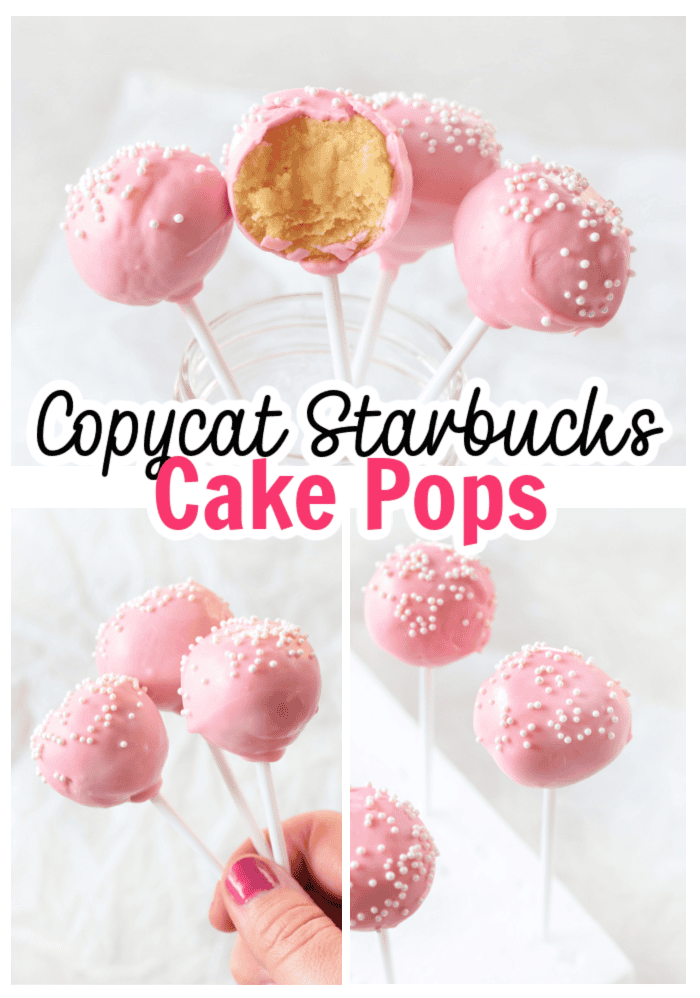
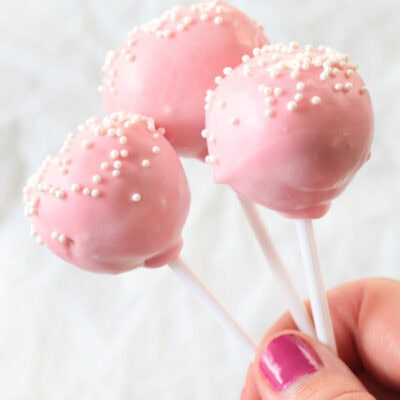
Copycat Starbucks cake pops are easy to make and even more delicious than the original! You’ll need a vanilla cake, candy melts, and sprinkles. The perfect two-bite treat.
You might also like our brownie truffles or brownie pops.
Watch our step by step video!
One batch makes 24-28 pops. When you consider that they are often sold for over $2 each, it's much more cost-effective to make your own at home. Cake pops store well at room temperature or chilled. You can also freeze them for longer storage. So, go ahead and make an entire batch to snack on for a while.
Copycat Starbucks Birthday Cake Pops

Facebook memory from a few years ago: "He needed 2 shots today and was SO brave, asking questions and not protesting at all. When it was over, his lips were trembling, and he said his heart hurt. This concerned the nurse, but he clarified that his heart was broken. ![]() His legs are sore, but he’s doing better, emotionally, after going to get a warm treat. He said, 'I’m happy again!'"
His legs are sore, but he’s doing better, emotionally, after going to get a warm treat. He said, 'I’m happy again!'"
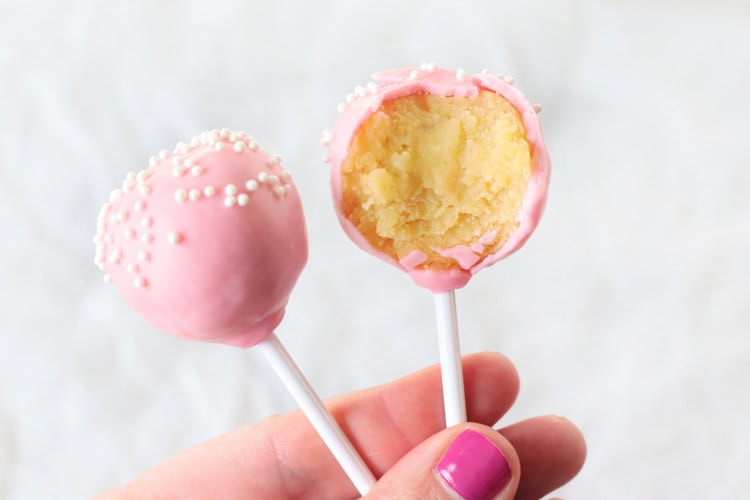
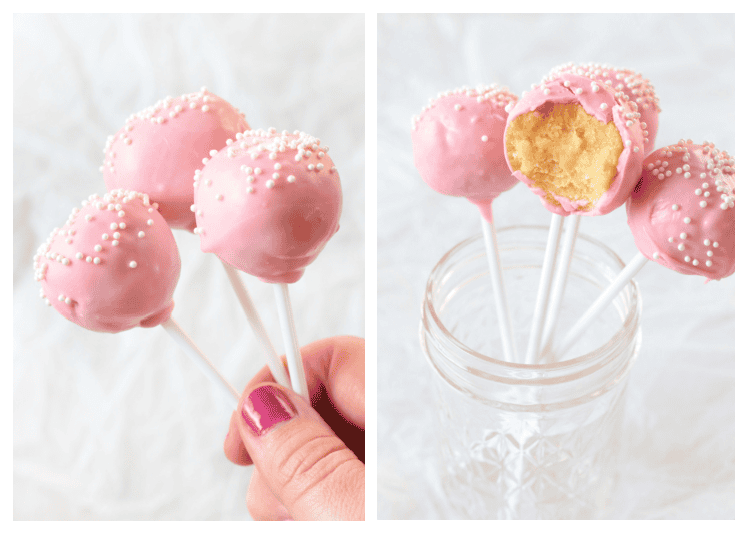
What was the warm treat that he wanted? A cup of hot cocoa and a cake pop from Starbucks. That's been our tradition for years! Cake pops are one of his favorite treats, so I decided to surprise him by making a batch at home. The same pink ones with vanilla filling and tiny white sprinkles that Starbucks sells.
For years, I used the classic method of crumbling up a cold cake, adding frosting, and forming them into balls. I made dozens and dozens that way for a Girls Camp fundraiser at church one year. They sold like hotcakes! However, last year, I saw quite a few methods shared for making cake pops WITHOUT frosting and was intrigued. I don't like storebought frosting, but was it worth making homemade buttercream to mix in with the cake to make cake pops? No, so I usually used storebought. Not anymore!
These cake pops are made with cake and melting chocolate. That's it! They have a creamy soft filling, and honestly, I think they taste better made without frosting. Don't worry; they are still ridiculously sweet, and because I use the best ingredients, they are loaded with rich flavor.
Here are a few other flavors that I've made: cookies and cream cake pops, Andes mint chocolate cake pops, and birthday cake pops.

This is JUST CAKE mashed up. No frosting.
8 Tips for Making The Best Homemade Cake Pops
I learned how to make THE BEST cake pop filling from TINA B COOKING IT UP. Tina said that the best cake pops start with a really moist cake and shared her tips for achieving that by adding sour cream and pudding mix to her cake batter. She then lets her cake cool, then uses a stand mixer with a paddle attachment to mix it into a moist dough-like consistency WITHOUT vanilla frosting to bind the cake balls together.
I learned from Cookies for Days that you can put the baked cake straight from the oven into the stand mixer, not waiting for it to cool. I'm impatient, so I went that route, and it worked great!
- Making the batter: add a box of pudding mix and a bit of sour cream, and use butter instead of oil.
- Baking the cake: DO NOT overbake the cake. I check mine at least 5 minutes early and keep checking for doneness with a toothpick. As soon as the toothpick comes out clear, I remove the cake from the oven.
- Mashing the cake: Use a spatula to scoop the hot cake into the bowl of your stand mixer. Using the paddle attachment, mix until a playdough-like dough is achieved.
- Shaping the cake pop balls: use a 2 Tbsp. cookie scoop to portion the dough, then mash each ball between your hands a few times to soften each ball before rolling it into a smooth ball.
- Chilling the dough: Don't freeze the cake pop balls before coating them in candy melts. Chilling in the refrigerator for 20 minutes works just fine. We just want to cool them off and allow them to slightly firm up. Frozen cake pops or really cold cake pops will crack once dipped in chocolate. Slightly chilled or room temperature pops work best. I chill them in the fridge for 20 minutes (this helps them set up and dry out a little on the outside).
- Adding lollipop sticks: Dip the tip of each cake pop stick into the pink candy melts before sliding it into the cake pop. Allow it to harden (keep the pops out at room temp, do not place back into the refrigerator). This will keep the stick secure when you dip the cake pop later.
- Dipping the pops: You want a smooth, dippable candy melts. If your candy melts seem a little thick, add a teaspoon or two of shortening or coconut oil and stir that into the warm melting chocolates. I find that I don't have to do that when using almond bark, but it's helpful when using Wilton candy melts. That's just me, if you've had success dipping without adding shortening or coconut oil, keep doing that. Let the melted candy melts sit for a couple of minutes before dipping.
- Perfectly shaped pops: To keep pops upright while the chocolate coating hardens, place them into a styrofoam block or cardboard box with holes poked into it. This keeps the pops perfectly round vs having a flat side from placing them onto parchment paper to harden.
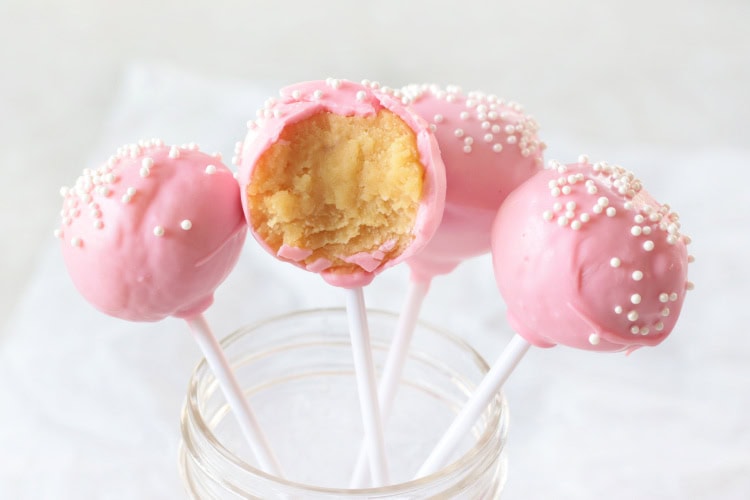
Just look at that fudgy center. So rich and creamy.
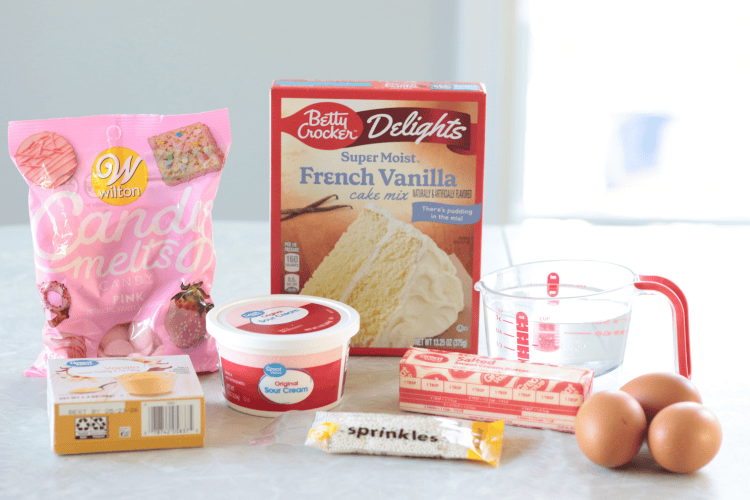
Copycat Starbucks Cake Pop Ingredients
Scroll down for a printable recipe card version
- 1 (13.25-ounce) box of French Vanilla cake mix (Betty Crocker is my go-to)
- 1 (3.4-ounce) box of instant vanilla pudding
- 1 cup water
- 3 eggs
- ½ cup (1 stick) butter, melted*
- 3 Tbsp. sour cream
- 12 ounces pink candy melts (Wilton)
- sprinkles
More Helpful Supplies
*Most cake mixes call for ⅓ or ½ cup of oil. For cake pops, just use ½ cup of butter.

Mix cake mix with pudding mix, eggs, water, melted butter, and sour cream in a large bowl with a mixer on medium speed, or beat vigorously by hand for two minutes.
Pour batter into a baking pan that has been sprayed with nonstick spray (bake in 2 round pans or a rectangular cake pan).
Bake the cake using the reference chart on the box as a guide. Remember to not overbake the cake; start checking for doneness early.
Use a spatula to scoop the hot cake into the bowl of your stand mixer. Using the paddle attachment, mix until a playdough-like dough is achieved (this may take a minute or two). Press the dough between your fingers. If it is soft and moldable, it's ready.
Use a 2 Tbsp. cookie scoop to portion the dough, then mash each ball between your hands a few times to soften each ball before rolling it into a smooth ball. Place the balls of cake onto a baking sheet lined with parchment paper or foil to keep them from sticking.
Chill the balls in the refrigerator for 20-30 minutes.
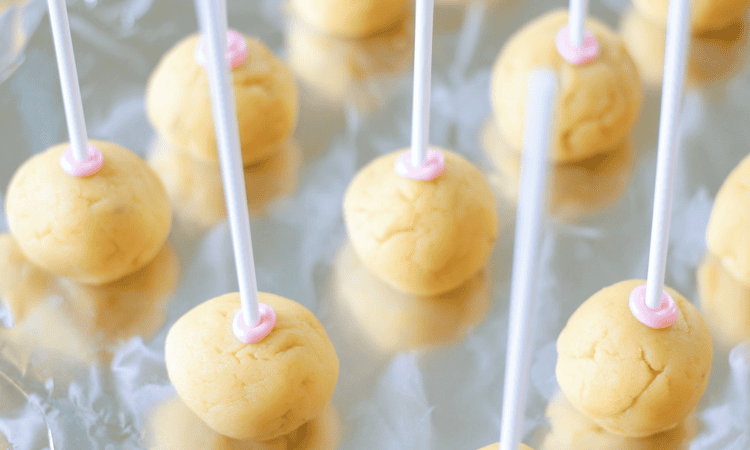
Melt ¼ cup of the pink candy melts according to the package instructions. Dip the tip of each lollipop stick into melted candy, then slide the stick into the cake pop ball about ¾ of the way into the ball. Repeat for all cake pops.
Let sit until the candy melts have hardened and the pops have come to room temperature (or close to it). 20-30 minutes.
Melt the remaining candy melts according to the package instructions. Add any leftover melted candy used for dipping the sticks and stir. If the candy melts seem thick, add a teaspoon or two of shortening or coconut oil and stir until smooth.
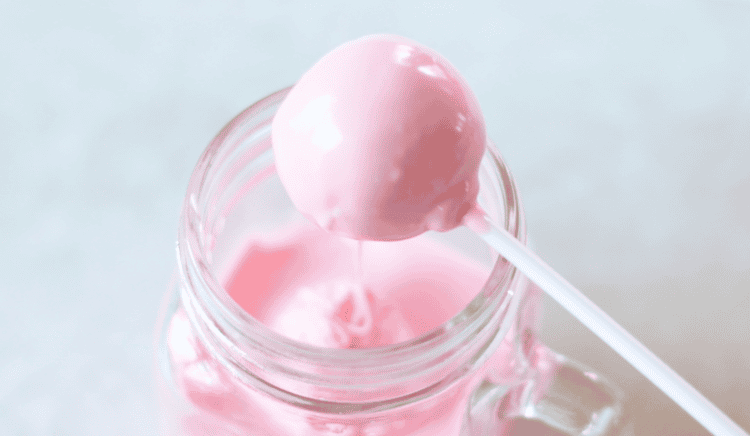
Pour candy melts into a glass or cup.
Dip cake pops into the candy melts and tap the stick against the side of the cup to allow excess chocolate to drip off.
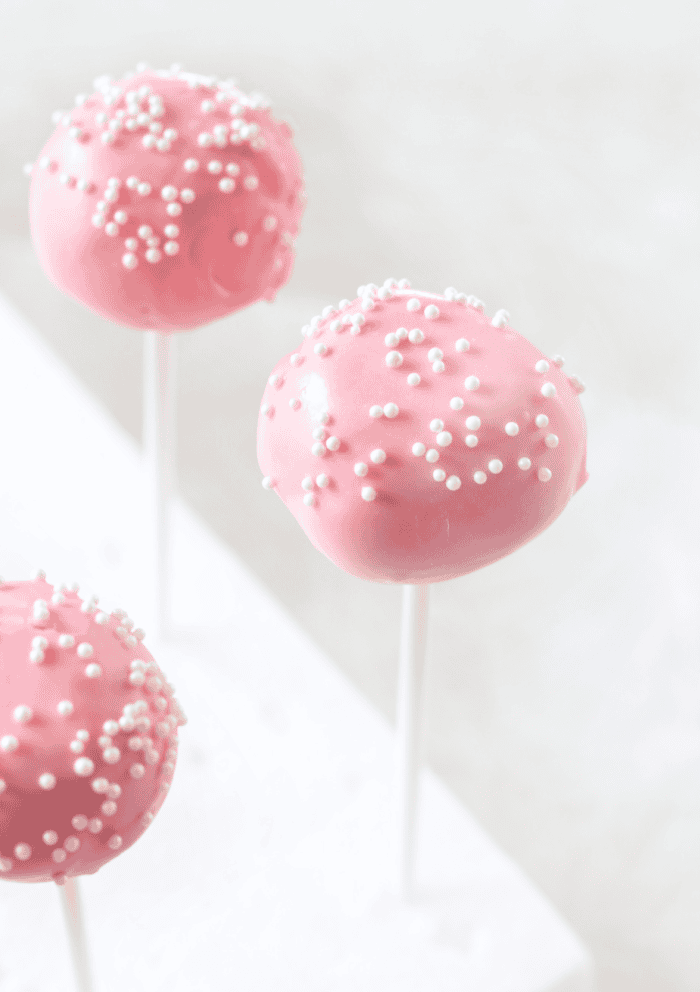
Immediately add the sprinkles.
Stand cake pops upright to harden. The easiest way to do this is to use a cake pop stand or styrofoam blocks.
This recipe makes 24-28 cake pops.
How To Store Starbucks Cake Pops
Store at room temp: Place cake pops into an airtight container and store for up to 5 days.
Store in the refrigerator: Place into an airtight container lined with paper towels and store for up to two weeks.
How To Freeze Cake Pops
Place the cake pops into an airtight container, and they'll stay fresh for at least a month or two in the freezer. To thaw, place the container on the counter (with the lid ON) and let them sit out for a few hours to come to room temperature. You can also place the container in the refrigerator and let them thaw overnight. I haven't had any issues with condensation thawing them this way.
If you enjoyed this recipe, don't miss my growing collection of Copycat Recipes! From famous restaurant dishes and luxury hotel cookies to bakery favorites and nostalgic grocery store treats, there's something for everyone.
Copycat Starbucks Cake Pops Recipe
Copycat Starbucks Cake Pops
Ingredients
- 1 13.25 ounce box French vanilla cake mix Betty Crocker
- 1 3.4 ounce box of instant vanilla pudding
- 1 cup water
- 3 eggs
- ½ cup butter melted
- 3 Tbsp. sour cream
- 12 ounces pink candy melts
- sprinkles
More Supplies
- 6" lollipop sticks
- styrofoam blocks or cake pop holder
Instructions
- Mix cake mix with pudding mix, eggs, water, melted butter, and sour cream in a large bowl with a mixer on medium speed, or beat vigorously by hand for two minutes.
- Pour batter into a baking pan that has been sprayed with nonstick spray (bake in 2 round pans or a rectangular cake pan).Bake the cake using the reference chart on the box as a guide. Remember to not overbake the cake, start checking for doneness early.
- Use a spatula to scoop the hot cake into the bowl of your stand mixer. Using the paddle attachment, mix until a playdough-like dough is achieved (this may take a minute or two). Press the dough between your fingers. If it is soft and moldable, it's ready.
- Use a 2 Tbsp. cookie scoop to portion the dough then mash each ball between your hands a few times to soften each ball before rolling into a smooth ball. Place the balls of cake onto a baking sheet lined with parchment paper or foil to keep them from sticking.
- Chill balls in the refrigerator for 20 minutes (DO NOT FREEZE).
- Melt ¼ cup of pink candy melts according to the package instructions. Dip the tip of each lollipop stick into melted candy, then slide the stick into the cake pop ball about ¾ of the way into the ball. Repeat for all cake pops.
- Let sit at room temperature until the candy melts have hardened and the pops have come to room temperature (or close to it), at least 20 minutes.
- Melt the remaining candy melts according to the package instructions. Add back any leftover melted candy used for dipping the sticks and stir. If the candy melts seem thick, add a teaspoon or two of shortening or coconut oil and stir until smooth. Let it sit for a few minutes to cool down slightly before dipping the cake pops.
- Pour the melted candy into a glass or cup.
- Dip cake pops into the candy melts and tap the stick against the side of the cup to allow excess chocolate to drip off.Immediately add the sprinkles.If the candy melts cool off too much and start to thicken, pop the cup back into the microwave for 15-20 seconds and stir. Continue dipping.)
- Stand cake pops upright to harden. The easiest way to do this is to use a cake pop stand or styrofoam blocks.

Brandy says
Hi everyone! Brandy here, I made and shared these with a few other cake pop flavors at a youth group activity, and they were a HIT! I brought 5 dozen and they were GONE! My daughter recently used this method to make cake pops for a class project in high school. They turned out great!
Karlene says
hello again Brandy1. do you shave off browned outside of cake?
Brandy says
Nope!
Karlene says
Hello. I am about to make cake pops. I would love to know if you have ever made a box cake (the regular way) and mixed (fresh out of oven) baked cake and then rolled into balls? I was told that it works well and that way there is no added sugar or fat ingredients. I think most cake mixes have pudding in the mix anyway.
Brandy says
Hi Karlene, thats basically what I do. I sub a couple of things to make it extra moist and flavorful, but baked as is (from the box) works great!
Karlene says
Thank you Brandy. I will try it your way with added pudding, butter and sour cream. I want them to be moist! I will be baking cakes today and keeping balls in the refrigerator until Friday night. Then I will melt the chocolate and dip. Hoping they will come out great for my daughter in laws' baby shower.