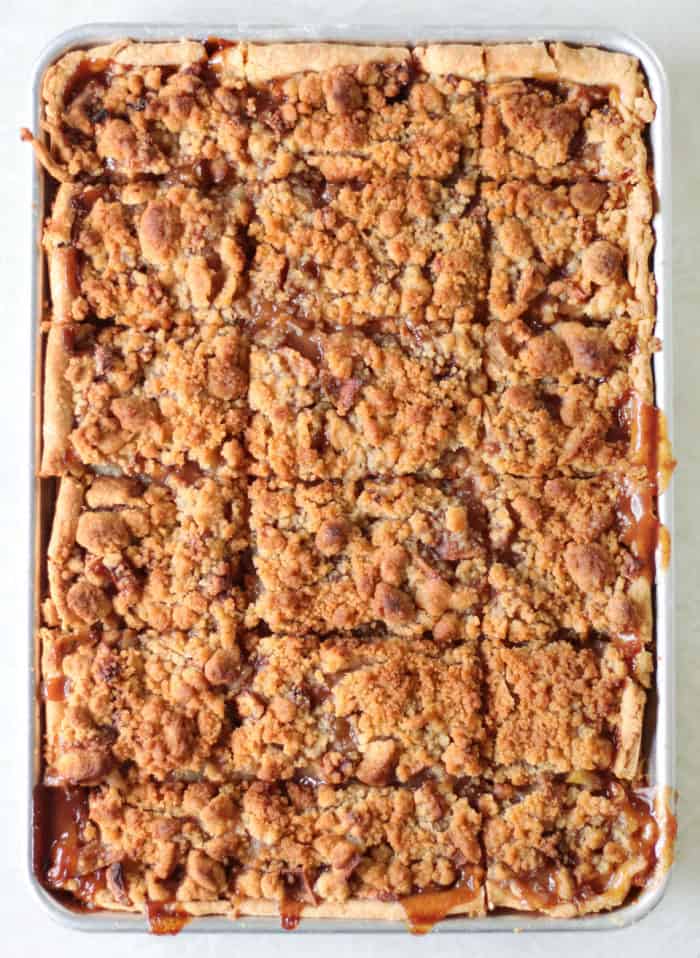
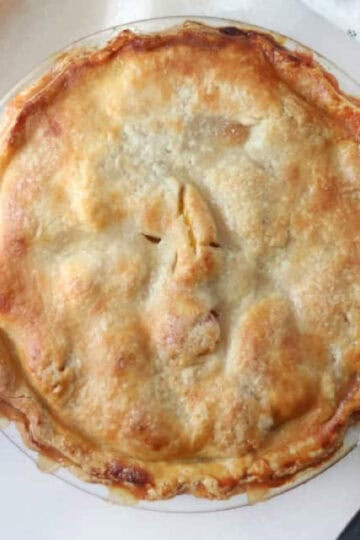
Everything you love about Dutch apple pie, baked in a sheet pan! One Dutch apple slab pie easily yields 18-24 slices, perfect for sharing with friends.
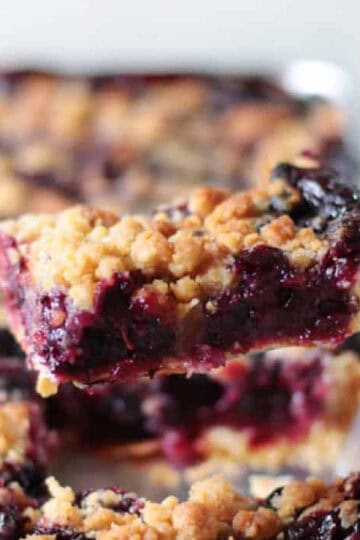
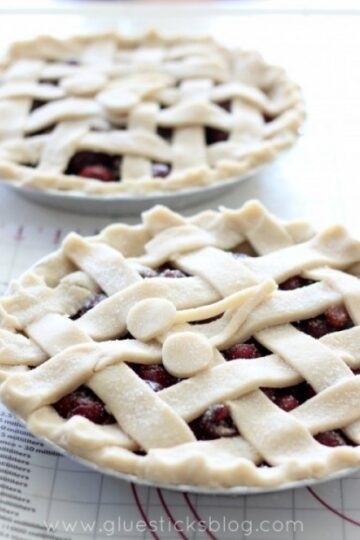
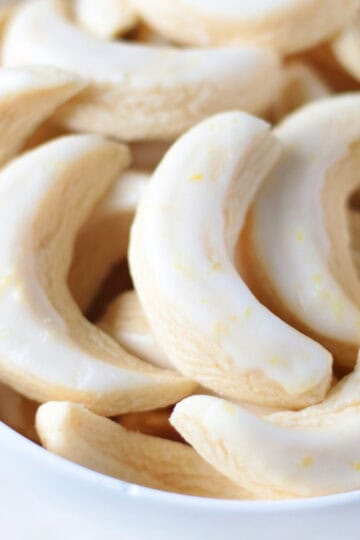
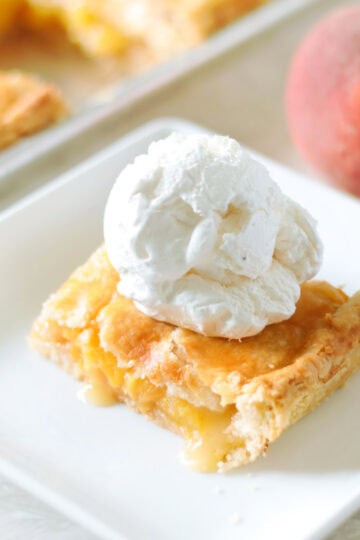
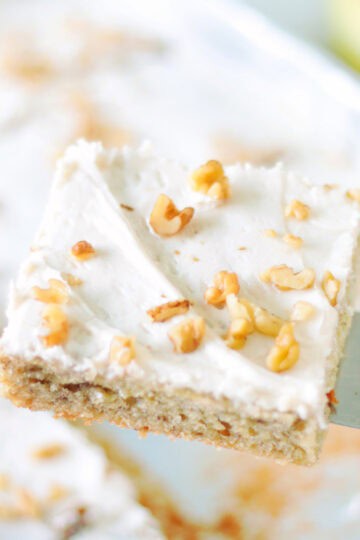
You might also like my blueberry crumb slab pie, our banana bread bars with frosting, or our lemon hand pies! For a refreshing summer recipe, try my fresh peach slab pie!
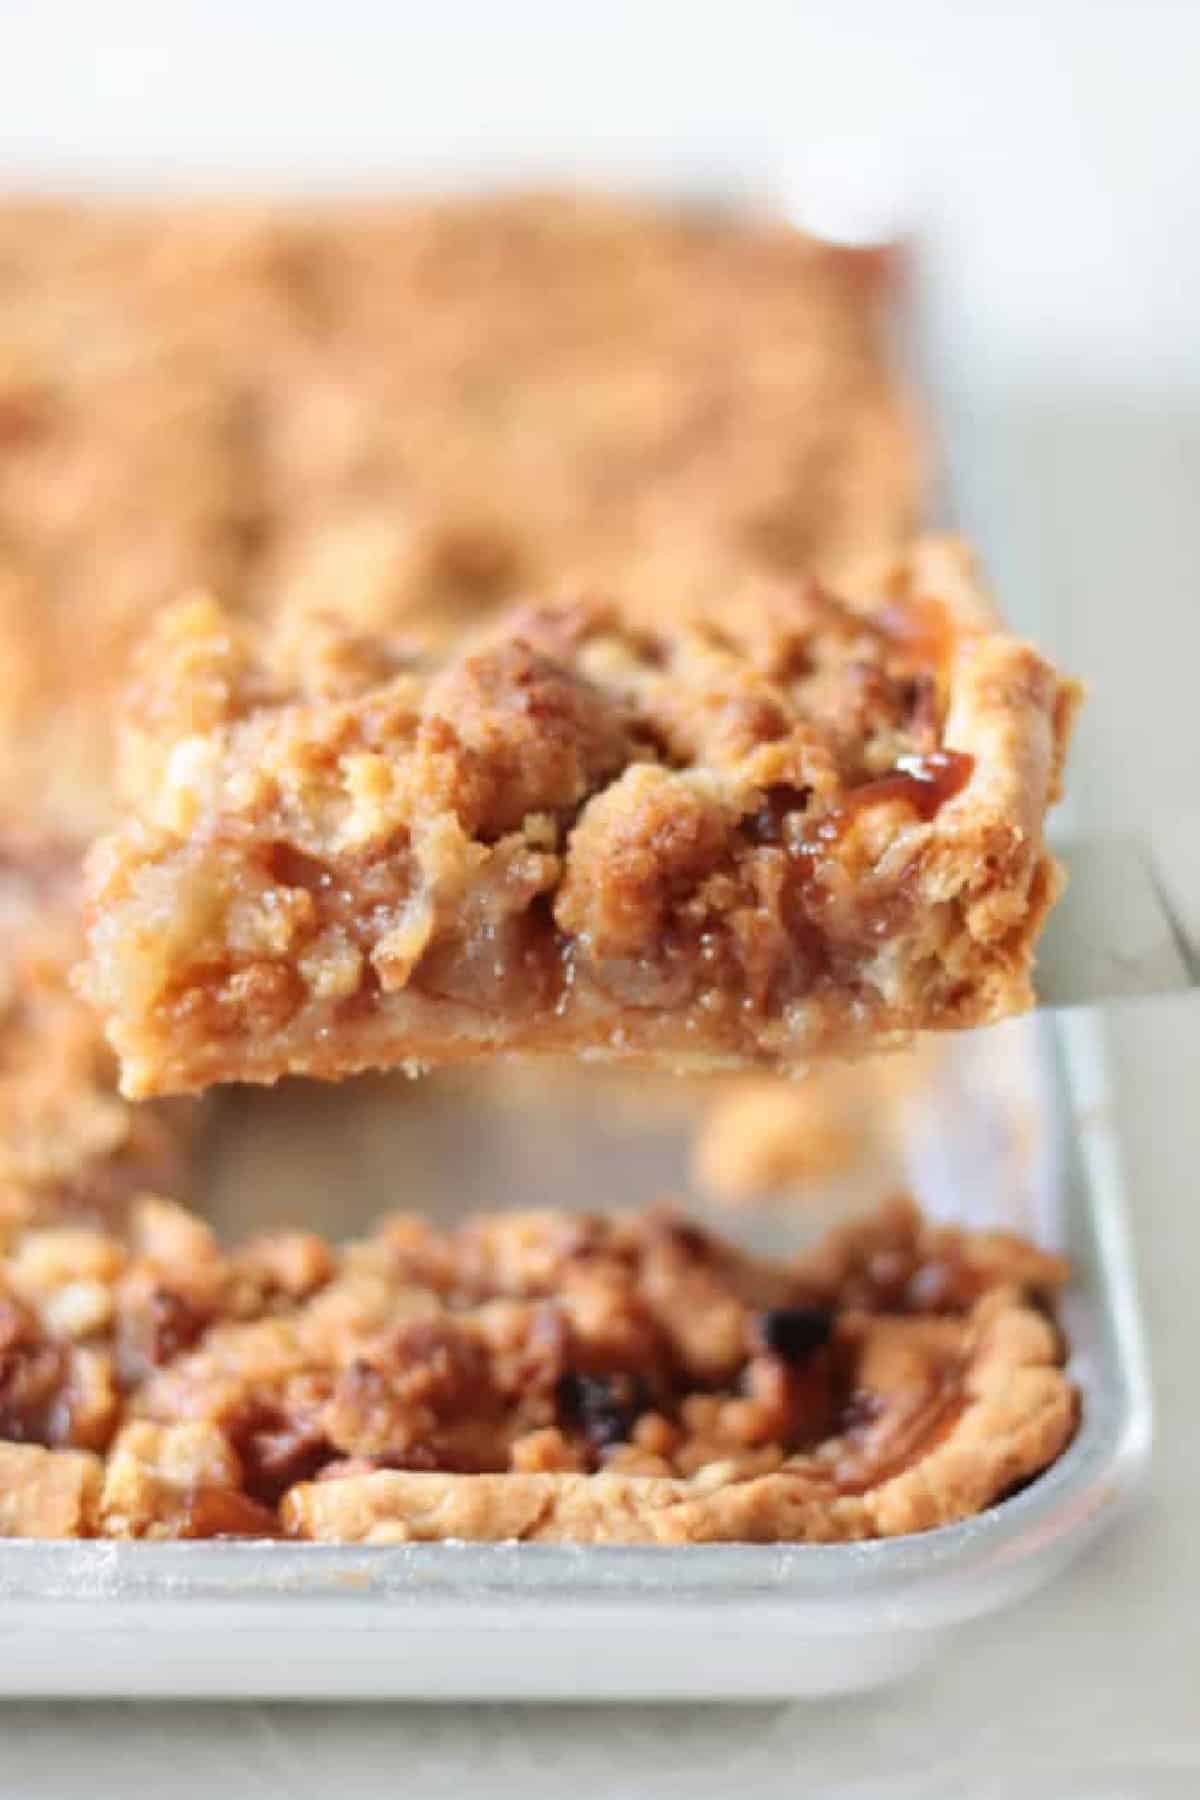
Dutch Apple Slab Pie
Dutch apple slab pie is absolutely delicious. It’s sturdy enough to pick up a slice with your hands, although I prefer eating it with a fork. Slab pie is easier to serve than a regular pie and stays fresh for up to three days, so it makes great leftovers.
Why I Like This Recipe
- Basic ingredients: My pie crust recipe is a keeper, a variation of my favorite pie crust recipe from Betty Crocker. It uses shortening, butter, and oil for the best texture and flavor. You can use canned pie filling if you'd like (you'll need 3 cans), but I like making apple pie filling from scratch. It's super simple and gives you the best flavor.
- The crust is forgiving: Not great at making pie crust? That's ok. Apple slab pie tastes delicious regardless, and because it's made with a combination of shortening, oil, and butter, it's a little easier to roll out than an all-butter pie crust. Do your best to roll it into a rectangular shape, but just know that once it's baked up, the golden top and bubbly filling will hide imperfections.
- Stays fresh for several days: Mine have been kept for at least 3 days, making this a great dessert to make the night before you need it.
- Serves a crowd. One slab pie will serve 18-24 people. I make my slab pies in a 10×15″ jelly roll pan. This is a great all-around size. It's smaller than the half-sheet baking pans that I typically use, but easier to work with when rolling out the dough. You can turn any pie recipe into a slab pie by doubling your favorite two-crust pie crust recipe and making about 1 ½ batches of pie filling. Make sure to follow my tips and tricks for achieving a perfectly baked crust (top and bottom)---very important!
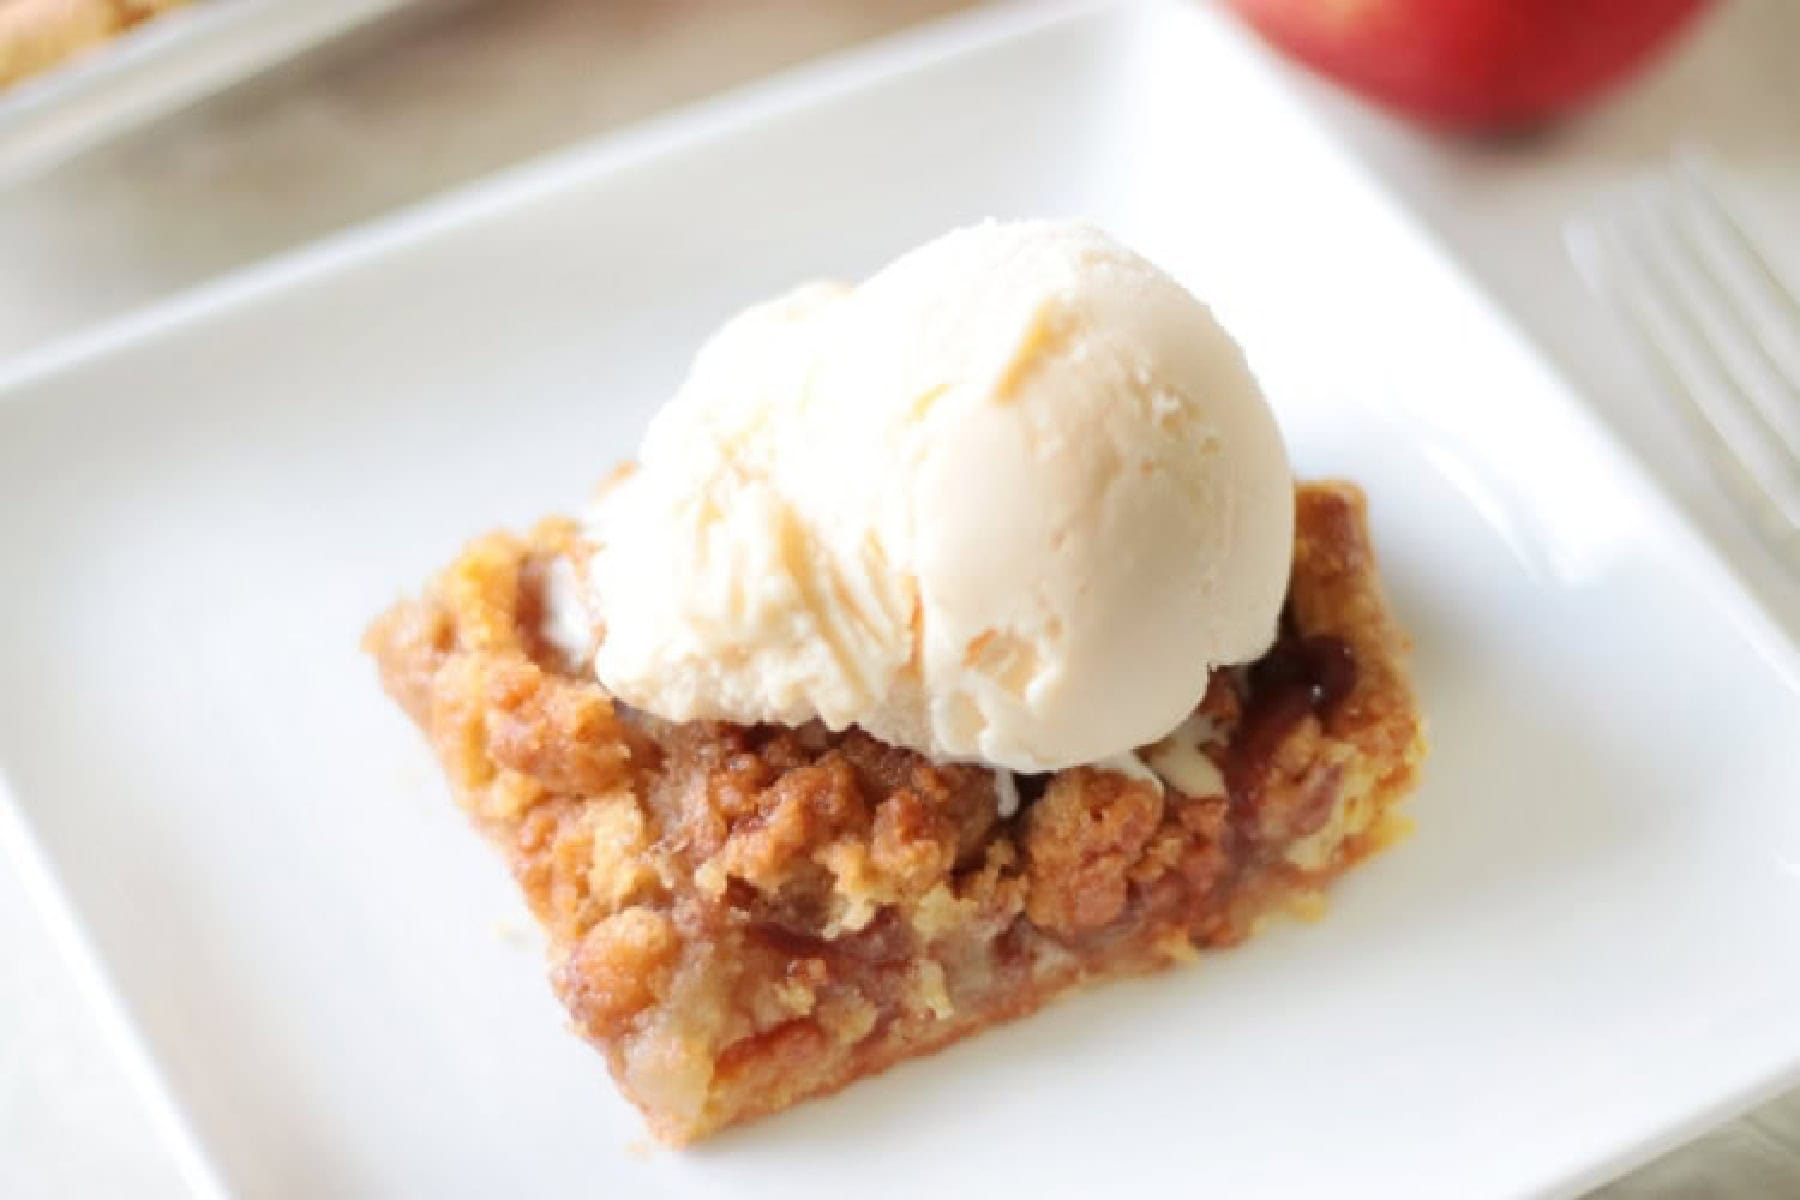
What Others Are Saying
Yummy flavor. My mom used to use crushed cornflakes to keep the pies from getting soggy. I liked the blend of flour and sugar in this recipe. It did the same thing and were ingredients that I was already using in the recipe!---Doreen on FB
Jump to:
🥧 5 TIPS FOR BAKING SLAB PIES
Fruit pies, if not properly baked, can end up with an underbaked bottom crust or one that goes soggy after a few hours. This is because fruit fillings break down during baking and leak juice. Having a properly thickened filling (using flour) and making sure your crust is baked properly is key. This is especially important with slab pie because it has a large surface area.
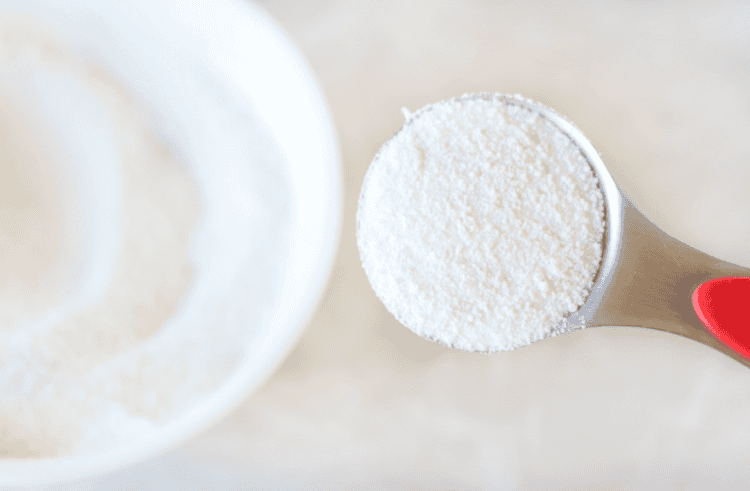
- Use Crust Dust: I first learned about the miracle of CRUST DUST (see image above) from King Arthur Flour. It's super easy to make, too! Crust dust is a 1:1 ratio of all-purpose flour and sugar. You simply mix the two ingredients together, then sprinkle it over the bottom crust in a THIN layer before adding the pie filling. As the pie bakes, the flour and sugar create a barrier, preventing the juices from soaking into the crust. It really works, too, and once baked, you won't even know it's there.
- Bake In Bottom ⅓ of Oven: Baking the pie lower in the oven (I bake on the second to bottom rack position) helps the bottom crust to bake evenly.
- Use a Baking Stone: I swear by baking my pies on top of a preheated baking stone (pizza stone). If you don't have one that's ok! The first two tips will still yield a delicious crust. The baking stone just helps center the heat evenly for the bottom crust.
- Use a Metal Pan: metal pie pans work better than glass for a golden bottom crust.
- Don't Worry About Overbaking Your Pie: yep, that's what I said. It's better to slightly overbake the crust vs. underbake. I bake my slab pies for 30 minutes, then loosely cover with foil for another 20-25 minutes. Covering the pie for the last half of the baking process will help the top not get too brown.
Remember: if the filling isn't bubbling up and almost coming out of the pie, it's not done!
Recipe Ingredients
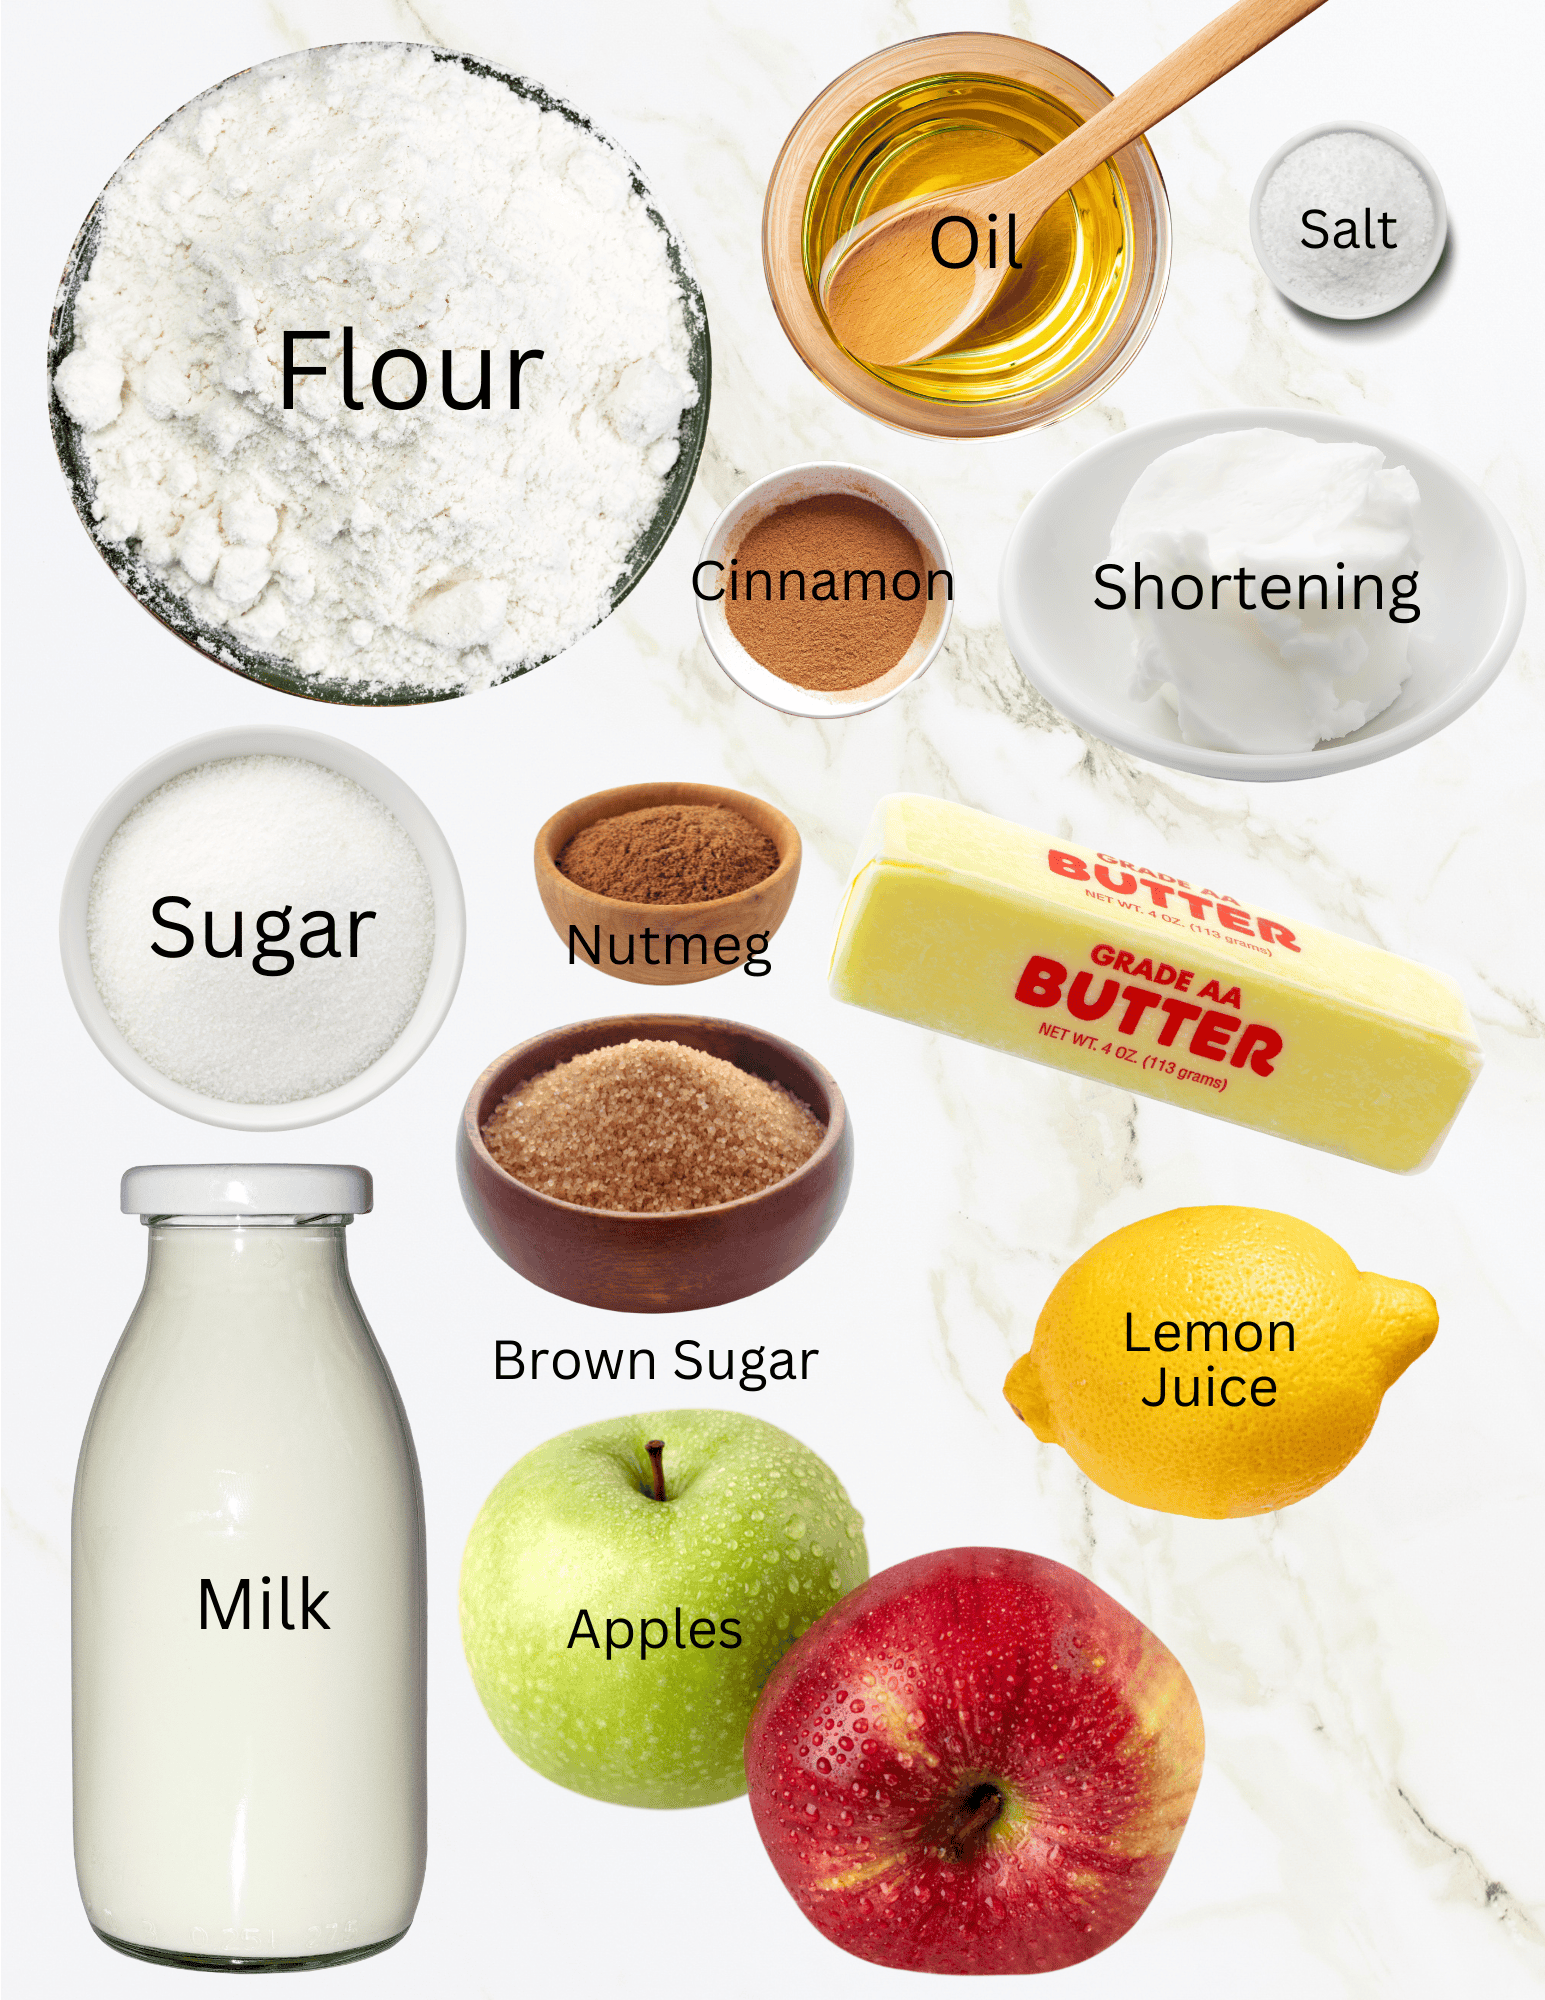
- Apples: You'll need to peel and chop 4 pounds of apples into bite-sized pieces. I used a combination of Granny Smith and Gala apples.
- Flour: Not only is flour used in the pie crust, but fruit pies need a thickener to bind with the sugar and juices for the filling. My preferred thickener is all-purpose flour.
- Sugar: Apples are already sweet, but sugar is still needed to create a delicious filling and add even more sweetness.
- Butter, Shortening, and Oil: You'll notice that the pie crust calls for all 3 of these fats. Each one has its purpose and helps create a delicious and flaky pie crust that rolls out easily and does not need to chill. I highly recommend NOT substituting any of these ingredients.
- Milk or buttermilk: You can use buttermilk or a combination of milk and lemon juice. I don't always have buttermilk on hand, so I use the milk and lemon juice hack.
- Cinnamon and nutmeg
- Brown sugar: adds a caramel flavor to the crumb topping.
- Melted butter: along with butter for the crust you'll also need melted butter for the crumb topping.
See the recipe card for full information on ingredients and quantities.
How To Make Dutch Apple Slab Pie
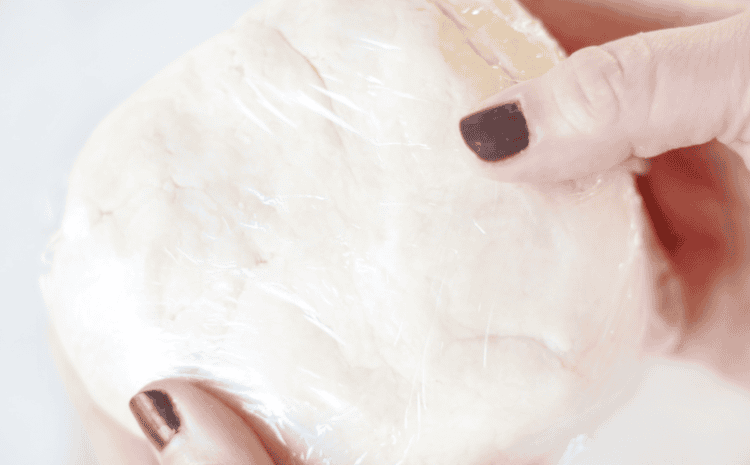
Step 1: Mix flour and salt in a large bowl. Cut in shortening using a pastry cutter. Cut in butter until the particles are the size of small peas. Combine the milk and lemon juice in a small bowl. Add oil and milk/lemon mixture to the flour mixture and stir until a soft dough forms. Divide dough into 2 pieces, wrap in plastic and chill for 30 minutes.
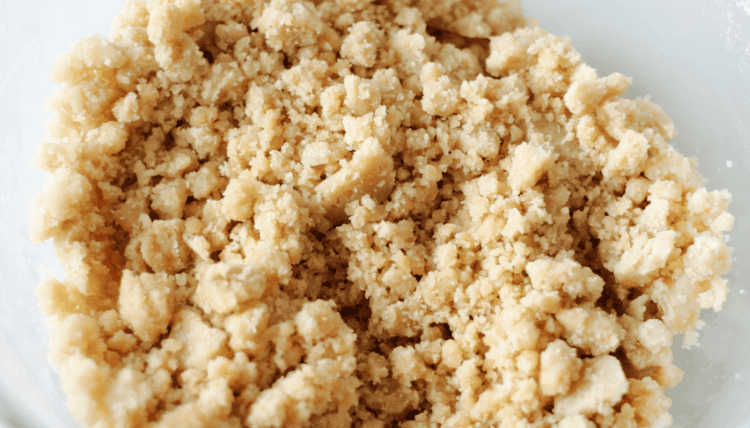
Step 2: While the dough chills, make the crumb topping by combining melted butter, brown sugar, sugar, and flour. Refrigerate the topping while you prepare the pie filling.
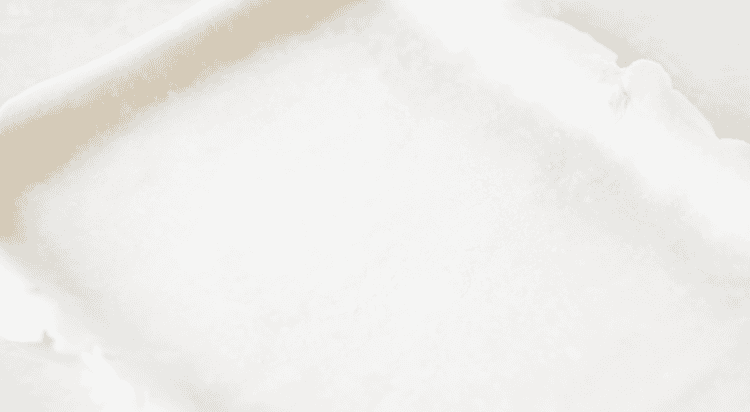
Step 3: Roll the chilled pie crust on a lightly floured surface. Keep rolling until it is a 13x18" rustic-looking rectangle. It won't be exact, and that's ok. Place the rectangle into a 10x15" jelly roll pan, allowing the excess to hang over the edge of the pan. Sprinkle crust dust over the pie crust bottom.
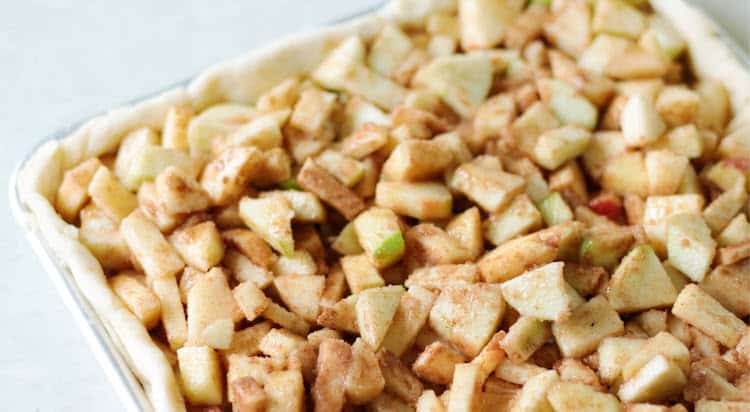
Step 4: Pour the apple filling over the bottom crust. Tuck the excess pie crust into the pan (rolling it forward or behind to tuck into place).
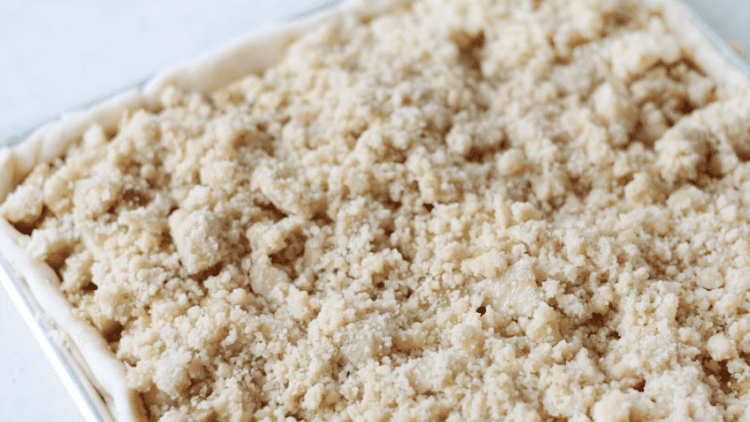
Step 5: Remove crumble topping from the refrigerator. It will be solid, and that is what you want. Break it up with a fork into small crumbs (pea-sized). Sprinkle the crumble over the apple pie filling.
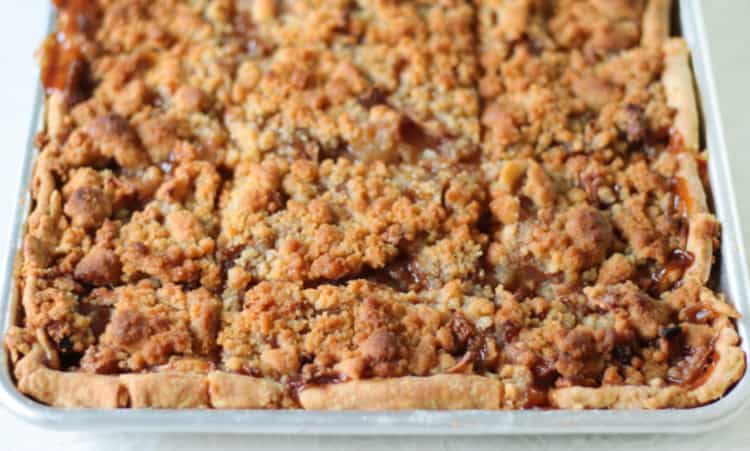
Step 6: Bake the slab pie for 30 minutes. Cover/tent loosely with foil and bake for an additional 20-25 minutes. The top should be GOLDEN and the filling should be bubbling. Allow the pie to cool for at least 2 hours before slicing.
Pie is best served after it's had a chance to cool for at least 2 hours. Wrap the cooled slab pie in plastic and store at room temperature for 2-3 days.
Dutch Apple Pie FAQs
Store leftover pie in the pan, covered with plastic wrap, to keep fresh for up to 3 days.
I only bake on light-colored baking sheets. If you bake on dark sheets, you may need to adjust the baking time.
Anytime I use shortening in a recipe, I am asked if you can use butter instead. I prefer using a combination of butter and shortening for the best flavor and texture. The shortening makes the dough easier to roll out as it doesn't warm when I work the dough with my hands, but you can absolutely use all butter.
The best baking apples are varieties that have a firm flesh, like Granny Smith, Honeycrisp, and Fuji. They don't break down and turn to mush when baked, but still retain some shape. For a balance of flavor, I like using two types of apples. A firm tart one like Granny Smith and a sweeter apple like Honeycrisp or Gala.
More Pies Recipes To Bake
MADE THIS RECIPE AND LOVED IT? 💛 Please leave a STAR rating and COMMENT below! Post it to Facebook or Pinterest to easily share with friends!
Dutch Apple Slab Pie
Ingredients
Pie Crust
- 2 cups all-purpose flour
- 1 teaspoon salt
- ⅔ cup shortening
- ¼ cup COLD butter I use salted, cut into small cubes
- 2 teaspoons vegetable oil
- ⅓ cup milk
- 1 ½ teaspoons lemon juice
Apple Pie Filling
- 10-12 cups diced and peeled apples about 4 pounds
- ⅔ cup sugar
- ¼ cup all-purpose flour
- 1 ½ teaspoons ground cinnamon
- ½ teaspoon ground nutmeg
Crust Dust
- 2 Tbsp. all-purpose flour
- 2 Tbsp. sugar
Crumble Topping
- 1 ½ cup flour
- ¼ cup sugar
- ¾ cup brown sugar
- ¾ cup melted butter 1 ½ sticks
Instructions
- Mix flour and salt in a large bowl. Cut in shortening using a pastry cutter. Cut in butter until the particles are the size of small peas.
- Combine the milk and lemon juice in a small bowl.
- Add oil and milk/lemon mixture to the flour mixture and stir until a soft dough forms. You may need to use your hands to form the mixture into a dough.
- Flatten the dough into a disc and wrap with plastic. Refrigerate while you make the pie filling and crumb topping (30 minutes).
- Mix crumb topping ingredients together. It will look like a ball and not crumbly, that's what you want at this point. Refrigerate the crumb mixture until the pie crust is done chilling.
- Combine apples, sugar, flour, cinnamon, and nutmeg. Coat evenly.
- Preheat the oven to 400 degrees. Lower the baking rack to the bottom ⅓ of the oven. If you have a pizza stone, place it on the oven rack to preheat.
- Roll the pie crust on a lightly floured surface. Keep rolling until it is a 13×18″ rustic-looking rectangle. It won’t be exact, and that’s ok. The crust will be thin.
- Place the rectangle into a 10×15″ jelly roll pan, allowing the excess to hang over the edge of the pan.
- Sprinkle crust dust over the pie crust bottom.
- Pour the apple filling over the bottom crust.
- Tuck the excess pie crust into the pan (rolling it forward or behind to tuck into place).
- Remove crumble topping from the refrigerator. Break it up with a fork into small crumbs (pea-sized). Sprinkle the crumble over the apple pie filling.
- Bake the slab pie for 30 minutes.
- Cover/tent loosely with foil and bake for an additional 20-25 minutes.
- The top should be GOLDEN and the filling should be bubbling.
- Allow the pie to cool for at least 2 hours before slicing.

Brandy says
Hi everyone! Brandy here. I wanted to leave an update and review based on the responses from the homeless resource center! I made two slab pies to donate to the shelter to serve with a meal. I packaged the slices individually in small cups with lids and froze them until I was ready to drop them off a few days later. The crumb topping will soften, but I was pleasantly surprised that the structure was the same when it thawed. Didn't get gooey at all. Just softer. The pies were well received!