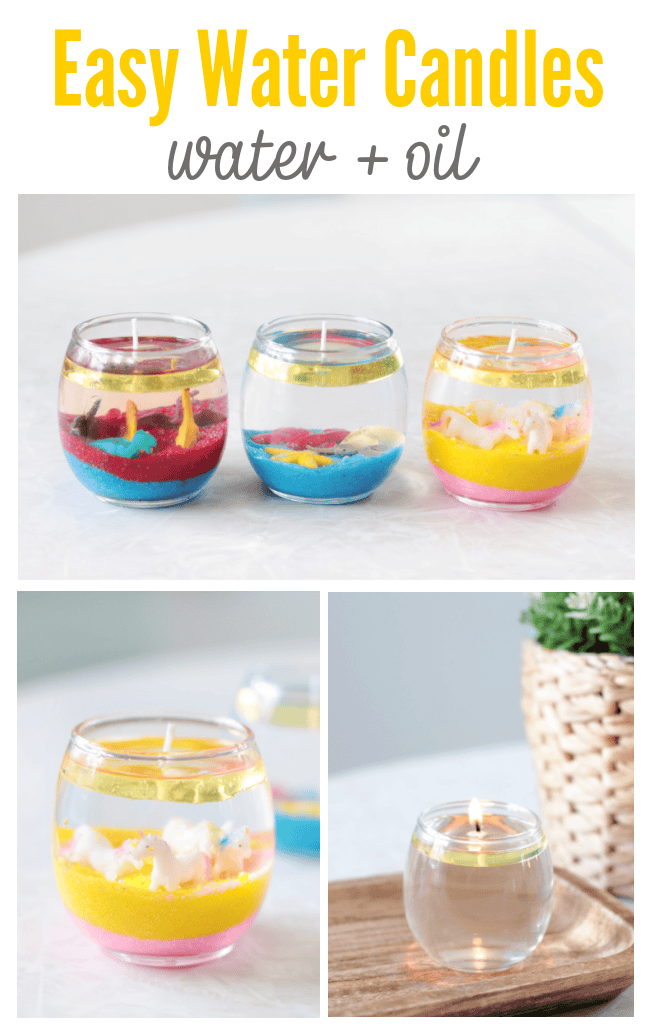
Make your own candles with water and oil! These water candles burn for 3 hours and are easy to make. Check out our kid version made with sand, water, and a few toys! As always, keep burning candles out of the reach of children. Adult supervision is required.
You might also like our tutorials and recipes for making beeswax candles, our homemade poppyseed soap, or our orange bath bombs.
Watch our step by step video!
Ruby and I were at Hobby Lobby a while back and saw a kid's craft kit for making candles using water and oil. I looked the kit up on Amazon and the reviews were horrible! We still thought they looked like fun so we began experimenting and coming up with our own version. These water candles burn for 3 hours and are so easy to make! No double boiler, hot wax, or mold is required.
Water Candles
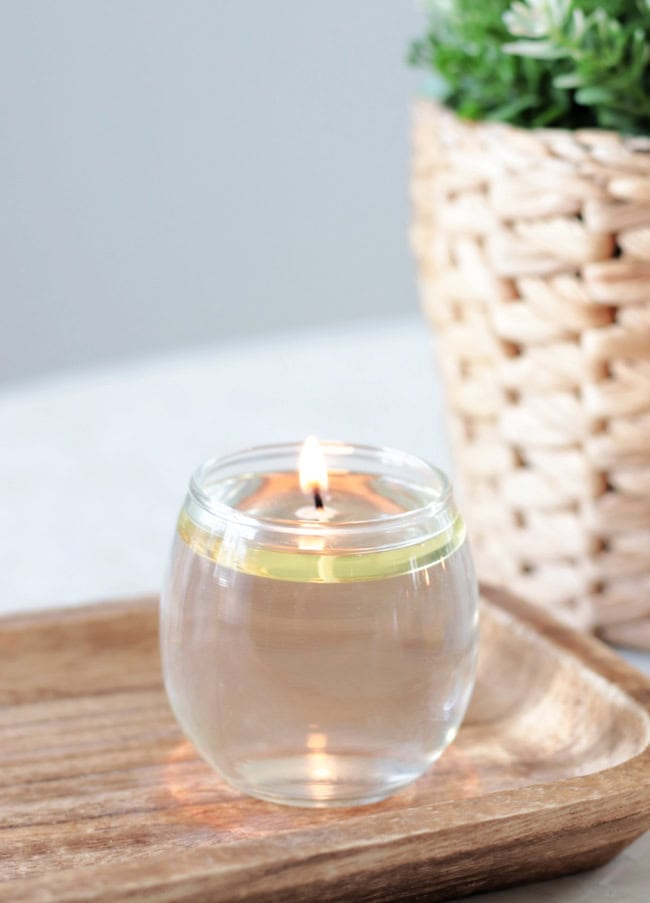
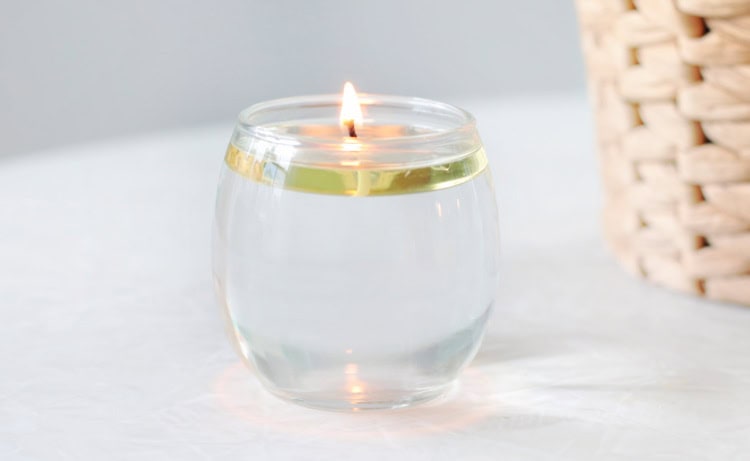
These types of candles are usually shared as an emergency preparedness idea, and don't contain a fragrance, but can be used as centerpieces and decorations too. Wouldn't these be pretty at a wedding reception or baby shower? Water candles are made from water and oil. They are extremely inexpensive to make because they are mostly water and don't use very much oil. A small amount of oil on top of the water can burn for 3 hours, making these much cheaper than wax candles. Simply top off the oil and keep on burning. They put off a soft glow and a low amount of light.
You can buy floating wicks or make your own floating wick. I'll show you how we made them using plastic packaging (food packaging or plastic from a 2L soda bottle). We've seen all sorts of wicks used for making these types of candles: birthday candles (remove the wax and use the wick), floating wicks, cotton wicks, etc. We had the best results when using the same wicks that we used for our beeswax candles. We didn't try the floating wicks because I already had the other types of wicks on hand, but think that they'd be a great choice too.
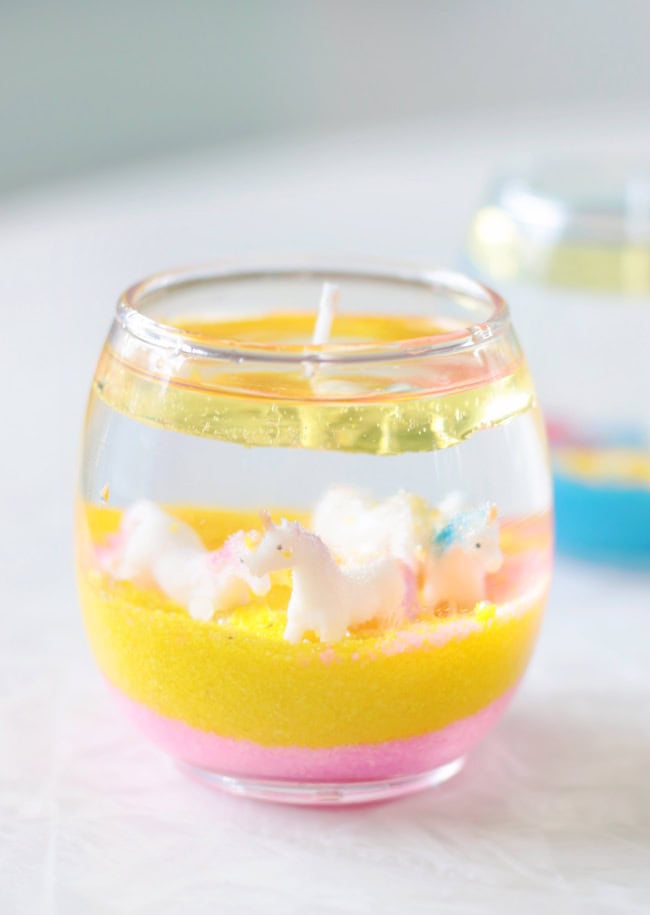
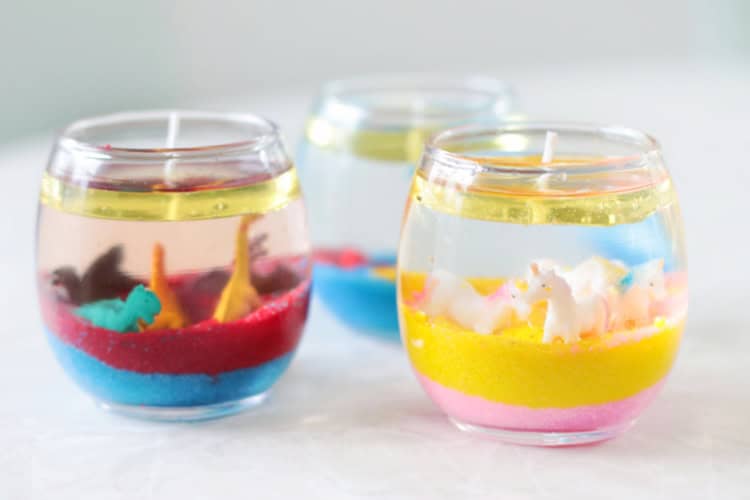
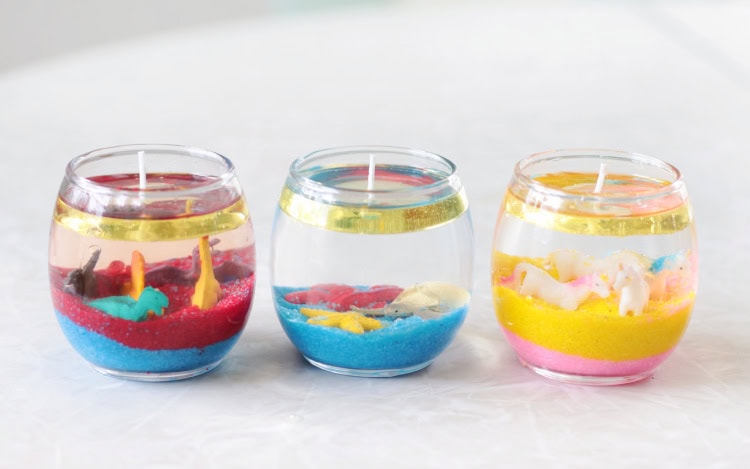
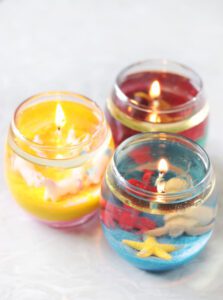
These candles are pretty on their own, but it's just fun to customize them. You can make them in votives or mason jars and can fill the jars with marbles, sliced fruit, sprigs of herbs, or anything you'd like. Regardless of what you do, the oil floats on top and that is what burns and puts off the light. Today we're sharing a fun kids version.
Water Candle Supplies
You'll need the following supplies to make your own candle. If you don't care about adding sand or toys, just skip that step! You can tint the water with food coloring if you'd like, but we left ours clear.
- glass container, votive, or glass jar
- water
- oil (vegetable oil, olive oil, canola oil, sunflower oil, etc.)
- plastic packaging
- candle wicks (can also use a floating candle wick)
- scissors
- lighter
- sand, marbles, or small gems
- small toys or decorative items
How To Make a Candle with Water and oil
(scroll to the bottom of the post for a step-by-step photo tutorial and be sure to check out our video!)
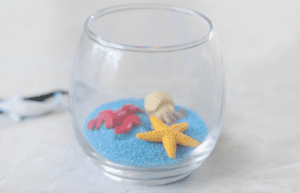
Add a layer or two of sand and a few small toys if you'd like.
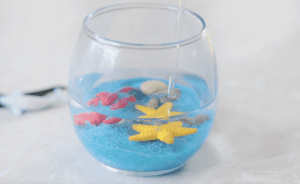
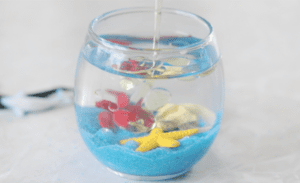
Fill the votive with water and oil.
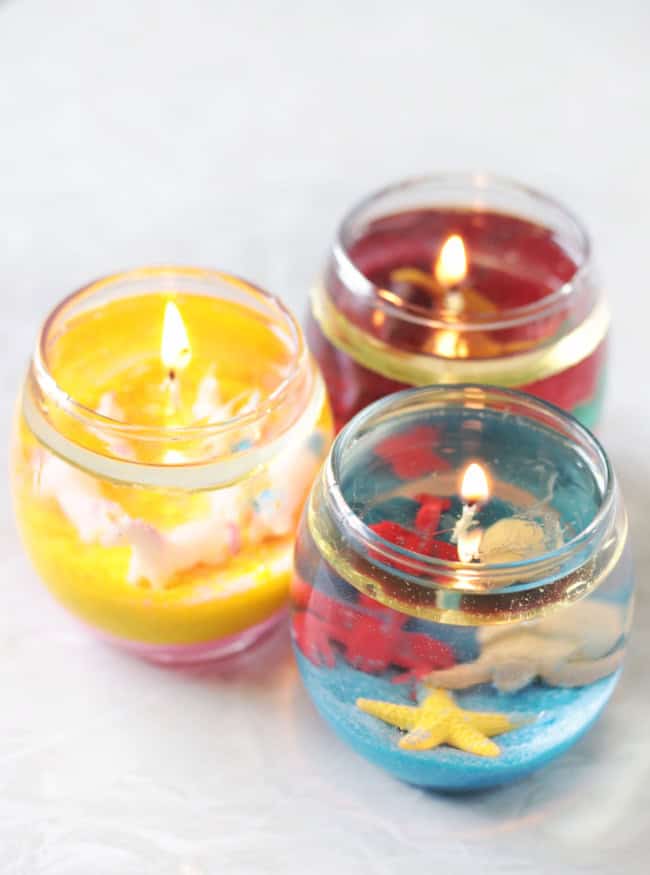
Place the wick on top and light a flame.
We timed our candles and they each burned 3-4 hours. Anytime one burned out earlier it was because the wick wasn't straight and it caused it to lean into the oil and burn it out. So make sure that your wick is standing up straight!
Easy DIY Water Candle Tutorial
Water Candles
Equipment
- lighter
- scissors
- exacto knife
Materials
- glass votive or jar
- water
- oil (vegetable, canola, etc. Lamp oil works too.)
- sand optional
- small toys optional
- plastic container (soda bottle, food packaging, etc.)
- candle wick
Instructions
- Add a few spoonfuls of sand into a glass votive or jar.Add a few toys.Marbles are also pretty to use in water candles.(If making a basic water candle omit this step.)
- Fill the votive with water, leaving about ½" of space at the top.
- Pour a ¼" layer of oil on top of the water.
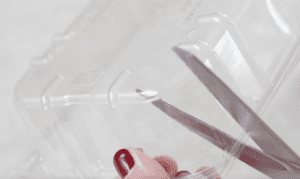
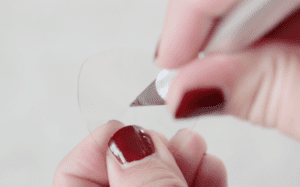
- Cut out a circle (smaller than the votive opening) from a plastic container or 2L soda bottle.
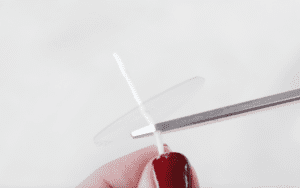
- Poke a small hole in the center or make a small "x" using an exacto knife.
- Slide wick through the small hole, about ½". Trim wick under the plastic, leaving about ¼".
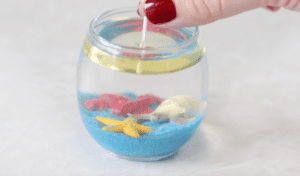
- Place plastic and wick on top of the oil in the candle. Note: Make sure that the wick is standing up straight and not leaning. If it is leaning it will droop over and touch the oil which will burn it out.
- Light candle.Candles with ¼" of oil will burn for 3-4 hours. When the candle runs out of oil simply remove the plastic circle, add more oil, place plastic on top and light again. Replace wick as needed.
Video
Notes




Leave a Reply