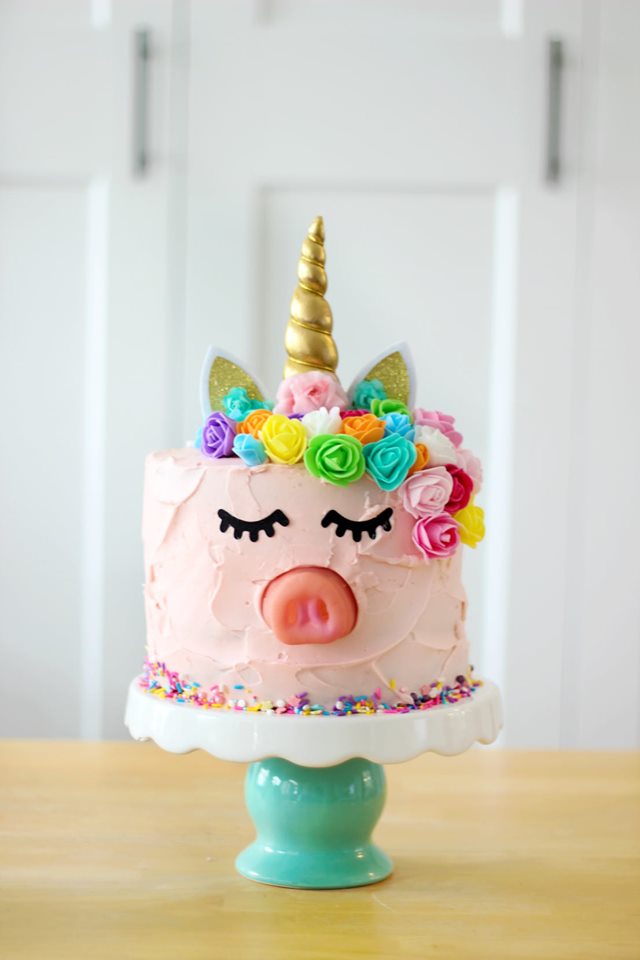
What do you get when you combine a pig and a unicorn? A pigicorn! Here is how to make a pigicorn cake using a cake mix and unicorn cake kit. This post contains affiliate links.
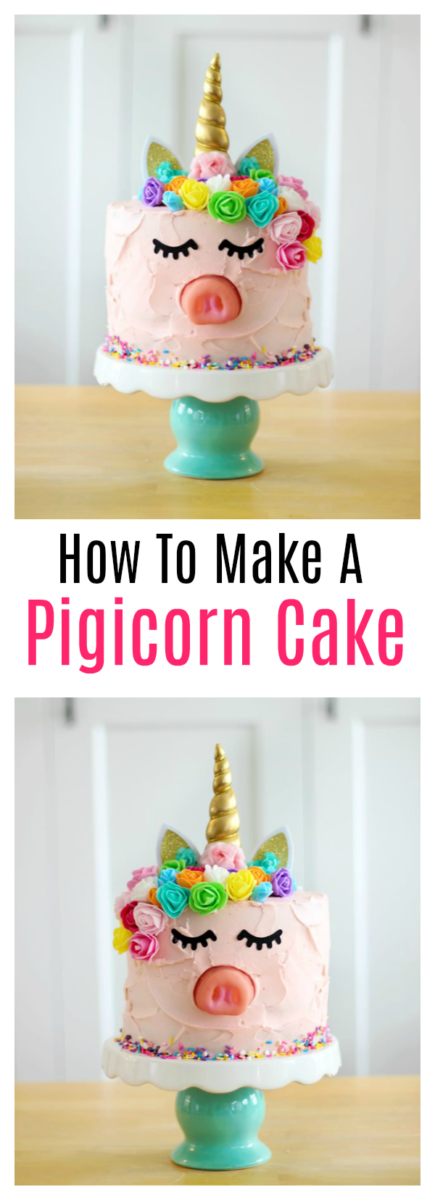
Ruby has been obsessed with pigs for who even knows how long. We've made pig ice cream cones, pig sleep masks, and two pig birthday cakes in the past. I decided to switch things up and we just can't stop laughing. Miss Piggy would totally approve of this cake, no?
The elegance of a unicorn and the nobleness of a pig. The best part? I totally cheated and used foam flowers. No fancy frosting piping on this cake!
It's no surprise that Ruby asked to be a pig for Halloween this year so I ordered her a pig snout from Oriental Trading. If you've ever ordered from Oriental Trading you know that most items come by the dozen. I didn't pay attention to the description and thought I was getting one pig snout---but 12 arrived. I set one aside to make this cake and placed an order on Amazon for the rest of the supplies.
How to Make a Pigicorn Cake
(Cake stand is from the Dollar Spot at Target)
You'll need a cake to decorate. I made 2 round cakes, split each one in half, using my cake leveler, and added frosting and strawberry preserves (homemade strawberry freezer jam) as a filling. I used my favorite buttercream frosting recipe from Cakes by Courtney and added lemon extract for a strawberry lemon themed cake.
The cake pans that I use are 8" round pans from Wilton and are 3" deep. They are a bit deeper than traditional pans and each pan holds 1 boxed cake mix, prepared.
Stack the cakes and frost. I'm not that great at getting my frosting super smooth so I go for a more "rustic" look, using my frosting spatula, ha!
Note: save some of the frosting (about ¼ cup) to attach the unicorn topper and flowers.
Once your cakes are stacked and frosting it is time to add all of the cute piggy details!
How to Apply the Unicorn Topper
(Image source: Amazon)
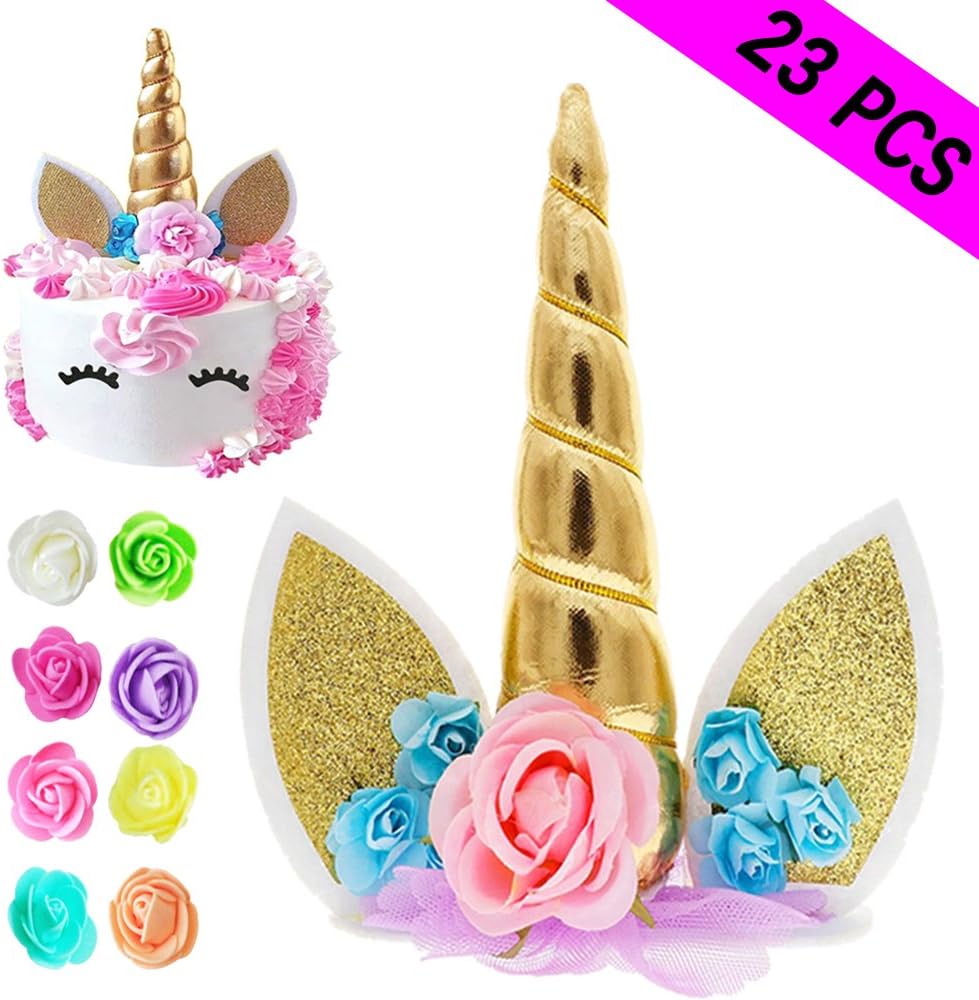
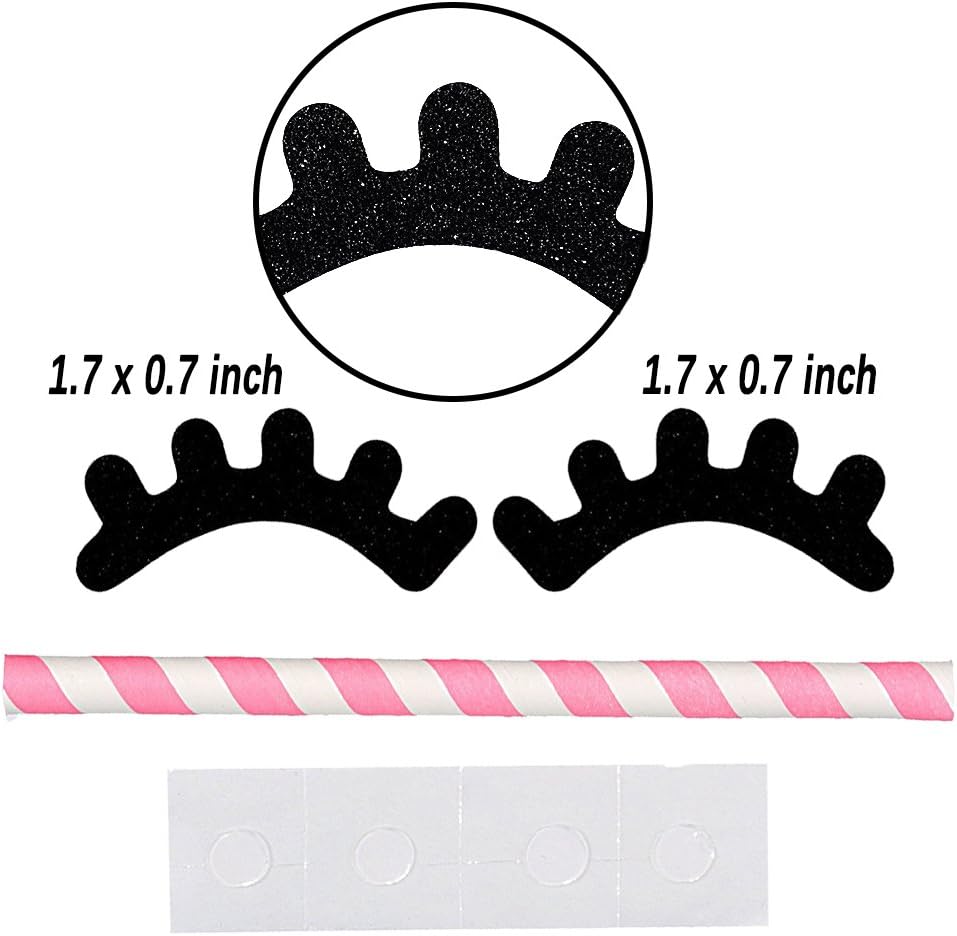
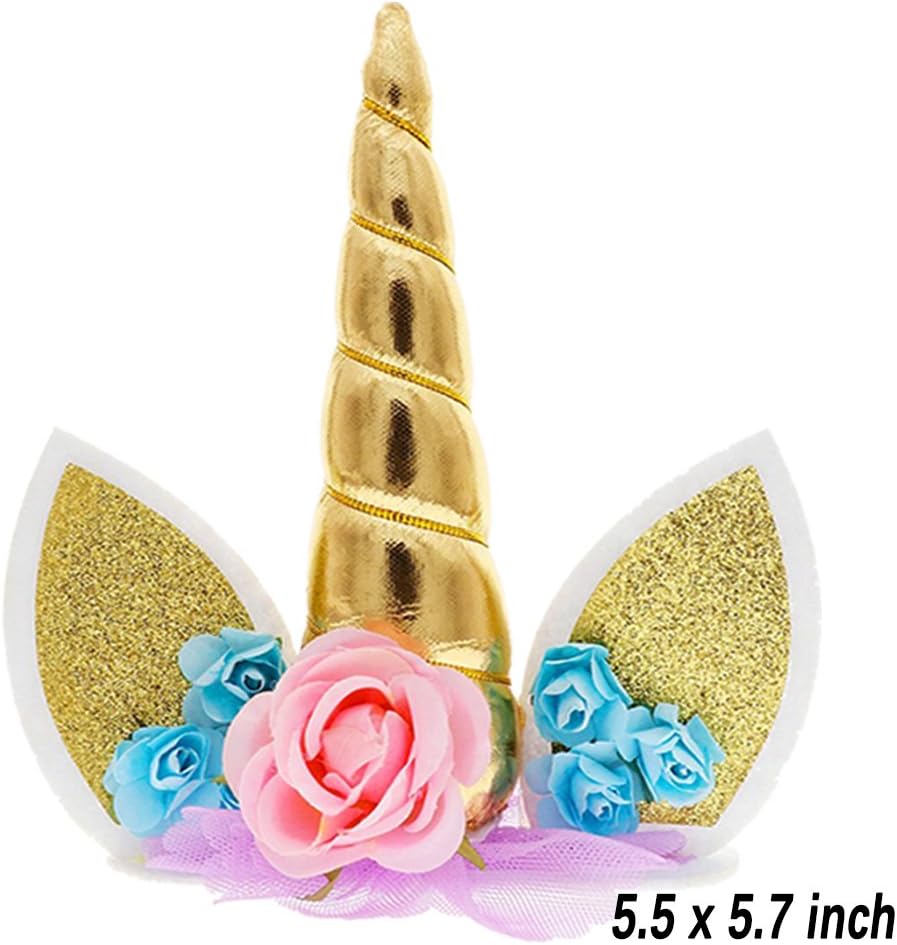
The unicorn cake kit that I purchased from Amazon came with everything that you see here. The unicorn topper, eyelashes, an assortment of foam flowers and even a paper straw.
(Image source: Amazon)
I used the straw to attach the pig snout. I didn't end up using the sticky dots that were included in the kit.
(Image Source: Amazon)
The bottom of the cake topper is felt---don't ask me why. You can cover it with plastic wrap to keep it clean, but I didn't worry about that. I just applied frosting to the bottom then pressed it to the top of the cake.
How to Apply the Flowers
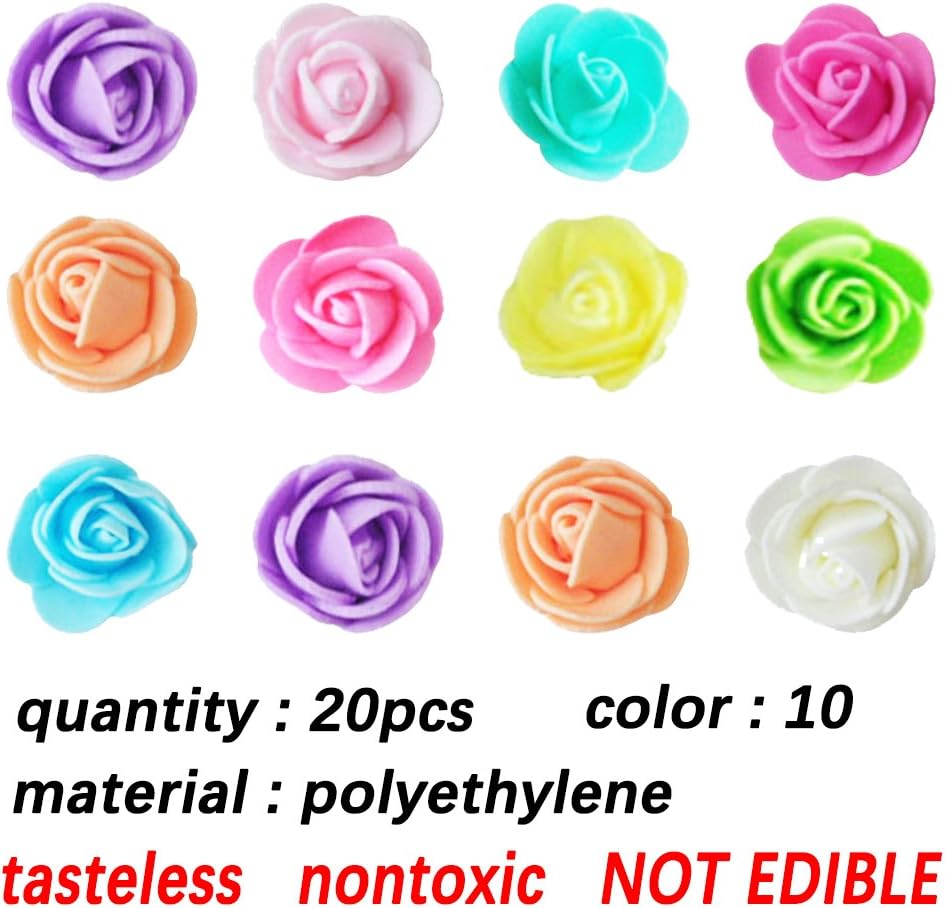
(Image Source: Amazon)
The flowers are SO easy to apply. Yes, I could have made my own, but why? These ones worked perfectly! Dip each flower into the leftover frosting and press onto the cake. We started at the top and worked our way down one side.
Note: these flowers ARE NOT EDIBLE.
How to Attach the Eyelashes to the Pigicorn Cake
Press the eyelashes onto the cake using even pressure.
How to Attach the Pig Snout
Cut the elastic string off of the pig snout.
Use the straw from the unicorn cake kit and press it into the cake, leaving about 3" sticking out. Leave enough so that the snout can rest on the straw, trim excess.
Place snout onto straw and gently press until the snout goes into the cake a bit. The straw will help hold the snout up.
How to Attach Unicorn Sprinkles
These unicorn sprinkles are so fun, but are completely optional. I used them in our unicorn pudding cups a few months ago and had a ton left over. I like how they cover the bottom of the cake and any imperfections. Pour a small amount of sprinkles into your hand and gently press them onto the cake. Repeat as you turn the cake until the entire edge has been covered.
Pigicorn Cake Printable Recipe

Pigicorn Cake
Equipment
- pig snout
- unicorn cake kit
- cake pans
- frosting spatula
- cake leveler
Ingredients
- 2 cake mixes baked according to directions on box
- 2 cup butter
- 6 cup powdered sugar
- ¼ cup whipping cream
- 1 teaspooon vanilla
- lemon extract about 1 tablespoon
- red food coloring drops
- strawberry preserves
- sprinkles
Instructions
- Bake two round cakes according to instructions on box. Allow to cool. SEE NOT ABOUT CAKE PAN SIZES.
- Beat cold butter using an electric mixer for 2 minutes.
- Add sifted powdered sugar and mix until creamed.
- Beat in heavy whipping cream and vanilla.
- Add lemon extract, if desired.
- Add 6 drops of red liquid food coloring. Mix.
- Mix by hand to remove any air bubbles. Reserve ¼ c. frosting for later.
- Slice cakes in half using cake leveler. Place one layer on a plate that has a small amount of frosting on it to keep the cake from sliding. Spread top with frosting. Add a layer of strawberry preserves, if desired.
- Stack the second layer. Repeat with frosting and preserves.
- Stack the 3rd layer. Repeat with frosting and preserves.
- Stack the 4th layer. Frost with a crumb coat. Freeze cake for 10 minutes.
- Pour remaining frosting on top of cake and push excess down the sides until the cake has been completely covered and frosted.
- Add a small amount of frosting to the bottom of the unicorn topper. Press topper into place on top of cake.
- Press eyelashes onto cake.
- Dip flowers into excess frosting and press onto cake.
- Poke a straw into the cake, leaving about 3" sticking out.
- Place pig snout over straw. Trim until the straw is just holding the snout up. Press snout into cake gently. It will rest on the straw.
- Add sprinkles around the base of the cake.
Notes
- I use Wilton's 8" cake pans that are 3" deep. Each pan holds one box of cake mix, prepared. These are a bit deeper than basic cake pans. Adjust recipe accordingly if you are using thinner cake pans. You may need 4 round cakes instead of 2.
- Take butter out of refrigerator 30 minutes before ready to make frosting.
- I made a white cake with strawberry preserves and a lemon buttercream frosting. Customize your cake however you'd like!
Nutrition
Leave a Reply