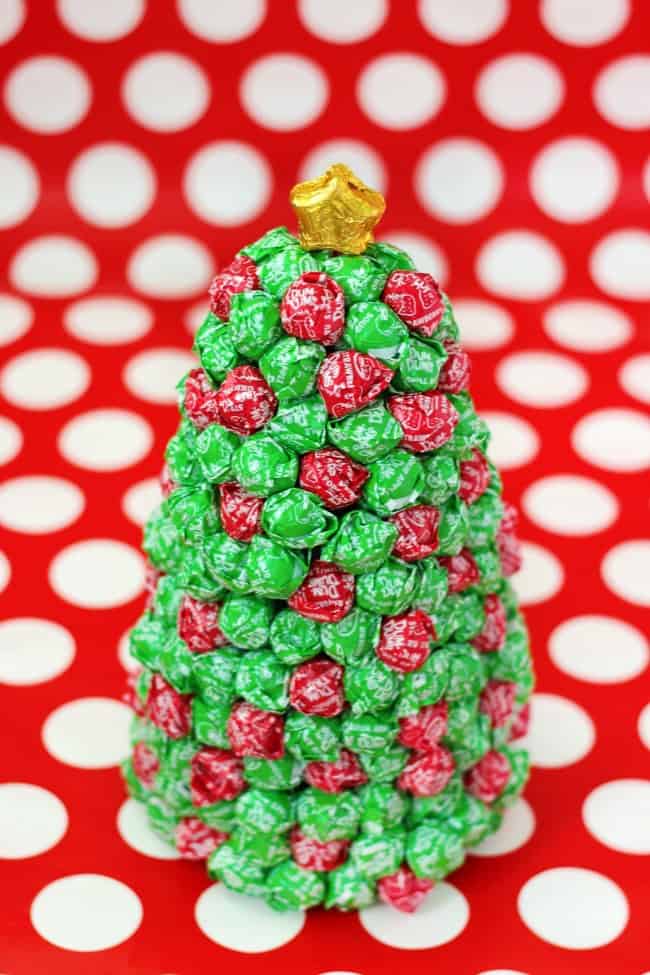
A Dum Dum Christmas Tree is such a fun centerpiece during the holidays. Put one on your desk, front entry table, or dining table to treat kiddos who come to visit! A great project for kids to help with, too! This post contains affiliate links.
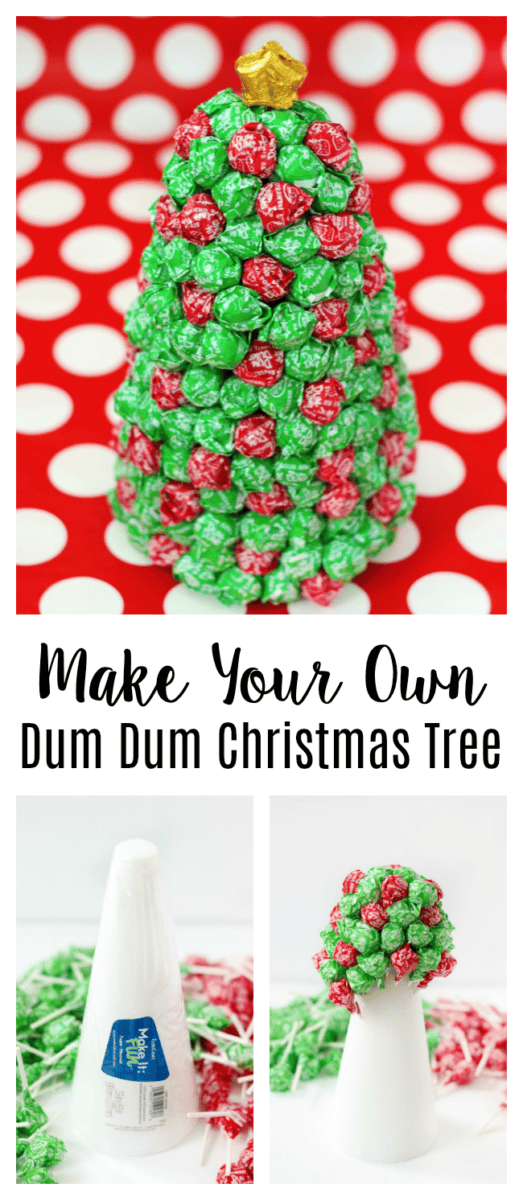
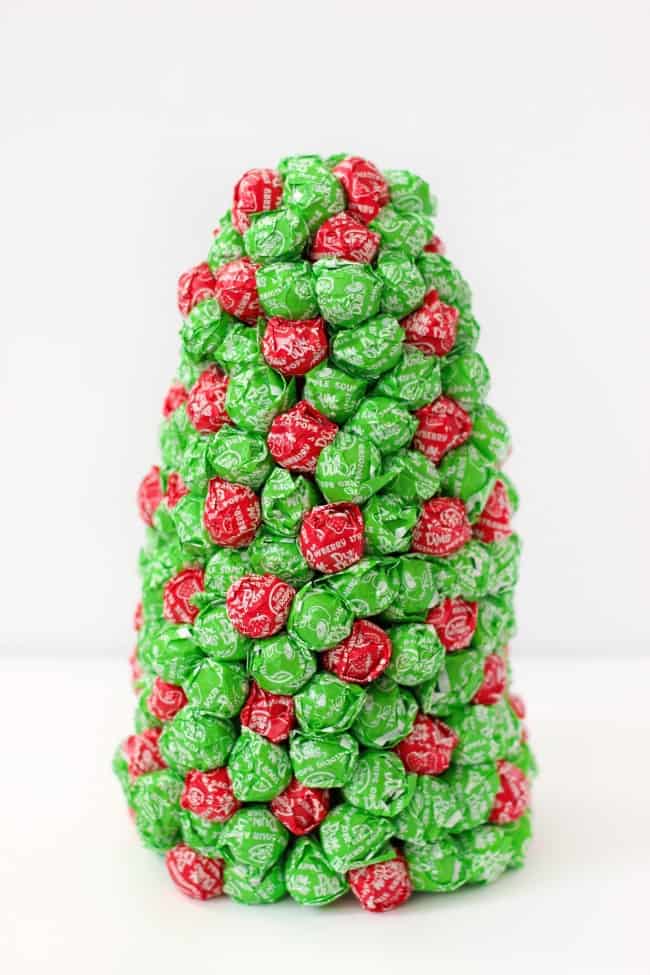
We've made Halloween Dum Dum topiaries and Tootsie Pop patriotic topiaries. It was time to make a Christmas themed one, am I right? This Dum Dum Christmas tree is SO EASY to put together and is covered with green apple and strawberry Dum Dums!
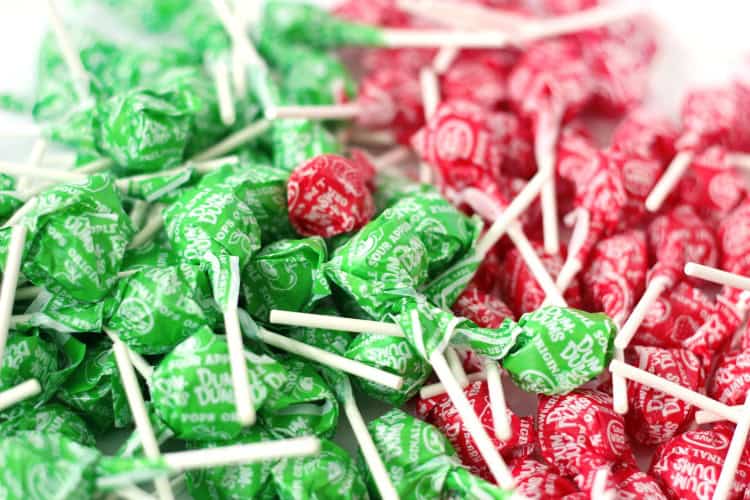
As you can see in this post, I usually buy a giant bag of assorted Dum Dums and use those without any attention to color or flavor, but this time I picked up a few bags of solid colors from Oriental Trading and kind of love how festive it turned out. There is no doubt that this is a Christmas tree.
Make a Christmas Lollipop Tree
Skill Level: Beginner
Time Needed: 30 minutes
Supplies:
Dum Dums (150 green and 75 red)
toothpick (optional)
Dum Dum Christmas Tree Instructions:
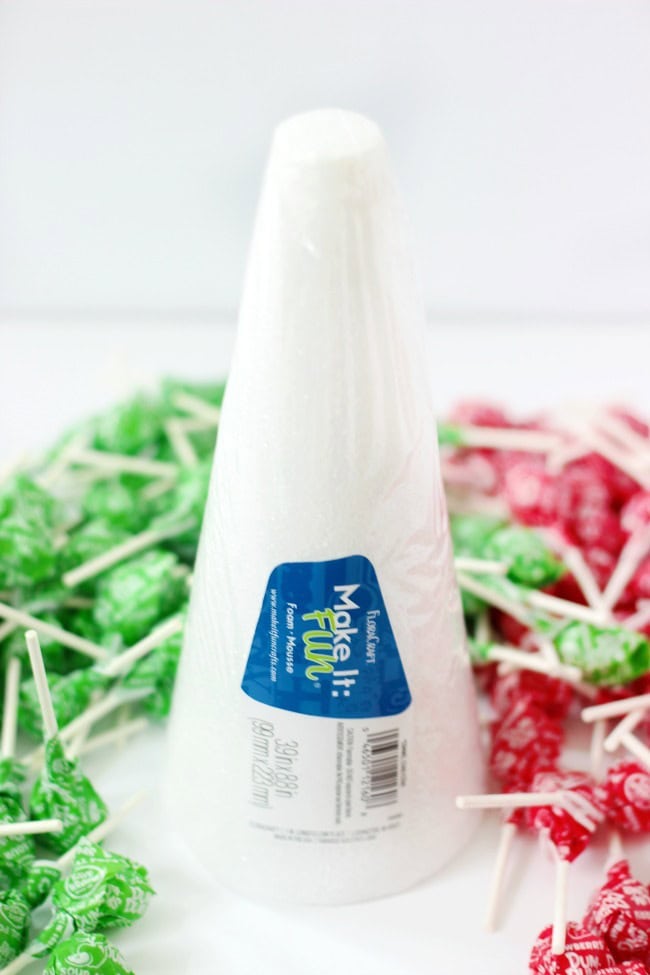
Step 1: Remove wrapper of styrofoam cone.
Note: there are a couple different kinds of styrofoam. Some are smooth to the touch and others are scratchy. MAKE SURE TO BUY THE SCRATCHY KIND. The smooth kind of styrofoam breaks down if you try to poke lollipop sticks into it and will make a big mess. Don't ask me how I know this, haha. The scratchy kind works best and is the only kind that I use for my lollipop topiaries and trees.
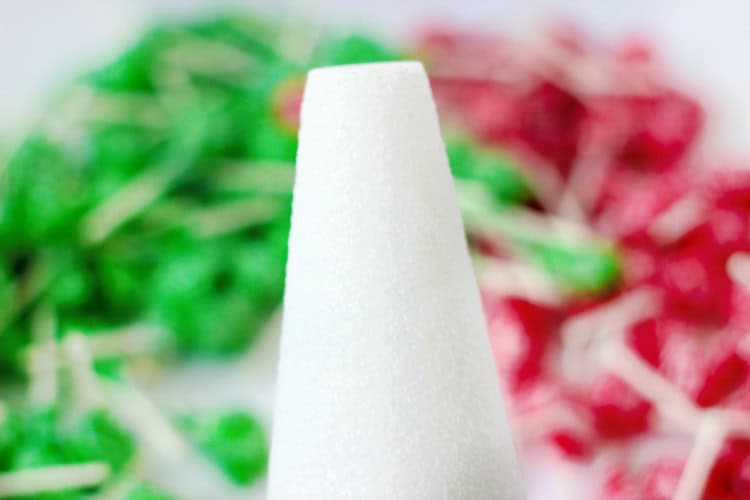
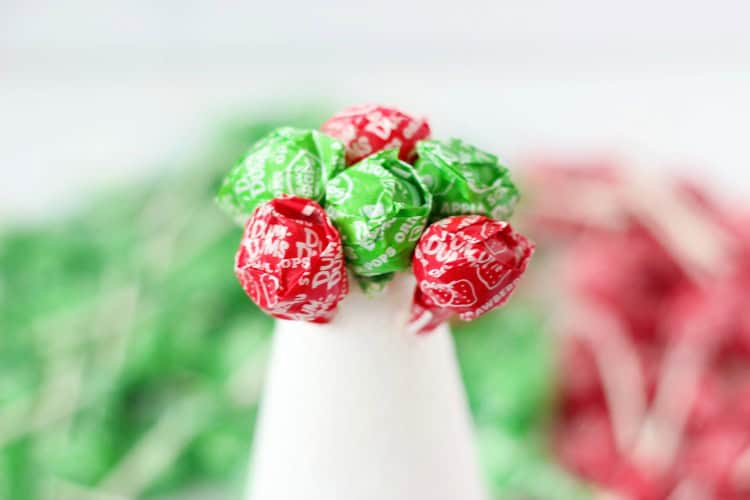
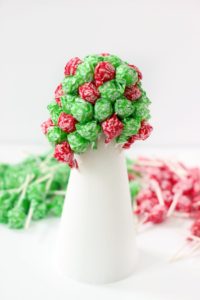
Step 2: Poke 4 Dum Dums into the cone at the top, going straight down into the leveled off top section.
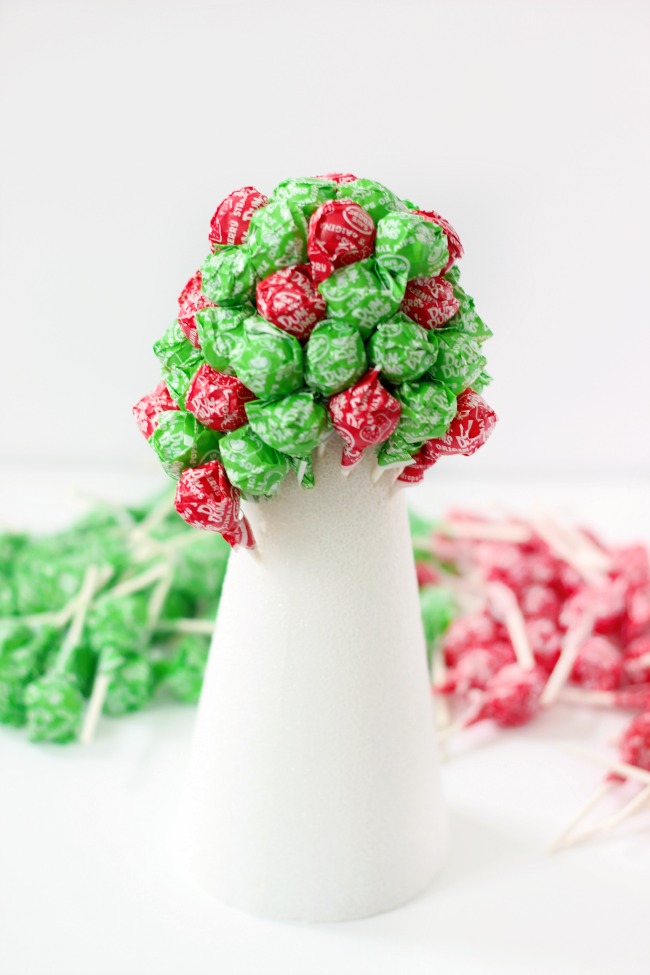
Step 3: After you have the first 4 Dum Dums on, begin adding more going down the sides. For these ones, poke them in on a downward angle.
Note: To create the look of a Christmas tree with ornaments, try to avoid having the red Dum Dums touch each other, using green Dum Dums on all sides of each red Dum Dum.
Step 4: Continue to poke Dum Dums in on a downward angle until you reach at least half way down the cone.
Note: This prevents the sticks from poking out the sides because the top of the cone is narrow. You can trim the lollipop sticks ½" or so if you'd like to really ensure that they don't touch each other.
It's crazy how small the cone seems when you first start out and you wonder if you'll even be able to fit 50 Dum Dums on it. Trust me, it's deceiving. The first time that I made lollipop Halloween topiaries, I misjudged how many I'd need to cover the 3 styrofoam balls by like 100 and had to go back and buy more Dum Dums. You'll definitely use the all!
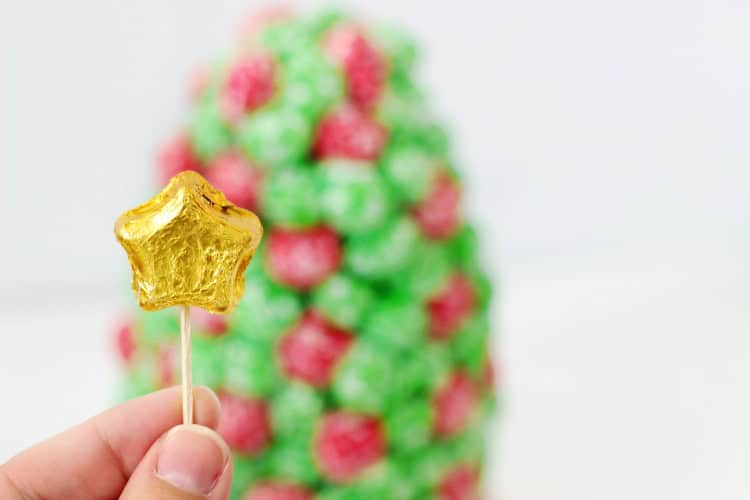
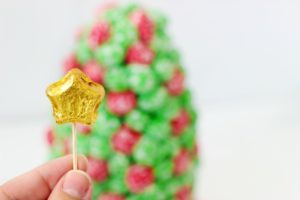
Step 5: For a fancy touch, poke a toothpick into a chocolate star and add it to the top of the Dum Dum Christmas tree!
Wouldn't this be darling on a teacher's desk during November and December? Here's a collection of more edible teacher gift ideas from This Tiny Blue House. Perfect to pair with a gift card this holiday season.
Christmas Lollipop Tree
Equipment
- N/A
Materials
- Dum Dums 150 green and 75 red
- 9" styrofoam cone
- chocolate star optional
- toothpick optional
Instructions
- Remove wrapper of styrofoam cone.Note: there are a couple different kinds of styrofoam. Some are smooth to the touch and others are scratchy. MAKE SURE TO BUY THE SCRATCHY KIND. The smooth kind of styrofoam breaks down if you try to poke lollipop sticks into it and will make a big mess. Don't ask me how I know this, haha. The scratchy kind works best and is the only kind that I use for my lollipop topiaries and trees.
- Poke 4 Dum Dums into the cone at the top, going straight down into the leveled off top section.
- After you have the first 4 Dum Dums on, begin adding more going down the sides. For these ones, poke them in on a downward angle.Note: To create the look of a Christmas tree with ornaments, try to avoid having the red Dum Dums touch each other, using green Dum Dums on all sides of each red Dum Dum.
- Continue to poke Dum Dums in on a downward angle until you reach at least half way down the cone.Note: This prevents the sticks from poking out the sides because the top of the cone is narrow. You can trim the lollipop sticks ½" or so if you'd like to really ensure that they don't touch each other.
- For a fancy touch, poke a toothpick into a chocolate star and add it to the top of the Dum Dum Christmas tree!





Leave a Reply