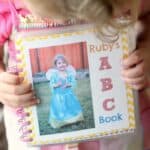
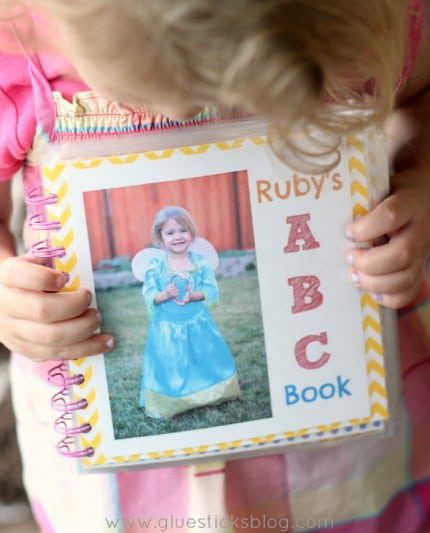
Create a personalized ABC book full of photos of family and your child's favorite things! I'll even show you how to bind it yourself!
If you like this project you'll love this DIY photo collage canvas!

This little gal loves photo albums. She found her baby book and was just giddy, sitting on my lap, going through the pages. I don't mind her looking at her scrapbook, but I wanted something that was durable and that she could carry around with her. And so I made her a Personalized ABC Book filled with photos of the people and things she loves! It was so fun and she was a great helper with the photos.
How To Make a Personalized ABC Book
Equipment
- binding tool (or hole punch and rings)
- laminator
- paper cutter
Materials
- card stock 12" x 12"
- photos
- photo adhesive
- glue stick
- letter stickers or die cuts
- laminating sheets
Instructions
- Save one photo for each letter of the alphabet onto your computer.
- Save each photo by the letter it represents to keep things simple. (A-photo of apple, B-photo of brother, etc.)
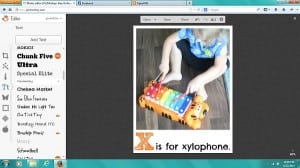
- Use a photo editor (Picmonkey is free!)to add text below each photo. Crop and style your photos, fonts, and colors however you'd like!

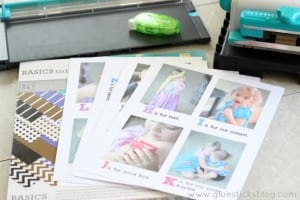
- Print on card stock. For simplicity, print 4 to a page (3.5" x 5")

- Cut each cardstock sheet into 4 (6x6") squares.
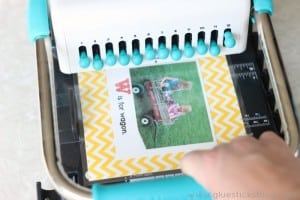
- Attach photos and laminate each page.
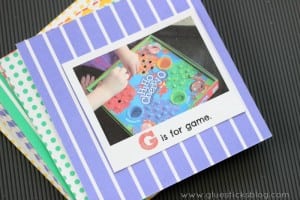
- Bind the alphabet book using a hole punch and rings or a binding tool (see notes)

Notes
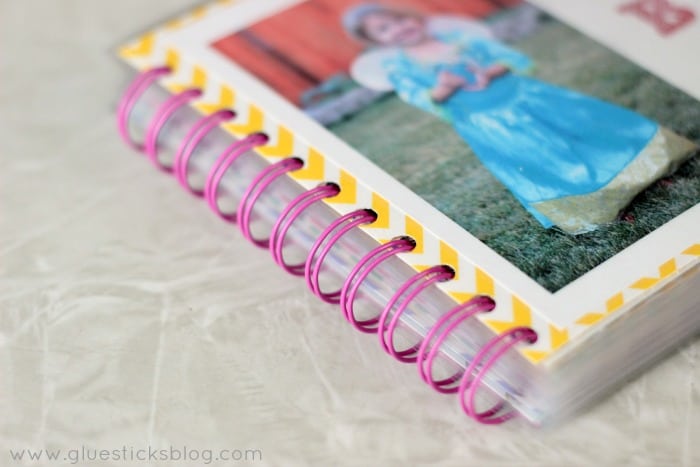
(You can check out the binding tool that I have by clicking here.)
Ruby was right there as I finished the book and squealed, "It's me!"
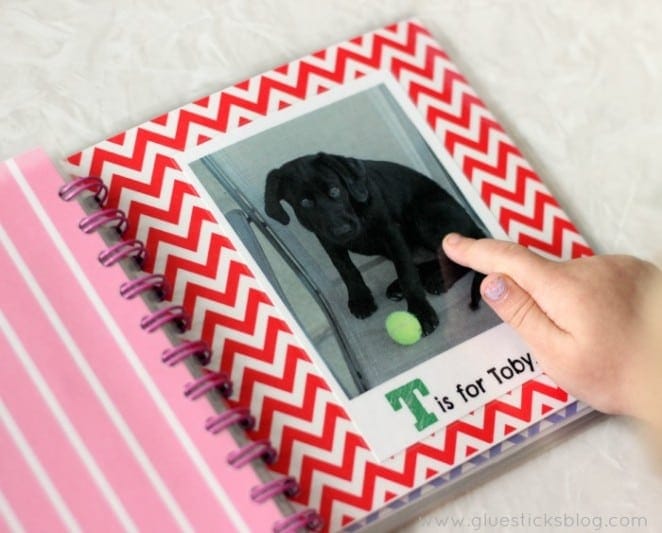
This page is her favorite. When she finished looking at her book, she took it to Daddy to read to her again and she said, "It's my favorite book!"

I love going through it too. I made one online at Christmas time for my 5 year old and formatting it was a nightmare. Maybe it was the company I used, but it just wasn't fun to make at all! Then I misplaced it in the house and can't find it. I was so disappointed on Christmas morning to not have the book to give to her so I am going to make her one like I did for Ruby.
I made one just like this (except with the rings binding it) for my oldest son 7 years ago and we still like looking through it!


Michelle says
I am not very experienced with photo editing. I tried using Picture Monkey and cannot figure out how you resized/formatted your photos so that you put the writing below them. I figured out how to put the text on the picture, but like your way better.
Brandy says
Hi Michelle! I used the "collage" feature to add a space on the bottom for text! To do this, make a collage with two photos. Use the "square deal" layout. Add a photo to the top left and bottom left squares. Delete the right squares. Then delete the bottom left photo. You will end up with one photo on the top and a large blank area on the bottom. Resize that area until it is a nice space for text. Then click "edit". That will save your collage and make a white area on the bottom of your photo where the second photo used to be. Then it will take you to the editing area where you can add text! I hope that makes sense! Let me know if you have any more questions! 🙂
carol says
adorable!!and if you include pictures of family members, it is a good way to recognize them too. i use transparent contact paper as we don't have access to laminators here in Venezuela...
Brenda says
This is an awful cute ABC book Brandi! I love my Cinch too, just don't use it enough!! But maybe now I will and make these ABC books for my grandchildren. Thanks for a fabulous idea!
Sarah Hendricks says
Adorable! I made one like it for my mother when her Alzheimer's started taking her memories away. It seemed to make her more comfortable being able to look at pictures of people whose names she didn't always remember and photos of special memories...reminding her, at least temporarily, that she DID have a life before Alzheimers!
Brandy says
What a thoughtful gift! I absolutely love that and will keep it in mind as my husband's father is approaching this stage as well. Thank you, Sarah!
Jackie says
That is to adorable! Books for them (especially educational and fun) that they can drag around are so expensive, it's almost ridiculous. Love this idea!!!!
abbeycron says
I love this! Adorable! I don't have a lamination machine or your cute little binding machine, but I am a teacher so I'm sure I can try to use these at the school. I can't wait to make this for my daughter!
Brandy says
Awesome! I would love to have access to a better laminator, the school ones are much better than mine and wouldn't take near as long to make. Have a wonderful weekend!