This shop has been compensated by Collective Bias, Inc. and its advertiser. All opinions are mine alone. #PoweredByRayovac #SureThing #CollectiveBias
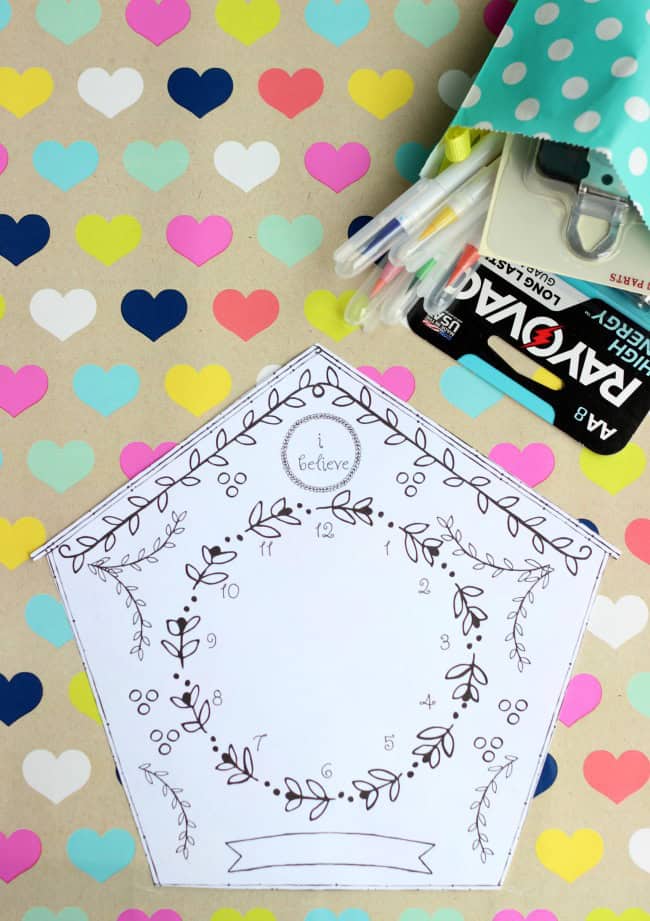
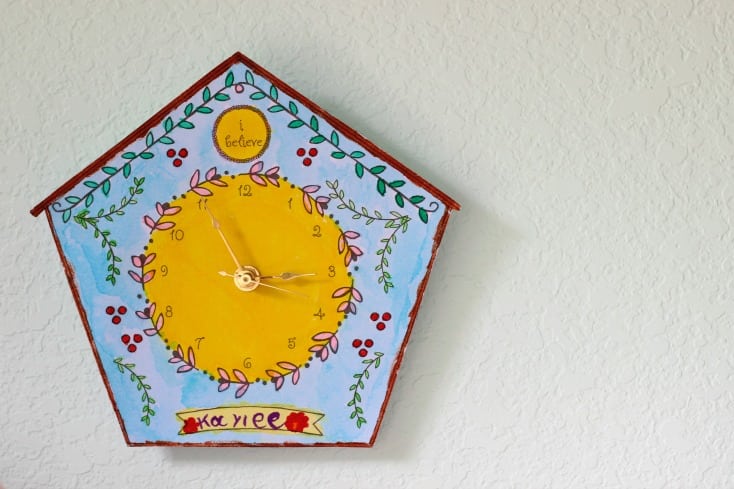
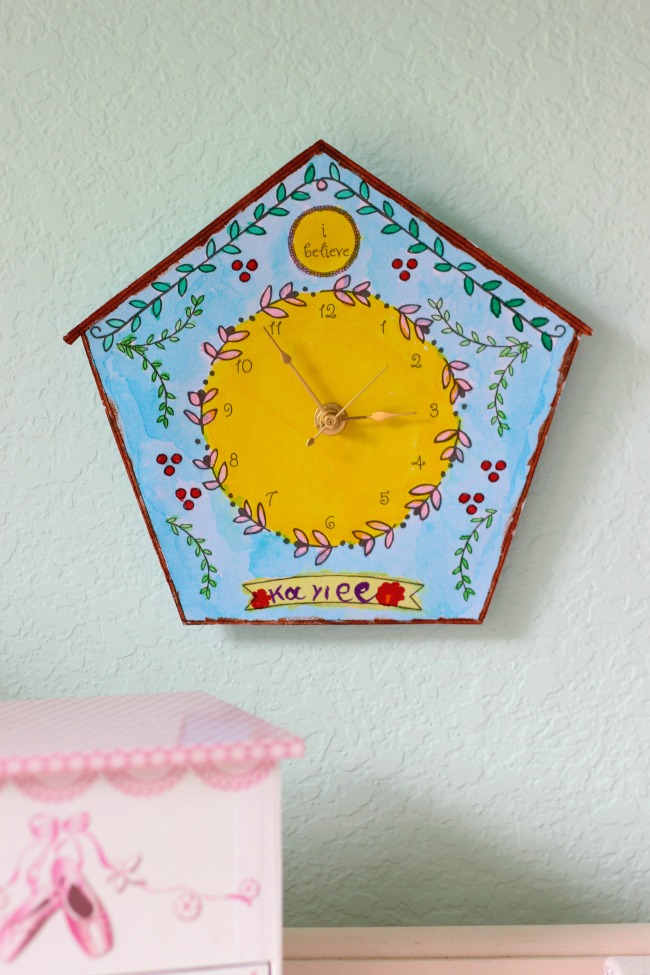
Making your own clock is easier than you might think! Today we are sharing a darling Fairy House clock that you can print, color, and add a clock kit to!
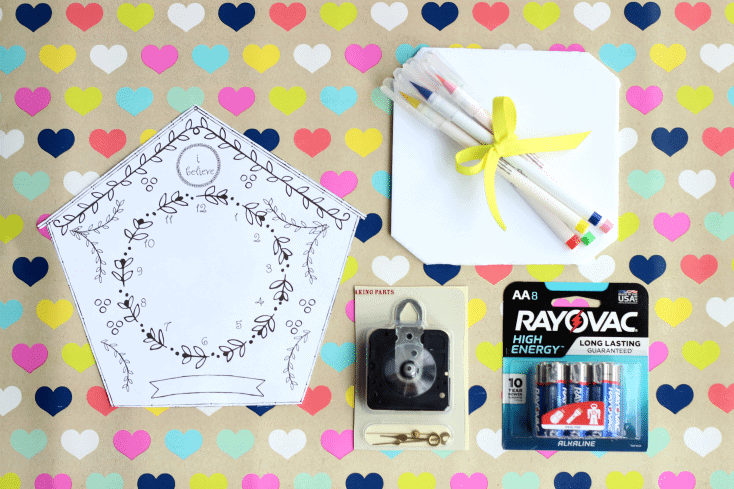
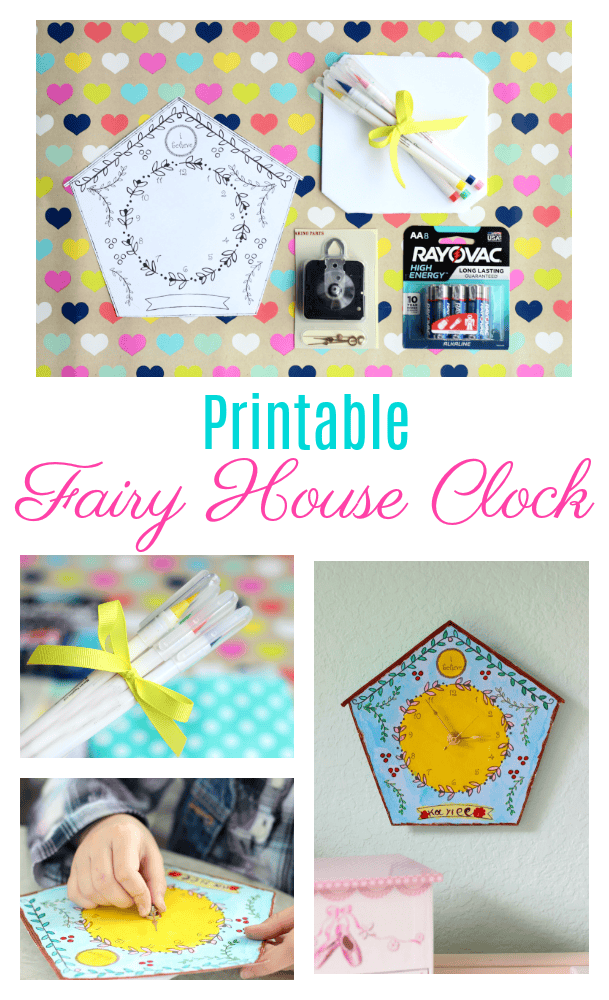
Printable Fairy House Clock
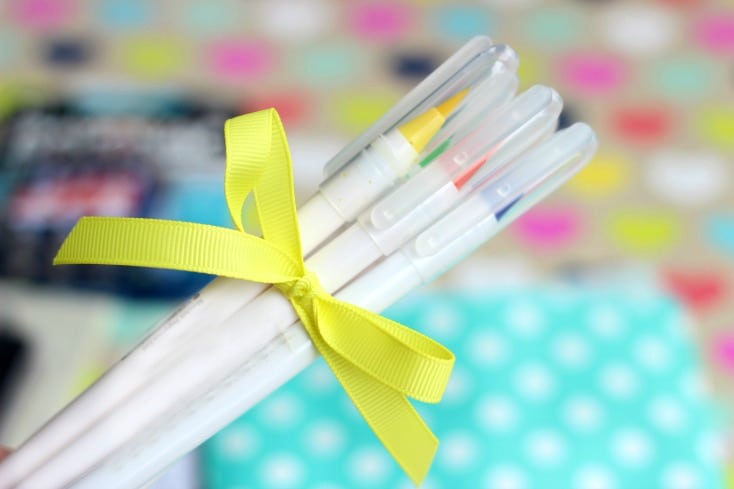
Supplies:
Put everything into a small bag and gift it to a crafty little gal in your life! Every clock kit from the craft store comes with instructions, but I'll give a quick rundown on how to assemble the clock from start to finish.
To assemble:

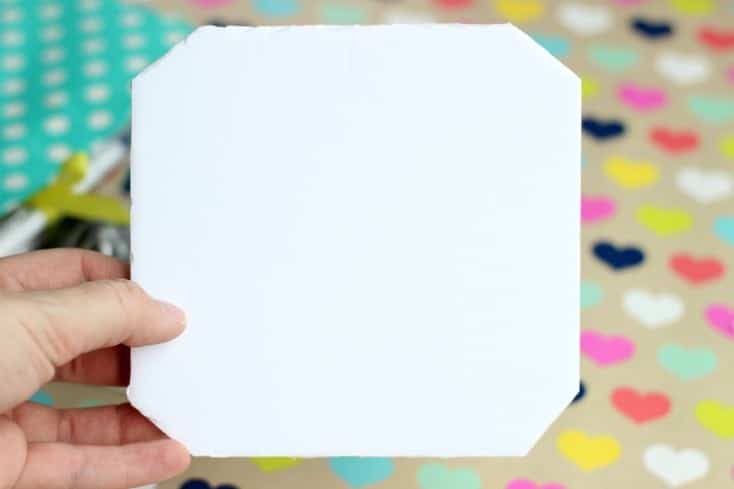
Glue foam board to the back of the clock template.
Poke a small hole in the center of the clock face to mark the middle and give a starting point for making a larger hole. Gently push a pencil or pen all the way through to the other side to create a hole big enough for the clock kit.
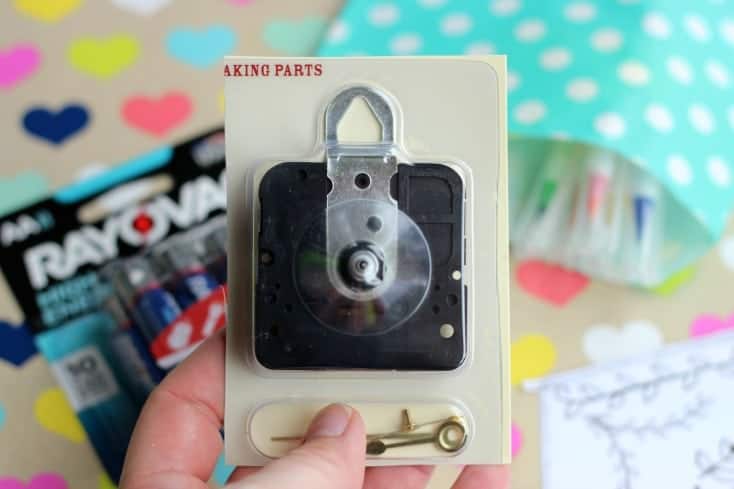
Poke clock kit through the center, from the back.
Add the correct washers, clock hands, and nut. Add second hand and finish off with any other caps or hardware.
Move the hands to the correct time.
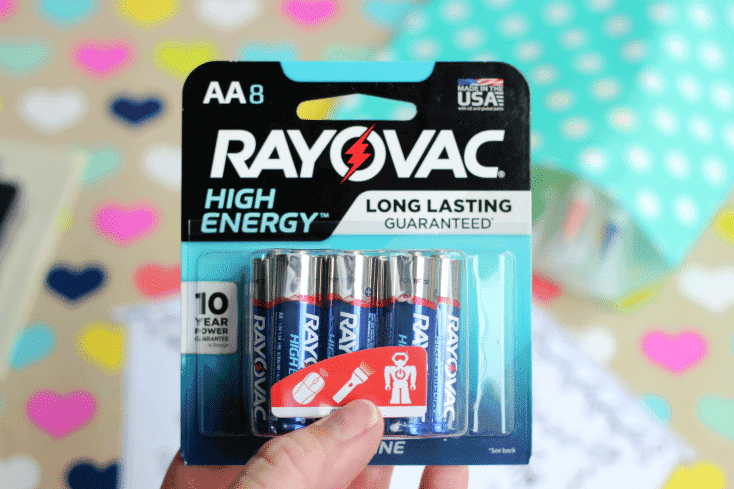
Add 1 AA battery. The RAYOVAC® High Energy batteries are guaranteed to provide long lasting power in high use devices. One battery will keep this little clock powered for a very long time.
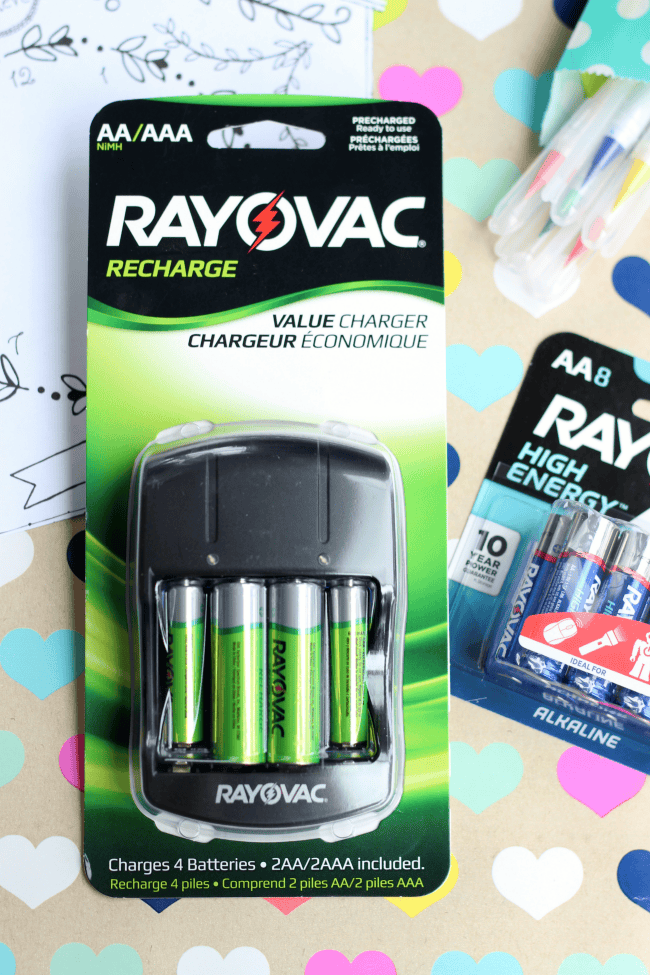
Dad is always the hero when he enters the room with a freshly charged battery or a pack that he had stashed somewhere in the house and RAYOVAC® batteries last up to 10 years in storage (5 years for 9v) and they last just as long as the leading competitors, but at a lower price point!


Leave a Reply