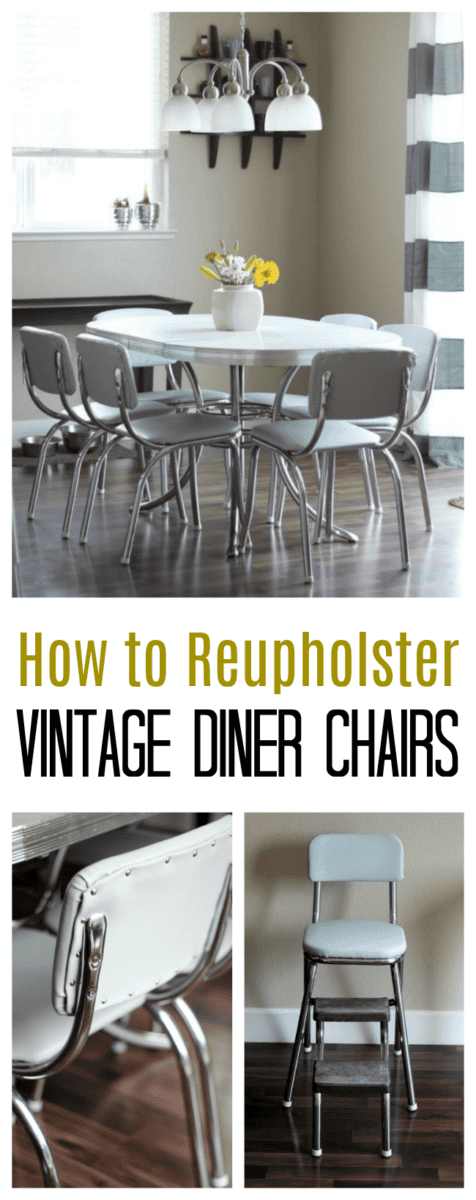
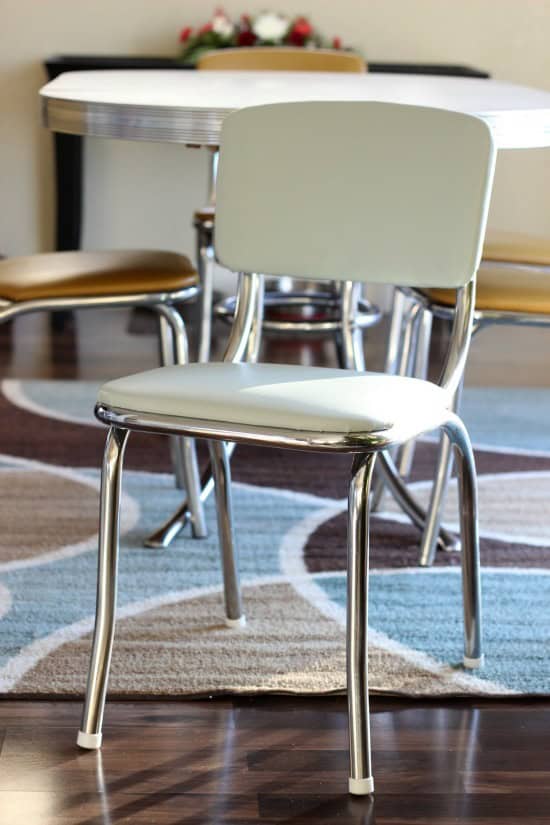
How to reupholster vintage diner chairs, step by step! A labor of love and a simple way to preserve this 67-year-old family heirloom. Scroll to the end of the post for a fun update!

My grandma also cut out her sewing patterns on this table, paid bills, and wrote letters. She wrote many many letters and was a big fan of "snail mail". There are so many memories associated with this set, not just from me, but from all of the family members on that side of the family!
How to Reupholster 50s Vintage Diner Chairs Step by Step

2019 UPDATE!
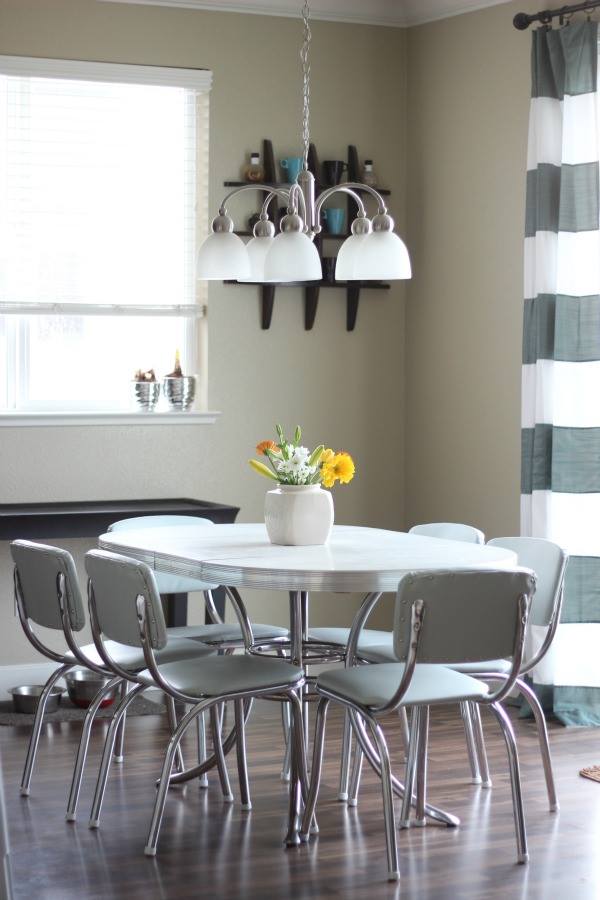
It's been a few years since I reupholstered my retro diner chairs and they are still in GREAT shape! We couldn't love them more. Two chairs had legs that were starting to bend in. My husband, who can fix anything, wasn't sure what to do and didn't want to make them worse. After all, they are 70 years old. It was stressing me out to have the kids sit on them so he suggested that I order replicas and store the originals until the kids are older. We bring them out as extra seating for guests and use some in our home office.
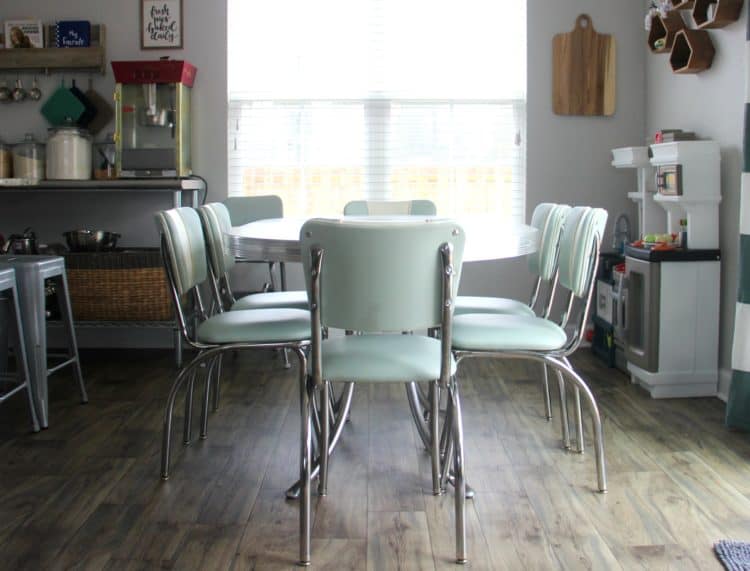
Friends, this was my Christmas gift and I couldn’t be happier with the results. I shopped around and decided to go with Heffron’s. Their site is just so fun to browse. So many options for 1950s retro furniture, diner booths, and chairs.
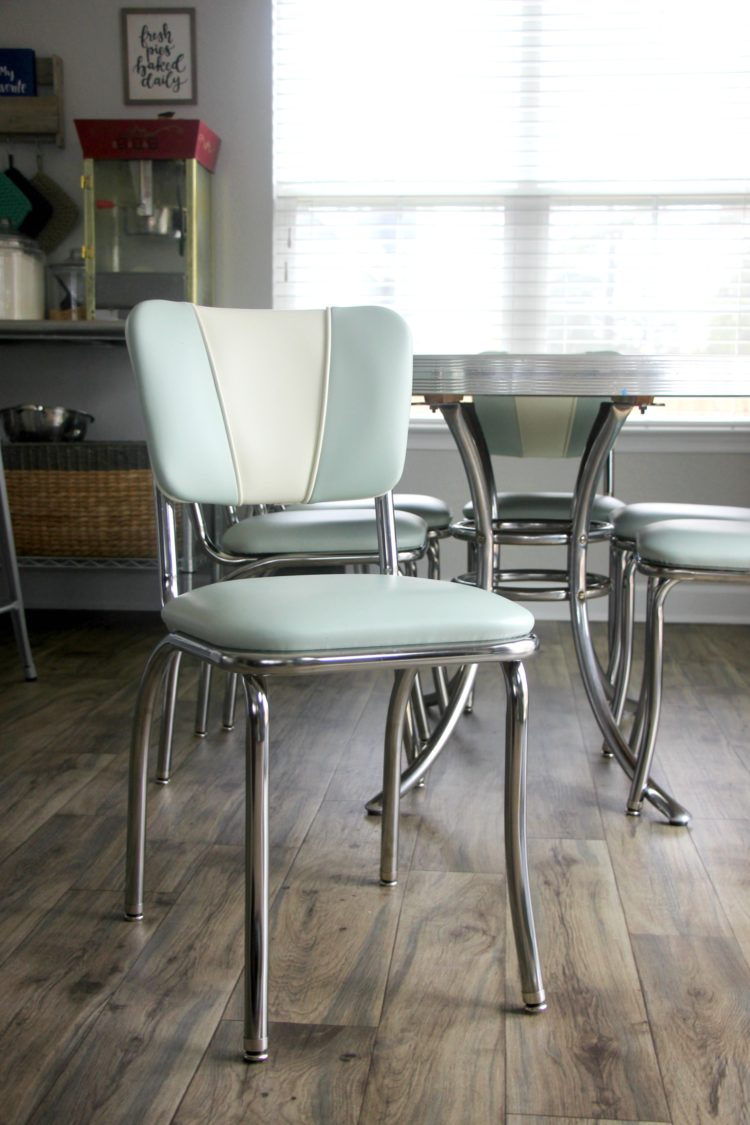
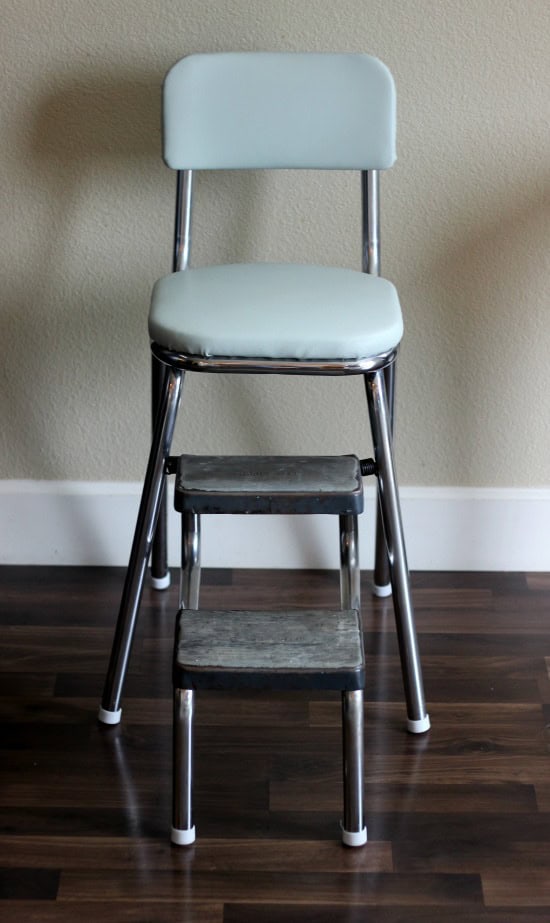
They did a fantastic job and designed 6 new heavy duty chairs for our dining set that will last a lifetime and shipped them right to my door. The color is exactly the same as the ones above, with the addition of a two-toned seat back and contrasting piping. You can't even tell that they aren't vintage chairs because these are made exactly how the first set was made and they work perfectly with Grandma's table. Restaurant quality gorgeous design. Our booster chair/step stool is the only seating that isn't being stored right now. That thing will never break, it's so sturdy! This is not sponsored. I was just so happy with the entire process and they had so many different styles!
You might also like...
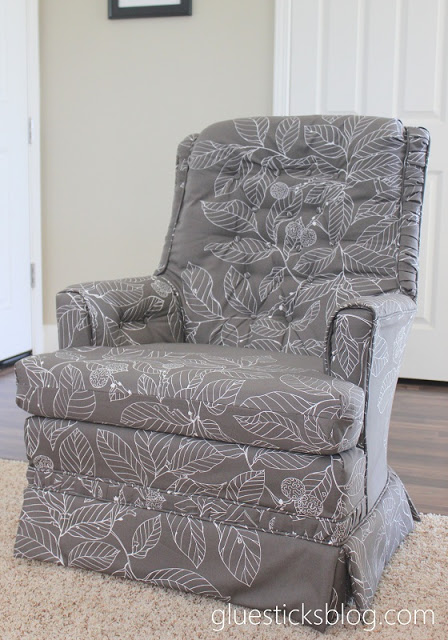
How to reupholster a Swivel Rocker
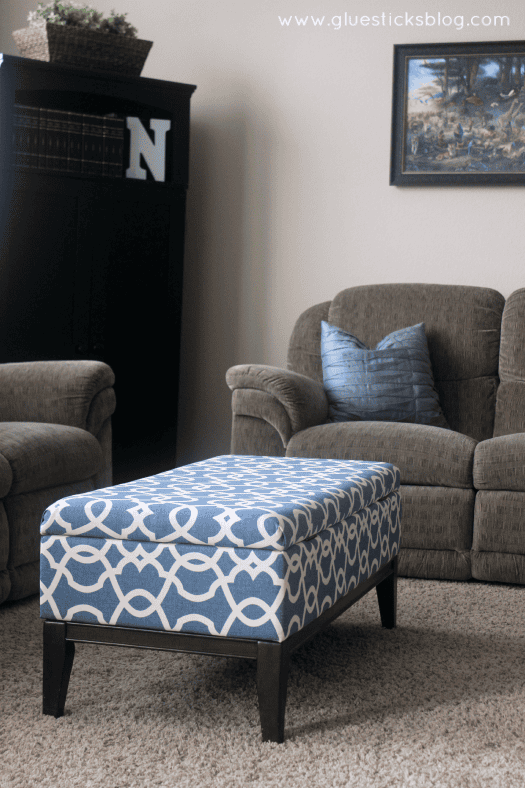
How to Reupholster a Storage Ottoman
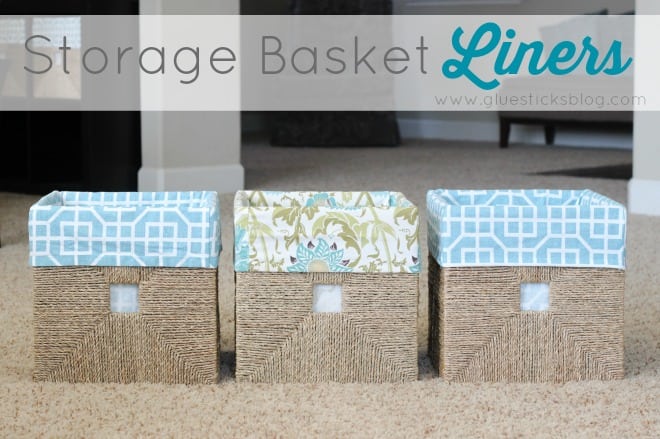
DIY Storage Cube Fabric Liners


MC says
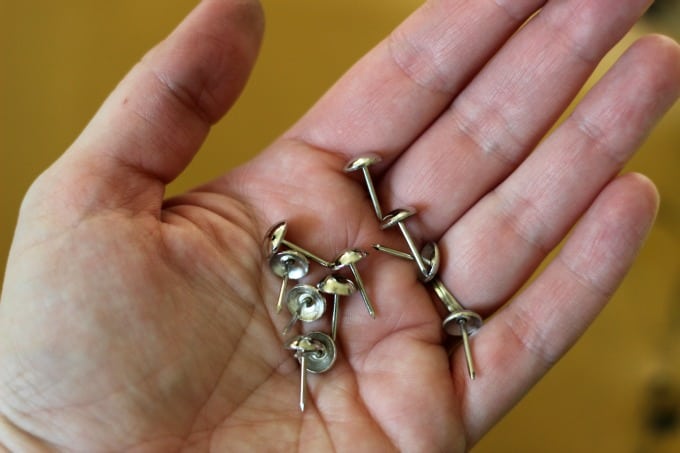
I love your choice of fabric. This gave me courage to take my grandmother's chairs apart with the intent to re-cover them. These have obviously never been updated. The back of the upper part of the chair has the vinyl fabric over a very thin piece of luan or something. Did you run into that with your chairs? I'm concerned that the tacks aren't going to be secure if I try to line up the nail holes, or that it will weaken that thin piece of wood if I don't. What was.under the vinyl on your chair back's back?
Brandy says
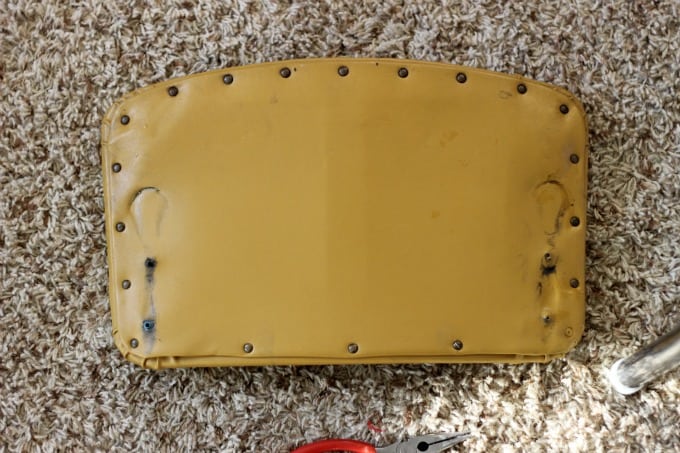
It’s a big undertaking but worth it!! So my grandfather had already reupholstered the chairs once so I’m not sure what was originally under them, but when I changed the vinyl there was thin wood/cardboard on the back. I put my tacks and nails in different holes (just to the side of the originals) so that they’d hold better and not be stripped.
Olivia says
What color did you choose when you purchased the new chairs? It is hard to tell on the website. Thank you
Brandy says
Hi Olivia! The chairs that I ordered were: "921V in Grade 3 Spirit Millennium Surf with Adobe White Insert" Hope that helps!
Olivia says
Thank you! What style seat did you use as well? These are amazing looking I found your photo last night and now I have to have them haha
Brandy says
Of course! These seats are THE BEST. So retro and fun, but also super sturdy. We did this seat (but added the V-back detailing) http://heffrons.com/retro/chairs/921retro.html I liked the look of the thicker seat, but the ones we already had were the thinner one and worked just fine!
Darlene Garat says
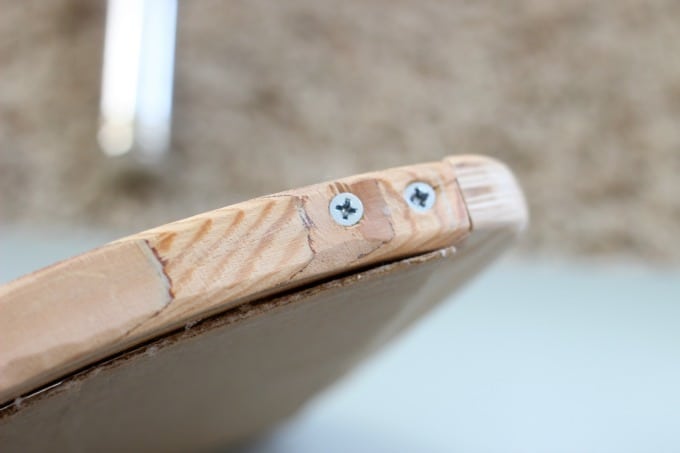
I couldn't find a reference in the article on how you fixed the stripped screw issue. I also inherited a retro dinette and have recovered the chairs a few times BUT the backs are not staying fixed on two of the chairs. The screws are stripped and I can't find information on how to fix this issue. How did you do it?
Brandy says
Hi Darlene! I've seen people use wood filler, etc. but we used thread inserts like this. https://www.homedepot.com/p/POWERTEC-1-4-in-20-x-7-16-in-Pronged-Tee-Nut-50-Pack-QTN1113/309409731 We can't remember exactly what size we had, but you could even take the chair back to the store and ask which ones would be best! You just need a screw long enough to go through the chair back and into this on the other side. The only problem is that you'd have to take the upholstery off to access the other side of the chair back to attach this, then reupholster it and screw it back onto the chair.
My husband said another option would be to use something like this and push it (tap it with hammer) into the hole on the back of the chair then screw the chair frame back onto it. https://www.homedepot.com/p/E-Z-LOK-E-Z-Hex-Insert-for-Soft-Wood-Flanged-with-3-8-in-Internal-Thread-16-Thread-Pitch-0-98-in-L-25-Pack-903816-25/304618014?MERCH=REC-_-rv_gm_pip_rr-_-309409731-_-304618014-_-N
Amanda Shields says
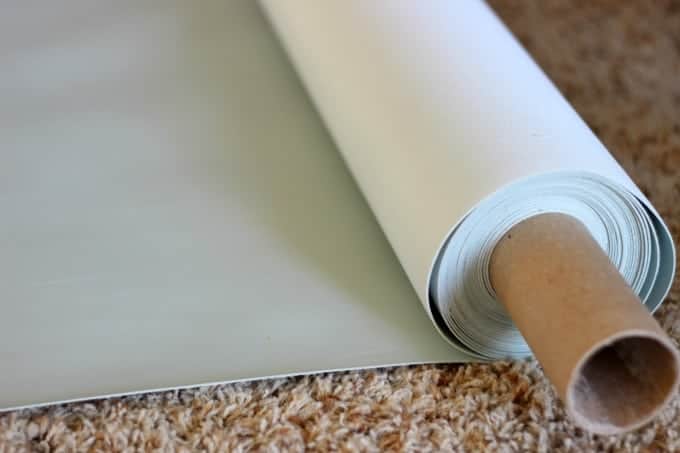
Hi! What is the name of the vinyl fabric you purchased? It's beautiful!
Brandy says
Hi! It is a sea foam marine vinyl from fabric.com. It looks more green online than in person. So pretty!
Angie ~ ambientwares says
Wanted to let you know you'll be featured at the Funtastic Friday Link Party tonight!
Donella says
Love how sleek and modern it looks but still gives off the vintage vibe we all love about diners.
Jen Panguluri says
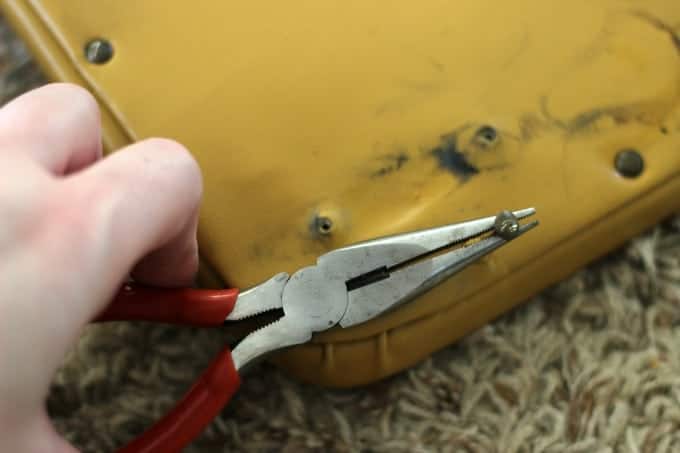
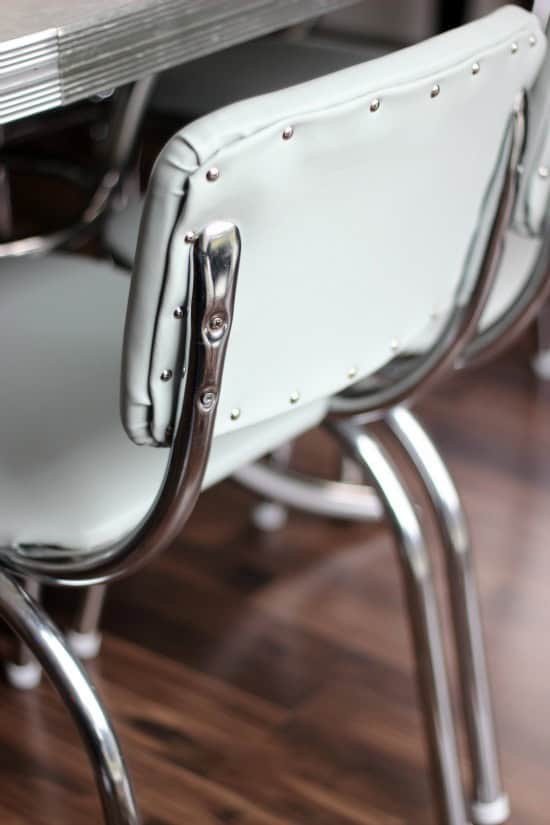
Brandy the set looks fantastic! It looks vintage and up-to-date at the same time. I recently re-did a chair and had similar issues to you, the first being what fabric to use. I settled on the fifth one! And when I was done with just one chair I had major shoulder and wrist/hand issues. On the backs of your chairs did you use a staple gun for the front part, then just tack the back piece of fabric with the upholstery tacks? Thanks!
Brandy says
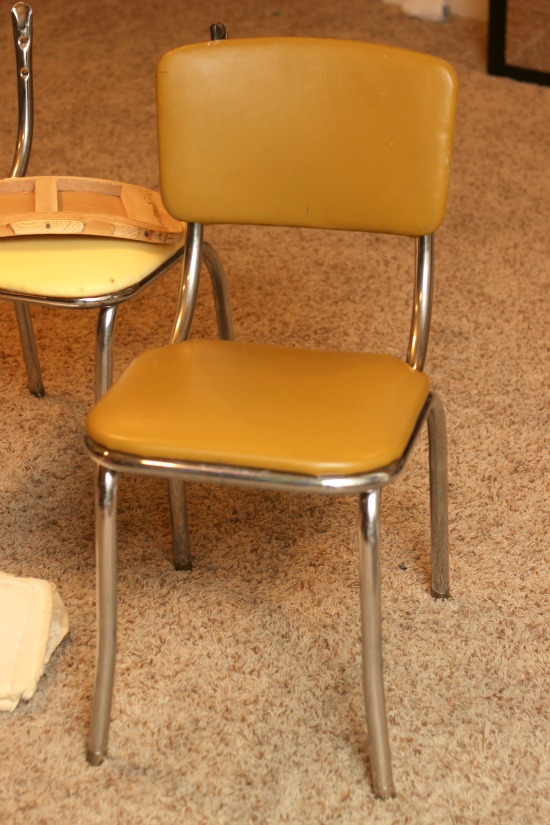
Yes! My grandpa used upholstery tacks when he covered the chairs in the yellow vinyl years ago and they held up well! So did the same. Thank you for the compliment! And the shoulder and wrist issues? Ugh! But worth it in the end, right?
sherrygcole says
Hi Brandy! I am featuring your dining set at Totally Terrific Tuesday tomorrow! Have a great week!
Christine at Light and Savvy says
Hi Brandy! Thank you for sharing at Wonderful Wednesday! And Fantastic job on the chairs! Your amazing project will be featured at our next weeks party:) Please stop by and see it...and share with us again! Hugs- Christine at Light and Savvy
SuziesView (@SuziesView) says
First of all wow I love what you did with the table. I love that table. Plus your room in itself is stunning and right up my ally. It is so pretty. I am so happy to view your post from Friday Faves. I will see ya around!
Sharon@bluewillowhouse says
You did a beautiful job with your vintage diner set. The blue is so pretty. Thank you for sharing at the Snickerdoodle Create~Bake~Make link party! I am featuring you at today's party. sb
A Pretty Fix (@aprettyfix) says
A great before and after! I have a vintage stool and a dining table that need some love - this has got me inspired 🙂 Thanks for walking through your process - love how the chairs turned out!
Alayna says
Very pretty. That color goes perfectly with the rest of the dining area. And I can't believe how shiny and new they look overall considering their age and use! Great job. I have reupholstered a couple of things and my wrist hurts just reading about your experience 😉
Coffee Mounds & Lipstick Clouds says
Wow, awesome! I love vintage anything! Looks fantastic, great work 🙂
#TrafficJamWeekend