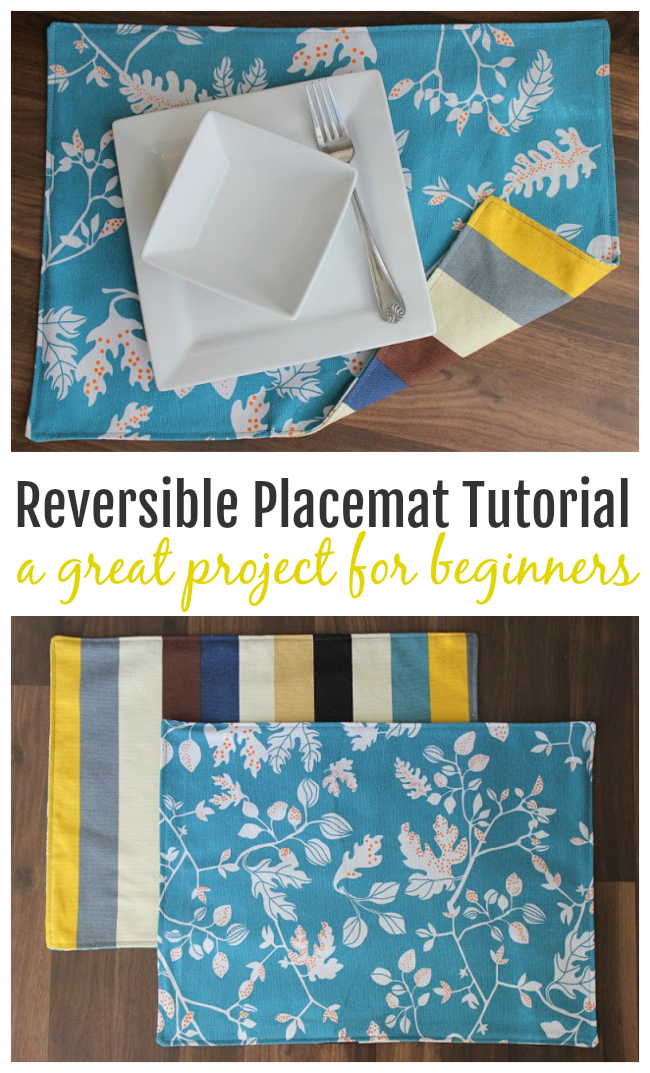
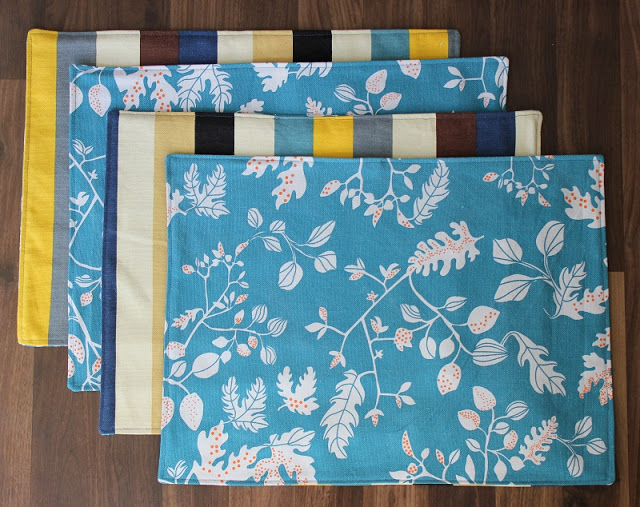
This placemat tutorial will teach you how to make a set of reversible placemats in under 30 minutes! Homemade placemats are incredible easy to make. They are a perfect beginning sewing project and make a great gift.


I've made lots of placemats over the years, and when I got to thinking about it I realized that most of the placemat sets that I've sewn have gone to friends and family who can sew and could easily make a set for themselves.
I think they are one of those projects that many of us don't think about making for ourselves. So the next time you are looking for a wedding, birthday, or housewarming gift...think placemats. They make every table setting that much brighter.
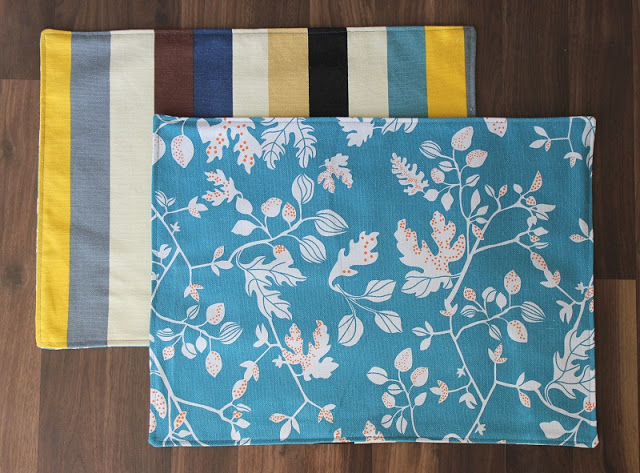
This set was sent to my sister and her family as a housewarming gift. Her home is painted in cool blues and greys and I thought this fabric combination would look nice with her color scheme.
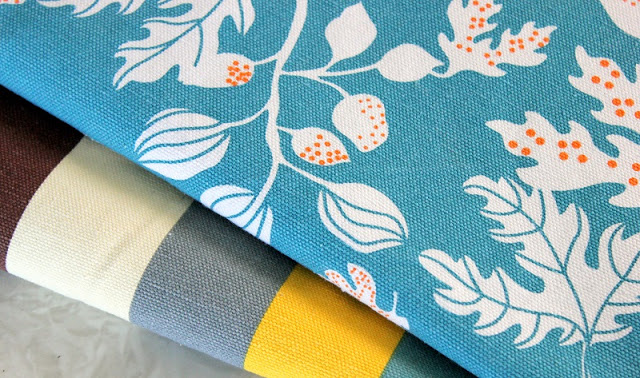
What makes these placemats so quick to make is the fact that you don't need to quilt or add batting or padding to make them sturdy. They are made with canvas (home décor fabric). If you used basic cotton or calico, you would need something like interfacing or a light batting inside, but two layers of this nice home décor fabric works great. You can find all sorts of fun prints at your local craft store. How much you buy will depend on how many you want to make. A yard of each will make at least 4. The fabric I have came in a 60" yard so I was able to make 6.
Reversible Placemat Tutorial
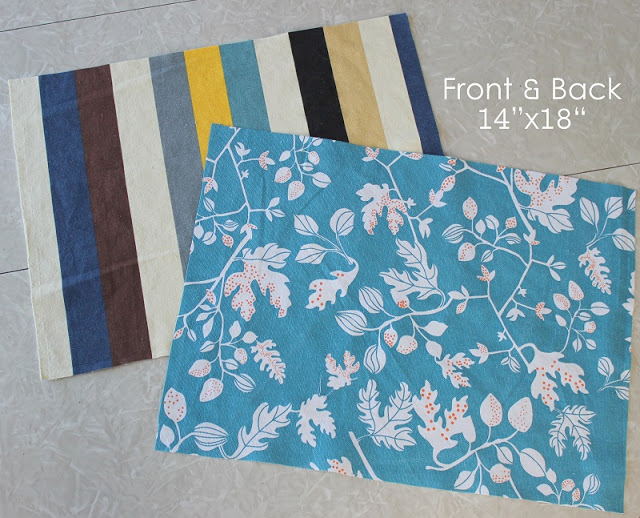
You will need 2 (14"x18") pieces for each placemat.
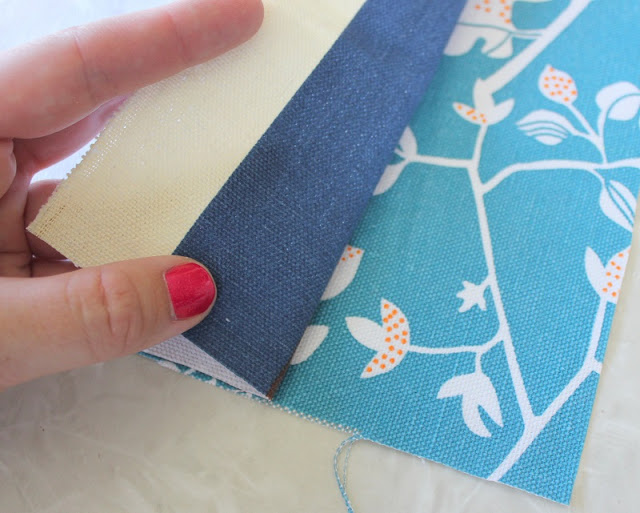
Lay your front and back pieces together, right sides facing.
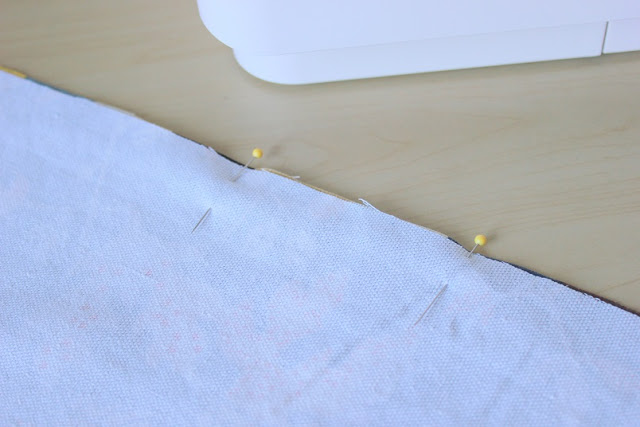
Mark a section along one of the long lengths for turning them right-side out in a few mintues. This isn't completely necessary. You can just sew and make sure to stop with enough space to turn it later on, but if you are like me and start day dreaming while you are sewing, this will prevent you from needing a seam ripper if you sew the opening shut.
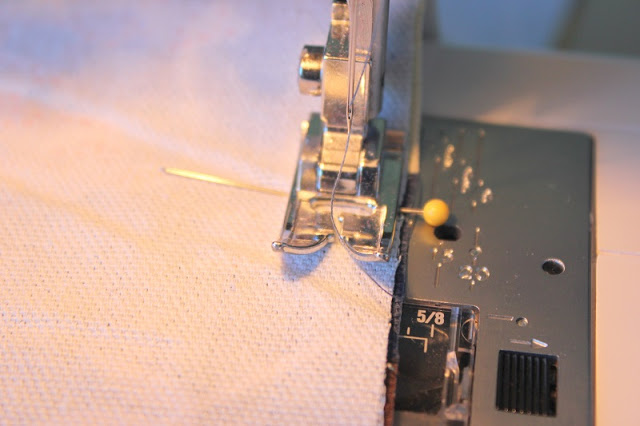
Starting at the bottom pin, stitch around the entire place mat with a ⅜" seam.
Remove pins.
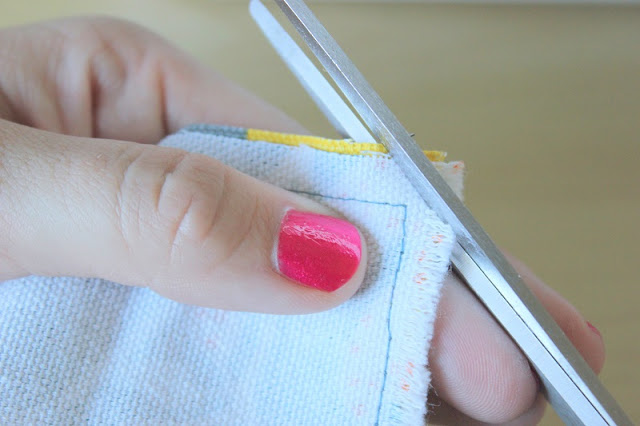
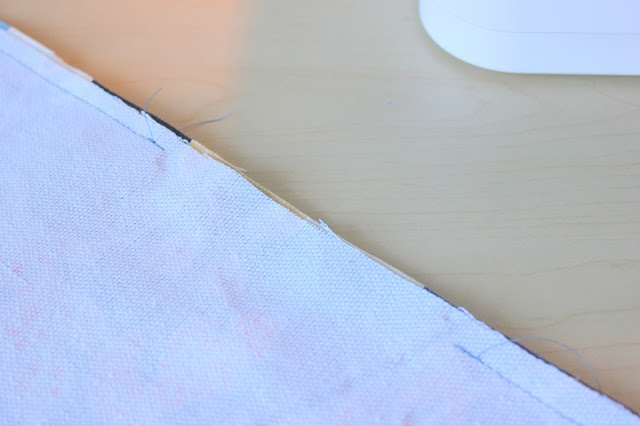
Clip your corners so that when you turn it around they will be nice and crisp. Reach you hand inside of the opening and turn your place mat so that the right sides of the fabric are on the outside. Push out corners and iron all seams nice an flat.
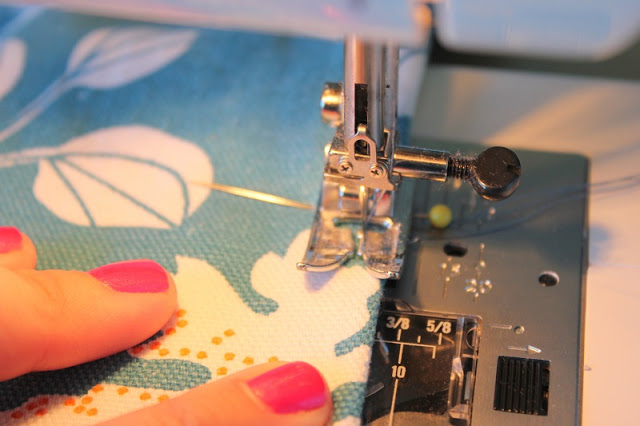
Fold down the flaps on your opening and pin to secure. Top stitch a ¼" seam around your entire placemat. This will keep the edges flat, reinforce your stitching, and close up the opening you used to turn it right-side out.
You now have one finished placemat. Continue on until you have 2, 4, or 6 finished placemats!
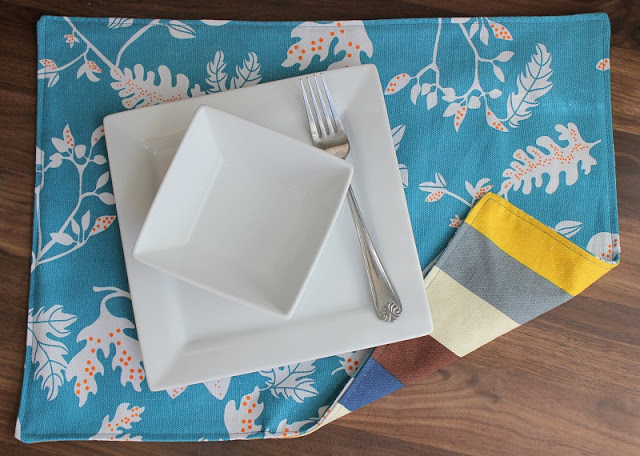
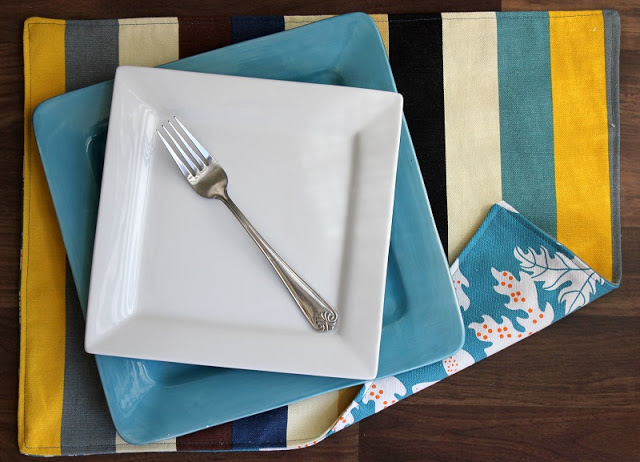
A fun set of placemats that are reversible too.
Now to decide which fabrics to use for the ones I make for our dining room!

Whether you are making a set of 2 or a set for a family, you can easily finish this project in 2 hours or less.

Treva B says
Yes, I did use the instructions. They turned out beautifully. I also made smaller versions for use as hot dish pads on the table...matching. Wish I could upload a photo because I am pretty proud of my accomplishment in returning to sewing.
Brandy says
I love that! What a great idea to make a matching dish pad, too!
Melissa says
How would I sew in the batting if I used a lighter material. I have a cute Halloween print I'd like to use? What kind of batting would I need?
Brandy says
Hi Melissa! I would just use a lightweight batting (this one is my favorite for quilts, but you can find an inexpensive knock-off at Walmart that works great too. I just don't remember the name! https://www.amazon.com/Warm-Natural-Cotton-Batting-Craft-Size/dp/B000YYZSJA) It kind of has the consistency of fleece so it is very easy to work with. Here is another placemat tutorial that I used for our dog, haha! I wanted it to be more absorbent to catch his water drips to I added batting. Just follow this technique and you'll be fine! https://gluesticksblog.com/2017/09/how-to-make-a-bib-and-placemat.html
Jill says
Using outdoor fabric is ideal. It's water resistant.
Jill says
Using outdoor fabric would be ideal.. It's also water resistant.
erica OCARANZA says
thank you can't wait to try this.
Chris says
These are neat but when I went to the fabric store, all the thicker home-decor fabric was dry-clean only. Are there kinds that can be machine washed? Thanks!
Brandy says
Hi Chris,
I'm not sure. I just spot clean mine and if necessary, or wash on a "quick cycle" and air dry. You could make these with a nice sturdy cotton calico and add a thin layer of batting or fleece to stabilize them. Those would be machine washable. I've done that in the past and they worked great. Good luck!
Annita Murfin says
We are using a prequilted cotton that has pretty print in both sides. They will be pretty and washable.
Betsy @ Anna Nimmity says
These are super cute!
Dyan Robson says
These are lovely! I will have to make some.
Southern Scraps says
Love these and love the fact that you don't need batting or filler!