When I get an idea in my head I can't think about anything else until it is done. So the thought of hand quilting a large project makes me stress out. Because I would constantly be thinking about that unfinished quilt!
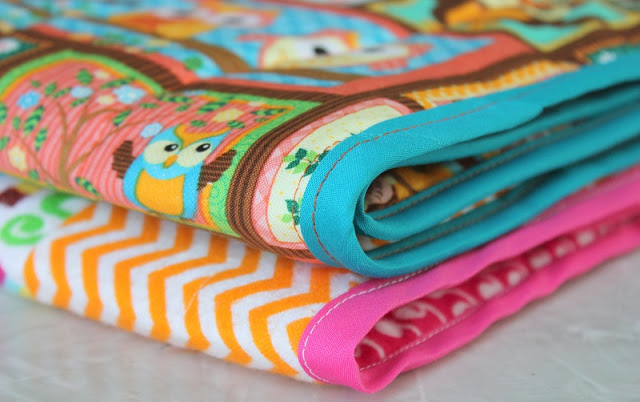
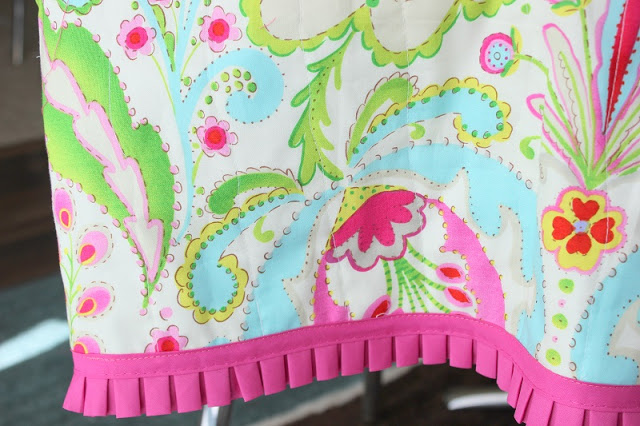
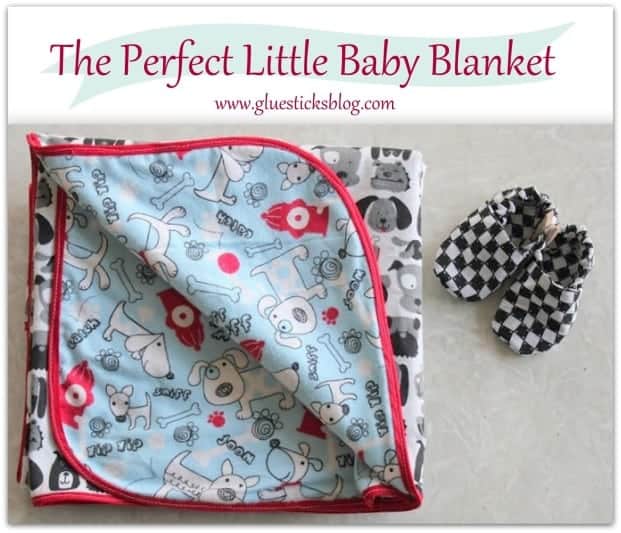
My friend has been coming over lately to use my machine and we've had a great time making baby blankets as gifts. For being a beginner, she has made some pretty awesome blankets. How cute is that bias tape that we sewed around the edging of this easy baby quilt? LOVE.
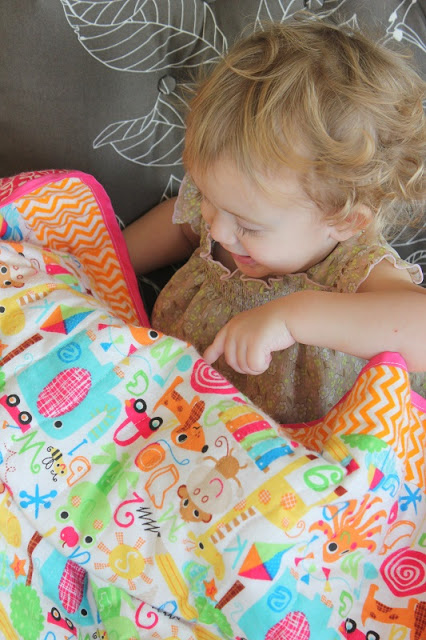
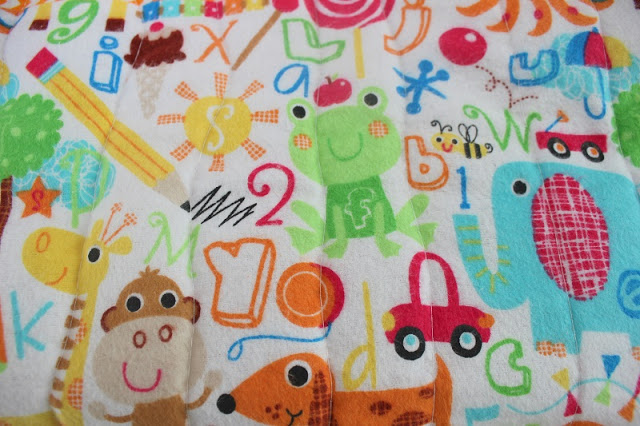
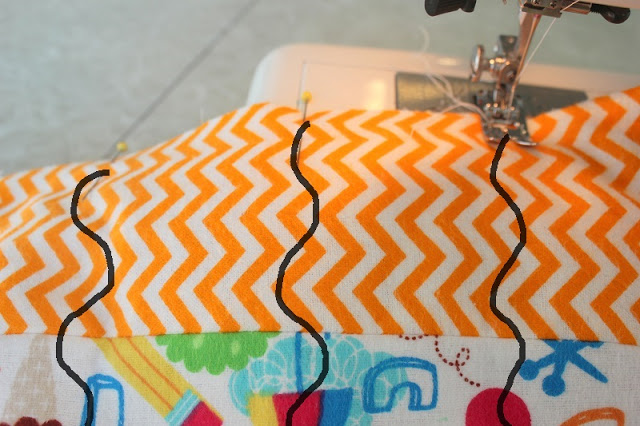
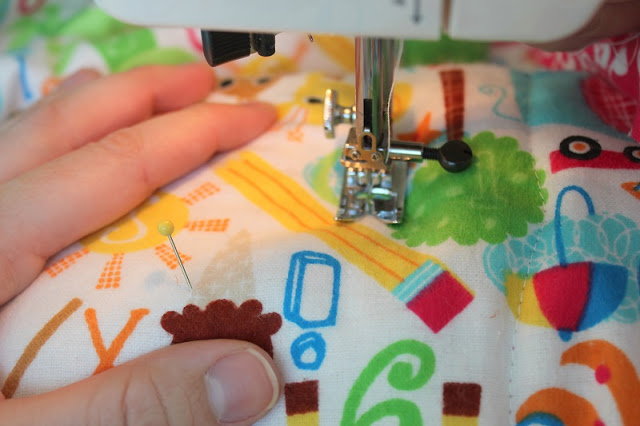
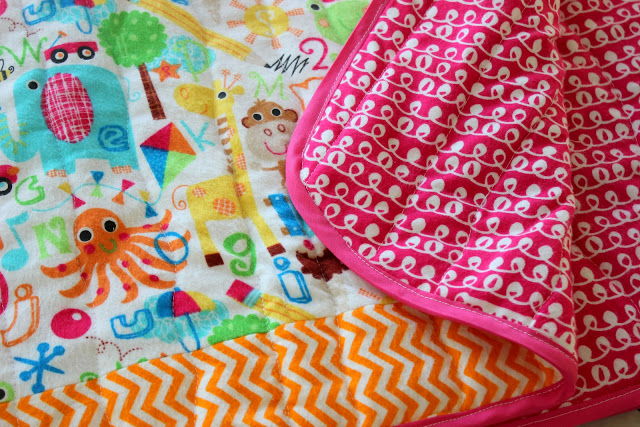
The quilting isn't exact. It isn't measured.  It isn't planned out at all, and that's what I love about it. An easy baby quilt from start to finish. Fun wavy lines, from the top to the bottom, adding a fun design to the soft flannel fabric.

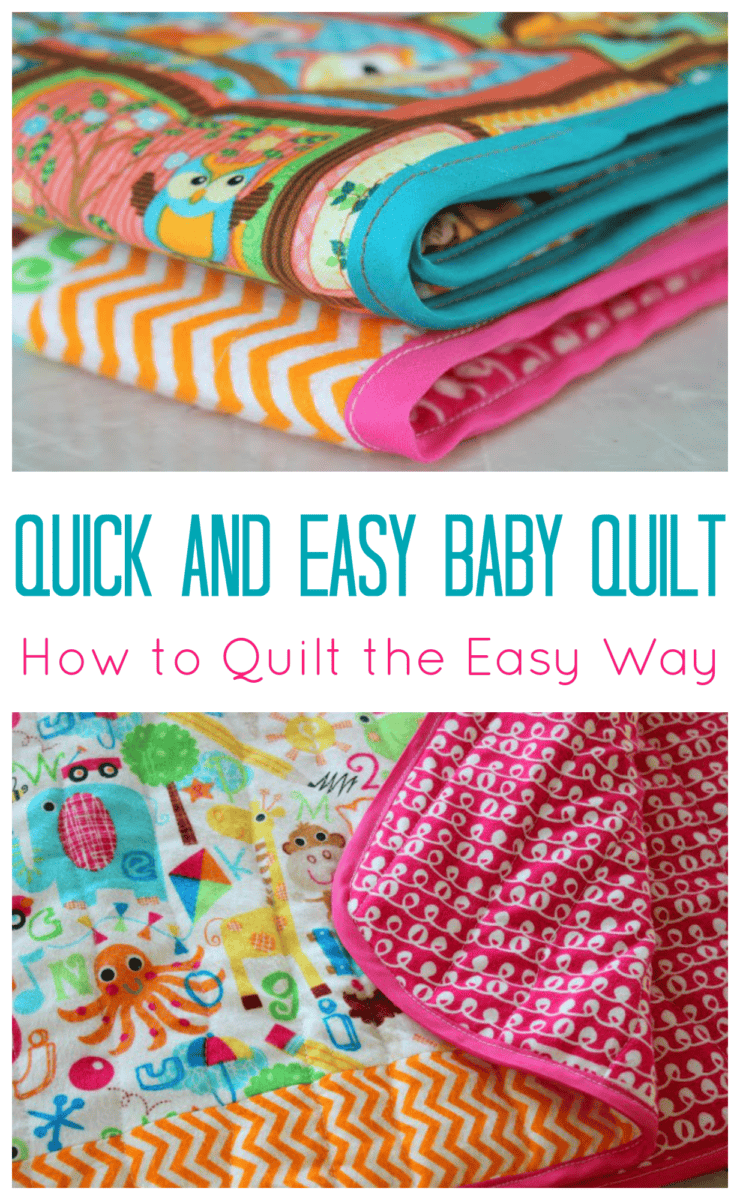
Quick and Easy Baby Quilt
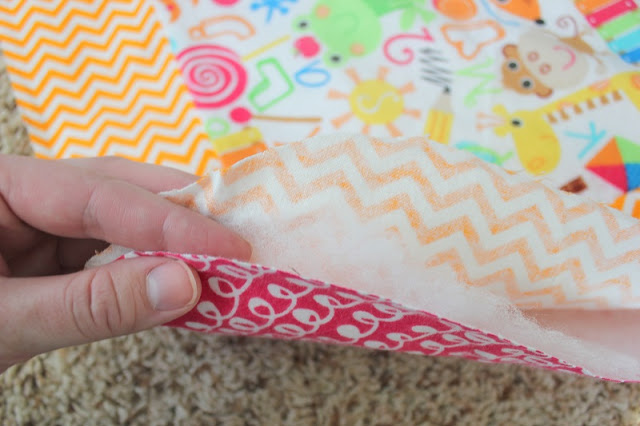
Sandwich a very thin layer of batting in between the top and bottom fabrics for your quilt.
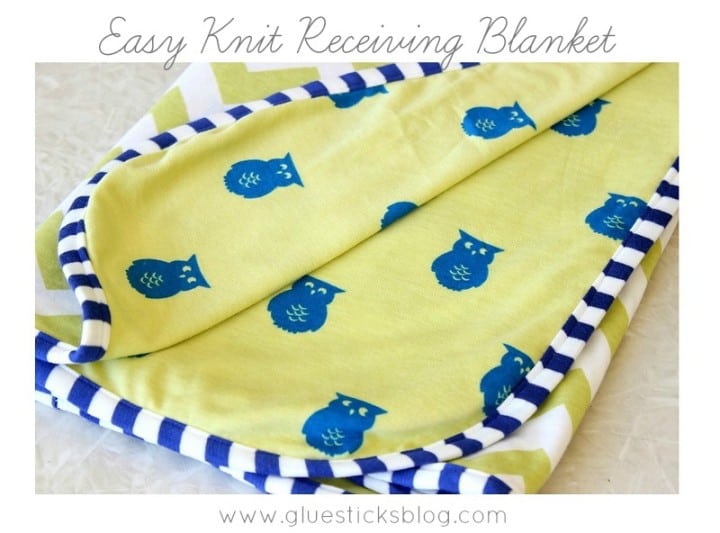
I made a border around my main fabric with the orange chevron, but that isn't necessary. Simply using 2 pieces (one for the front and one for the back) of fabric works fine!
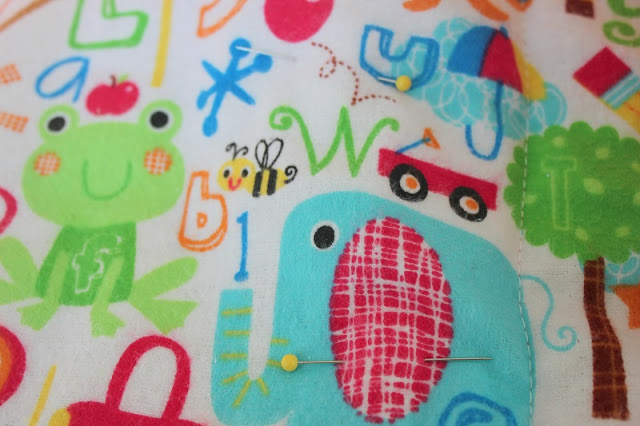
This keeps the fabric and batting together while you machine quilt and I set my machine stitch to 3.

ANNAMAE ROBBINS says
I have a question about the ruffled bias tape...how did you connect the ends to finish the binding? I found a UFO from YEARS ago and it's the ruffled bias tape binding! But I'm at a loss as to how to connect the ends of the tape to make it look nice!! Thanks!!
Brandy says
I'm sure there is a right way, but I wasn't sure about that either! We just folded the ends over as neatly as we could. The quilt was a gift that was given away years ago so I can't show a photo of it. It wasn't perfect, but unless you looked closely it wasn't very noticeable!
ANNAMAE ROBBINS says
Thanks Brandy! I'll give that a try!!
carol says
I understand you completely! i do quilt, mostly "in the ditch" and mostly baby quilts... i enjoy the complicated patterns but i have also bought the pre-printed quilt block like yours above and they too are beautiful, as well as practical... love the bias tape...
Brenda says
These are beautiful!
tere :) says
thanks for the tutorial!
Rachel G says
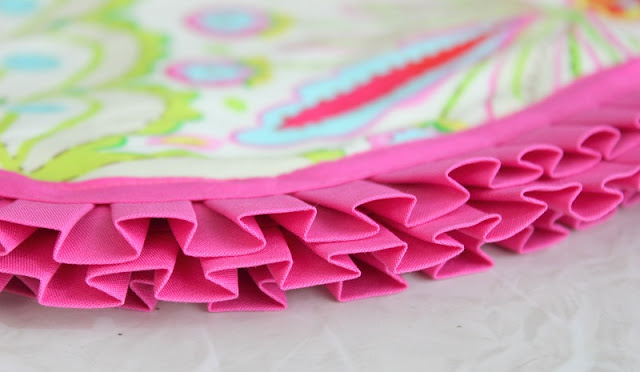
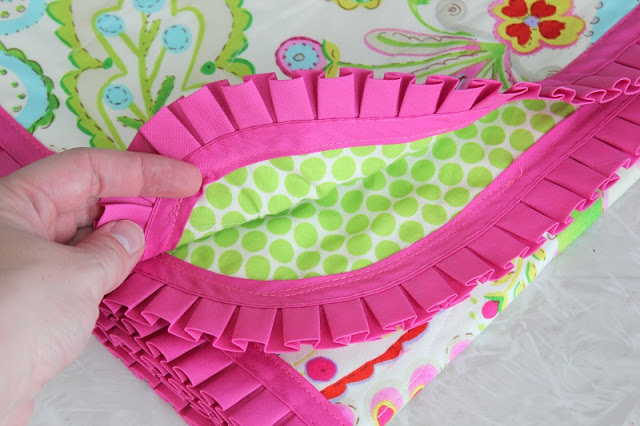
I love the fringed edge one - how did you do that?
Brandy says
Hi Rachel,
The fringed bias tape was purchased that way! My friend found it sold by the yard at Joanns. We just added it like you would any other bias tape. I can't wait to get more of it, it added such a nice touch!