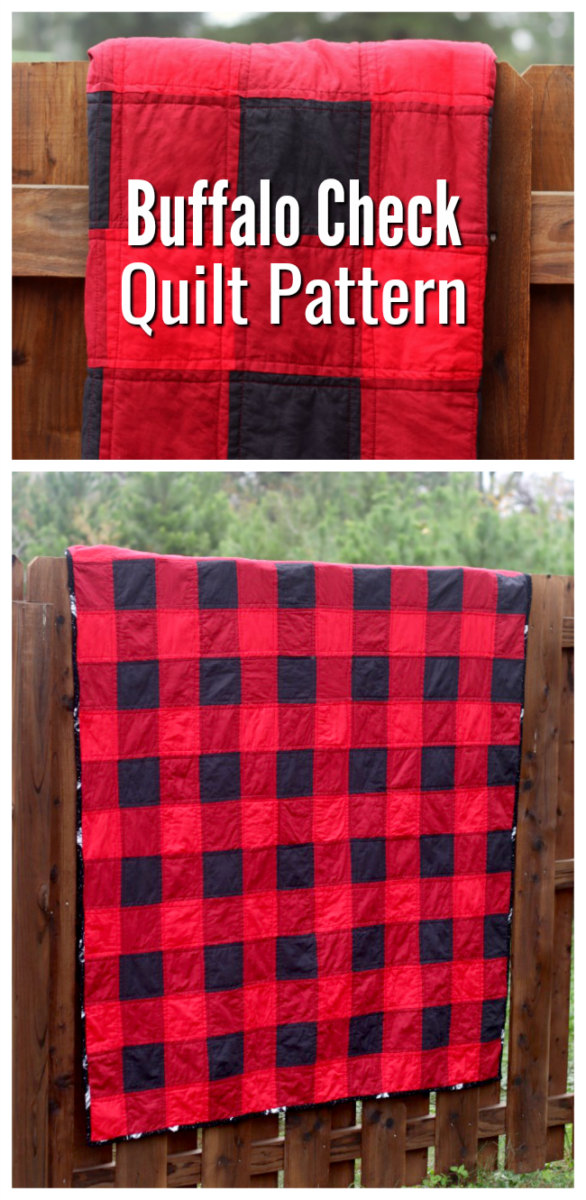
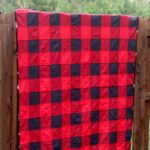
Buffalo check quilt pattern (58" x 75"). This throw comes together quickly and is the perfect size for wrapping up in on a chilly day. This post contains affiliate links.
You might also like this gingham baby quilt tutorial.
How To Make a Buffalo Check Quilt
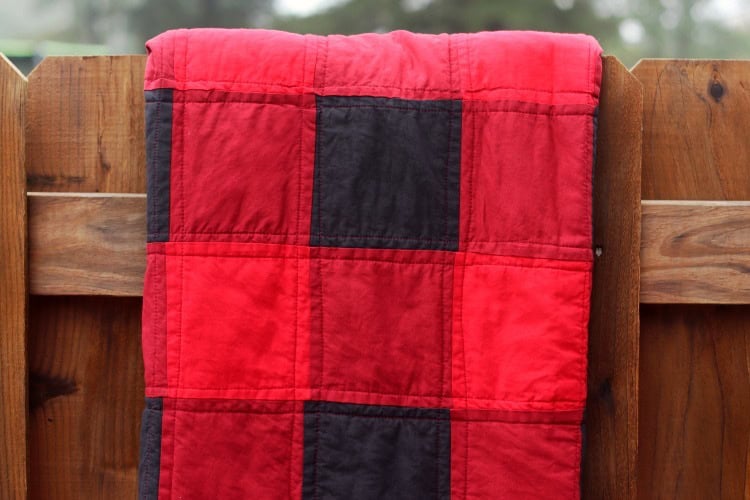
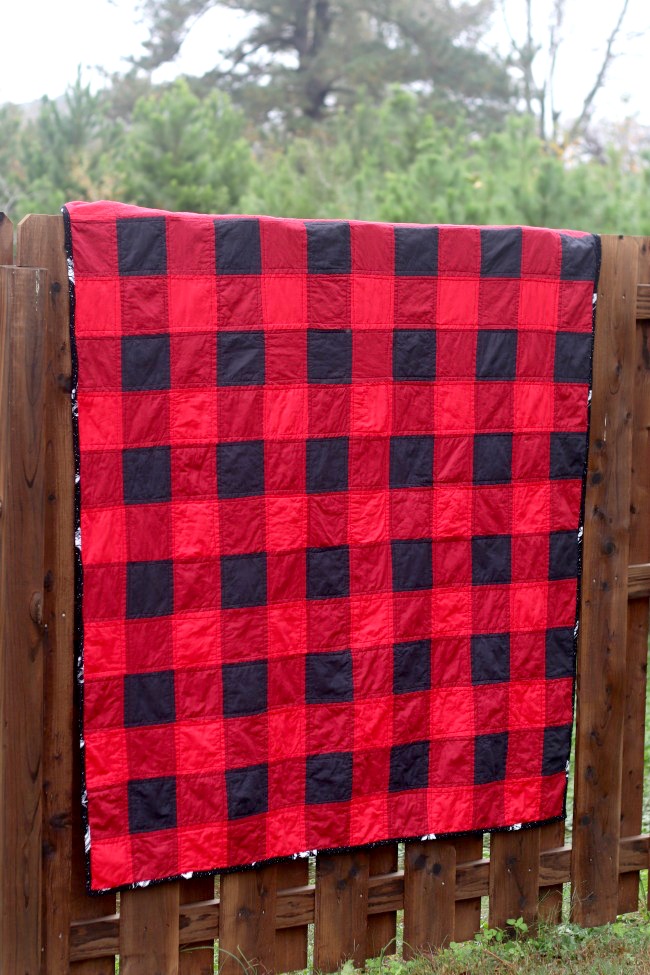
I absolutely love this buffalo check quilt. So perfect for chilly days. The front is cotton and the back is flannel. Buffalo check is such a fun pattern and easy to assemble too. It's basically alternating rows of red/burgundy blocks and rows of burgundy/black blocks. When put together, it looks like gingham. You can make buffalo check in any color combination you'd like. The most popular versions are red (like mine), black and navy.
Let's get a few things straight before I get started.
- I am not a professional quilter. Not even close.
- My seams don't match up 100% of the time.
- I sometimes use ⅜" seam allowances instead of ¼" seam allowances.
- I don't always iron every seam flat before sewing my rows together.
- I quilt my quilts on my sewing machine with a walking foot attachment.
If you can look past my blatant disregard for all quilting rules, feel free to keep reading.
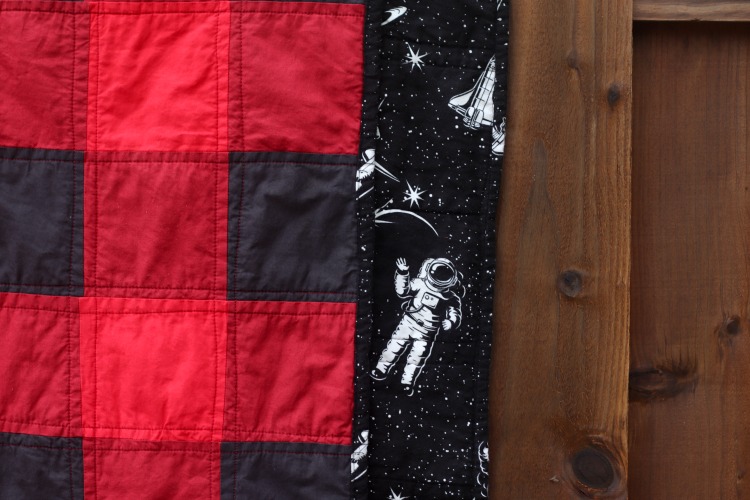
I made this for my 14-year-old nephew so I used a glow-in-the-dark space flannel for the back, but wouldn't this buffalo check quilt be the perfect Christmas quilt if it was lined in a more festive print? Such a pretty pop of color for a couch or quilt ladder (click here to learn how to make your own quilt ladder).
Buffalo Check Quilt Supplies
Fabrics to Purchase:
(I always buy a little more than what I think I'll need)
- 1 ½ yards red
- 1 ½ yards black
- 2 ½ yards burgundy
- 5 yards flannel
- ¾ yards fabric for binding
I am using the same technique to quilt and bind this quilt that I used for our kids scrappy quilt (there are step by step photos on that post).
 Buffalo Check Quilt Pattern/Tutorial
Buffalo Check Quilt Pattern
Equipment
- sewing machine
- iron
- ironing board
Materials
- 1 ½ yards red quilting fabric
- 1 ½ yards black quilting fabric
- 2 ½ yards burgundy quilting fabric
- 5 yards flannel or sheet for the back
- ¾ yards fabric for binding
- coordinating thread
- batting
- basting spray
Instructions
Cutting Guide
- Cut 5.75" square blocksBurgundy: 90 blocksRed: 48 blocksBlack: 42 blocks
Sewing Rows
- Sew 15 rows, each with 12 blocks. The first row will alternate between red and burgundy blocks. The second row will alternate between burgundy and black blocks. Continue this pattern, ending on row 15 with red and burgundy.
- Stitch rows together, pressing seams. Here is a guide for pressing quilt block seams.
Quilting
- Here is a guide for making your quilt back. I sew my quilt backings with a vertical seam.Lay the quilt backing fabric out, and cover with batting. My favorite batting to use is the Warm and Natural batting. It’s thin, but sturdy, like felt and it very easy to work with.
- Place quilt top over the other two layers, and pin safety pins all over to sandwich everything together. You can also adhere the quilt layers with basting spray (my preferred method).Note: The batting should be 2" longer and wider than the quilt top, and the quilt backing should be 2" longer and wider than the batting.
- Quilt (using a walking foot attachment) along each seam, stitching on BOTH sides of the seam. You can also simply quilt through the center of each seam, but I like the look of stiching on both sides.
- After machine quilting the seams, sew around the perimeter, and trim close to the seam for a nice, clean edge. Trim off any loose threads.
Binding
- I use this method for making and sewing quilt binding. It’s super simple!
Wash and Dry Quilt
- I think we can all agree that the best part about making a quilt is pulling it out of the dryer! A quick wash and dry will shrink the fabric and seams, making them all crinkly.

 Buffalo Check Quilt Pattern/Tutorial
Leave a Reply