A super simple heart plushie sewing project for kids! Fill with stuffing, dried lavender or beans! This post contains affiliate links.
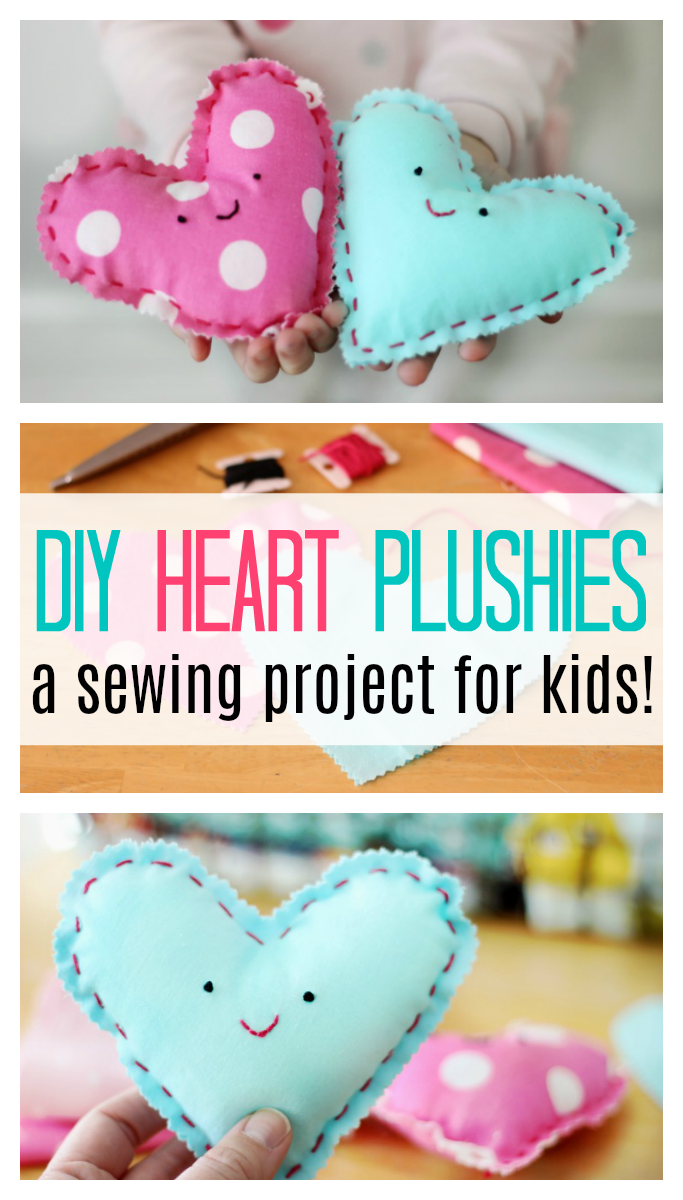
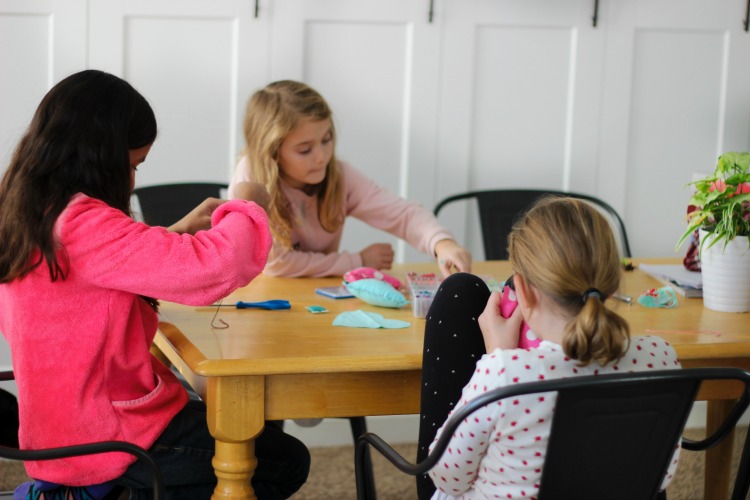
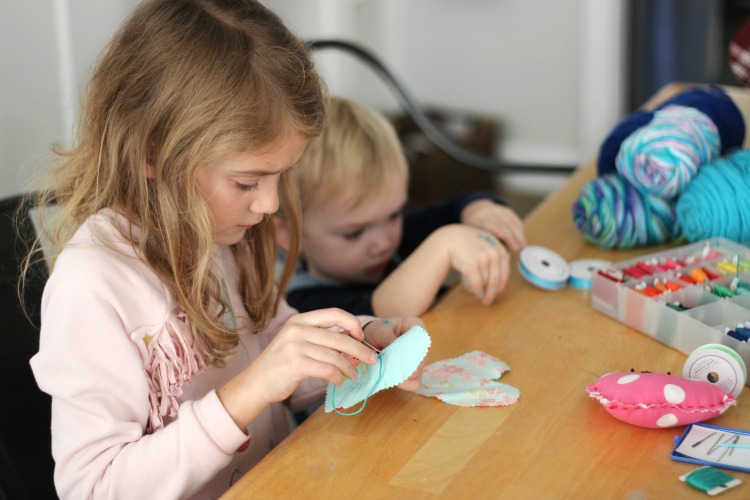
My girls love to sew and are always going through my scrap fabric pile to make their own little creations. Ruby is especially into "plushies" lately. I think it is one of her favorite words, she just likes how it rolls off her tongue, ha! So we made heart plushies with their friend, Kaitlin, after school the other day and they turned our adorable.
If you are looking for an entire collection of projects to make with kids check out my book! It has 60 step by step projects with hand stitching and machine stitching techniques!
Ok, that's enough of a plug for my book. Can you tell that I'm still so excited about it?!?!
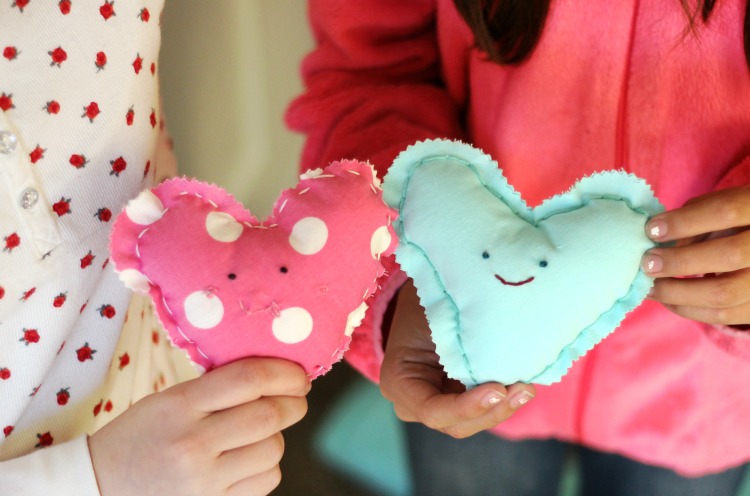
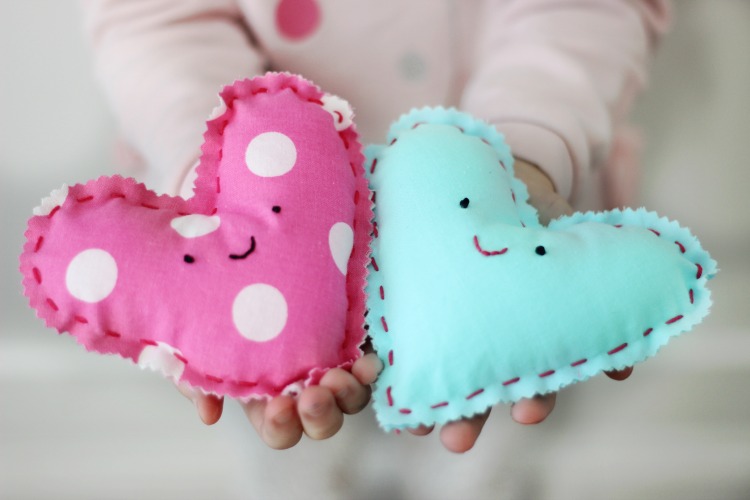
Each heart plushie that the girls made was so unique with their own little style.
Ruby went all out with the face on hers...clearly. It took her about 30 minutes to embroider, but she did it!
If you are looking for a beginning sewing project for kids, just know that you can turn pretty much any shape into a "plushie".
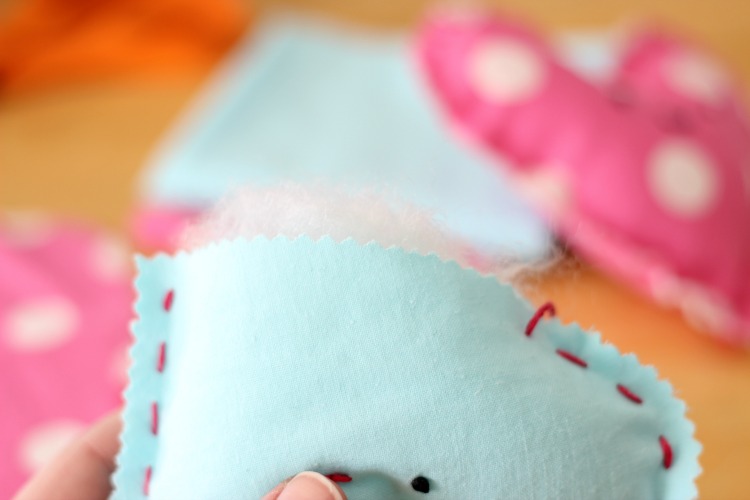
To make things even simpler, I used pinking shears to cut the fabric so that it wouldn't fray and the girls didn't even have to turn their projects right side out. They just stitched around the edges and filled each plushie with stuffing.
Because this is a sewing project for kids, I am going to point my attention to my young crafty friends and talk directly to them!
Ready to make your own? Let's get started!
Heart Plushie Sewing Project for Kids!
Supplies:
scratch paper
pencil
scrap fabric
Step 1: make a pattern.
Fold your scratch paper in half. Trace half of a heart on the fold and cut it out. Unfold your paper and you will have a paper heart to use as a pattern!
Step 2: cut out your fabric pieces.
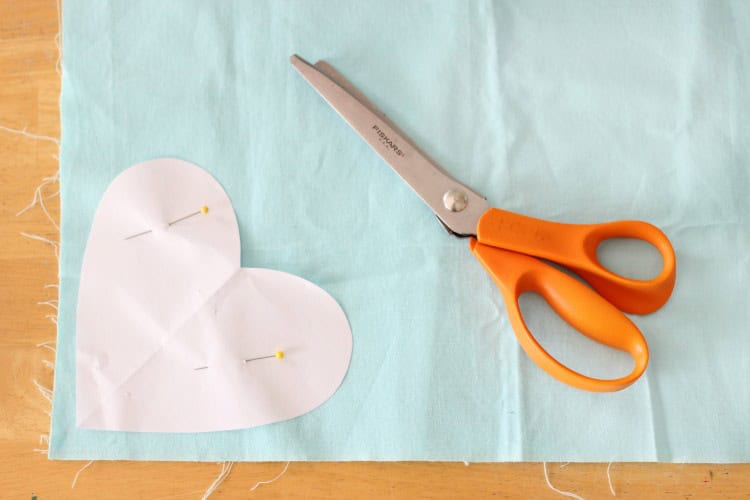
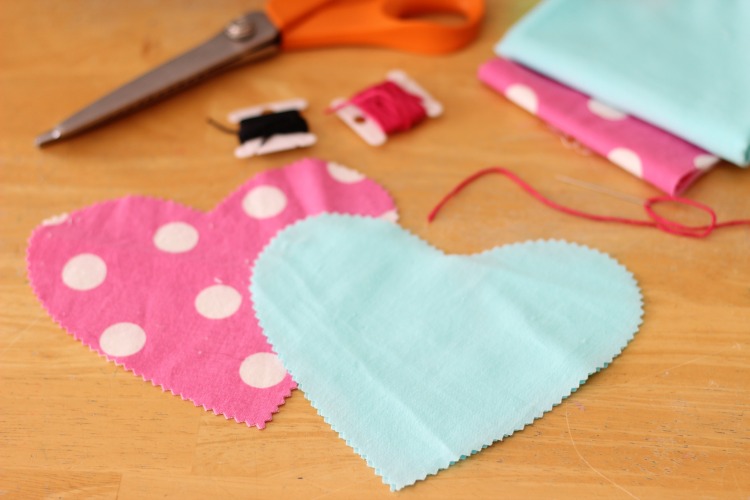
Place the pattern piece onto your fabric and pin into place. Cut around the edge using pinking shears. Repeat this step. You should have two heart pieces; a front piece and a back piece.
Note: you can use whatever fabric you'd like: felt, cotton, or even knit! We used cotton for our heart plushies.
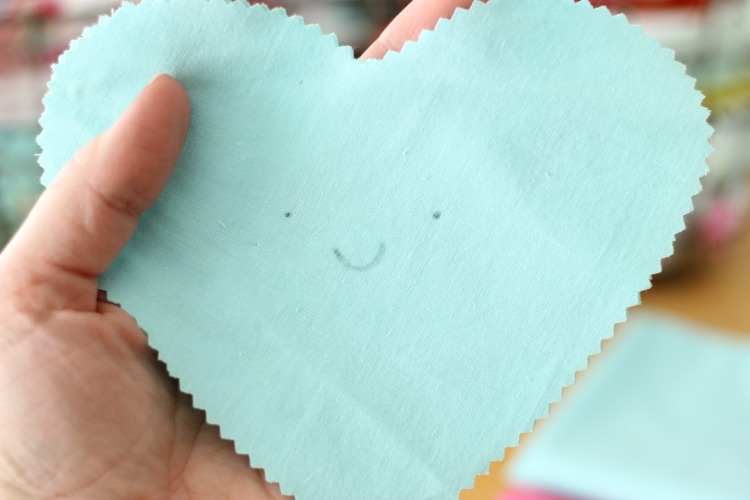
Step 3: draw a face!
You can use a pencil or sewing pen to add a little face. You can make it detailed or simple, it's up to you, but it is quicker to stitch on a simple face.
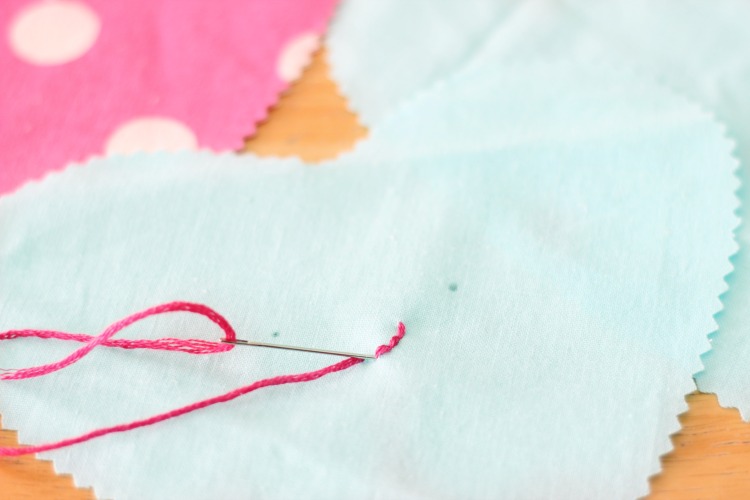
Step 4: stitch on a mouth.
Thread a needle with a piece of embroidery thread. Tie a knot at one end. Poke the needle from behind your fabric and pull until the knot hits the back of the fabric.
Make one stitch forward. Bring the needle through the back of the fabric again, a stitch length in front of where your previous stitch was.
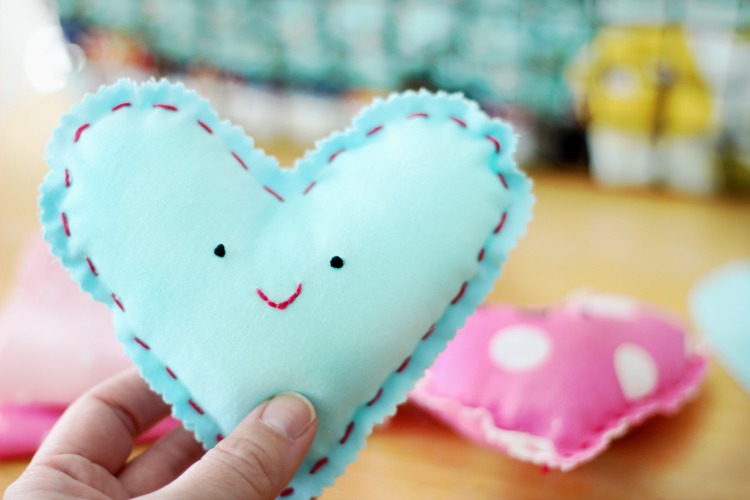
Pull the thread through and poke the needle into the previous stitch hole. This is called a backstitch. You are creating a line of stitches that touch each other. (see photo above)
If you need a quick video tutorial for a backstitch click here.
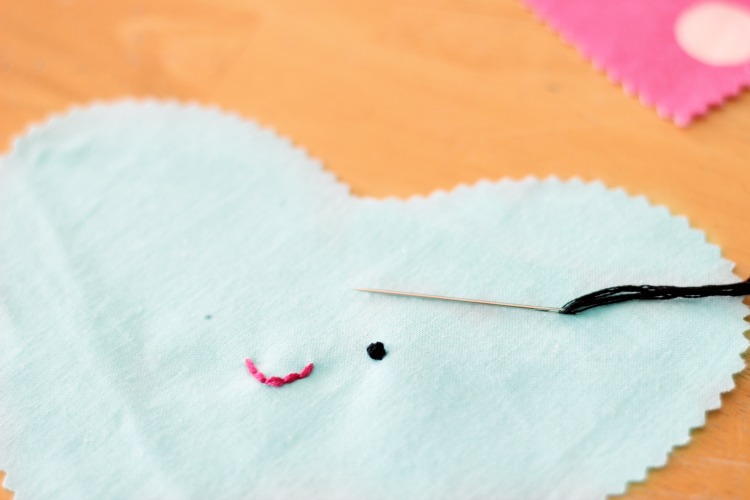
Step 5: stitch on eyes.
We used a French knot for the eyes. This is a little hard to photograph so here is a great little video from Red Ted Art to show you how to make a French knot. Spoiler alert: it's EASY, but you can also stitch buttons on for the eyes.
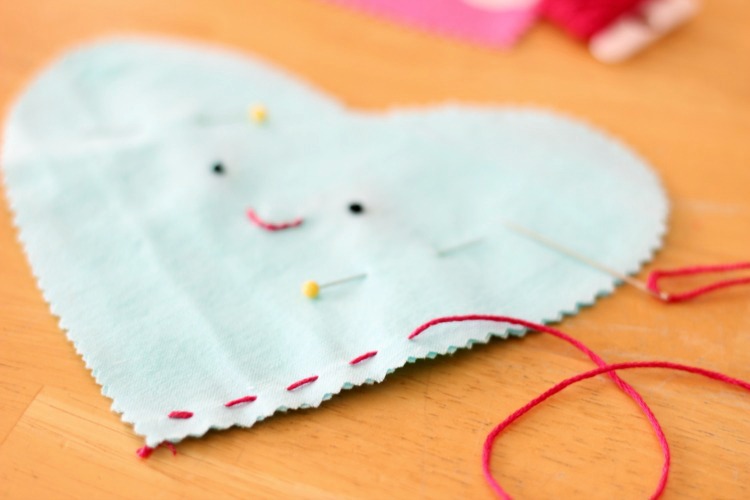
Step 6: stitch the two heart pieces together.
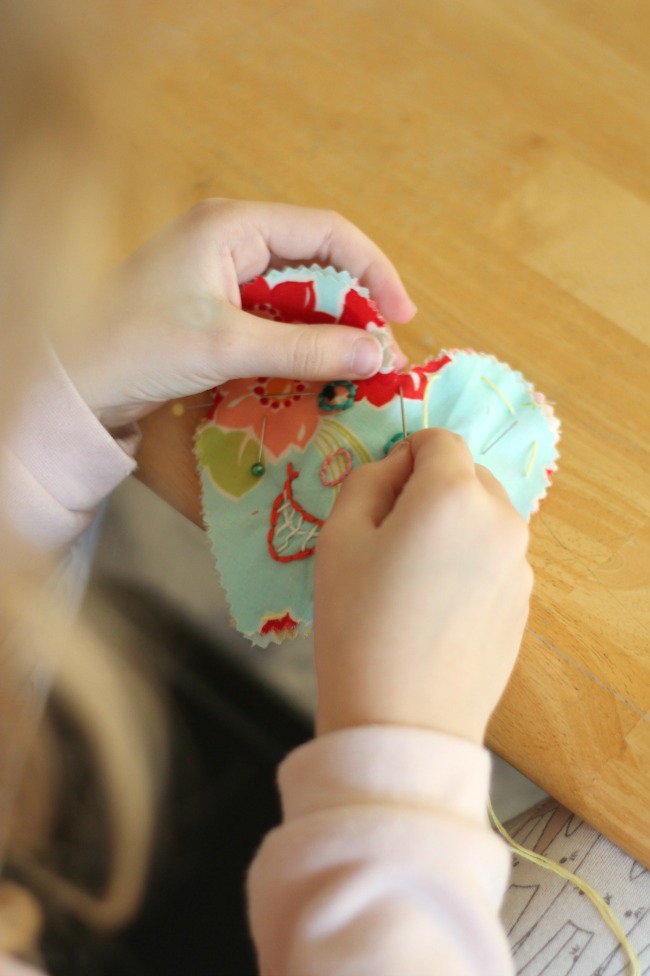
Stack your two hearts together, making sure that the edges all lineup. Add two pins to keep everything in place.
Thread your needle with a LONG piece of embroidery thread. Tie a knot at one end. Make even stitches around the edge. When you get about 4" from the end, stop. Do not cut your thread or tie a knot. Just pause your sewing.
Step 7: stuff your plushie!
Add a small handful of stuffing through the hole. Stitch closed. Tie a knot in the back and cut your thread.
Now you have a cute heart plushie! Make one for you and one to give to a friend!
If you liked this cute little heart plushie sewing project you might also like...
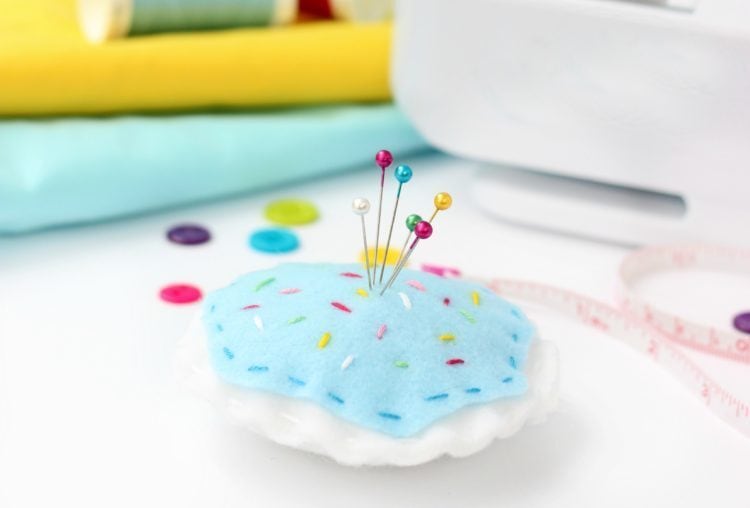
Sugar Cookie Pincushion Tutorial for Kids!

Nina Thompson says
These are such great ideas. Last summer my 11 yr old grandson seen me making a tablecloth out of a jelly roll and wanted to help - he did great in sewing the strips together and later made place mats for his parents. So I know he and I will enjoy making some of these this summer.
Kippi says
I adore this project with those sweet little ones having fun creating. My family is a creative bunch too. Happy Valentine's Day, Kippi #kippiathome
Lisa // Cucicucicoo: Eco Sewing & Crafting says
These are so sweet! And such a simple, yet fun project for kids. Sharing and pinning! 🙂 Lisa
Shirley Wood says
It looks like the girls had such fun. Love your fabrics! So glad you came to Merry Monday. Hope to see ya next week.
Alice V-DIYerfy says
I love your ideas and the fact that this looks simple enough for a 5 or 6 year old to do. thank you for linking up with us at #OMHGWW
Emily says
Aw, these are darling!! What a sweet friends gift these would be for Valentine's Day. Thanks so much for sharing at our Merry Monday party. I'm including these plushies in my Party Features next week.
Roseann Hampton says
What a fun project for kids learning to sew! This will be one of my features this Saturday at the Snickerdoodle link party!
Audrey Sauble says
Nice! Does the type of fabric make much of a difference for kids? It looks like you use a variety of cotton, felt, and flannel, but I'm curious if one type works better for younger kids than another.
Brandy says
Hi Audrey! Felt is the easiest for kids to work with because it kind of sticks to itself. We used cotton because my girls liked the variety of scraps that we had on hand. 🙂 Have fun!
Audrey Sauble says
Thank you!
Kristina says
Hi this is Kristina from Sundays at Home. How adorable! I just love this project. I know I would have wanted to make something like this as a kid. I will be sharing this on Pinterest and Facebook.
Victoria @DazzleWhileFrazzled says
Super cute! My 9 year old is learning to sew and I can see this as a great kids birthday party theme/activity. Visiting from Made By You Monday.