
These homemade croissants are buttery, flaky, golden, and absolutely worth the time it takes to make them from scratch. This recipe walks you through the entire process, from making the yeast dough and preparing the butter layer to laminating, shaping, proofing, and baking the croissants.
You might also like my homemade croissant bread. Comes together quickly and is absolutely flaky and delicious!
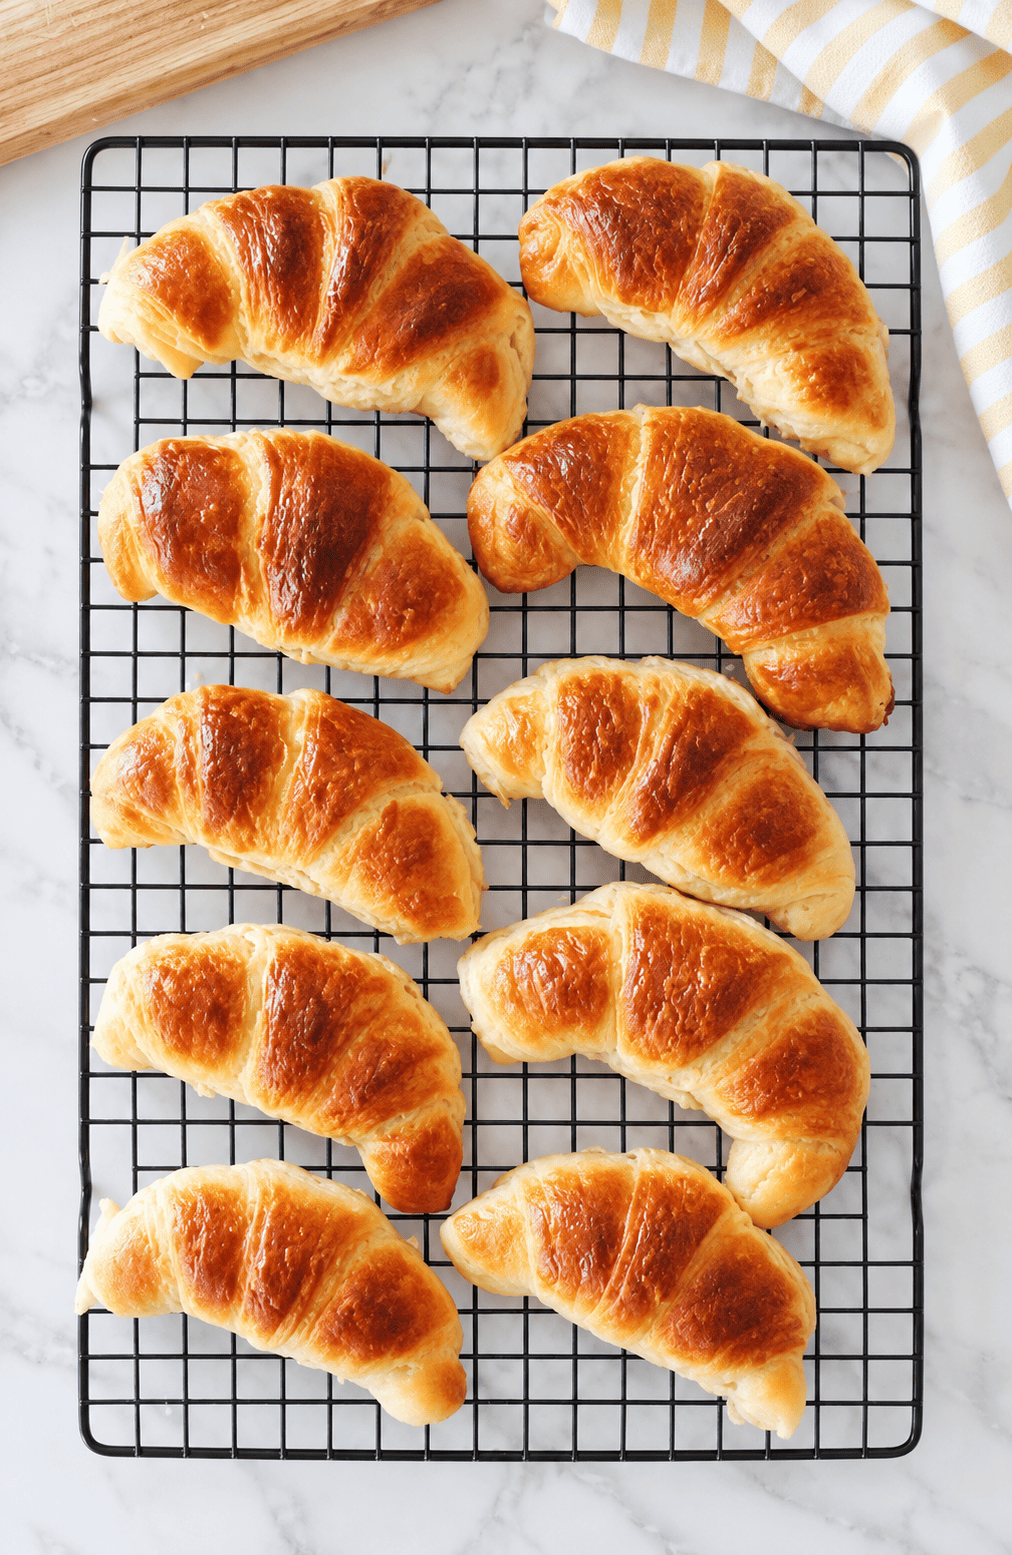
Croissants are a project, but they aren't difficult once you understand the process. Most of the total time is spent chilling and resting the dough, so you can work through the recipe in stages throughout the day. The result is 16 homemade croissants with crisp, flaky layers and a soft, buttery center.
Why You'll Love This Homemade Croissant Recipe
- Buttery and flaky. Repeated rolling and folding creates thin layers of dough and butter that puff apart in the oven.
- Step-by-step instructions. The process is broken down into manageable stages so you always know what to do next.
- Make them at home. You don't need special pastry equipment to make croissants. A rolling pin, parchment paper, a baking sheet, and a little patience are enough.
- Make-ahead friendly. The dough needs several chilling periods, which makes it easy to divide the work over a day or even prepare the dough the day before baking.
- Makes 16 croissants. One batch gives you plenty to serve for breakfast or brunch, with extras that can be stored or frozen.
Jump to:
- Why You'll Love This Homemade Croissant Recipe
- What Makes Croissants Flaky?
- Tips for Making Homemade Croissants
- Ingredients for Homemade Croissants
- How to Make Homemade Croissants
- How to Store Homemade Croissants
- How to Reheat Croissants
- How to Serve Homemade Croissants
- Frequently Asked Questions
- More Recipes for Pastry Lovers
- Homemade Croissants Recipe
What Makes Croissants Flaky?
Croissants get their signature flaky texture from lamination. Lamination is the process of enclosing a layer of butter inside yeast dough, then repeatedly rolling and folding the dough.
Each fold creates additional layers of dough and butter. During baking, the water in the butter turns to steam, helping separate the layers and creating the crisp, flaky texture croissants are known for.

Tips for Making Homemade Croissants
- Keep the dough cold. Temperature is one of the most important factors when making croissants. If the butter begins to soften or melt during rolling, put the dough back in the refrigerator before continuing.
- The butter should be cold but flexible. Butter that is rock-hard can crack and break through the dough. Butter that is too soft will smear into the dough. You want it cold enough to stay in a distinct layer but pliable enough to roll.
- Don't rush the chilling periods. The refrigerator rests aren't wasted time. They allow the butter to firm up and the gluten in the dough to relax, making the next roll much easier.
- Don't add too much flour. Use enough flour to prevent sticking, but brush away excess flour before folding the dough. Too much flour can interfere with the layers.
- Roll gently. Don't press aggressively with the rolling pin. If the dough resists, let it rest for a few minutes rather than forcing it.
- Keep the butter inside the dough. If butter starts breaking through the dough during a fold, stop rolling and refrigerate the dough until the butter firms up again.
- Don't skip the final long chill. After the fourth fold, the dough needs at least 4 hours in the refrigerator. This is also a convenient point to stop for the day and shape the croissants the next morning.
- Don't overproof. The croissants should become noticeably puffy and nearly double in size, but they shouldn't become so warm that the butter starts melting.
- Bake until deeply golden. Pale croissants often haven't developed the crisp, flaky exterior you're looking for. Look for a rich golden-brown color.
Ingredients for Homemade Croissants
- Warm water: Activates the yeast.
- Yeast: Gives the croissant dough its rise and airy texture.
- Granulated sugar: Adds a little sweetness and helps support the yeast.
- Salt: Balances the flavor of the dough.
- Melted butter: Enriches the dough and adds buttery flavor.
- Milk: Adds richness and tenderness to the dough.
- All-purpose flour: Forms the base of the croissant dough.
- Butter for laminating: Creates the thin layers of butter throughout the dough. I use salted butter, but unsalted butter can also be used with an adjustment to the salt in the dough.
- Egg and water: Used to make an egg wash that gives the croissants their beautiful golden-brown finish.
See the recipe card below for the exact measurements.
How to Make Homemade Croissants
Don't let the number of steps intimidate you. Croissants are made in stages, and most of the time between stages is simply chilling the dough in the refrigerator.
Make the Croissant Dough
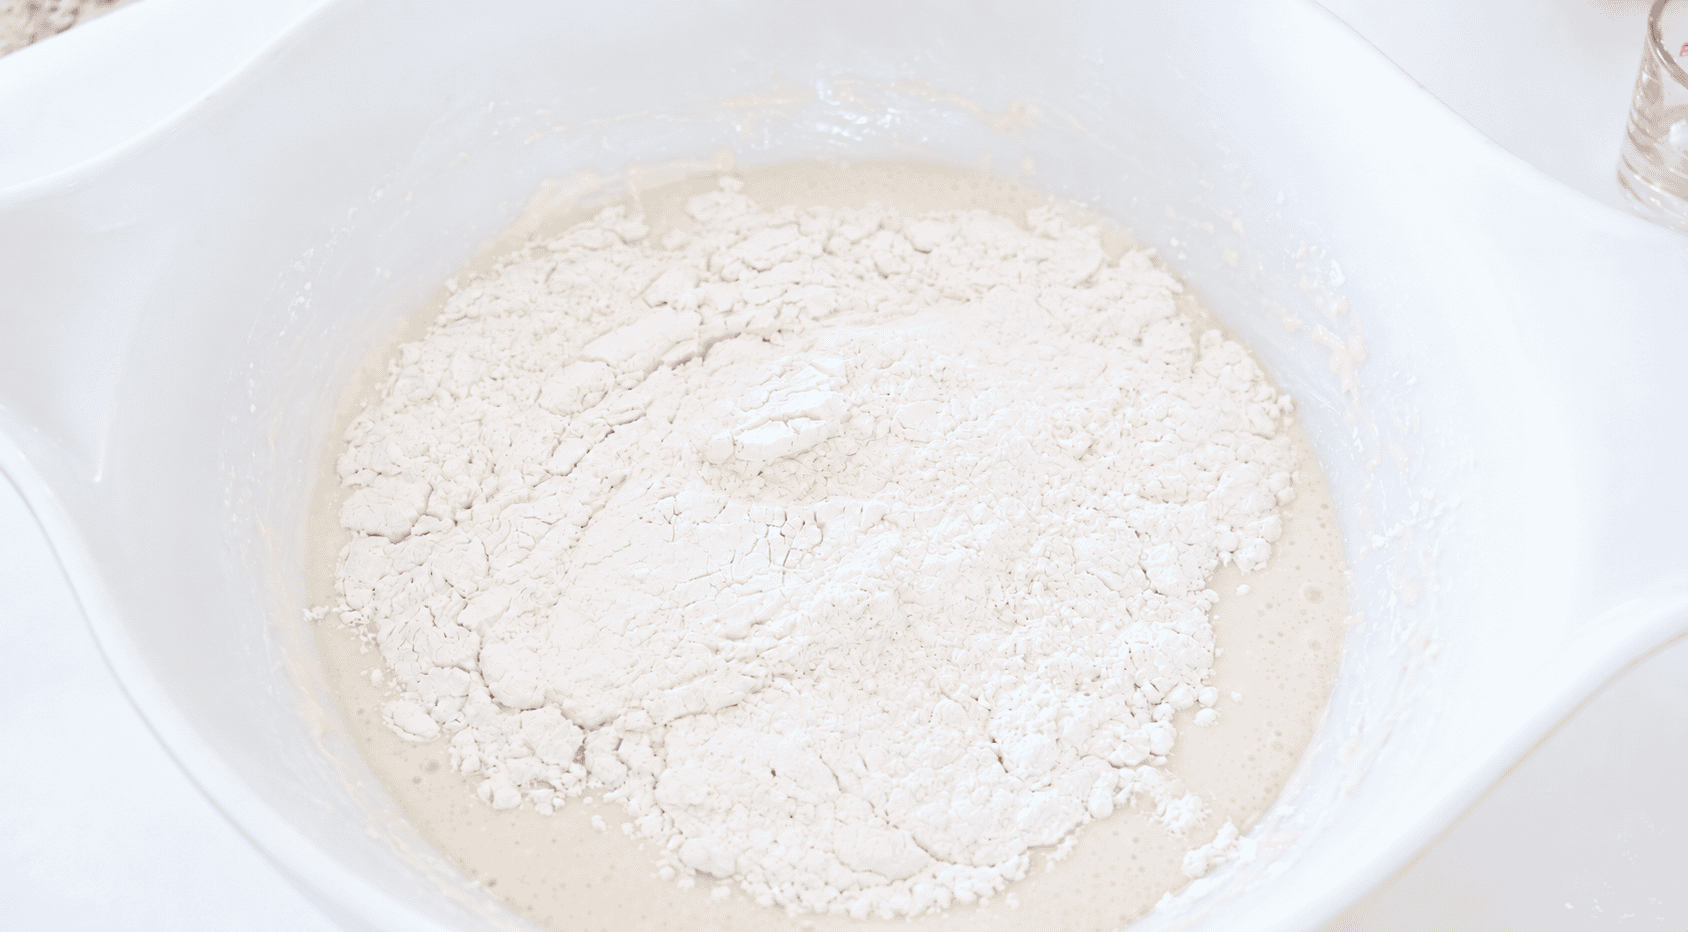
Step 1: Activate the yeast. Dissolve the yeast in warm water and let it sit for about 5 minutes.
Step 2: Mix the dry ingredients. Combine the sugar, salt, and part of the flour in a large mixing bowl.
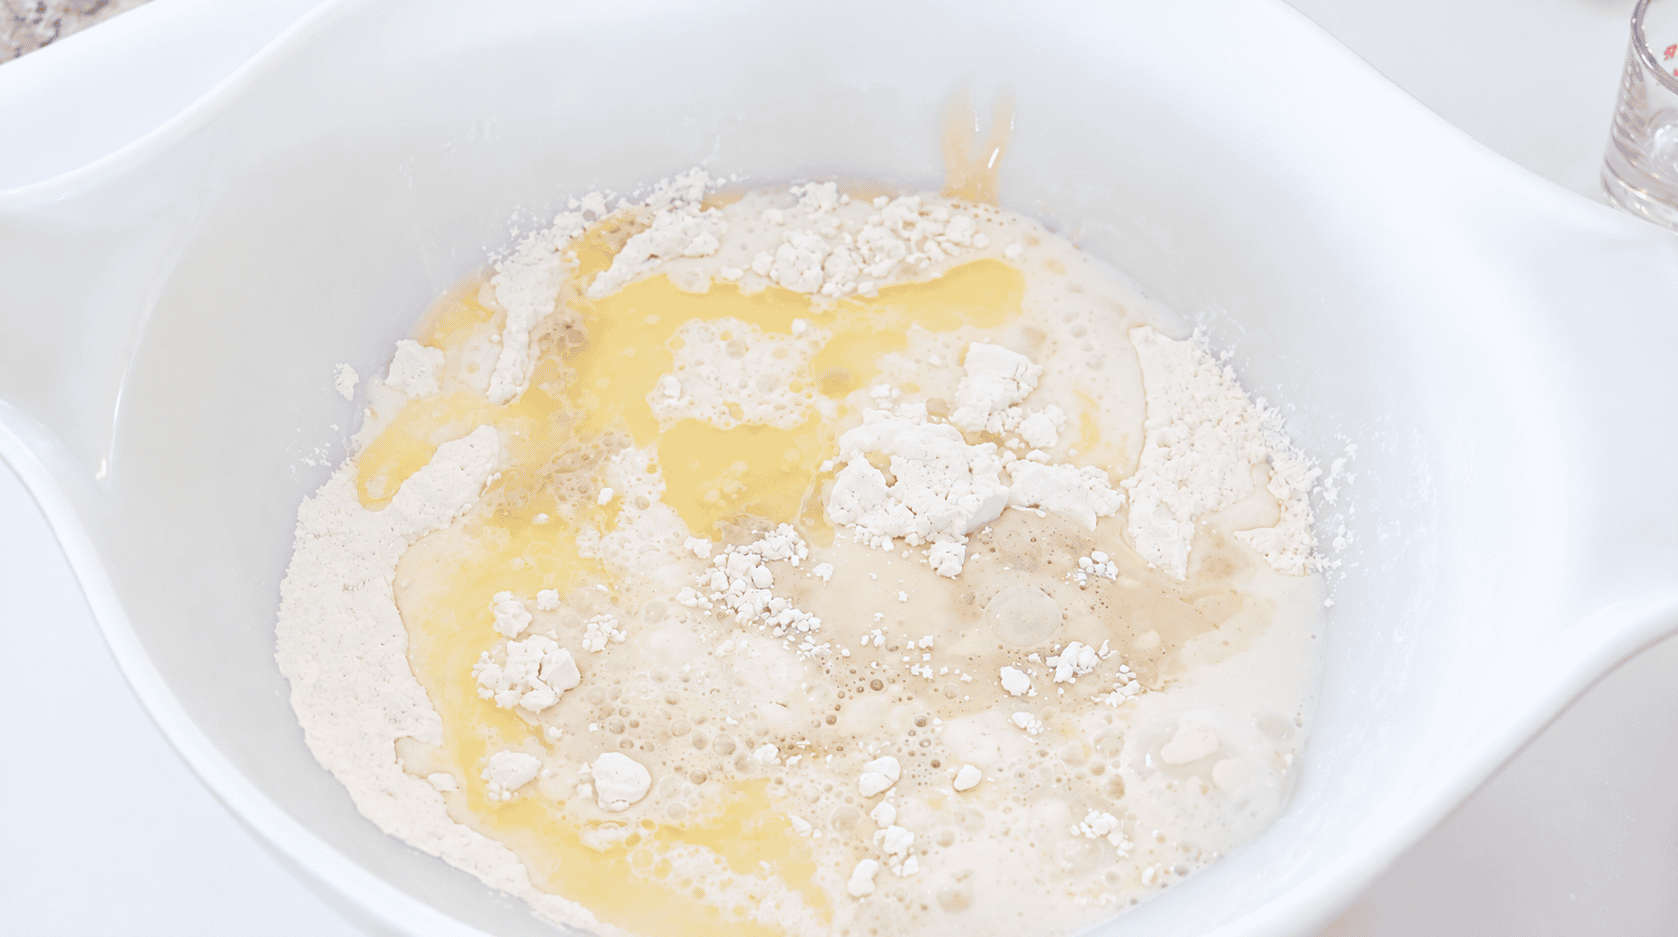
Step 3: Add the wet ingredients. Add the milk, melted butter, and yeast mixture. Stir until combined, then add the remaining flour and mix until a sticky dough forms.
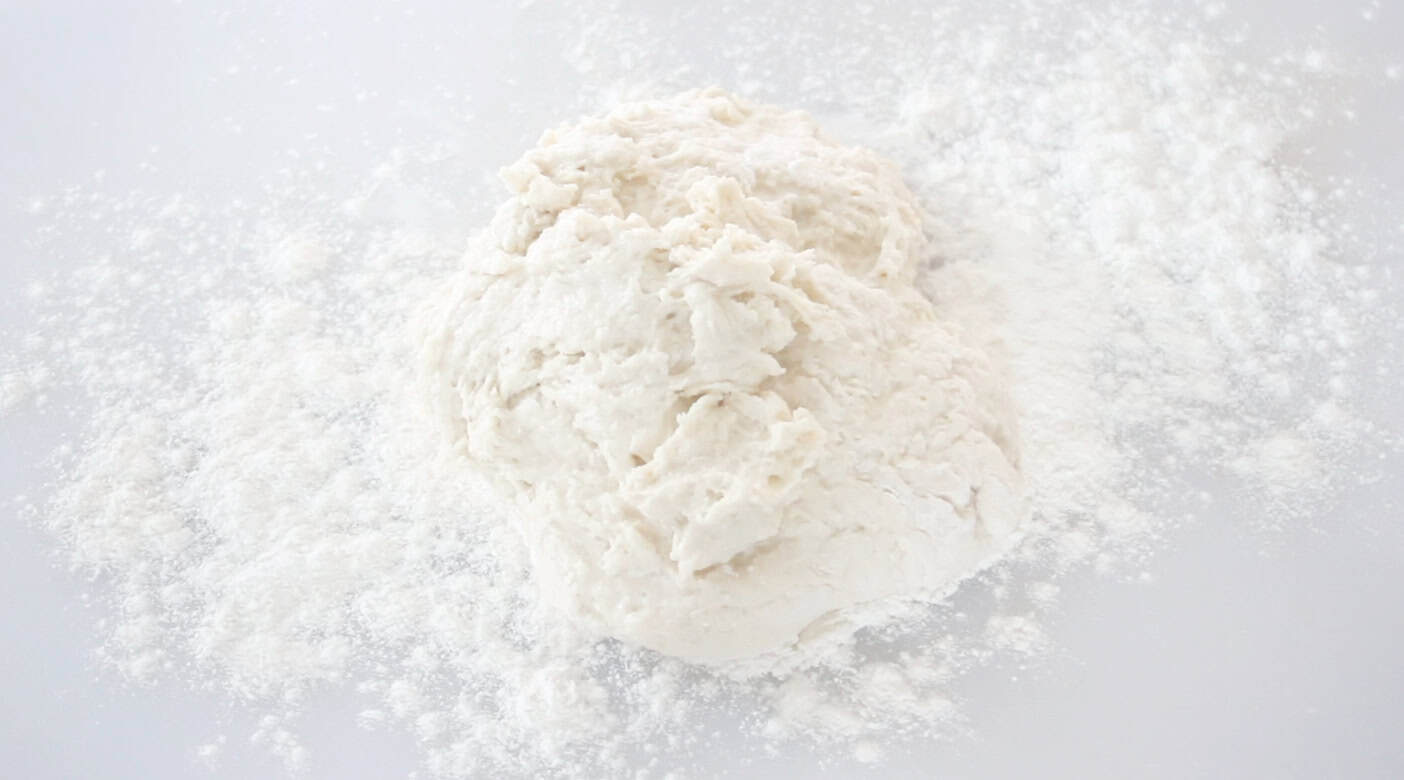
Step 4: Knead the dough. Turn the dough onto a lightly floured surface. Sprinkle with a little flour and knead just a few times until the dough becomes easier to handle.
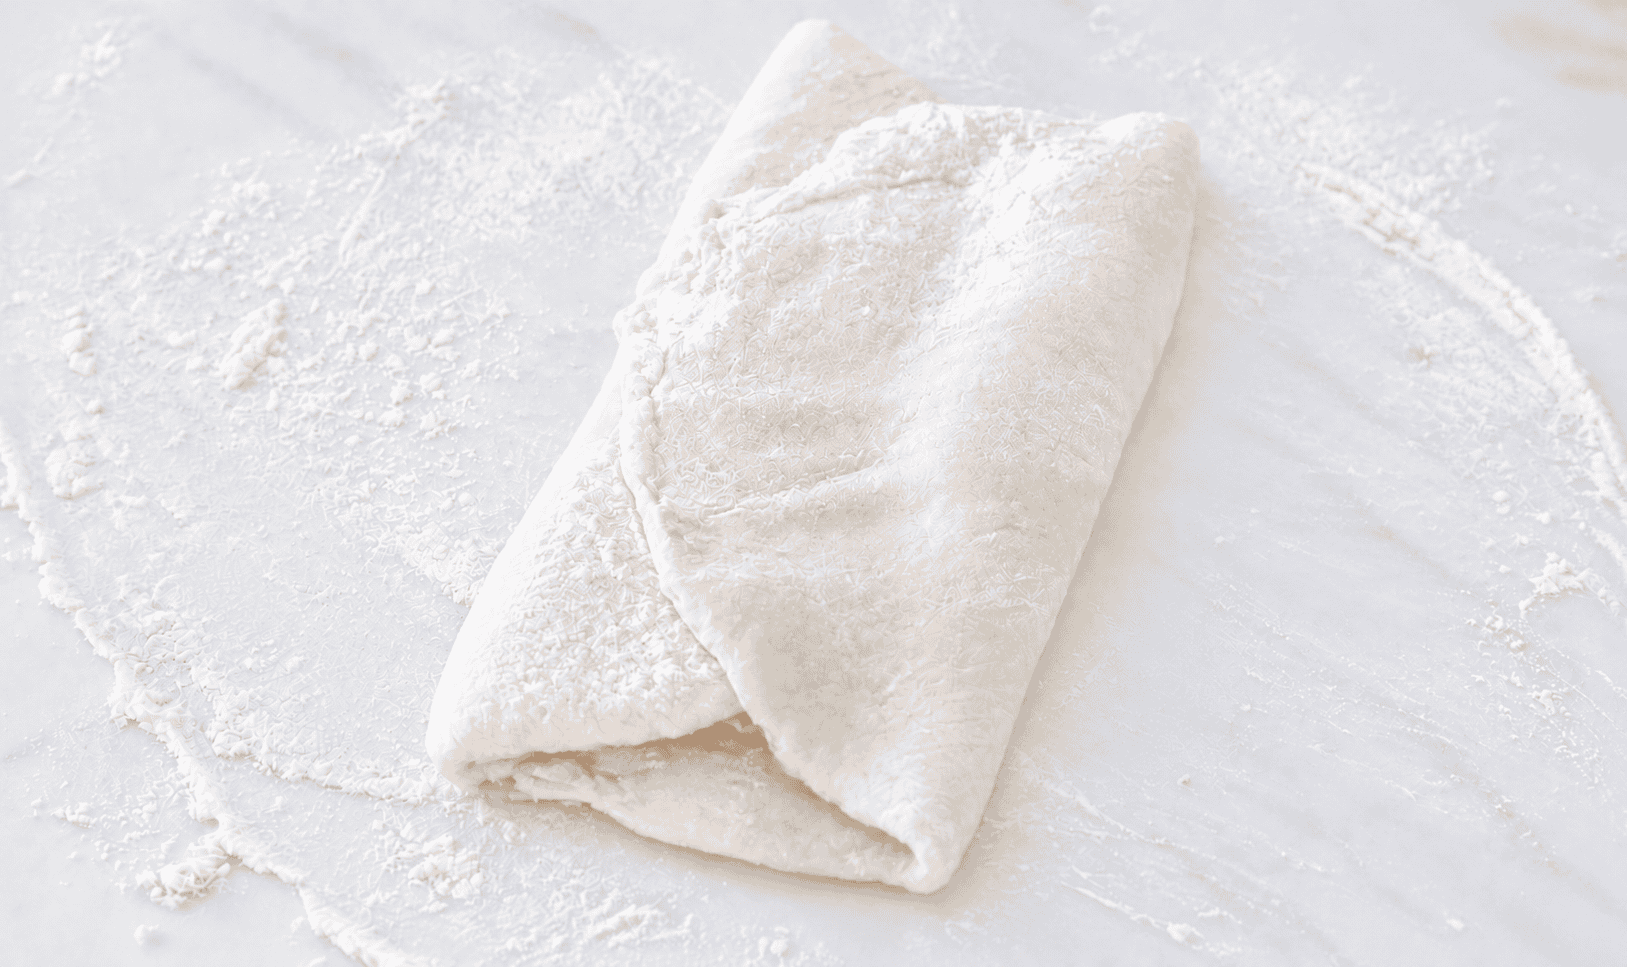
Step 5: Roll and chill the dough. Roll the dough into a long rectangle about ½-inch thick. Fold it into thirds like a letter, then place it on a baking sheet, cover with plastic wrap, and refrigerate for 1 hour.
Prepare the Butter Layer
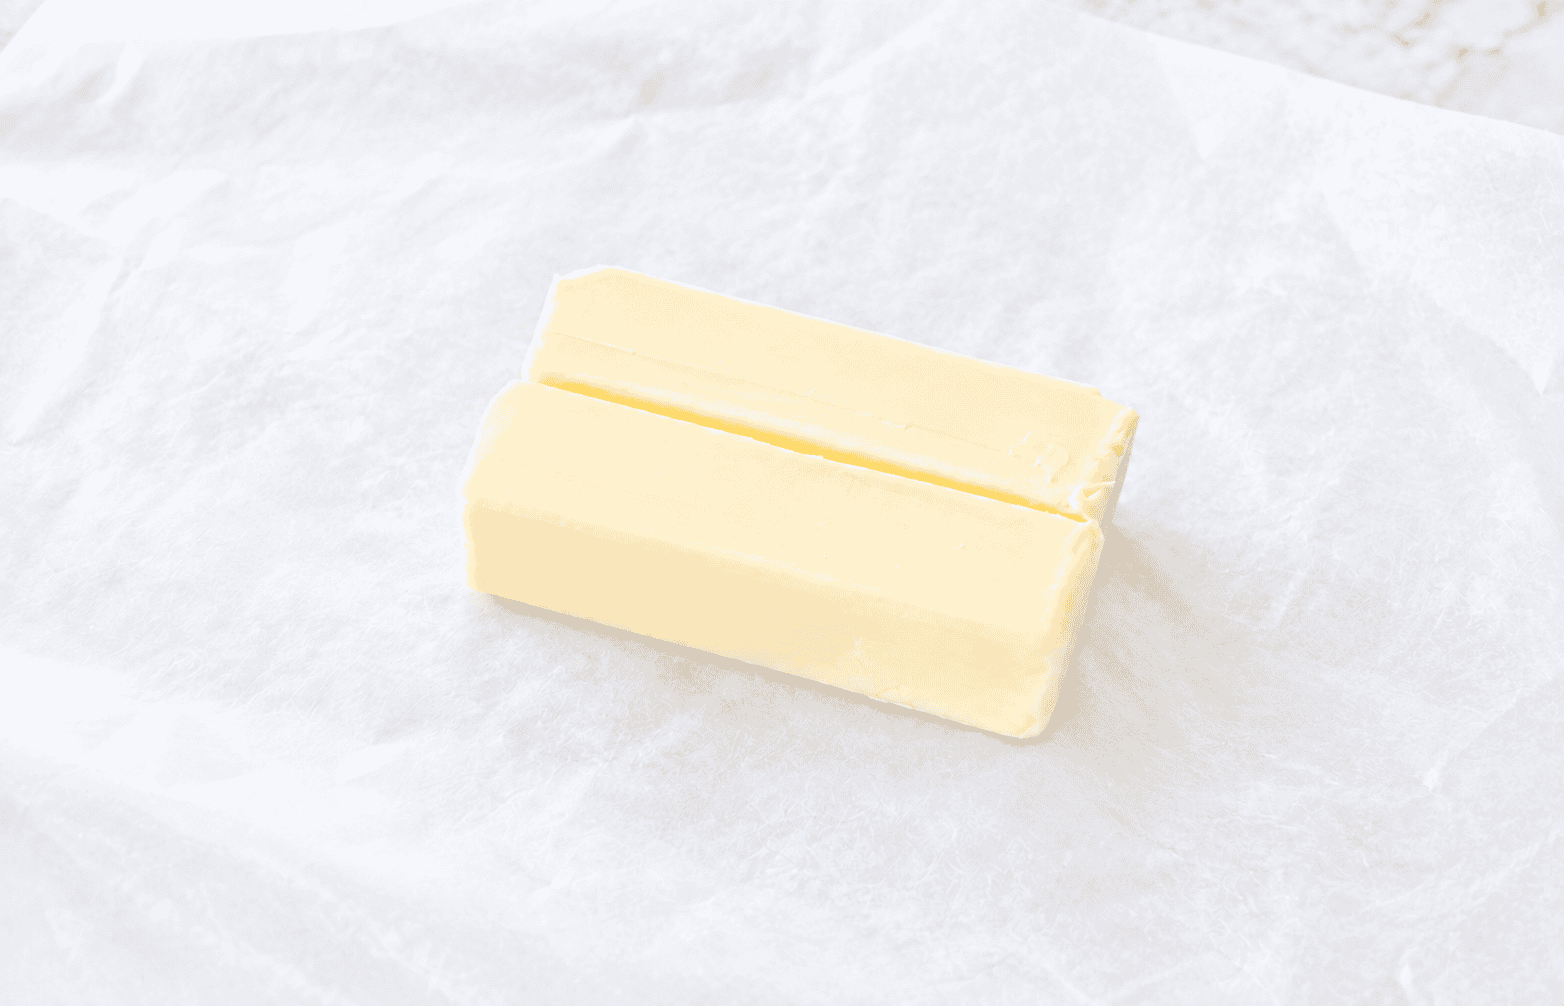
Step 6: Flatten the butter. Place the butter between two pieces of parchment paper or wax paper. Use a rolling pin to pound and roll the butter into a rectangle about ½-inch thick and approximately 6x8 inches.
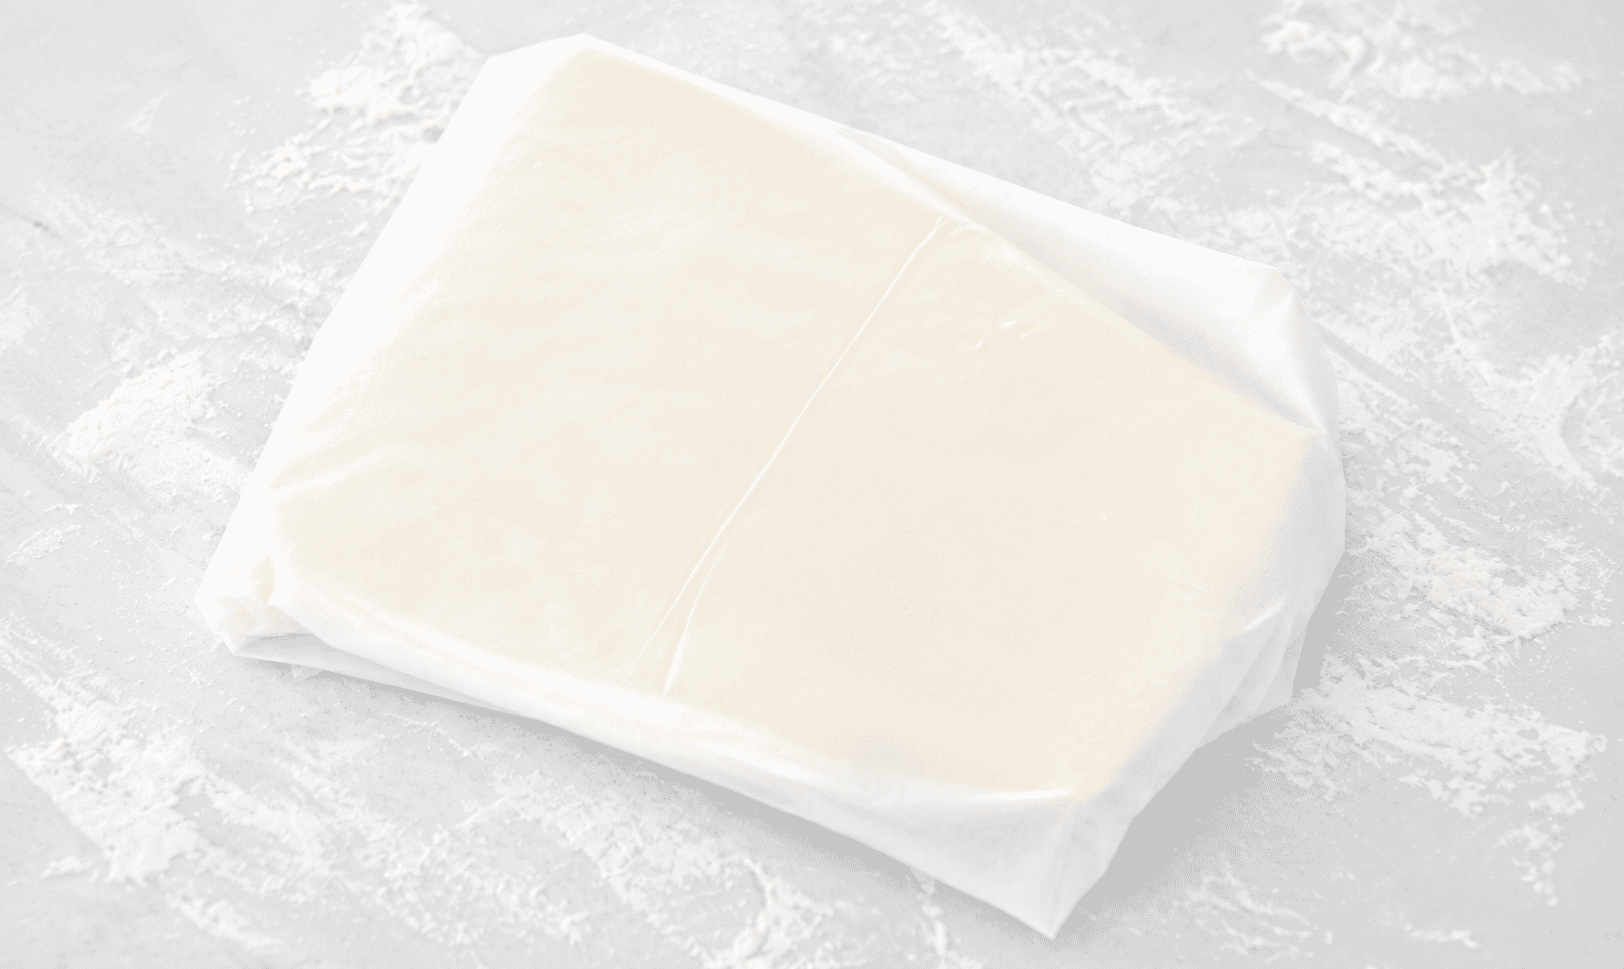
Step 7: Chill the butter. Wrap the flattened butter and refrigerate it until the dough is ready. The butter should be cold but still pliable enough to bend without cracking.
Laminate the Dough
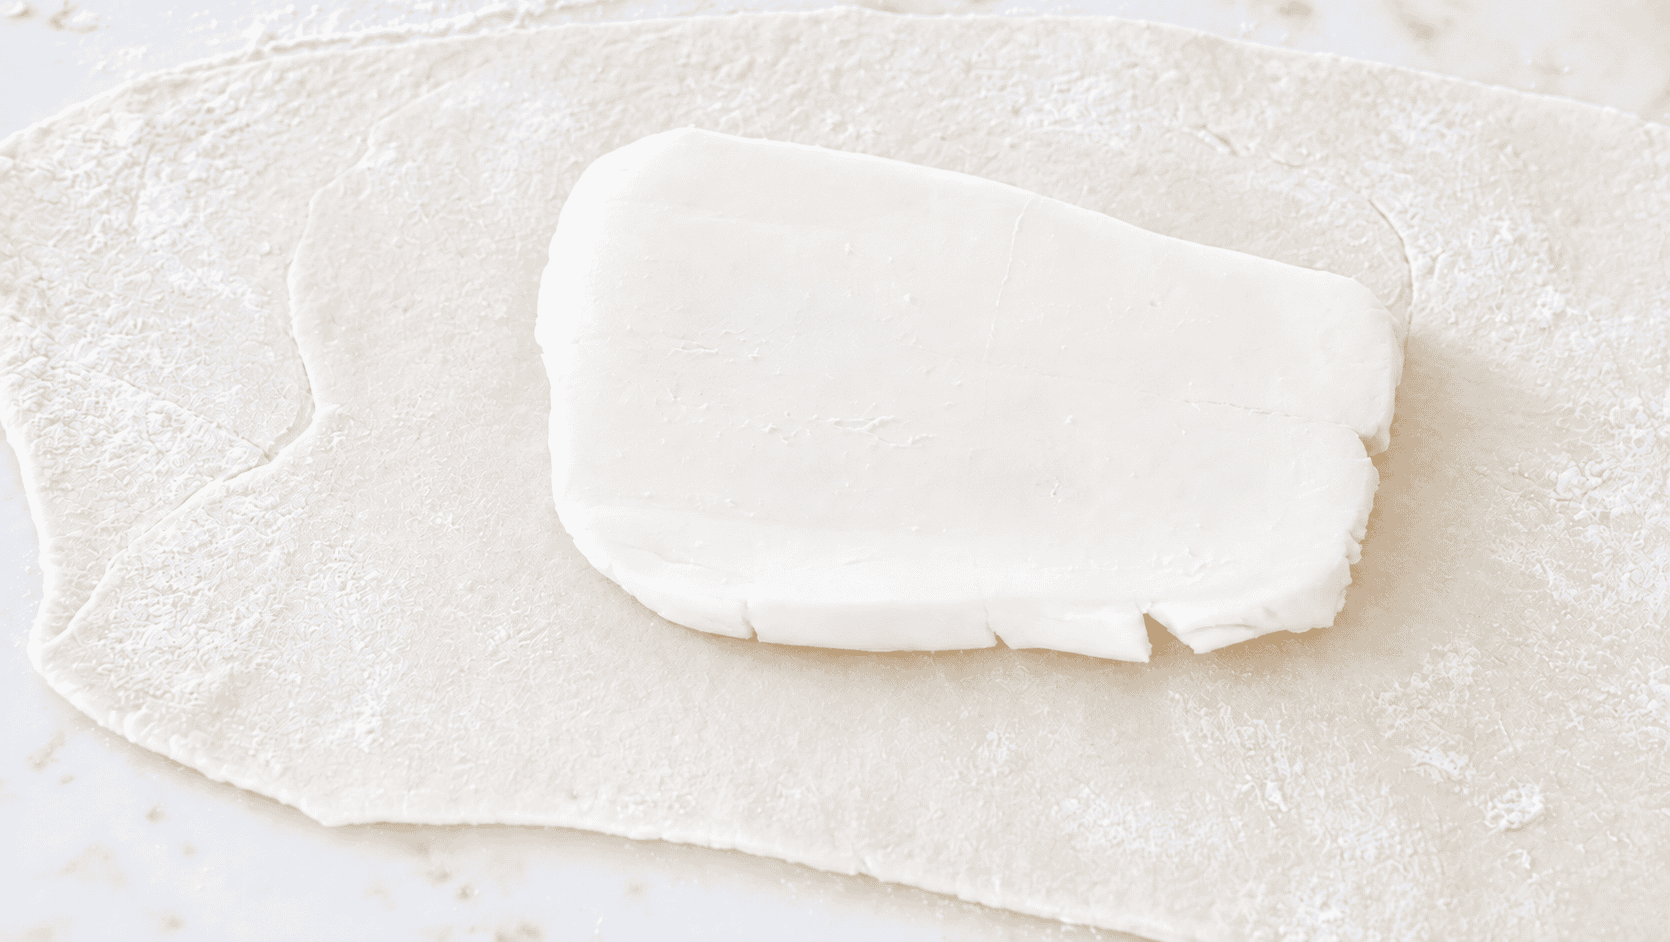
Step 8: Roll out the dough. Place the chilled dough on a lightly floured surface and roll it into a 10x16-inch rectangle. Place the chilled butter in the center of the dough.
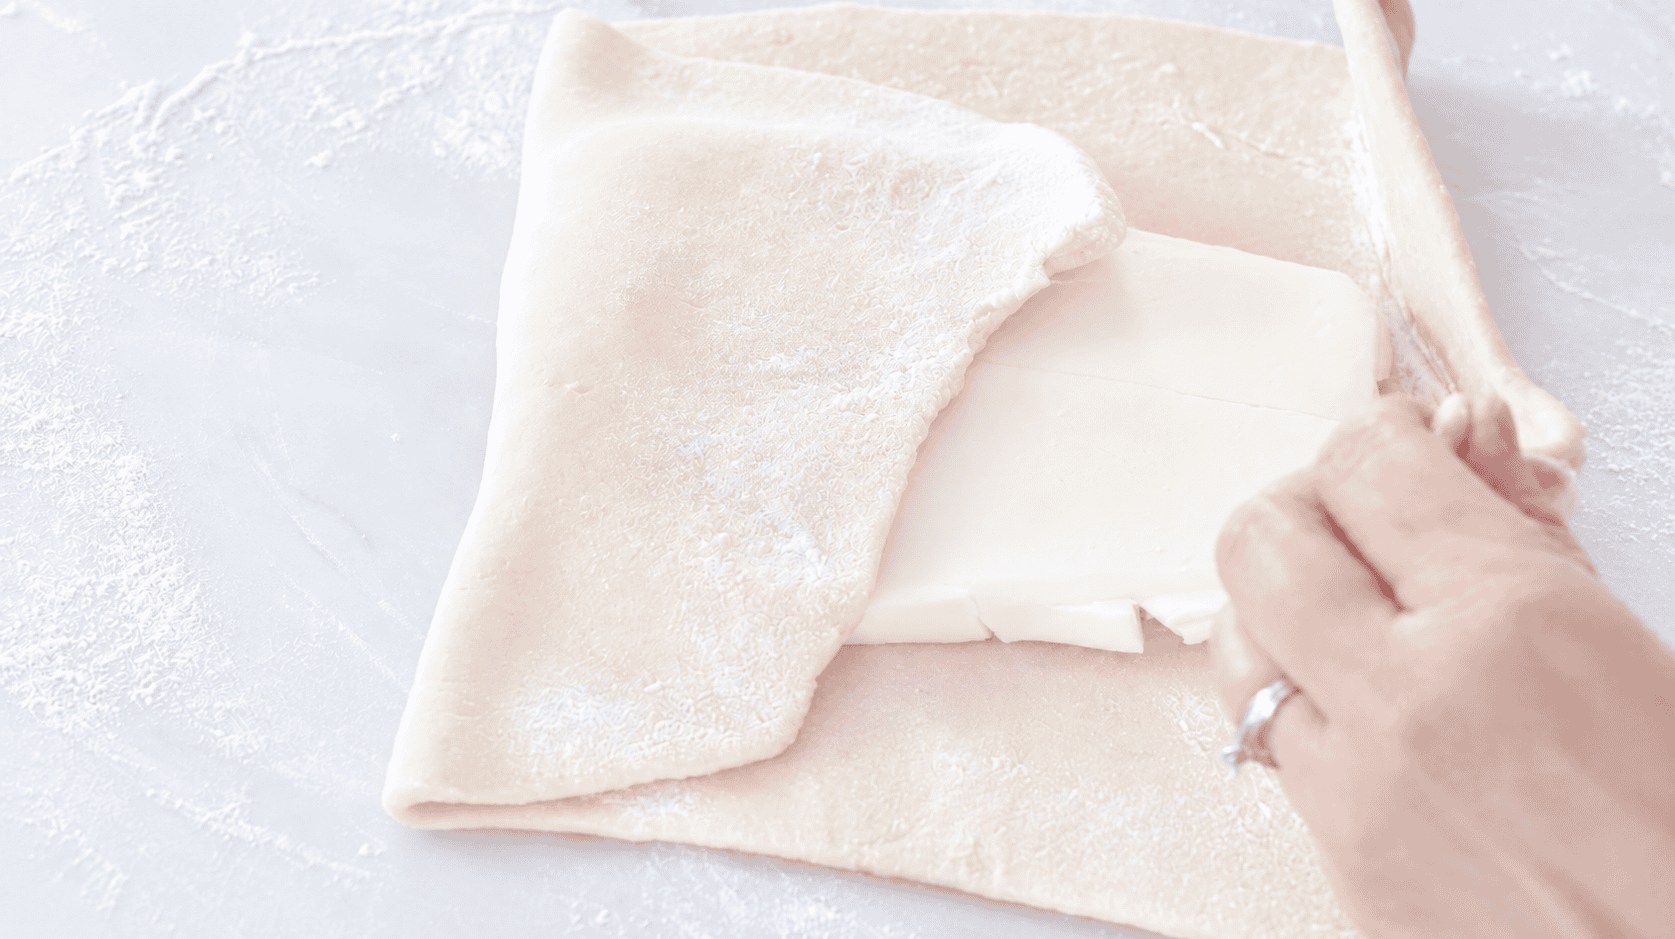
Step 9: Enclose the butter. Fold the dough over the butter, bringing the bottom and top over first and then folding the sides over. Press the seams together to seal the butter inside.
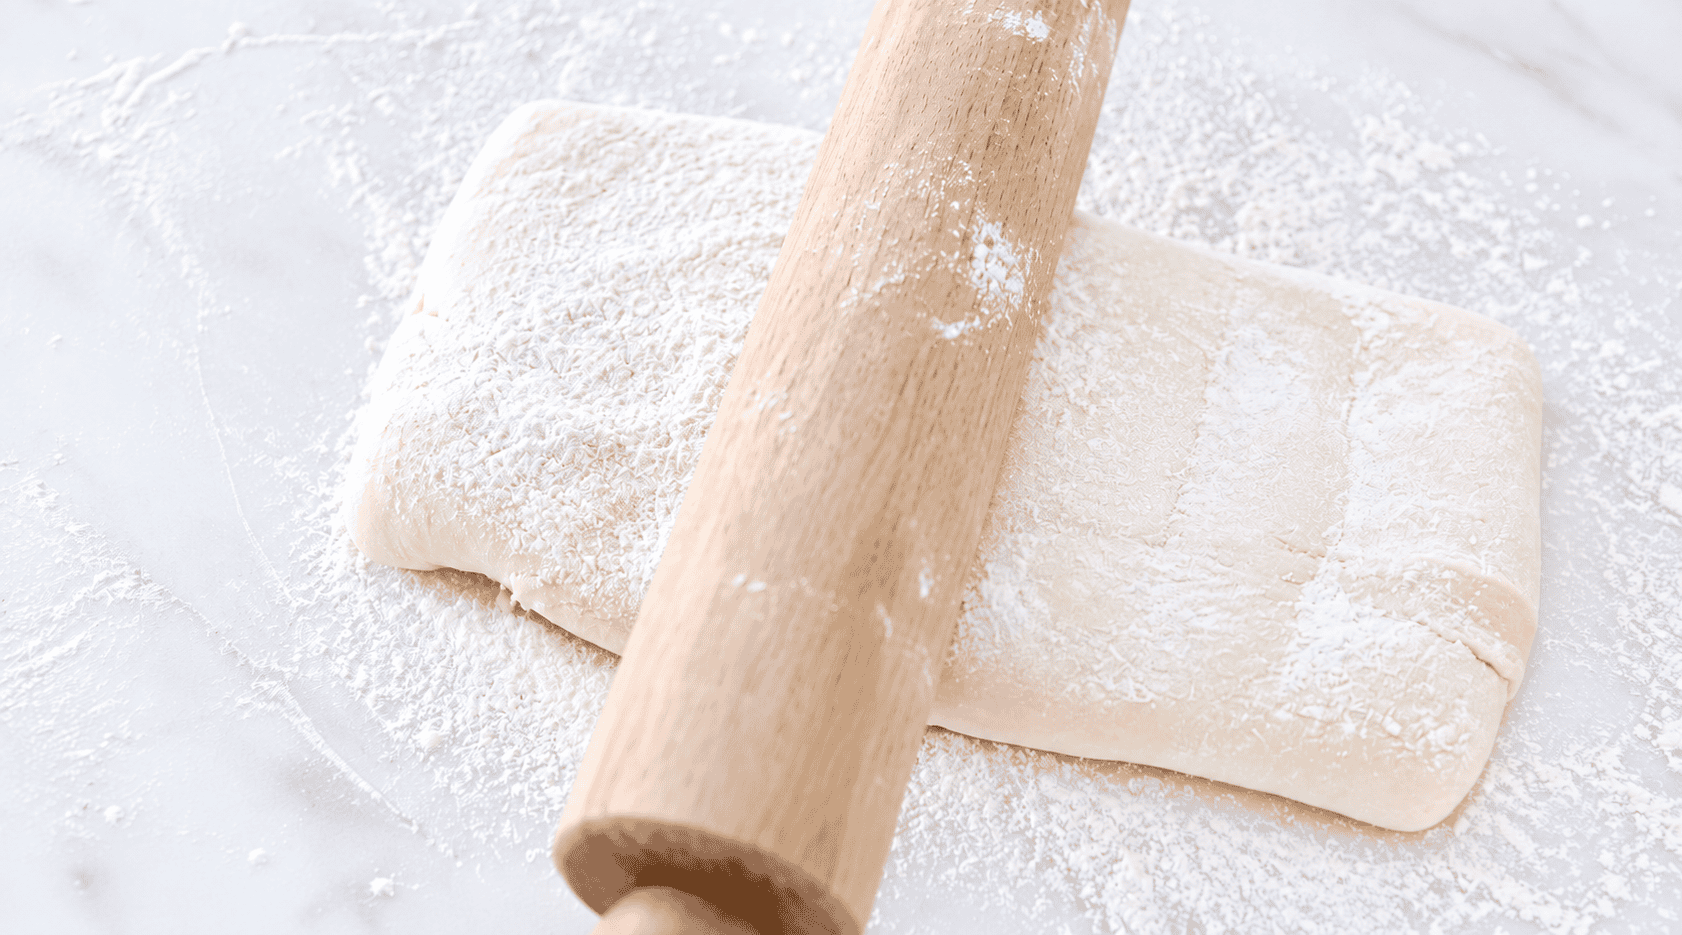
Step 10: Roll the dough. Flip the dough over, lightly flour the surface, and gently pound it with a rolling pin to make rolling easier. Roll it into a 10x20-inch rectangle.
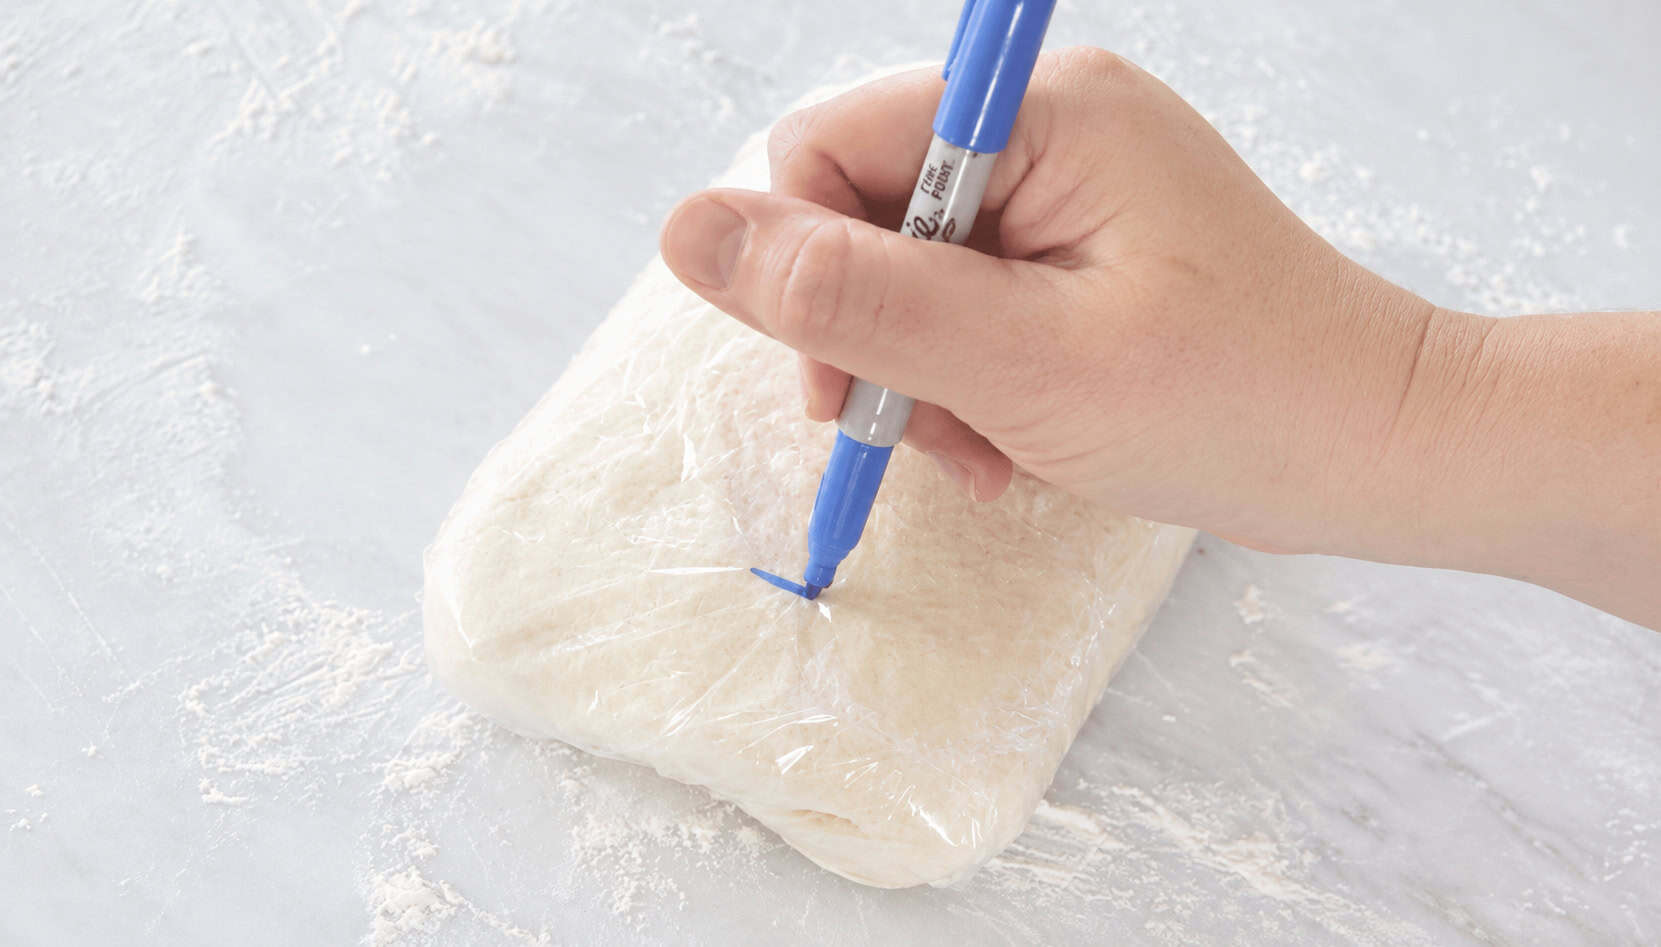
Step 11: Make the first fold. Fold the dough into thirds, just like folding a letter. Wrap it in plastic wrap and mark it with a 1. Refrigerate for 45 minutes.
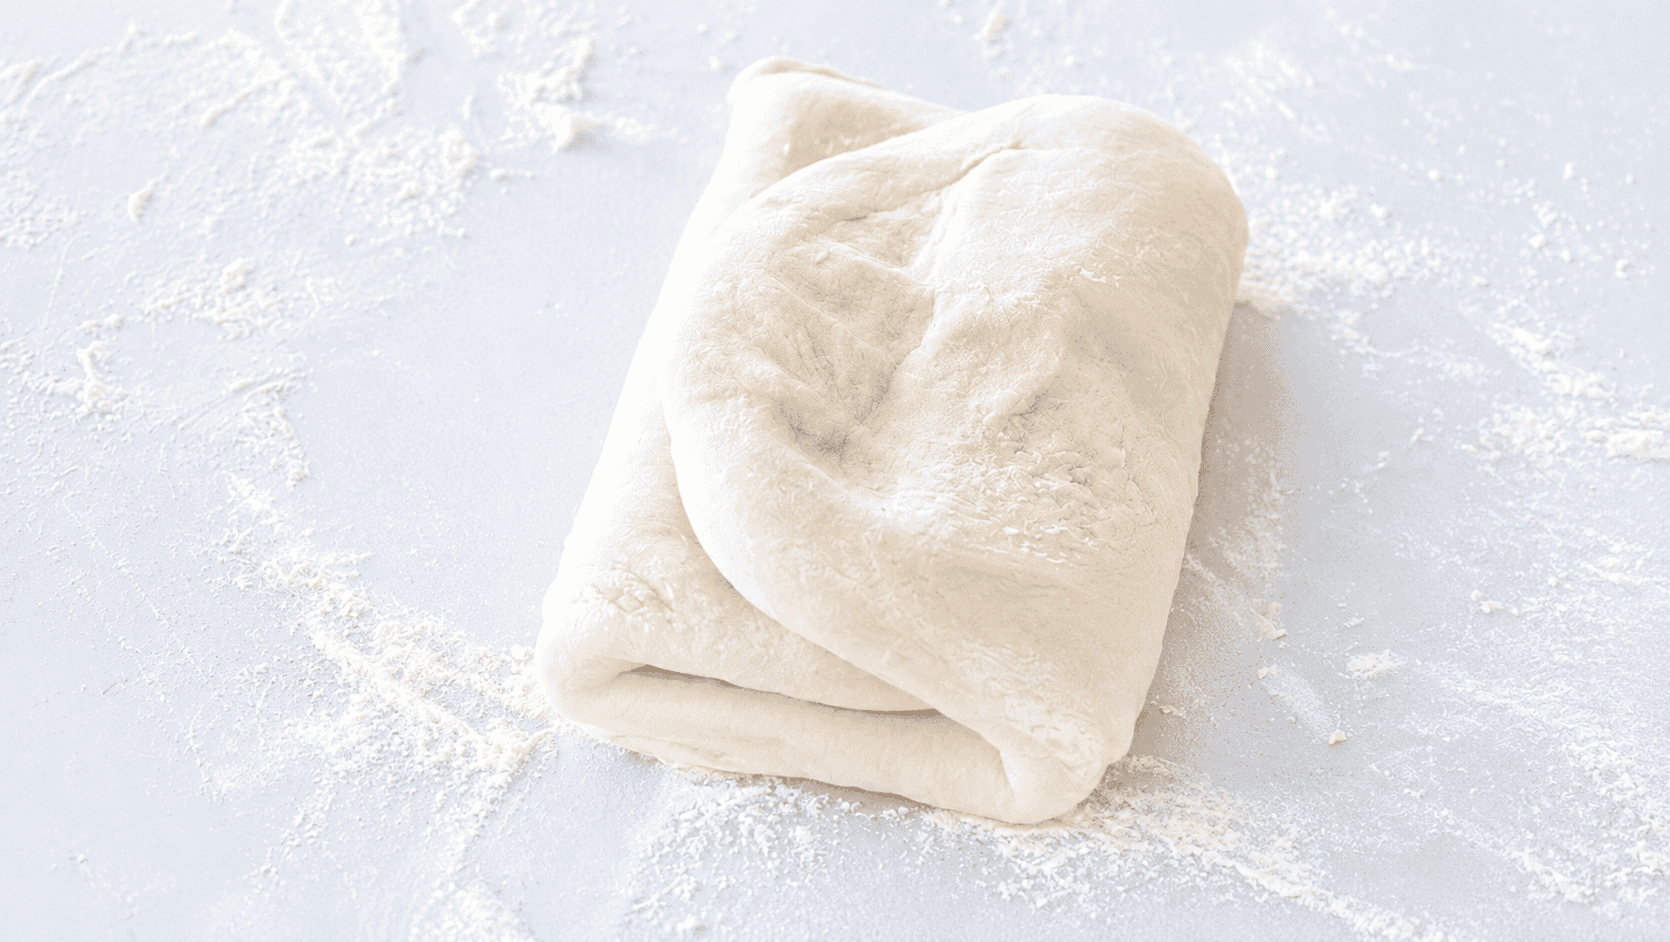
Step 12: Make the second fold. Remove the dough from the refrigerator and position it with the folded edges on the sides and the open edge facing you. Gently pound and roll it into another 10x20-inch rectangle. Fold it into thirds again, wrap it, mark it with a 2, and refrigerate for another 45 minutes.
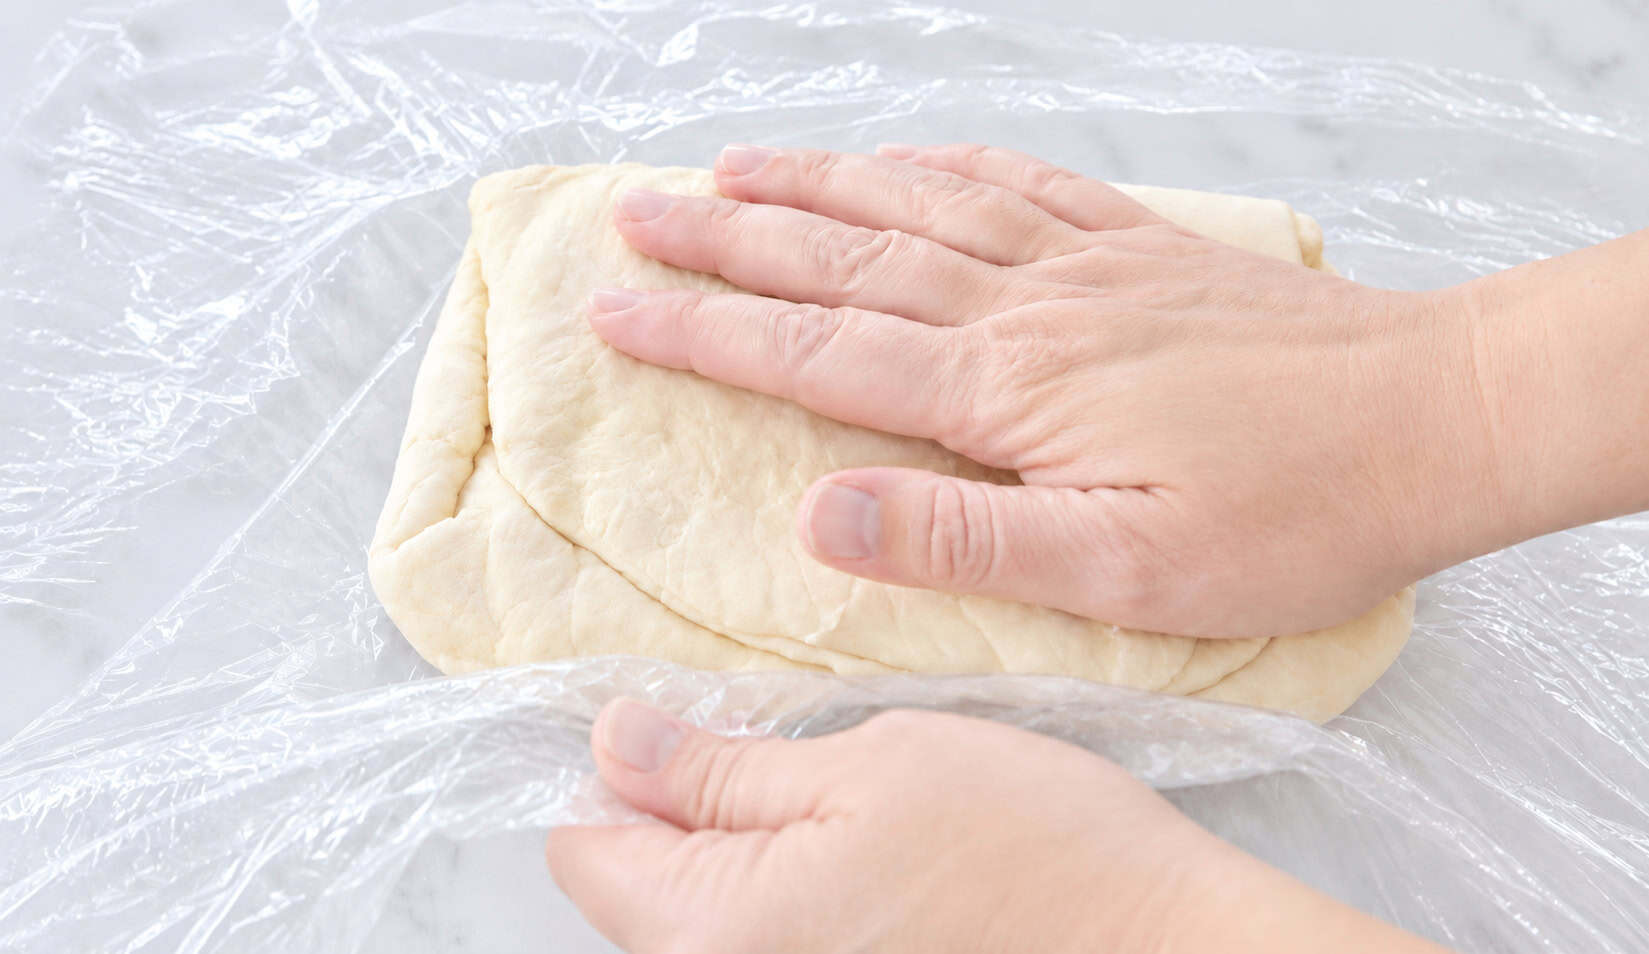
Step 13: Repeat the folds. Continue the same rolling, folding, and chilling process until the butter has been pressed and folded into the dough four times. After the fourth fold, refrigerate the dough for at least 4 hours. You can also leave it in the refrigerator overnight and finish the croissants the next day.
Shape the Croissants
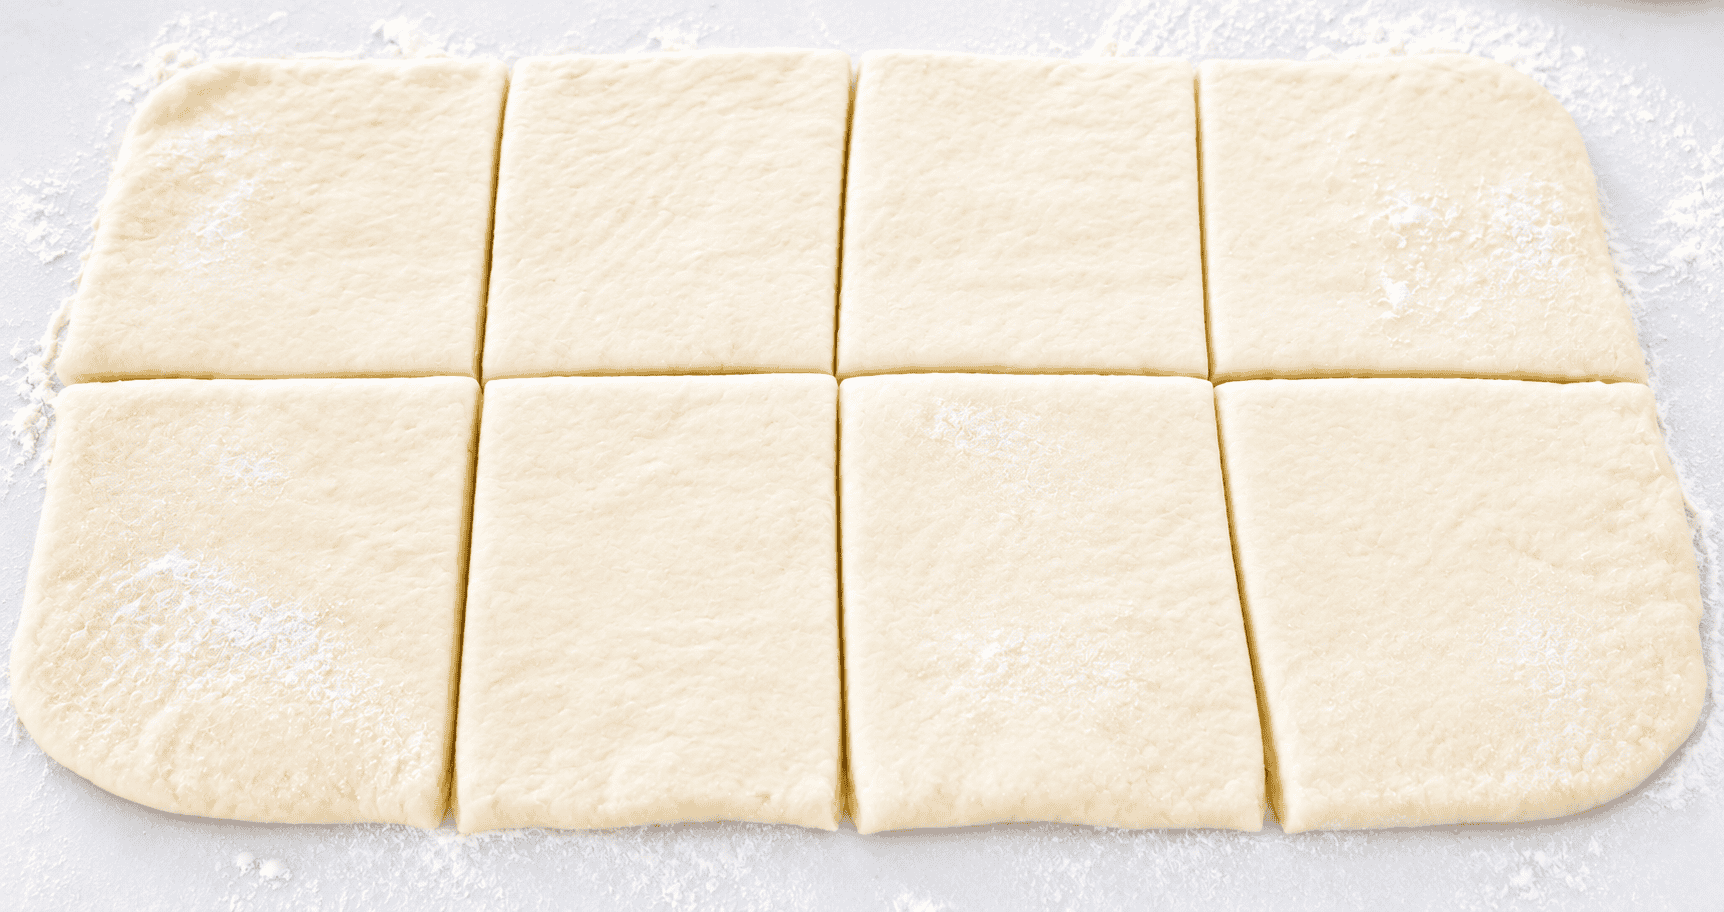
Step 14: Roll out the dough. Place the chilled dough on a lightly floured surface and roll it into a 9x18-inch rectangle.
Step 15: Cut the dough into squares. Use a pizza cutter or sharp knife to cut the dough into eight equal squares.
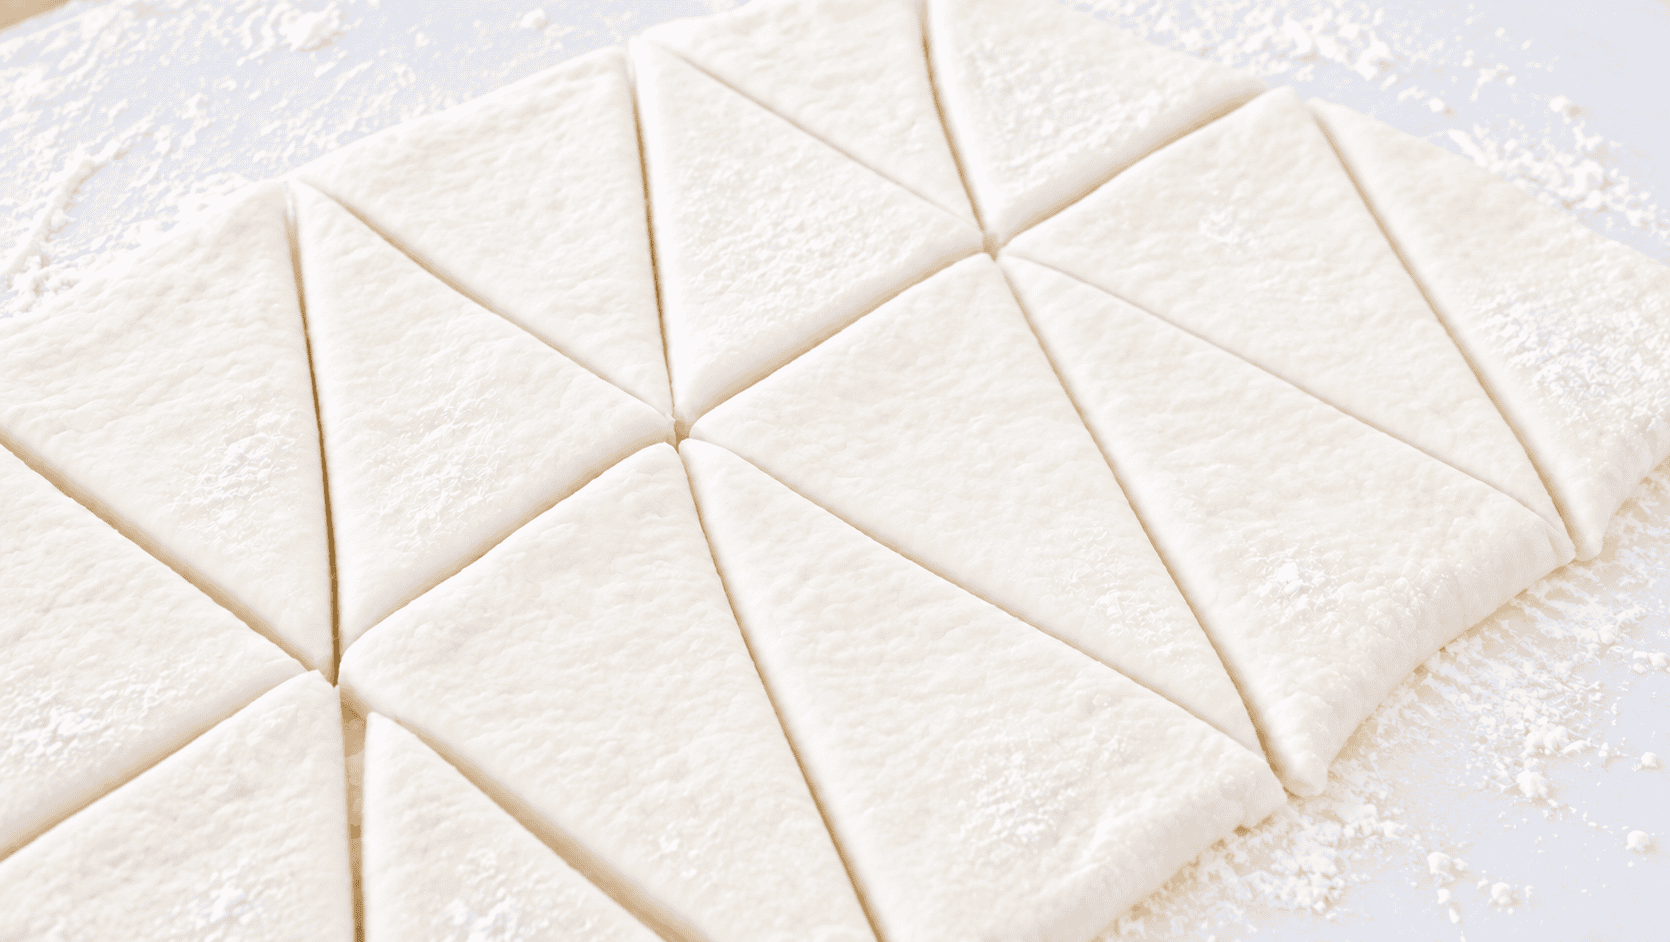
Step 16: Cut the triangles. Cut each square diagonally from corner to corner to create 16 triangles.
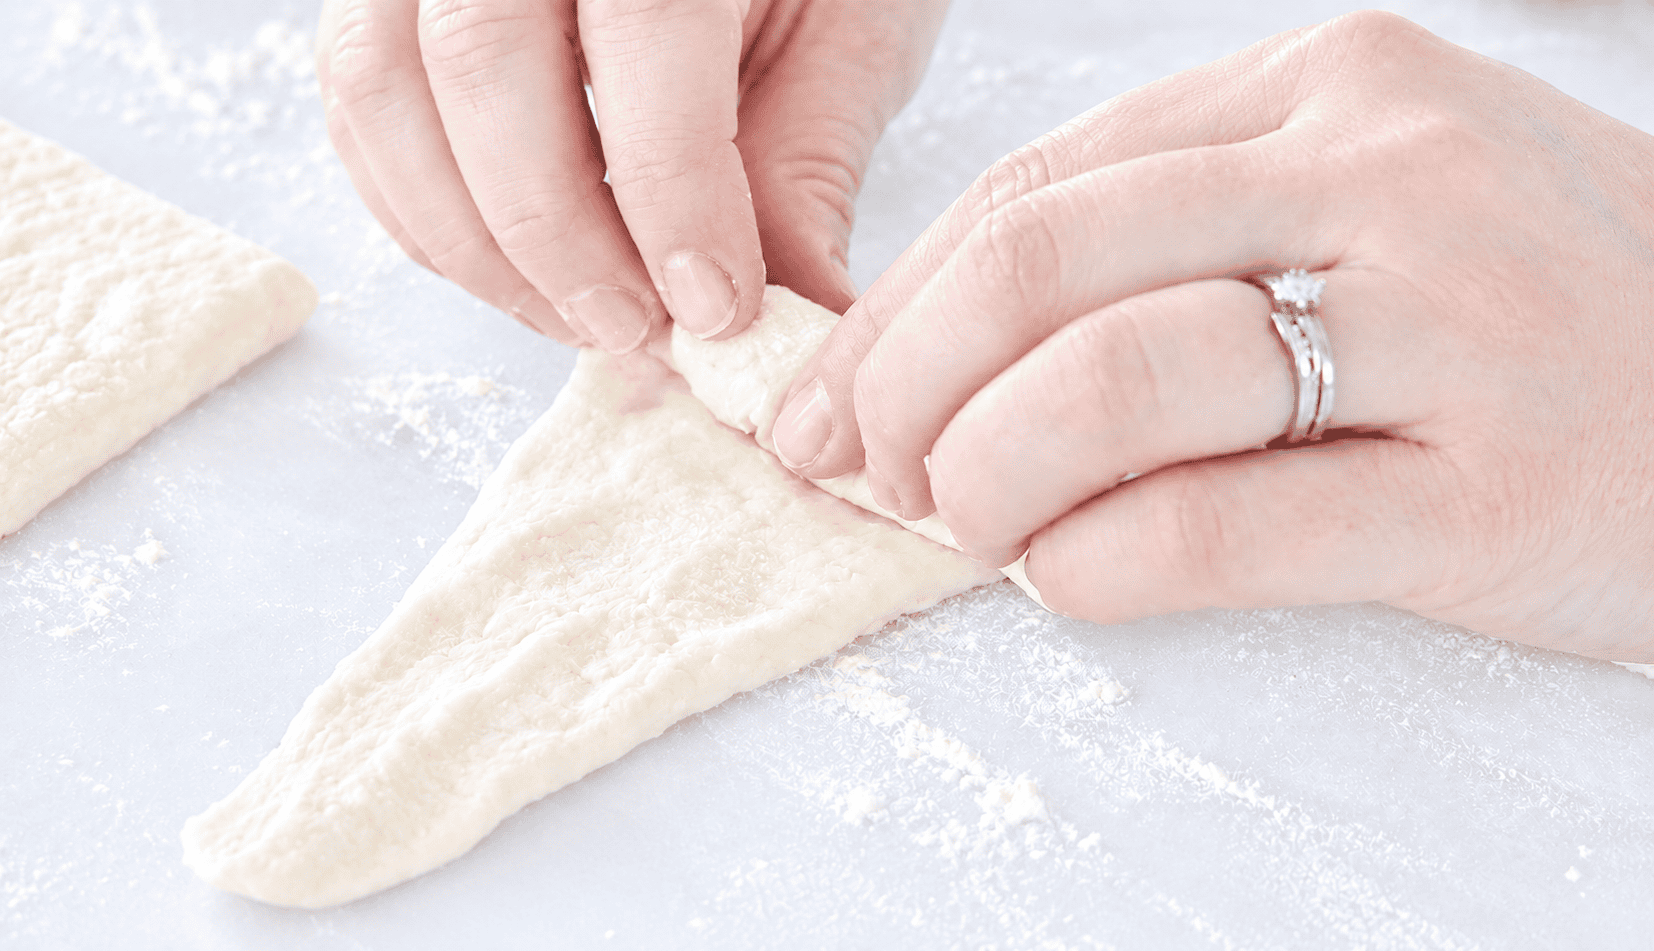
Step 17: Shape the croissants. Gently flatten each triangle, then begin rolling it from the wide end toward the pointed end. Roll it tightly enough to hold its shape without compressing the layers.
Step 18: Seal the tip. Pinch the pointed end and press it underneath the croissant so it stays in place while baking.
Proof the Croissants
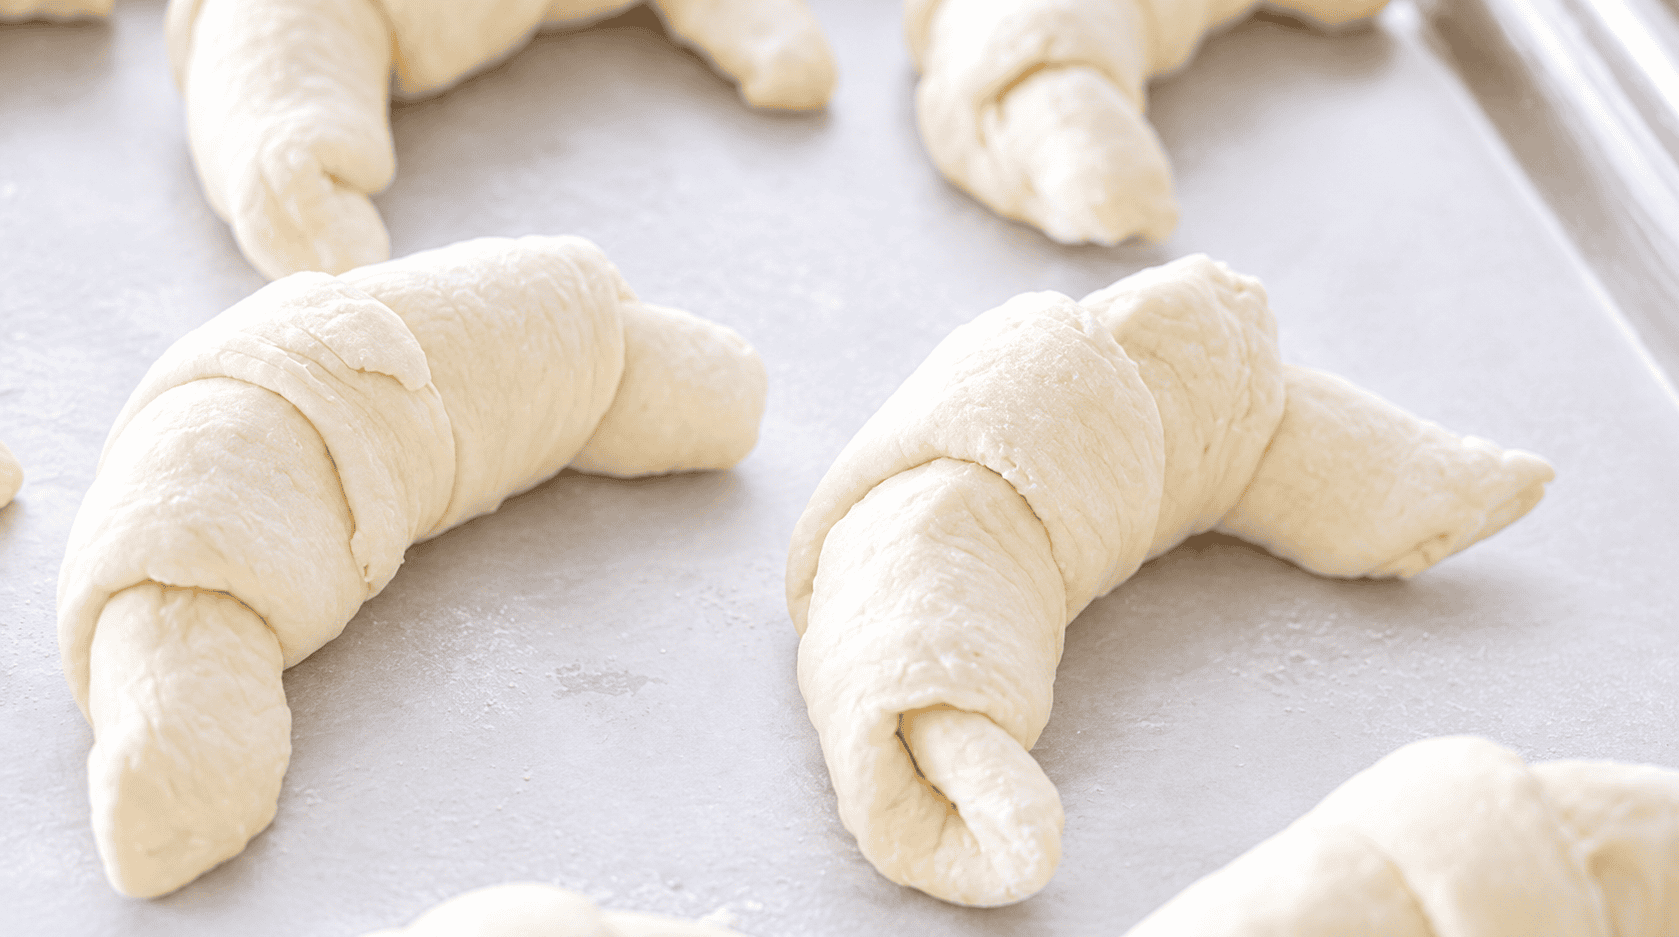
Step 19: Arrange the croissants. Place the shaped croissants on a lightly greased baking sheet, leaving room between them for the dough to expand.
Step 20: Let the croissants rise. Allow the croissants to rest in a warm but not hot location for about 90 minutes, or until they have nearly doubled in size. Avoid an overly warm environment because you don't want the butter inside the dough to melt.
Bake the Croissants
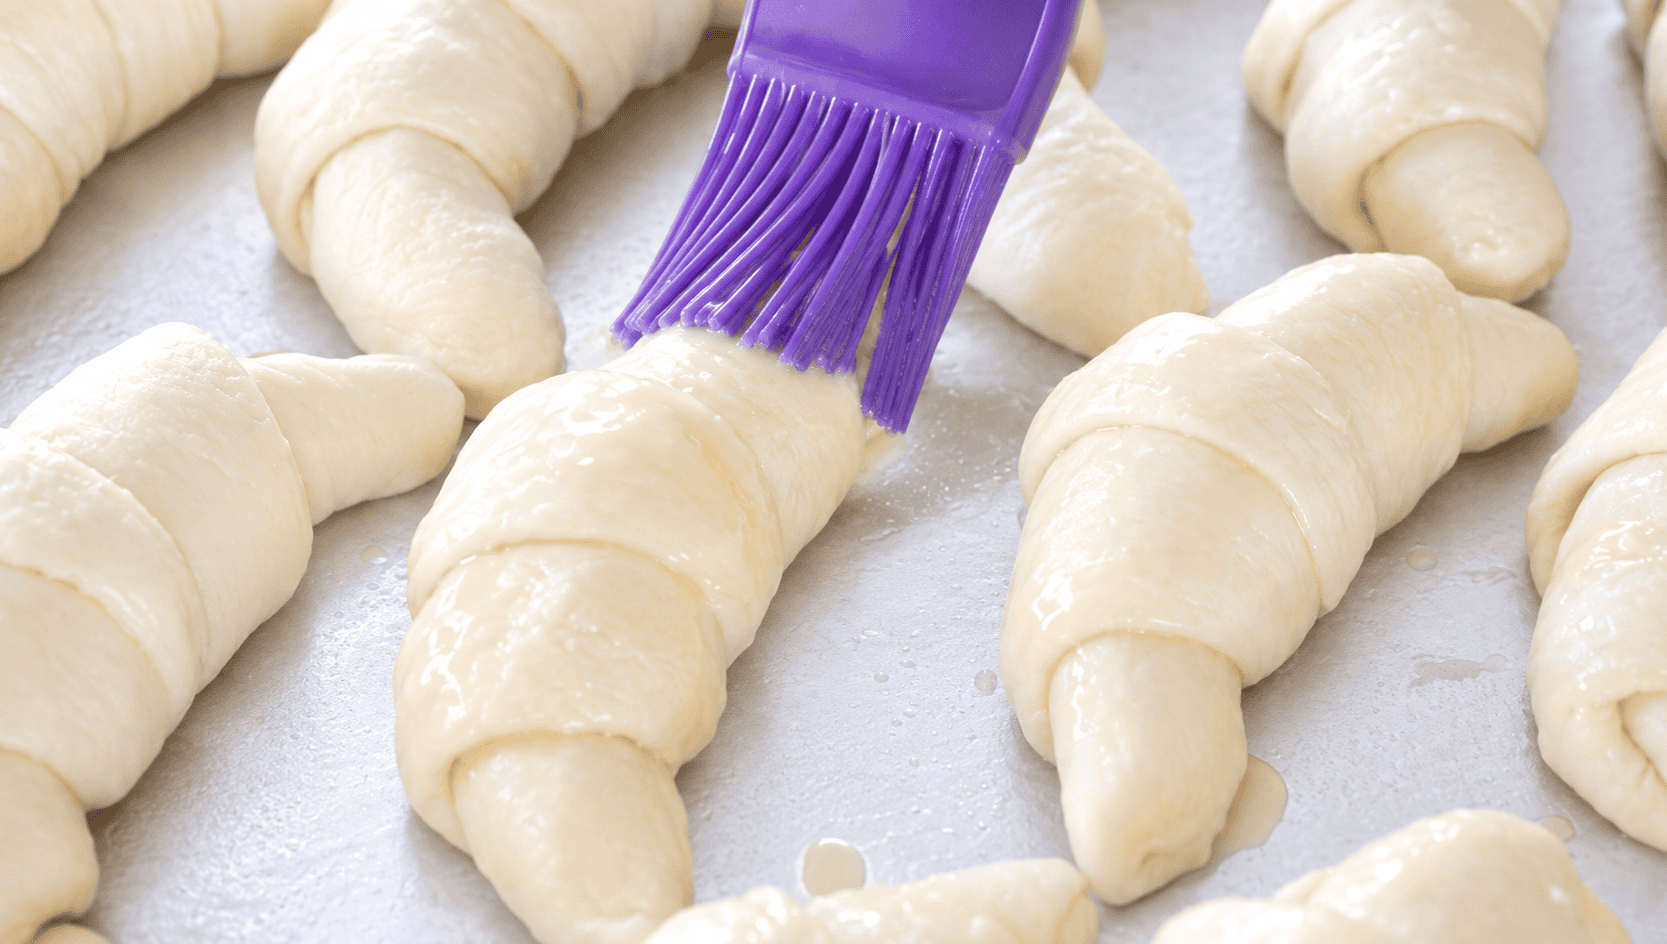
Step 21: Brush with egg wash. Whisk together the egg and water, then gently brush the tops of the croissants with the egg wash.
Step 22: Bake. Bake at 425°F for 15-18 minutes, or until the croissants are puffed and beautifully golden brown.
Step 23: Cool slightly. Transfer the croissants to a wire rack and allow them to cool slightly before serving. They're wonderful warm from the oven, but the interior will continue to set as they cool.
How to Store Homemade Croissants
Freshly baked croissants are best the day they're made, when the outside is crisp and the interior is soft and flaky.
Once cooled, store them in an airtight container or plastic bag at room temperature for up to 3 days. The original recipe notes that croissants are crispest on the first day and soften somewhat by the second day.
How to Reheat Croissants
For a quick reheat, microwave a day-old croissant for about 5-7 seconds.
For the best texture, reheat it in a 350°F oven or toaster oven for several minutes. The dry heat helps restore some of the crispness to the exterior.
How to Serve Homemade Croissants
Freshly baked croissants are delicious all by themselves, but there are plenty of ways to serve them.
- With butter and jam. Slice a warm croissant and add butter, strawberry jam, raspberry jam, or your favorite preserves.
- For breakfast. Serve them with scrambled eggs, bacon, fresh fruit, or yogurt.
- As a sandwich. Once cooled, croissants make excellent sandwich bread. Fill them with chicken salad, ham and cheese, turkey, or egg salad.
- For brunch. Arrange homemade croissants on a platter with fruit, jam, butter, and other breakfast favorites.
- For dessert. Serve a warm croissant with berries, whipped cream, or a little chocolate.
Frequently Asked Questions
This recipe takes about 12 hours and 20 minutes total, including chilling and rising time, with only a portion of that being active work. The recipe makes 16 croissants.
Croissants require more time and attention than most yeast breads, but the individual steps are straightforward. The key is understanding lamination and keeping the butter and dough at the right temperature.
Yes. This recipe can be completed in one day if you start early enough. However, the dough can also be refrigerated overnight after the final fold, making a two-day schedule very convenient.
Lamination is the process of enclosing butter inside dough and repeatedly rolling and folding it to create alternating layers of dough and butter. Those layers are responsible for the flaky texture of croissants.
This recipe makes 16 croissants.
Yes. The original recipe uses salted butter, but unsalted butter can be substituted. Increase the salt in the dough as indicated in the recipe notes.
This recipe was developed with all-purpose flour, so I would use that for the most predictable result. Bread flour can produce a dough with more gluten and a slightly chewier texture.
Yes. Freeze the shaped croissants, then thaw and allow them to proof before baking.
They should be well puffed and a rich golden brown on the outside. If they are still pale, they generally need more baking time.
Dense croissants are often related to insufficient proofing, damaged layers, or butter that wasn't properly laminated into the dough.
Make sure the shaped croissants have enough time to become noticeably puffy before baking. Don't rush the final rise.
If the butter became too warm, it can melt out of the layers rather than remaining between them. Overproofing can also affect the final structure.
Keep the dough and butter cool throughout lamination and avoid letting the shaped croissants sit somewhere excessively warm.
A little butter leakage can happen, but significant leakage usually means the butter became too warm or the layers were damaged during lamination.
If you see butter beginning to soften or smear while rolling, stop and refrigerate the dough before continuing.
Also make sure the croissants are fully proofed before baking. Properly proofed croissants should be puffy and light.
If your croissants didn't develop distinct flaky layers, the most likely issue is butter temperature or lamination.
The butter needs to remain in a distinct layer between the dough. If it becomes too warm, it can blend into the dough instead of remaining separated. If the butter is too cold and cracks during rolling, the layers can also become uneven.
Keep the dough cold throughout the rolling and folding process and refrigerate whenever necessary.
I use salted butter in this recipe because that's what I normally keep in my kitchen. If you prefer unsalted butter, you can use it and increase the salt in the dough as indicated in the recipe notes.

More Recipes for Pastry Lovers



MADE THIS RECIPE AND LOVED IT? 💛 Please leave a STAR rating and COMMENT below! Post it to Facebook or Pinterest to easily share with friends!

Homemade Croissants Recipe
Ingredients
- 3 Tbsp. warm water
- 2 teaspoons yeast
- 2 Tbsp. sugar
- ½ teaspoon salt
- 2 Tbsp. melted butter
- 1 c. milk
- 2 ½ cups flour
Butter Layers
- 1 c. butter 2 sticks
- flour for sprinkling
Egg Wash
- 1 egg
- 1 Tbsp. water
Instructions
- Dissolve yeast in warm water. Let sit 5 minutes.
- Combine sugar, salt, 1 cup of flour in a large mixing bowl. Stir.
- Add milk, melted butter, and water/yeast mixture. Stir.Add remaining flour and stir until sticky dough forms.
- Dump the dough out onto a floured surface. Sprinkle with flour and knead a few times so that it is easier to work with.
- Roll dough out into a long ½" thick rectangle. Fold the dough into thirds (like a letter) place onto a baking sheet. Cover with plastic wrap and chill for 1 hour. Note: you can just place the dough onto the baking sheet without folding it. I just find it easier to work with if it is folded.
- Place the two sticks of butter in between two pieces of parchment or wax paper.
- Pound with a rolling pin until the butter is about ½" thick (6" x 8" rectangle).
- Fold parchment or wax paper around butter and let butter chill in the refrigerator until the dough is ready (1 hour).
- Flour your work surface and roll chilled dough into a 10" x 16" rectangle (no need to unfold the dough first, just roll it out).Place chilled butter in the center of the rectangle.
- Fold dough around the butter, folding the bottom and top over then the sides. Press seams together to seal.
- Flip the dough over to the other side, sprinkle with flour, and pound with a rolling pin to make it easier to roll. Roll dough into a 10 x 20" rectangle.
- Fold the dough into thirds, like a letter.
- Wrap with plastic wrap and write a "1" on the plastic wrap with a marker. This means that you have pressed and folded the butter 1 time.Let dough chill in the refrigerator for 45 minutes.
- Remove the plastic from the dough, and with the folded edges on the sides and the open edges towards you, pound with a rolling pin to flatten slightly then roll into a 10"x 20" rectangle (again). Fold into thirds, like a letter.
- Wrap with plastic wrap and write a "2" on the plastic wrap with a marker. This means that you have pressed and folded the butter into the dough 2 times. Let dough chill in the refrigerator for 45 minutes.
- Repeat this process until you have pressed and folded the butter 4 times.After the 4th time, allow the dough to chill for AT LEAST 4 hours. You can leave the dough overnight and finish up the croissants the next day if you'd like.
- When the dough is ready, roll out into a 9" x 18" rectangle. Cut into 8 squares using a pizza cutter.
- Cut each square in half, diagonally to form 16 triangles.
- Flatten each triangle, then roll (beginning at the wide end) into a croissant shape.
- Pinch the end of the triangle and press against the bottom of the croissant to seal.
- Place croissants onto a lightly greased baking sheet.Allow to rest in a warm place for 90 minutes or until crossants have doubled in size.
- Mix egg and water together then brush over croissants.
- Bake croissants at 425 degrees for 15-18 minutes or until golden brown.



Angelina says
I have been intimidated by how many times you have to fold the dough and then wait... it seems like such a long time, but I suppose it is worth it! I'm featuring you as part of Thursday fAvorite Things this week! thanks for linking up!
Brandy says
It's definitely process! But I do think it is worth it, I just do it in-between running errands and other activities so that I'm not waiting around for the dough to be ready Thank you for featuring me!
Jean | DelightfulRepast.com says
Brandy, I love making croissants! My husband walks through the kitchen, shakes his head and says, "You sure know how to have fun, don't you?!"
Brandy says
Haha! It's true. Bakers have all the fun 🙂