How To Make Your Own DIY Wall Decals
DIY Wall Decals Made From Scrapbook Paper
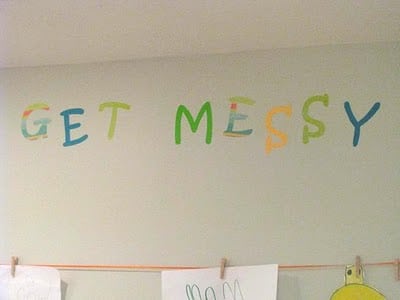
DIY wall decals made from scrapbook paper and contact paper. Peel and stick, removable, and perfect for kids rooms! Create any phrase or shapes you’d like!
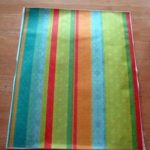
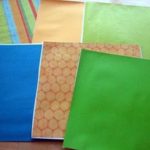
- Scrapbooking Paper
- Contact Paper
- Mod Podge (or spray adhesive)
- Foam Brush
-
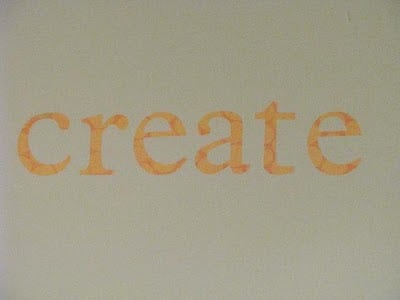
Brush a layer of mod podge onto the top of a piece of contact paper, then place a sheet of paper on top of that.

-
Press down firmly and get rid of the air bubbles. Place under a board or something heavy to keep it flat while drying.
-
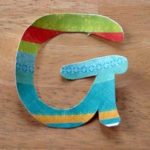
Once the sheets have dried, they are ready to be cut!
-
You can use a cricut or stencils to cut into desired shapes.
Note: I haven't tried spray adhesive, but would imagine that it would work just fine as an alternative method. Just spray and place a board over until set.
I noticed a few of my corners and edges coming off of the contact paper when I went to peel the backings off. I guess the mod podge wasn't thick enough in those areas. I just added a little tacky glue to fix the small spots and they were good to go.
Custom peel and stick letters that are nice and sturdy, easy to place onto a wall, reposition-able, and inexpensive!
And these aren't limited to lettering! The possibilities are endless especially with the huge variety of cricut cartridges. You can make all sorts of custom scenes for your wall.
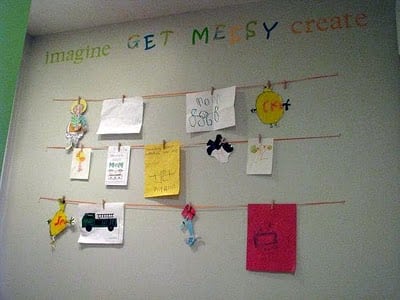
Our basement is brighter lit than most basements, but it is still hard to take a good picture down there. You get the idea.


Carrie says
Awesome idea to decor home. Love it! Jim
Aimie Hudson says
These days vinyl decals have made their own worth well known due to their incredible styles and shade printing throughout the world.
diana kelvin says
Wow! Unique blog with useful information! paintedwallpanelled.com
Tony Walster says
I would like to thank you for the efforts youve got produced in writing this article. I am hoping the same finest operate from you inside the potential also. Actually your creative writing skills has inspired me to start my personal BlogEngine weblog now.
Jamie Gupton says
Love this! Pin'ing you again. 🙂