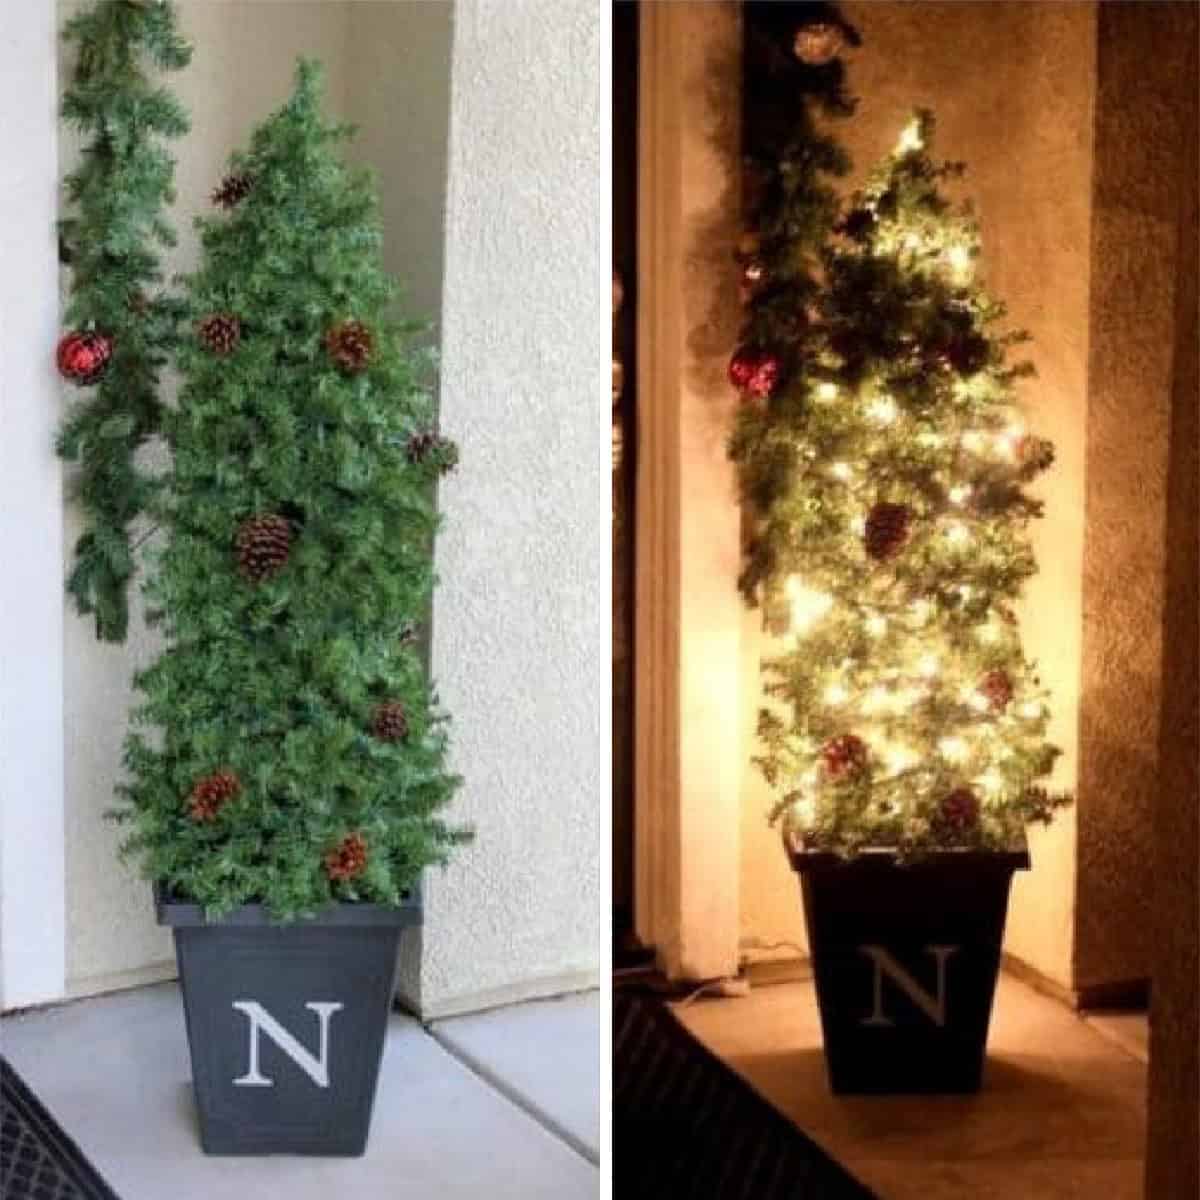
This evergreen tomato cage topiary is stunning and perfect for the holidays. Create a set of topiaries for your porch at a fraction of the cost of store-bought ones.
How pretty would this topiary look on your porch with our winterberry wreath or bottle brush tree wreath for the holidays?
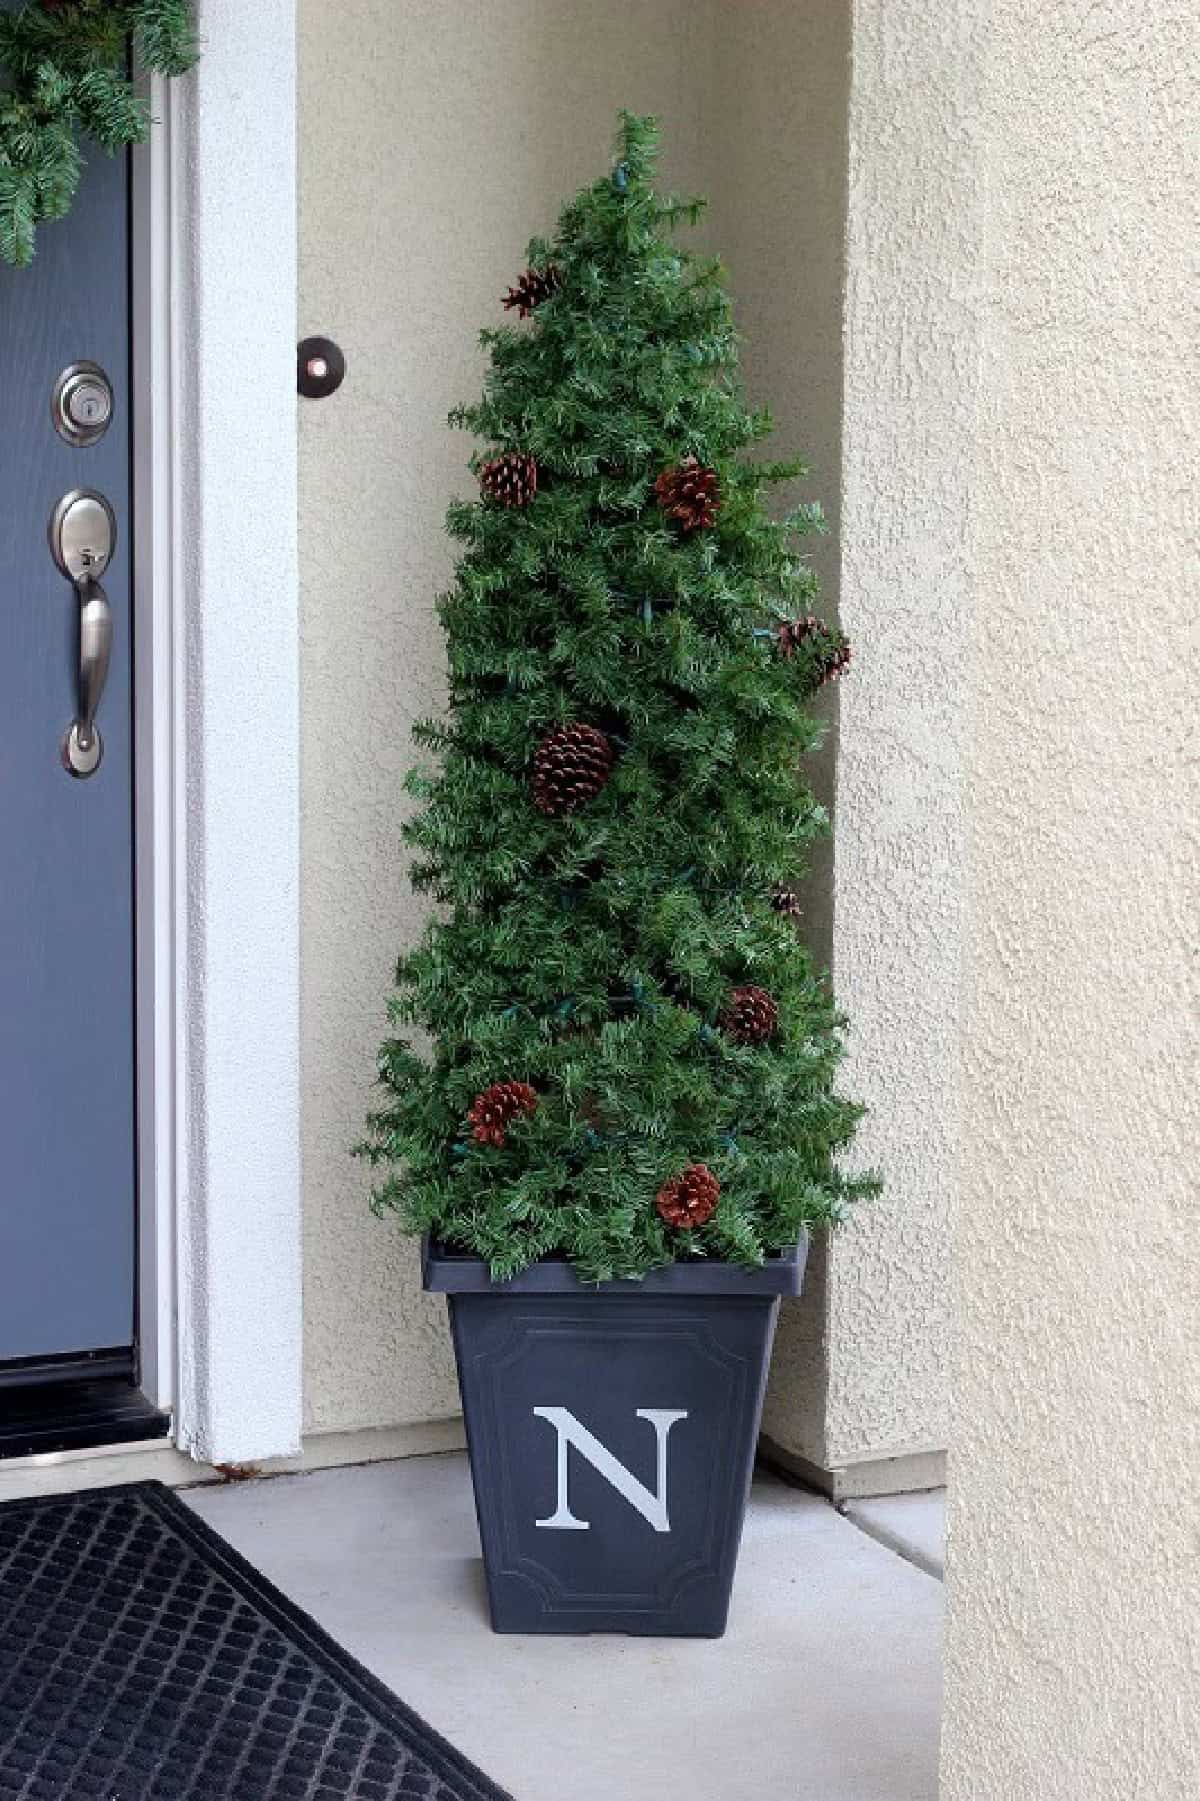
I am so excited to share my tomato cage topiary! This evergreen topiary is incredibly quick and easy to assemble.
Why I Like This Project
- Affordable to make. I've been wanting to get one on my front porch for years, but did not want to pay the price tag for pre-lit topiaries. They are ridiculously priced! Most that I have seen (this tall) are $75+ each. My DIY option is a fraction of the price.
- Basic supplies. These are made using a tomato cage for a frame and are nice and bushy. I added cinnamon-scented pine cones and white lights for a beautiful evening effect. They are exactly what I wanted! I will share the dimensions I used and where I bought my supplies, but you can alter them however you'd like.
- Durable and will last for years. I originally made these tomato cage topiaries in 2013. They lasted over 10 years and moved cross-country with me before the garland began to fall apart. TEN YEARS.
What Others Are Saying
Made a set for my porch! They aren't as pretty as yours, as I wasn't able to get the same garland as you, but I'm so happy with how they turned out.---Megan on FB
I love how my topiary turned out. I used colored lights and didn't add pinecones.---Laura on FB
Jump to:
Tips and Tricks
- Buy extra garland. When I was planning how I was going to do this, 2 packs of 12' garland seemed like it would be more than enough for 1 topiary. Well...it wasn't! My sweet and very patient husband stopped by the store on his way home from work and got me 2 more. Moral of the story: get extra just in case. You can always take it back!
- Weigh down the planter/pot: The topiaries are a little top-heavy once assembled. I used plastic pots that weren't that heavy, so I weighted them down with a bag of sand. If you use a plaster pot, you wouldn't need to do this.
- Wrap decorations with wire. If adding pinecones, ornaments, or other faux branches and floral picks, attach them to the topiary with wire. Simply wrap the wire around the bottom of the pinecone, then wrap the wire around a branch on the topiary.
Supplies
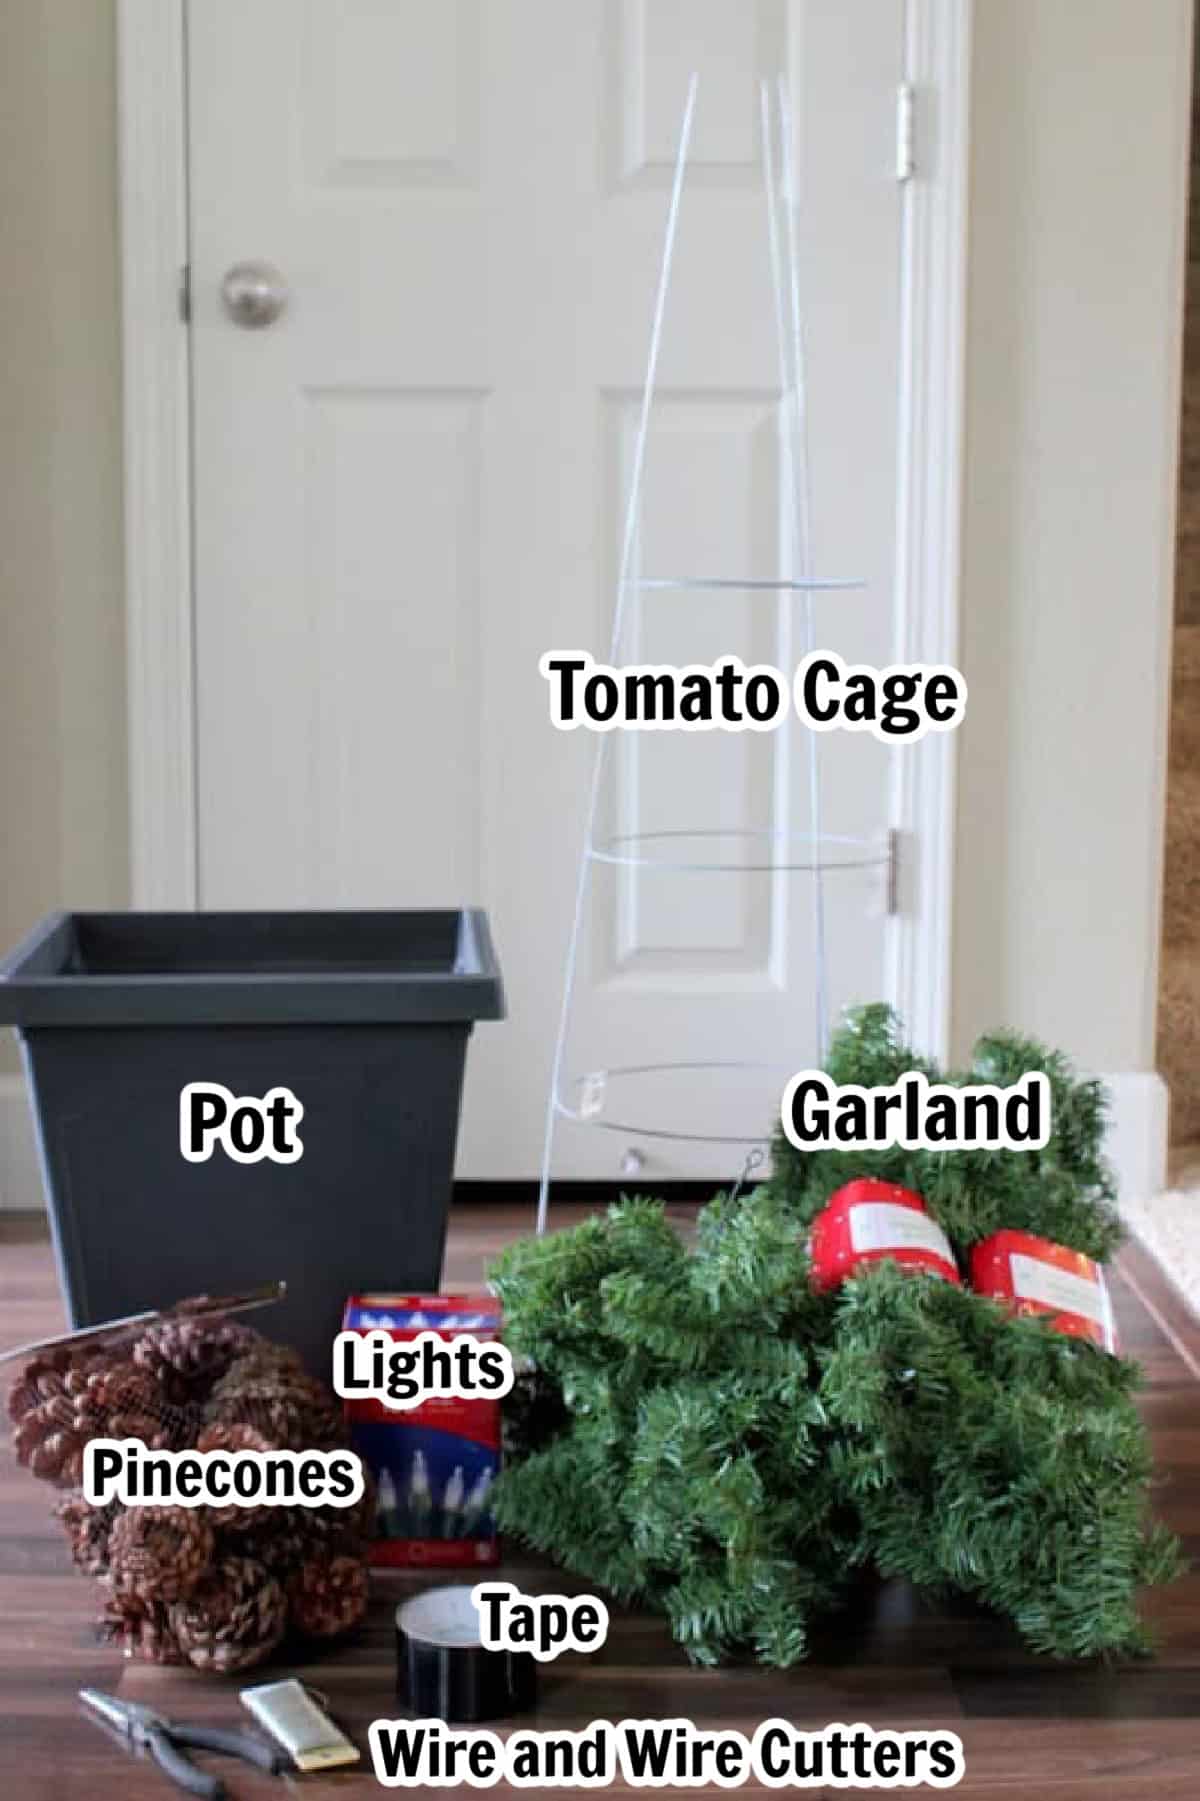
- 1 tomato cage, 42" tall with a 14" circular base {$3.48 @ Lowe's}
- 1 planter (mine is 15" tall, 14" wide) {$14 @ Home Depot}
- 4 (12') strands of garland {$5 each @ Walmart}
- Pine cones, optional {$4.99 @ Walmart}
- Wire for pine cones, optional
- wire cutters
- Duct tape
- 100 ct. white lights {$2.99 @ Lowe's}
How To Make A Tomato Cage Topiary
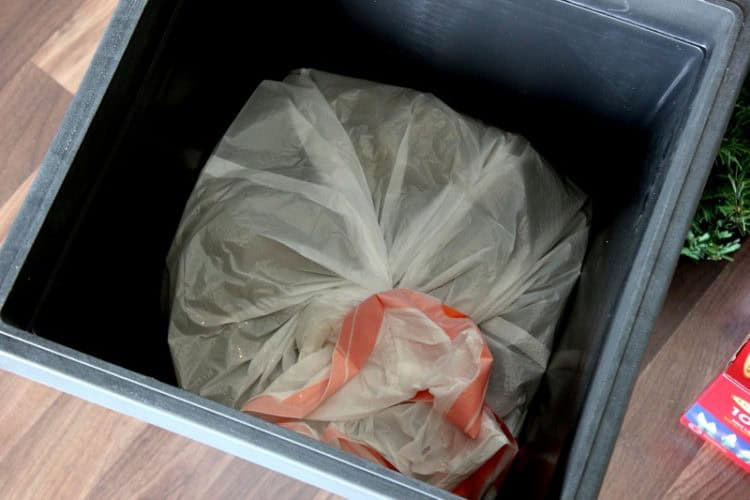
Step 1: If your pots are plastic and not very heavy, you will need to weigh them down to keep them from blowing over in the wind. I used sand in mine. Bricks would work too.
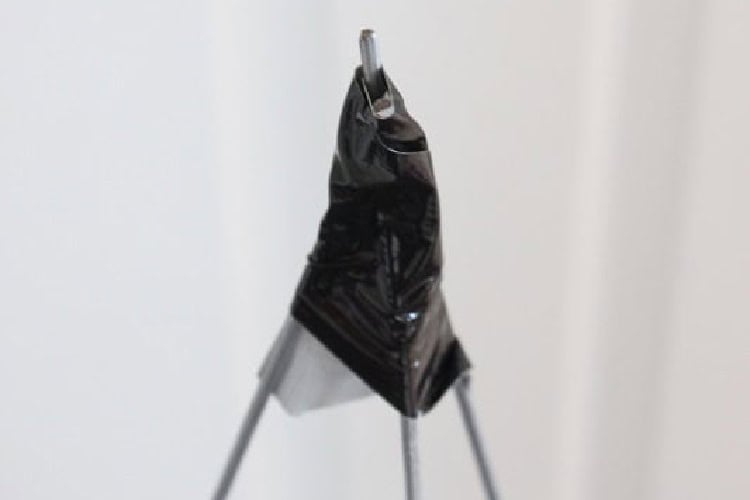
Step 2: Bring the ends of the tomato cage to a point and secure with duct tape.
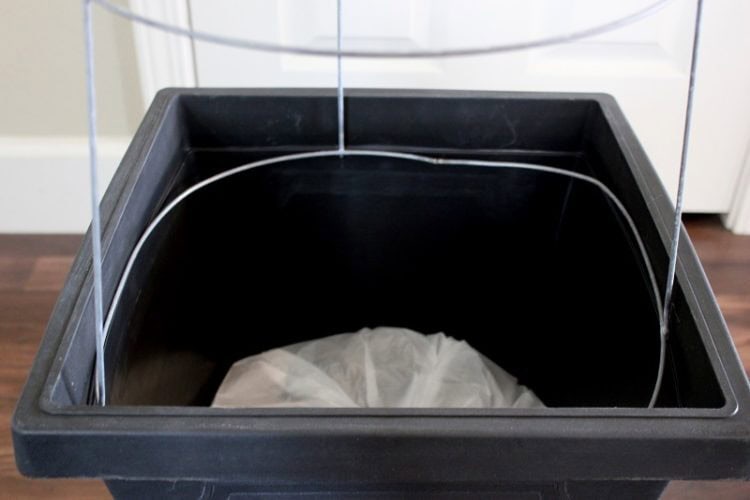
Step 3: Turn the cage upside down and place inside the planter. If your planter is square, bend the tomato cage a bit so that it fits snugly inside.
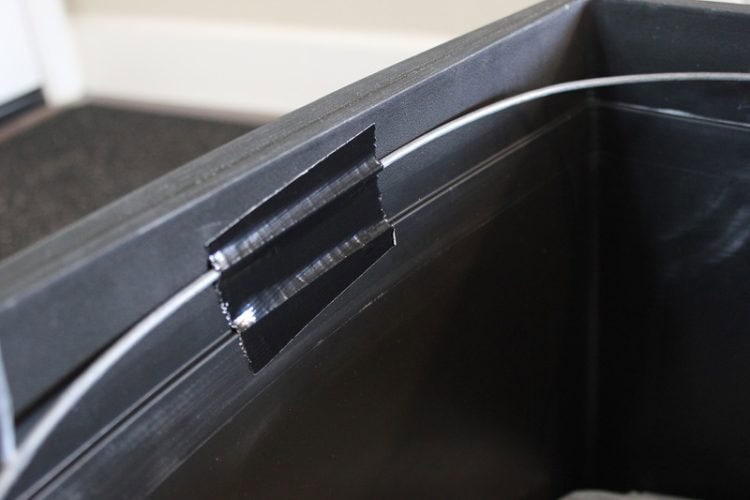
Step 4: Secure each side with duct tape.
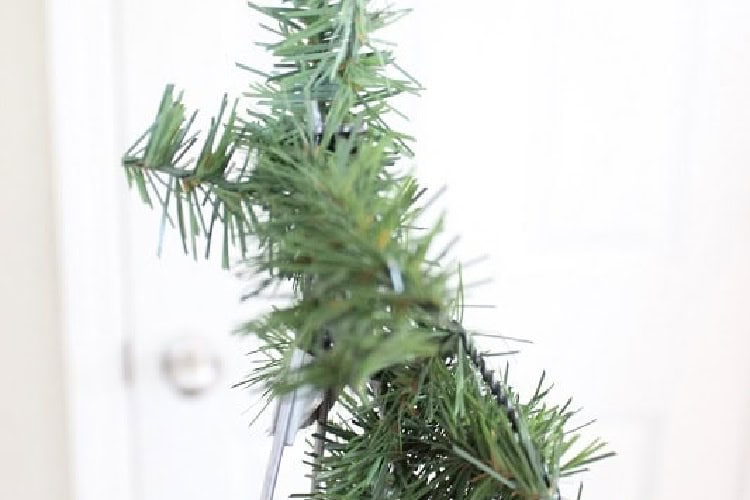
Step 5: Beginning at the top, start wrapping your cage with your garland. Wrap/twist a few of the small wired branches around the cage legs as you go to keep it nice and secure.

Step 6: Here is what it looks like after using 1 garland. Repeat with the remaining garlands. Separate and “fluff” your twig branches until nice and full.
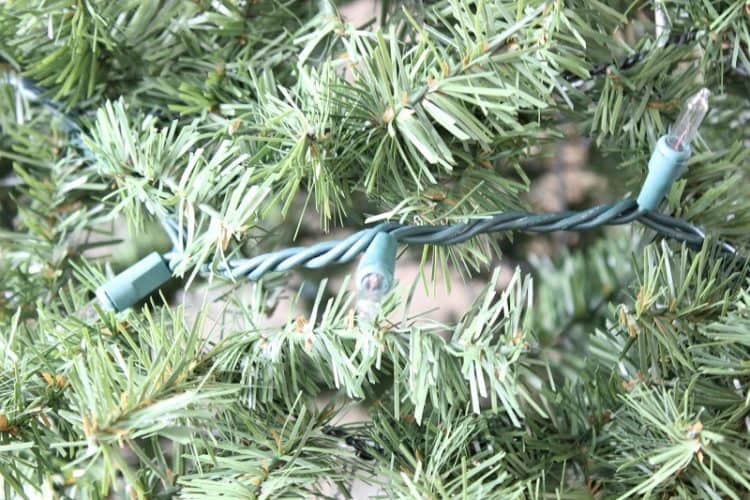
Step 7: String with lights.
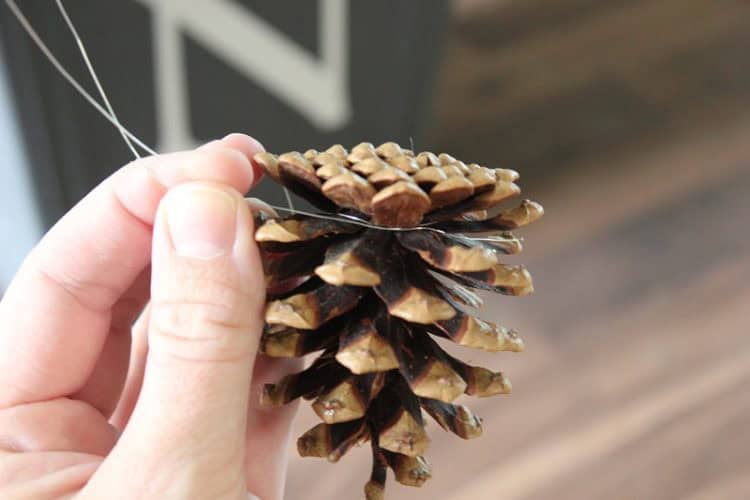
Step 8: The pine cones are optional, but they will fill in the tree and add a decorative touch. I wrapped the ends with some thin gauge wire and then wrapped them around the branches of the tree.
Topiary FAQs
It's best to cover the topiaries to keep them from getting dusty during storage. A large trash bag works well. Remove the topiary from the pot, and place a trash bag over the tomato cage topiary. Store pot separately.
This is entirely personal preference. The size of the topiary will be the height of the tomato cage, plus the height of the pot. I used 42" tomato cages and a 15" pot. This created a topiary that was almost 5' tall.
These topiaries hold up well on a front porch. Weigh the pot down with sand or bricks if it is lightweight. The garland is water-resistant, but I would keep it under a covered porch to prevent fading over time.
More Holiday Crafts To Make


MADE THIS CRAFT AND LOVED IT? 💛 Please leave a STAR rating and COMMENT below! Post it to Facebook or Pinterest to easily share with friends!

Evergreen Tomato Cage Topiary
Equipment
- duct tape
Materials
- 1 tomato cage 42″ tall with a 14″ circular base
- 1 planter
- 4 12' strands of garland
- pinecones optional
- wire for pinecones optional
- 1 100 ct. white lights
Instructions
- If your pots are plastic and not very heavy you will need to weigh them down to keep them from blowing over in the wind. I used sand in mine. Bricks would work too.
- Bring the ends of the tomato cage to a point and secure with duct tape.
- Turn the cage upside down and place inside the planter. If your planter is square, bend the tomato cage a bit so that it fits snugly inside.
- Secure each side with duct tape.
- Beginning at the top, start wrapping your cage with your garland. Wrap/twist a few of the small wired branches around the cage legs as you go to keep it nice and secure.
- Separate and “fluff” your twig branches until nice and full.
- String with lights.
- The pine cones are totally optional, but I thought they would fill in the tree and add a decorative touch. I wrapped the ends with some thin gauge wire and then wrapped them around the branches of the tree.


Brandy says
My topiaries lasted over 10 years! Such a great way to save money and have a beautiful porch during the holidays.
Jayne McLeod says
what a lovely idea and a fun project to do ... thank you for sharing !
Crystal says
Thank you for the tutorial! I have thought about doing this, for years, but never took the time. I plan on going through my "scrap" pieces of greenery to put together something similar-I may have to break down and buy some new garland, though, because it is scrap pieces and older pieces that I would try to use. I am going to add the pine cones, as well, and put them in our flower planters along the walkway to our front porch. Totally new decoration using (hopefully) all materials we already have!!!
Brandy says
That's the best kind of project! When you don't have to go out and buy everything. Love it!
Jelica says
Love this DIY so much that I'm going to have to try this myself. You are so right about the cost! Will have to get some tomato cages...:)
Brandy says
Awesome! And yes! I saw some topiaries today that were shorter and $65 each!
Lorena says
This is awesome, I love these but have always cringed at the price of them. I never would have thought of the tomato cage!! brilliant!! well, probably other more experienced crafters already knew about the trick but its totally new to me and I am all over it!! Thank you for the inspiration!
Sara says
This is a fabulous version! I have always wanted to make some but I don't like the plain ones and I didn't want ornaments to break. Pine cones are a brilliant addition. I'm sure we'd have to secure ours down with cement since we live in a place that can get crazy wind so anything we put up outside always gets knocked over. We may finally get this done this year!
Jess says
VERY pretty! 🙂
I would love for you to share this with my Facebook Group for recipes, crafts, tips, and tricks: https://www.facebook.com/groups/pluckyrecipescraftstips/
Thanks for joining Cooking and Crafting with J & J!
Angela Boone says
I’ve seen tons of tomato cage Christmas trees, but yours look the best that I’ve seen. These are adorable! I like that monogram, too.
peopledonteatenoughfudge says
Just lovely. Lots of places have strings of solar lights now so if they were somewhere they got some sunlight during the day you could use those if you don't have an electrical outlet near by.
suzyhomemakeruk says
Oh I LOVE these! We don't have a porch, but they would work great outside our side door as it's under cover. Like you, I've found topiaries to be very expensive here in the UK, so this is an idea solution. I will have to keep my eye out for reasonably priced garlands! Thank you so much for a great idea, totally pinned! Sue via #CreateLinkInspire
Karen says
These are so pretty and I love how simple they are to put together. Some themed ornaments would be really nice too in areas that aren't too windy. I love your idea for changing them out seasonally.
Mother of 3 says
I've been wanting to do this! This sounds so easy too; thanks for the wonderful tutorial. Pinned.