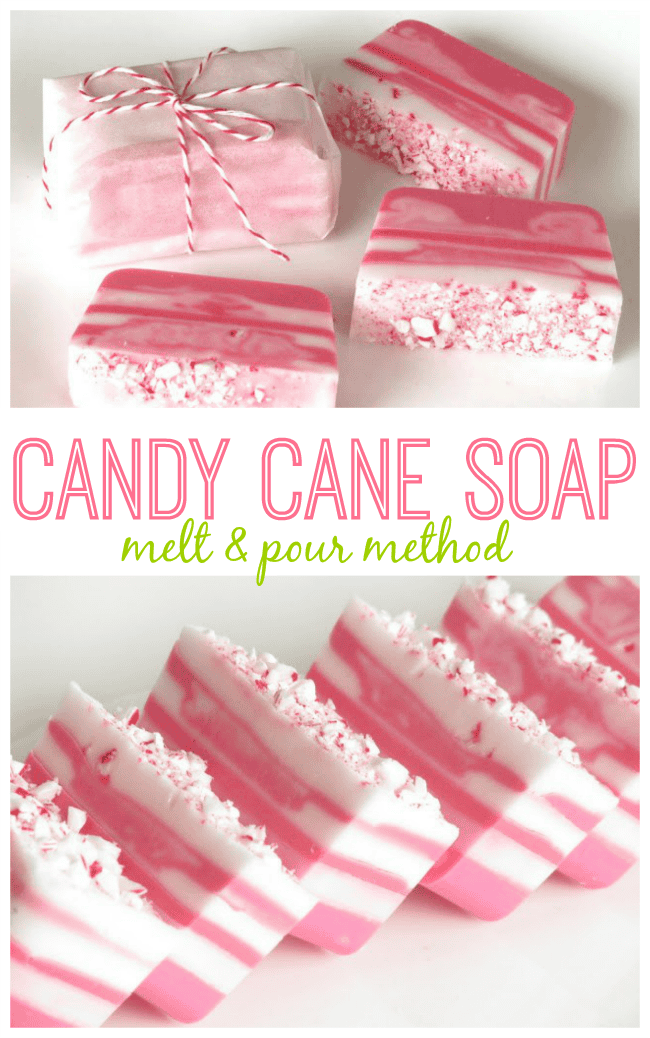
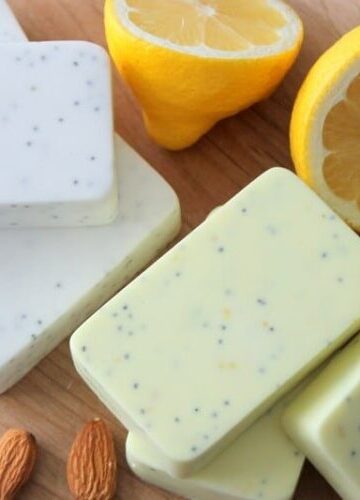
This candy cane soap smells as nice as it looks! Layers of pink and white glycerin soap come together with crushed candy canes for a cute and easy gift idea this holiday season.
The kids and I made homemade glycerin soap over the summer and it was a lot of fun. I used some of our extra white glycerin blocks to create this soap to go with what I am putting together for Christmas gifts to the boys' teachers this year.
I guess I can't really say that I "made" soap. What I did was buy a bag of glycerin chunks at the craft store, melt them down, add color and a scent, then re-shape them into molds. But it still transformed them into something different and heavenly scented.
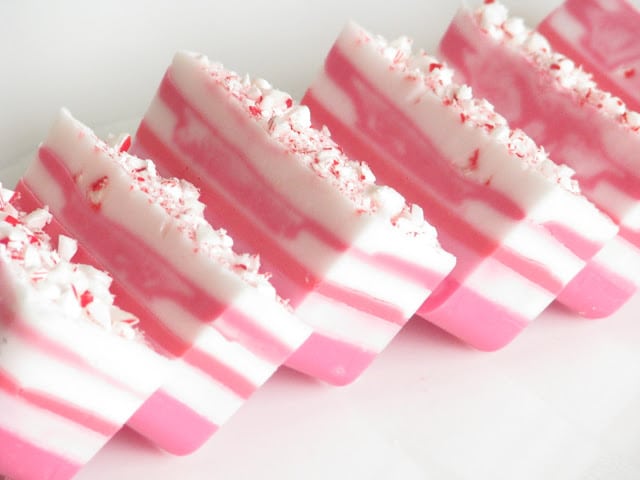
I'm no expert when it comes to soap. As you can see the lines aren't perfect. If I knew what I was doing, the lines would be solid. But I'm not sure how to do that and have the layers stay together when it is done. I was afraid if I let each layer dry before adding another that the layers would separate when I went to slice the soap into bars. So I didn't let each layer set up before adding the next one. I just waited until it just started to set up then poured the next color. So there is a mixture of stripes and swirls, but the soap is nice and solid. Perfect for a novice like me.
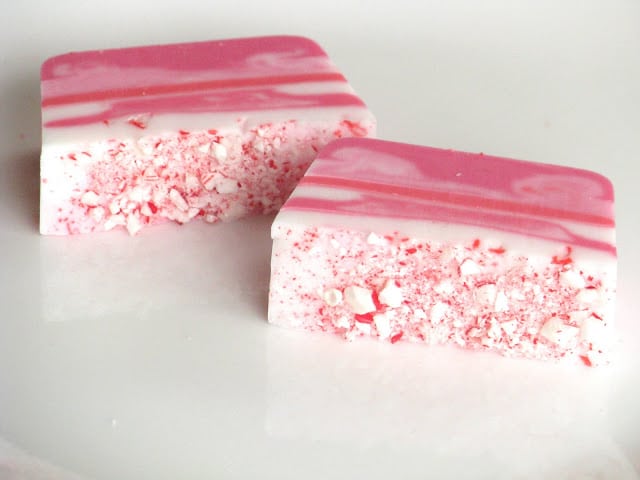
Right after I poured the last layer I sprinkled the top with a layer of crushed candy canes. I let it sit for an hour, then ran a knife along the edges of my mold (a small loaf pan) and the soap popped right out. I then sliced it into bars with a kitchen knife.
For those wondering about the candy canes: It is merely for decorative purposes and washed off the soap after the first couple of uses. You don't need it, but it looks pretty. It doesn't make your hands sticky either since you are already washing them. Kind of cancels it all out.
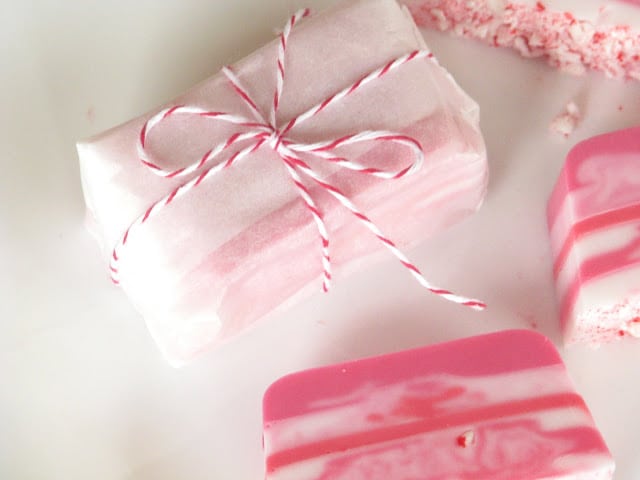
Each parchment package has 2 small bars of soap. It really does make your hands smell like candy canes!
If you would like to see how to melt, add scents and colors, and mold glycerin, see our post here. I used red soap coloring (food coloring would work too) and peppermint extract. About ⅛ tsp. for each white layer.
******
Oh how I love my readers! Here is a tip from Michelle on how to create perfect layers when making soap like this:
"Don't worry about your layers they are great! These look good enough to eat.I have played with melt and pour soap before, for distinctive layer just spray some alcohol on the first layer, let it harden, spray again then add your next layer.But again these look divine, so pretty and a great handmade gift."
Thanks Michelle!
If you enjoy making your own beauty products, you may enjoy this collection of homemade beauty gifts that I put together below!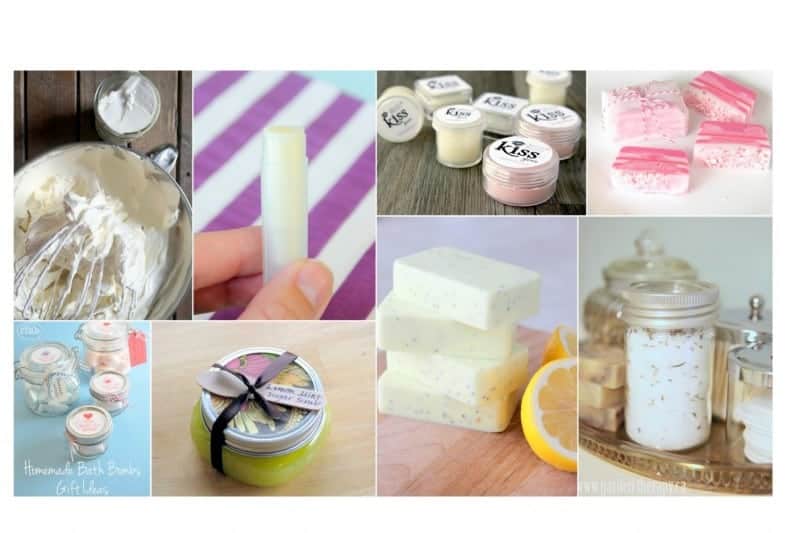
Craftberry Bush says
This is perfection...thank you for inspiring...xo
Lucy
Angie Ramirez says
Gorgeous SOAP.. I would even use them.. so pretty!!!!
Thanks for linking this up, Brandy!
I'm featuring this project of yours tonight.. 😉 Join us tomorrow for another awesome party! 😉
Thanks,
Angie form A Little Inspiration
http://www.littleinspiration.com
Screaming Sardine says
These are gorgeous! I've done some soap making and am a bit of a novice myself. You did a great job! I love the idea of putting crushed candy canes on top of the soap. Cheers,Tracy Screaming Sardine
Angie says
Love the look of these! One question, what happens to the candy cane pieces when you use it?
Brandy says
Hi Angie, it washes/falls off the after the first couple of uses. Purely decorative!
Our Side of the Mountain says
How lovely! My daughter would like to make homemade soap someday. She would love something like this. Beautiful! Stopping by from TGIF!
Beth (www.livinglifeintentionally.blogspot.com) says
I just wanted to let you know I featured this at this week's linky party - http://livinglifeintentionally.blogspot.com/2011/12/tgif-linky-party-9.html - So pop on over, grab your Featured Button & don't forget to link up this week!! Thanks again for sharing your creativity with the rest of us!!
Beth =-)
Katie @ The Crafty Blog Stalker says
OHHHHHH that soap looks good enough to eat!
I would love for you to link up on Blog Stalking Thursday! http://thecraftyblogstalker.blogspot.com/2011/12/blog-stalking-thursday-19.html
Cat says
These are beautiful soaps! I'm pinning it!
Q @ JAQS says
Oh my - these are simply beautiful 🙂
Love for you to share it at my linky party here: http://www.jaqsstudio.com/2011/12/made-by-me-10-linky-party-and-features.html
Lowri says
These are lovely - such a fun and bright idea I love them! You have done an amazing job on these - i want to make some for Christmas!
Visiting from Tip Junkie
Lowri
http://papervinenz.blogspot.com/
A To Zebra Celebrations says
These would be super cute for gifts!!! what a fun craft for the kids too!! new visitor 🙂
Michelle says
Don't worry about your layers they are great! These look good enough to eat.
I have played with melt and pour soap before, for distinctive layer just spray some alcohol on the first layer, let it harden, spray again then add your next layer.
But again these look divine, so pretty and a great handmade gift.
Design_Fluff says
I pinned it!
Design_Fluff says
I wouldn't worry about how "perfect" the layers came out. I think it's amazing! How creative of you to come up with a quick diy for soap that you personalize!
Heather at Dragonfly Designs says
Love! They look just darling ~ thanks for sharing!! xo
LeAnn ~ My Day In The Making says
Lovely! I want to make these for my daughter that will be coming home for the holidays. A fun little something that makes her know she is special.