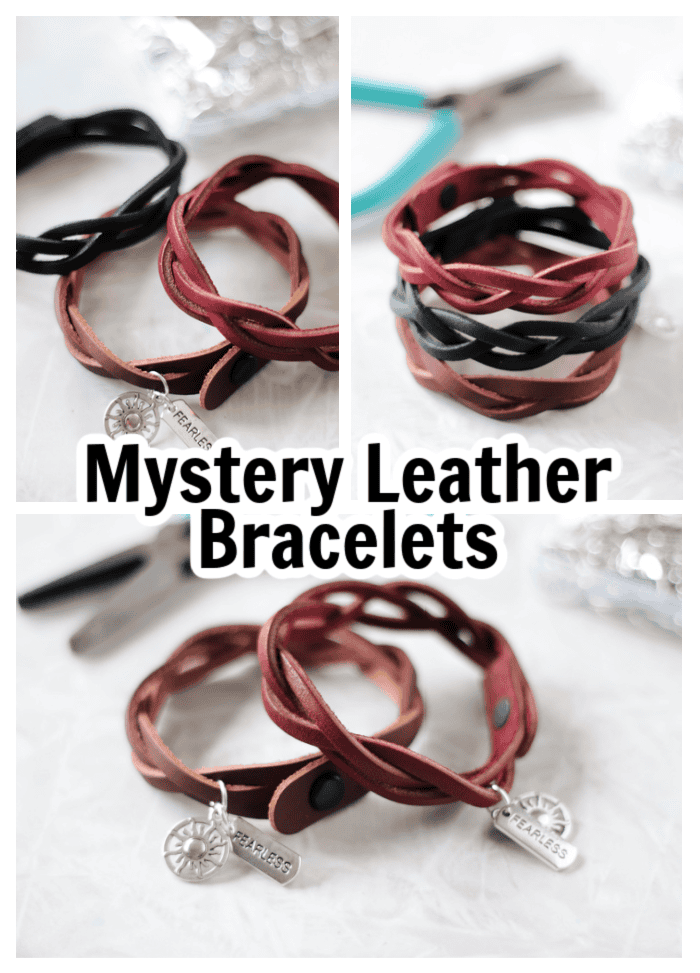
Mystery braid leather bracelets are an easy craft for youth summer camp crafts. They come together quickly and are fun to customize. This post contains affiliate links.
Watch our step by step video!
You might also like our collection of YW camp crafts, tattoo soap bars (super fun for kids and turns out so cute!), or Morse code friendship bracelets! Looking for a cute handout to give girls at YW camp this year? Check out these "Camp hair, don't care" scrunchies and clip tags!
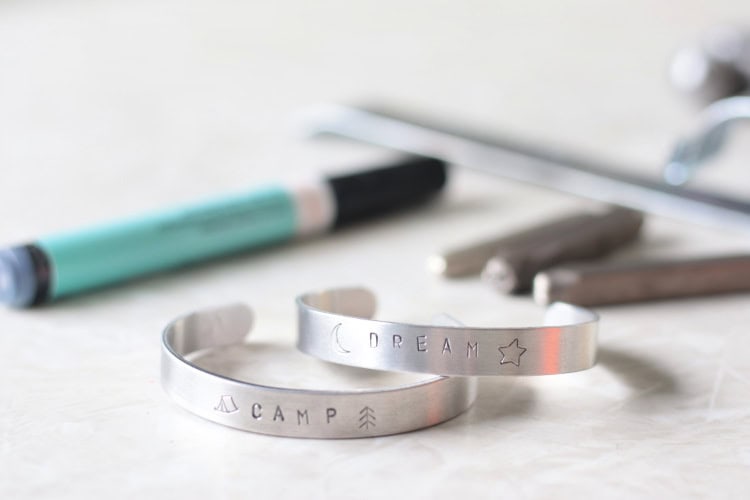
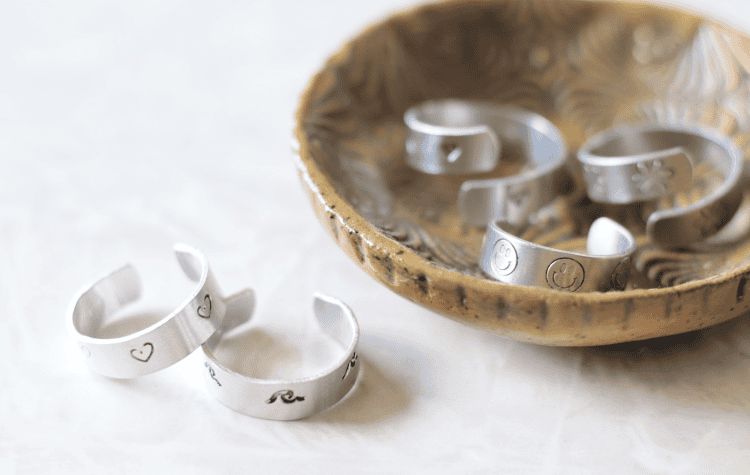
I'm back with another easy summer camp craft! It's my 4th year as the camp craft coordinator at our church summer camp. Jewelry and accessories are always a huge hit, so I include a couple of them in my craft rotation every year. Other crafts that are always a hit are stretchy bracelets, stamped jewelry (we're doing rings this year!), journaling, faux watercolor painting, and diamond art sticker kits.
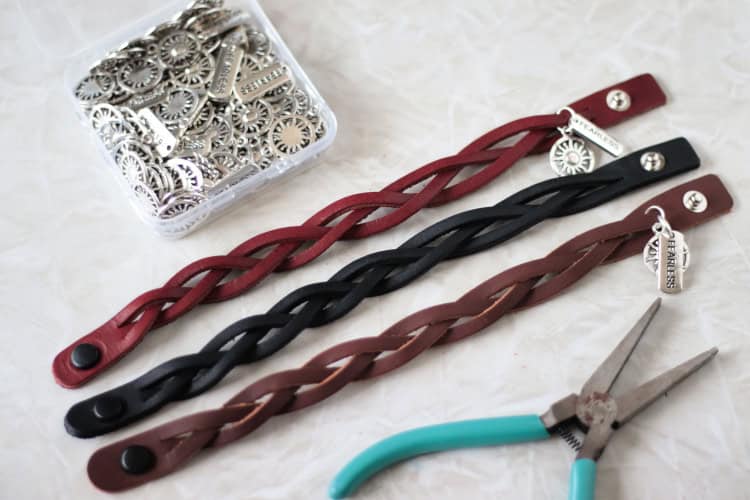
Mystery Braid Leather Bracelets
What makes these bracelets a mystery? Typically, when you braid, you have 3 separate strands that are closed at one end and open at the other. As you cross the strands over eachother, you work your way down to the end and then secure it with a tie or string. With these bracelets, BOTH ends are secured. To braid, you do a series of braids and flips, and magically, it all comes togehter!
Make sure to watch my step-by-step video to see exactly how to braid using this technique. It works for bracelets, keychains, and belts!
I purchased kits, which included 8 pre-cut bracelets. I don't know how to work with leather, so buying kits was a big time saver, and they were pretty affordable. It averaged out to about $1.75 per bracelet, so it's a great option if you are making these with a group (I'm teaching 100 teens how to make them).
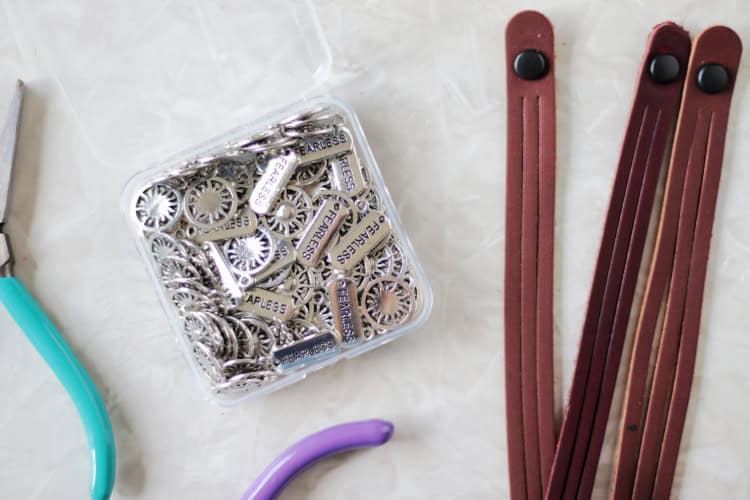
Mystery Bracelet Supplies
Bracelet Kits
bracelet kits: each kit comes with 8 pre-cut bracelets with snaps. I ordered from Amazon, and most packs were brown, with a few packs having a variety of colors---which I actually preferred! You can also find them online from Michaels or Walmart, but I found Amazon to be the most affordable.
If you only want to make a bracelet you can stop right here. The kit is all you need!
If you'd like to add charms you'll need the following supplies:
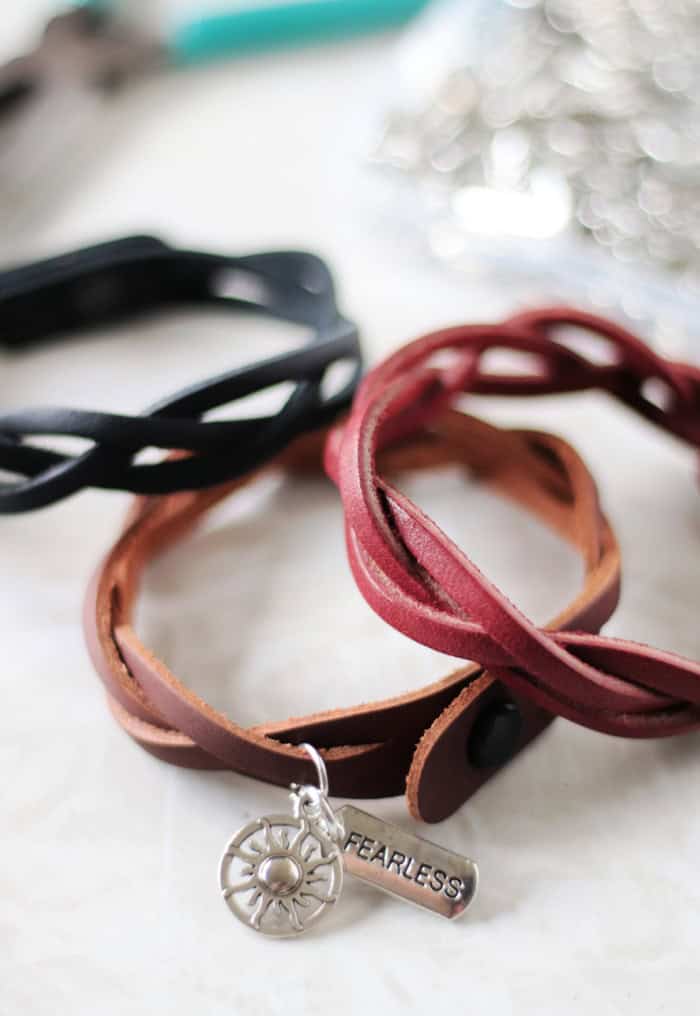
Alloy Charms: I used sun charms and "fearless" charms that go along with our camp theme this year.
Jump rings: to attach the charms to the bracelet. I used 8mm. 10mm would fit as well.
Jewelry pliers (small pliers): top open the jump rings.
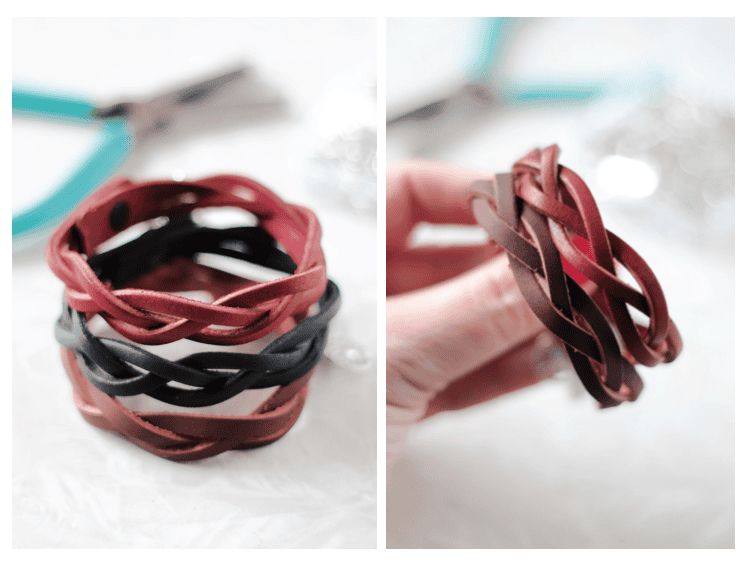
How To Braid Mystery Braid Bracelets
For a better visual be sure to watch my video (plays under the first image in the post). It might seem confusing at first, but TRUST ME, these are incredibly easy to make. Once you make one with my video tutorial it'll be smooth sailing! My 8-year-old was able to make one and thought it was pretty cool.
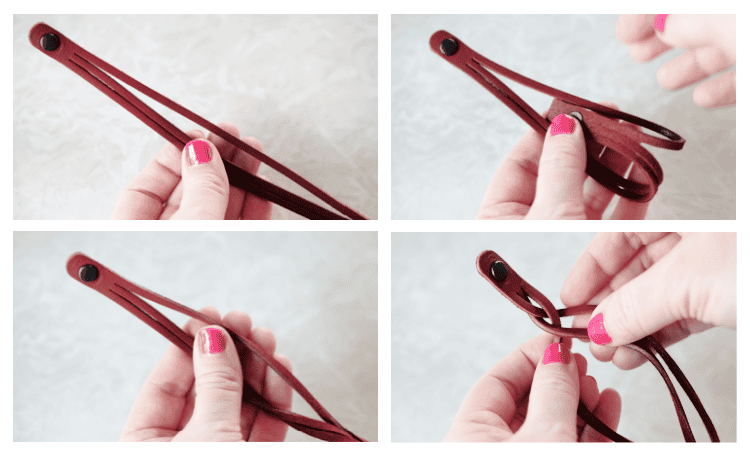
STEP 1: Start with the outer snap at the top. There are 3 strands to each bracelet. Pull the first two strands to the LEFT, separating them from the 3rd strand. There will be a gap.
STEP 2: Bring the bottom of the bracelet up and through the space that you made in step 1
STEP 3: Your bracelet should now look like this. Not much different, but there is a twist at the end of it.
STEP 4: Make 3 braids (LEFT, RIGHT, LEFT), keeping the strands flat as you go.
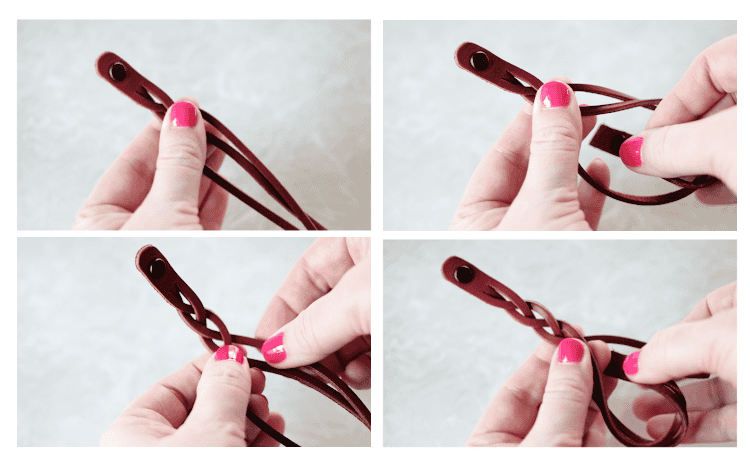
STEP 5: Pull the 2nd and 3rd strands to the RIGHT, separating them from the 1st strand. There will be a gap.
STEP 6: Bring the bottom of the bracelet up and through the space that you made in step 5.
STEP 7: Make 3 braids (RIGHT, LEFT, RIGHT), keeping the strands flat as you go.
STEP 8: Pull the first two strands to the LEFT, separating them from the 3rd strand. There will be a gap. Bring the bottom of the bracelet up and through the space that you made.

STEP 9: Make 3 braids (LEFT, RIGHT, LEFT), keeping the strands flat as you go.
STEP 10: Pull the 2nd and 3rd strands to the RIGHT, separating them from the 1st strand.
STEP 11: Bring the bottom of the bracelet up and through the space that you made in step 10.
STEP 12: You might think you have room to do another set of braids but STOP HERE. It might look uneven (tighter at the top and looser at the end, don't worry we'll address that in a second).
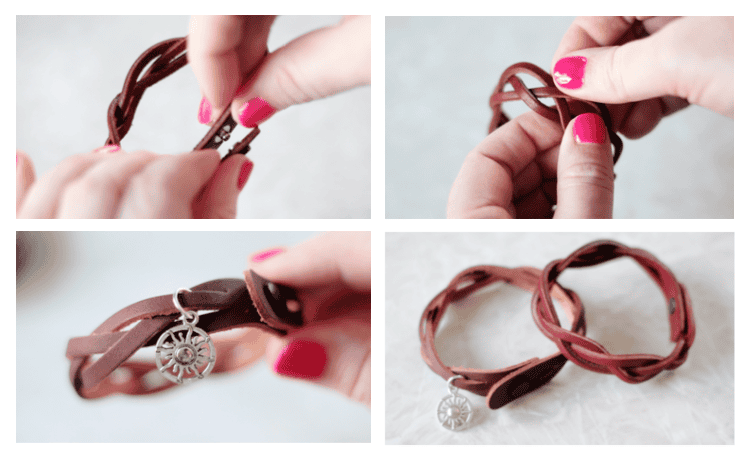
STEP 13: Bring the ends of the bracelet together and snap into place.
STEP 14: Gently loosen the bracelet all the way around to space the braid evenly.
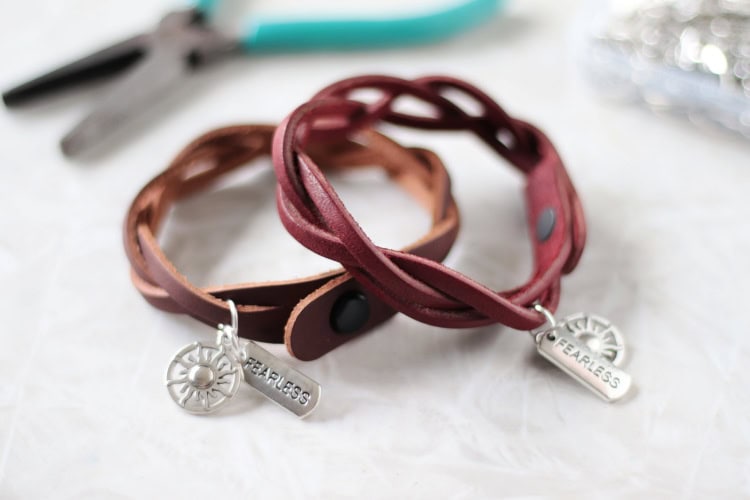
STEP 15: If adding a charm, open the jump ring, add a charm then close the jump ring around one of the leather strands.
STEP 16: Enjoy your new leather bracelet!
NOTE: if at ANY point you mess up, don't worry! It's easy to take the braid and flips apart and start over.


Leave a Reply