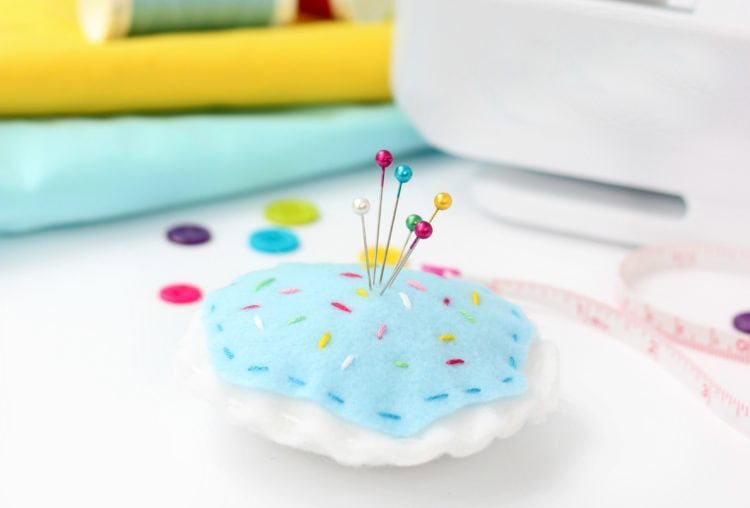
Now that you’re learning to sew, you’ll need a place to keep all of your pins. Make a sugar cookie pincushion out of felt. Complete with your favorite flavor of frosting and colorful sprinkles!
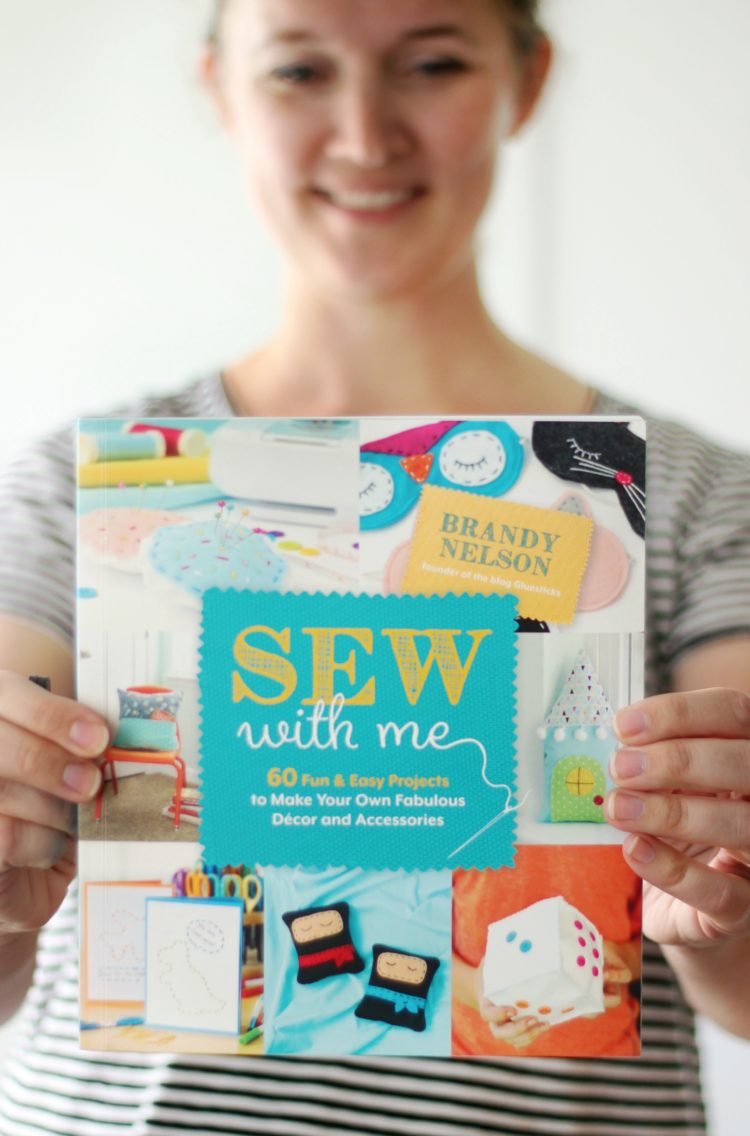
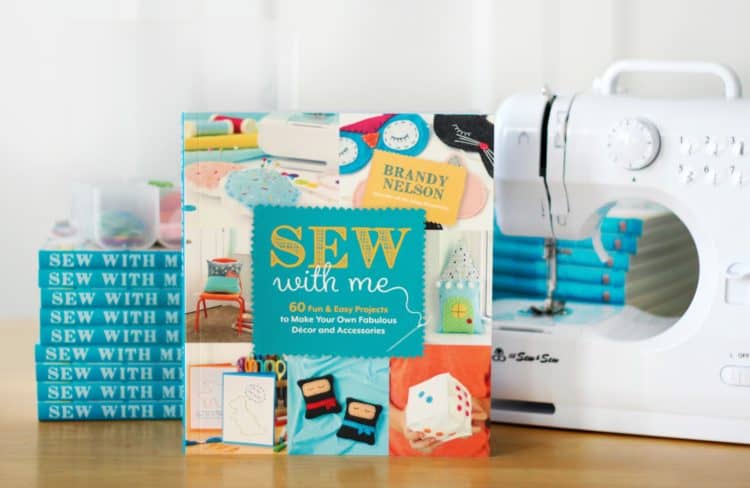
If you make and like this easy sewing project for kids, be sure to check out Sew With Me, my brand-new sewing book which has 60 projects! This post contains affiliate links.
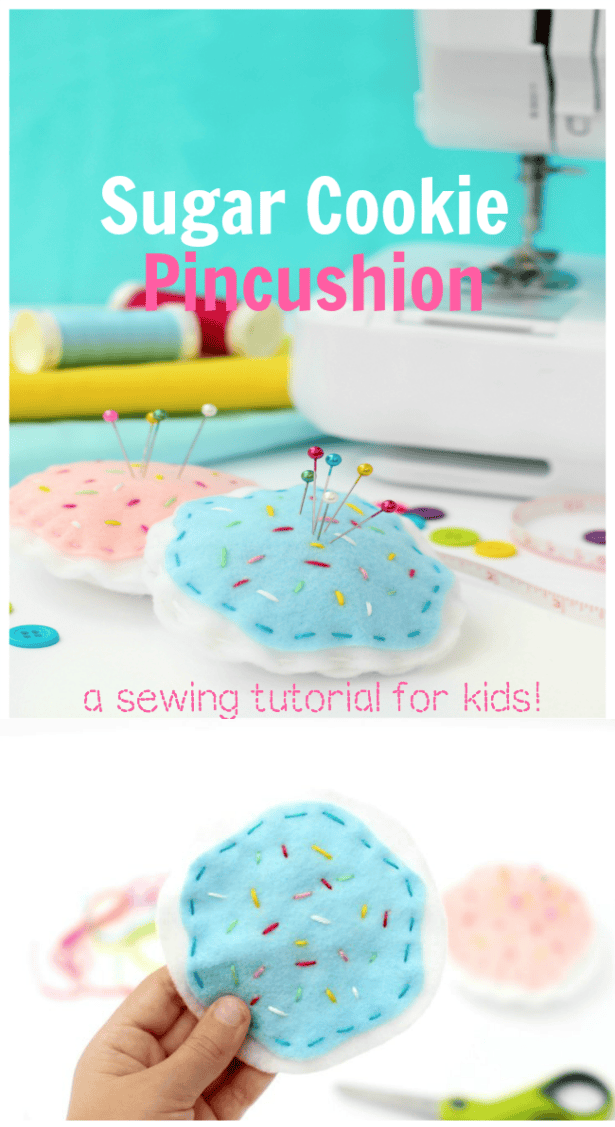
Today I'm sharing a sewing project for kids that is from my book! This little cookie pincushion is perfect for beginners, a simple hand stitched sewing project for kids. Felt is one of the easiest fabrics for kids to work with because it sticks to itself and is sturdy. It also doesn't fray, so no hemming is involved.
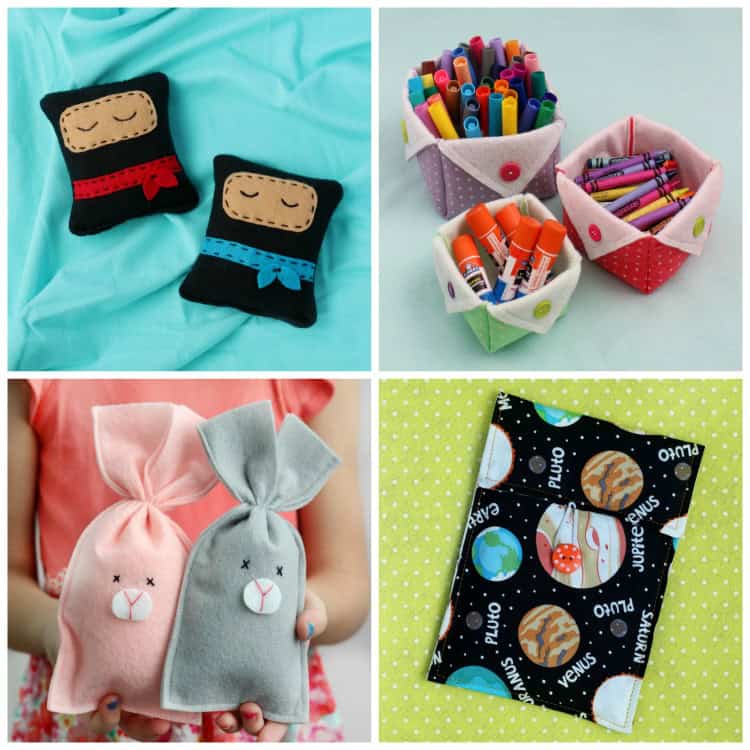
Sew With Me is divided into 5 chapters with 3 different sewing levels.
There are 60 projects inside so your children are sure to find a variety of things they'd like to make!
I have two little girls who are learning to sew and we've had so much fun working together! Like many children, they are not quite ready to sit down and make a project 100% on their own. Sew With Me was designed for beginners (ages 7-12) who still need a bit of help, those who know their way around a needle and thread, or those who are looking for basic machine stitched projects!
Are you ready to make a pincushion? Let's get started!
Sugar Cookie PinCushion
Sewing Level: 1
Now that you’re learning to sew, you’ll need a place to keep all of your pins. This pincushion looks like a cookie and you can even pick out your favorite colors of thread to use for the sprinkles.
Makes 1 sugar cookie pincushion
Materials
- Cutting templates
- Felt scraps for the cookie and frosting
- Scissors
- Embroidery thread in a variety of colors
- Needle
- Pillow stuffing
- Pins
Instructions
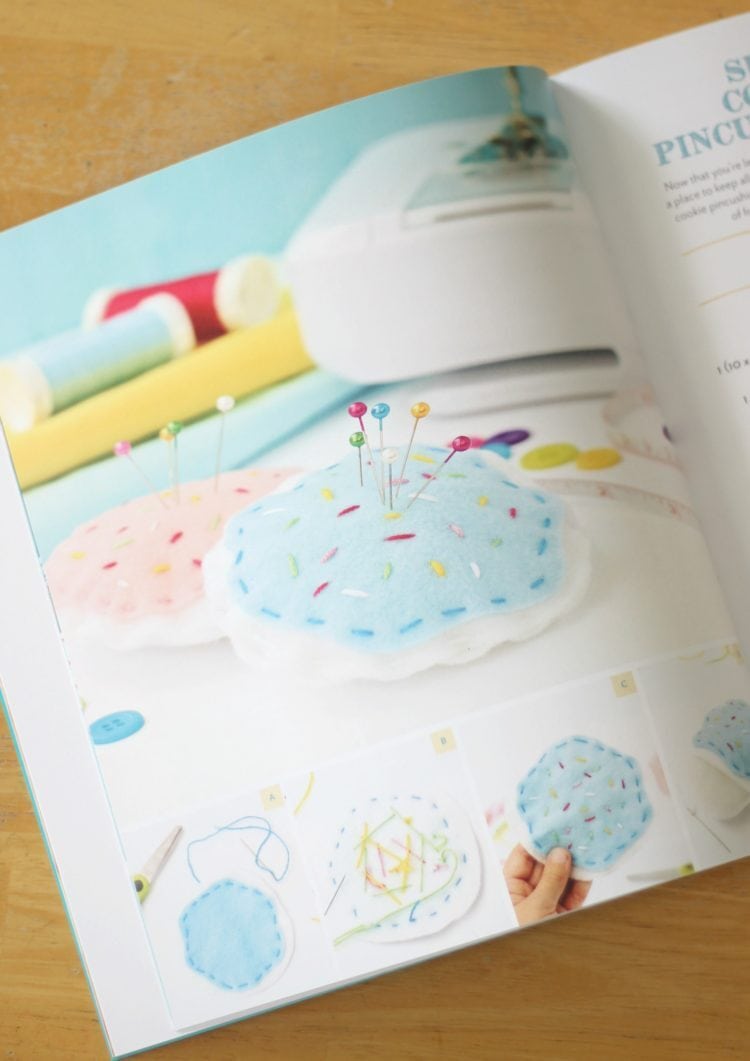
Step 1: Using the cutting template, create patterns. Use the patterns to cut out two cookie shapes and one frosting shape out of felt scraps.
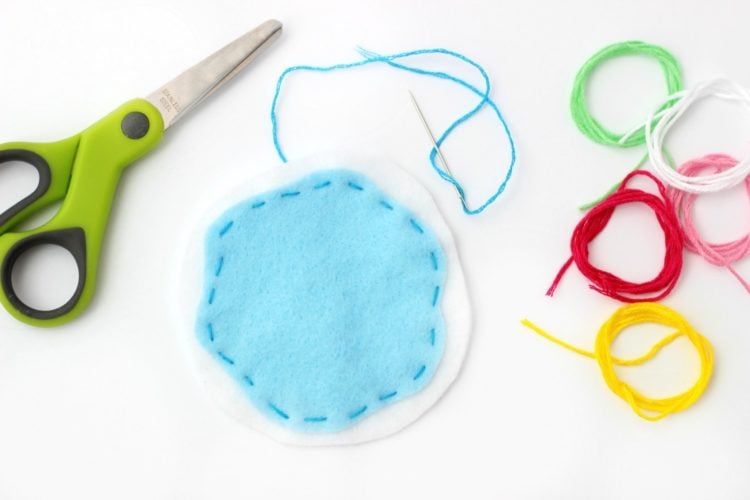
Step 2: Cut a length of embroidery thread and tie a knot at one end. Thread the other end through a needle. Hand stitch the frosting piece to one of the cookie pieces using a running stitch. Tie a knot in the back and trim the thread.
Now for the fun part: sprinkles!
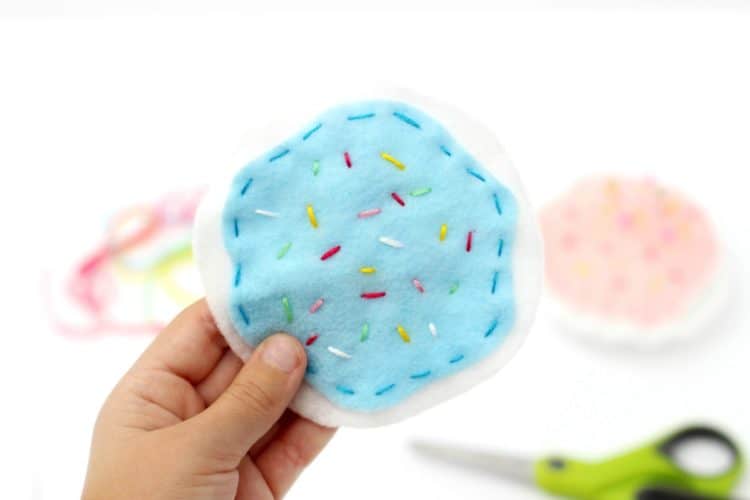
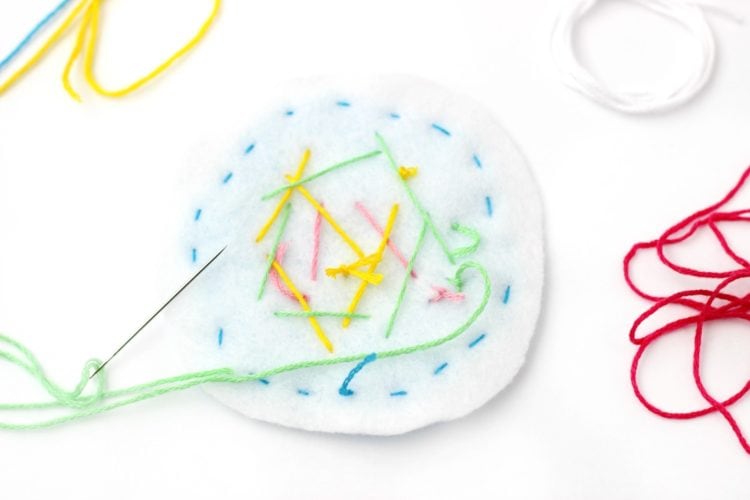
Step 2: Choose a few of your favorite colors of embroidery thread. For this part of the project, you are going to use all 6 strands of embroidery thread from each length instead of only using a few strands from it. Since the thread will be thicker, you may want to use a needle with a bigger eye or ask an adult to help you thread the needle. Cut long lengths, thread your needle and stitch sprinkles all over in random places, only tying a knot when you change thread colors.
Note: The back of your project will look like a mess, but that’s okay! You are going to cover that up anyways with the other piece of felt. Just keep stitching until your cookie is nice and colorful.
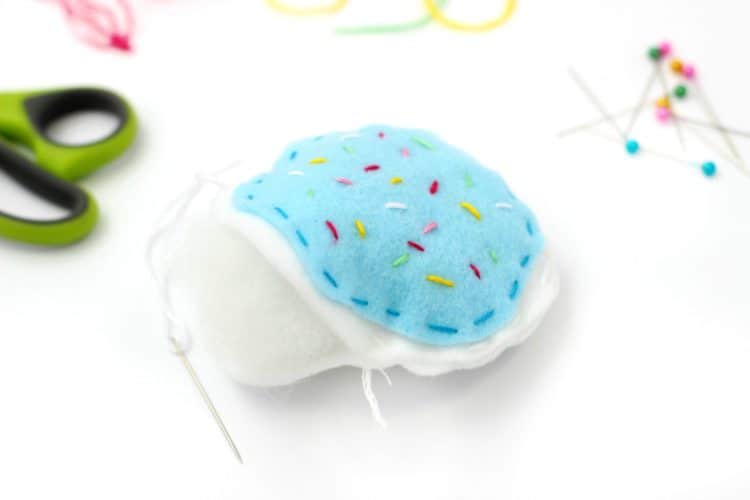
Step 3: Stitch the second cookie piece to your top cookie and frosting piece using a thread that matches the color of your cookie. Leave a small opening to fill your cookie with the stuffing.
Step 4: Add a small amount of the stuffing and stitch the opening shut. Tie a knot and trim the threads.
Add the pins and you are done!
Click here to order your copy of Sew With Me! Ships free with 1-2 days shipping!

Leave a Reply