
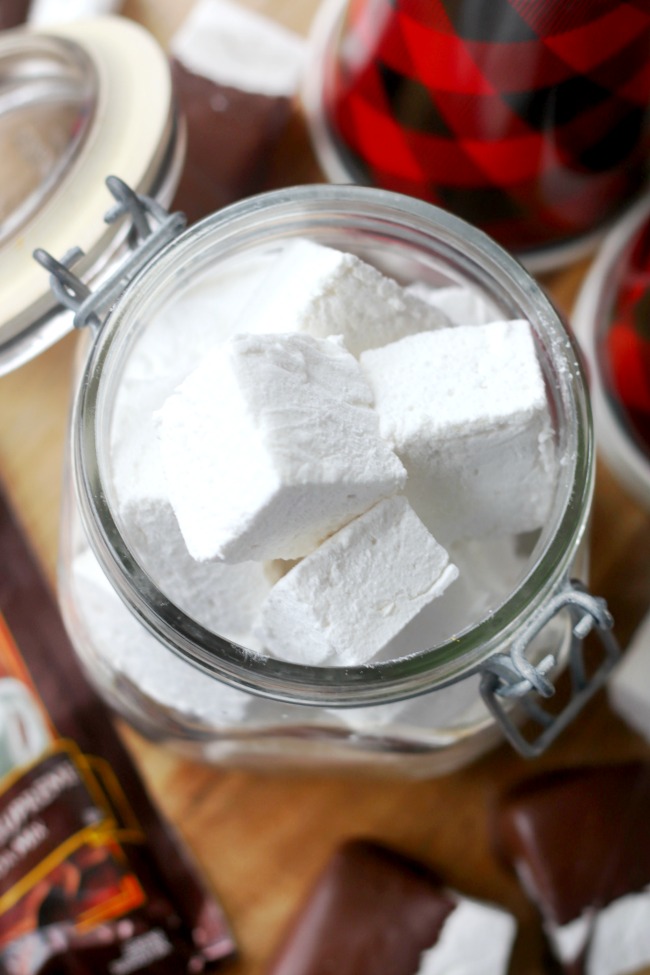
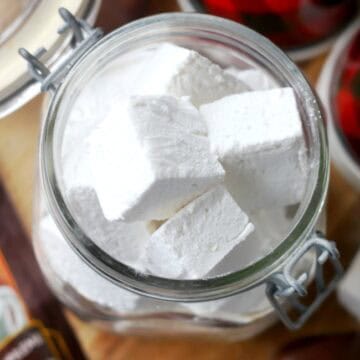
These homemade vanilla marshmallows are soft, fluffy, pillowy, and surprisingly easy to make from scratch. They're perfect for hot chocolate, s'mores, holiday gift boxes, and snacking—and once you've tasted homemade marshmallows, it's hard to go back to the store-bought kind.
If you love homemade marshmallows, be sure to check out my Hot Chocolate Bombs filled with mini freeze-dried marshmallows. They're one of the most popular recipes on my site and are so much fun to make! I also have adorable Snowman Hot Chocolate Bombs that make wonderful holiday gifts.
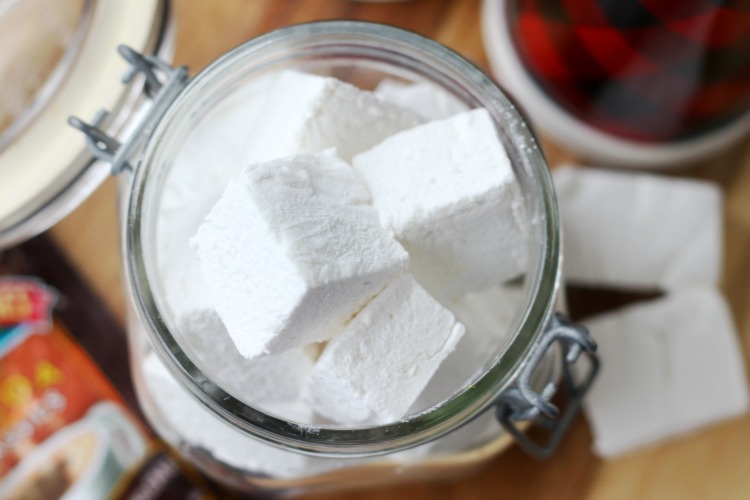
Making homemade marshmallows has become one of my favorite holiday traditions. Much like my English Toffee recipe, I only make them once or twice a year, which somehow makes them even more special. They're surprisingly simple to make, and I love how easy they are to customize with different flavors, colors, and shapes.
I first made homemade marshmallows in 2009 after watching Alton Brown demonstrate the process. Like so many of his recipes, the science behind it fascinated me. Over the years I've made a few small tweaks, but the process remains essentially the same—and it produces perfectly fluffy marshmallows every time.
Why You'll Love This Recipe
- Soft and fluffy. Homemade marshmallows have an incredibly light texture that's impossible to find in store-bought marshmallows.
- Perfect for the holidays. They're beautiful in gift baskets, mugs of hot chocolate, and Christmas dessert trays.
- Easy to customize. Change the flavor, add food coloring, or cut them into festive holiday shapes.
- Great for gifts. Package them with homemade hot chocolate mix for an inexpensive homemade Christmas gift.
- Fun to make. Watching the hot syrup transform into fluffy marshmallow is honestly one of the best parts.
Jump to:
- Why You'll Love This Recipe
- Homemade vs. Store-Bought Marshmallows
- Tips & Tricks
- Ingredients
- Equipment You'll Need
- How To Make Homemade Vanilla Marshmallows
- Flavor Variations
- Color Variations
- Gift Ideas
- Ways to Use Homemade Marshmallows
- Homemade Marshmallow FAQs
- More Homemade Candy Recipes To Make
- Easy Homemade Marshmallows
Homemade vs. Store-Bought Marshmallows
Store-bought marshmallows are convenient, but homemade marshmallows are softer, fresher, and have a richer vanilla flavor. They melt beautifully in hot chocolate, toast wonderfully over a campfire, and can be customized with your favorite extracts and colors.
If you've never made marshmallows before, don't let the candy-making process intimidate you. Once the sugar syrup reaches the correct temperature, your stand mixer does most of the work.
Tips & Tricks
- Use a stand mixer if possible. Fifteen minutes of mixing feels much longer with a hand mixer.
- Don't skip the candy thermometer. The correct syrup temperature makes all the difference.
- Spray your spatula with nonstick spray before spreading the marshmallow mixture.
- Sift the powdered sugar so it coats the marshmallows evenly.
- Allow the marshmallows to rest overnight for the cleanest cuts.
- Grease anything that touches the marshmallow mixture—it is incredibly sticky.
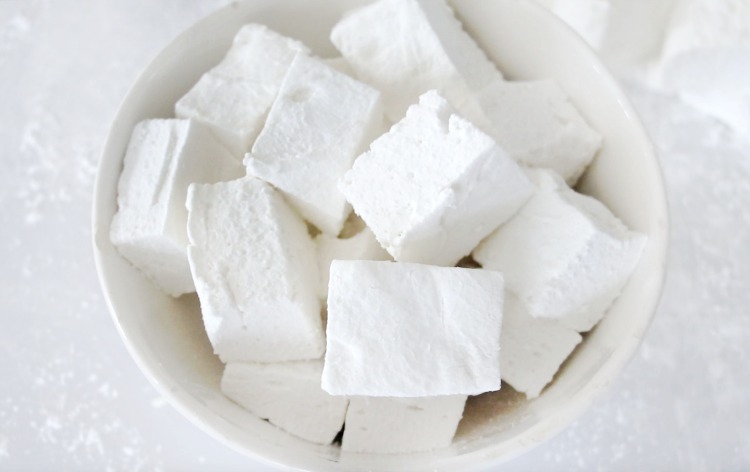
Ingredients
- Unflavored Gelatin: Gives marshmallows their signature fluffy texture.
- Water: Used to bloom the gelatin and cook the sugar syrup.
- Granulated Sugar: Creates the sweet marshmallow base.
- Light Corn Syrup: Helps prevent crystallization and creates a smooth texture.
- Salt: Balances the sweetness.
- Vanilla Extract: Adds classic marshmallow flavor.
- Powdered Sugar: Prevents the marshmallows from sticking after they're cut.
See the recipe card below for complete ingredient amounts.
Equipment You'll Need
There are only two pieces of equipment that are absolutely essential for homemade marshmallows.
- Stand Mixer: While a hand mixer will work, you'll be beating the marshmallow mixture for about 15 minutes. A stand mixer makes the process almost effortless.
- Candy Thermometer: Unlike my English Toffee recipe, marshmallows really do require a thermometer. The syrup needs to reach 243–245°F, and there's simply no visual cue that's as reliable. A clip-on candy thermometer makes the job especially easy.
How To Make Homemade Vanilla Marshmallows
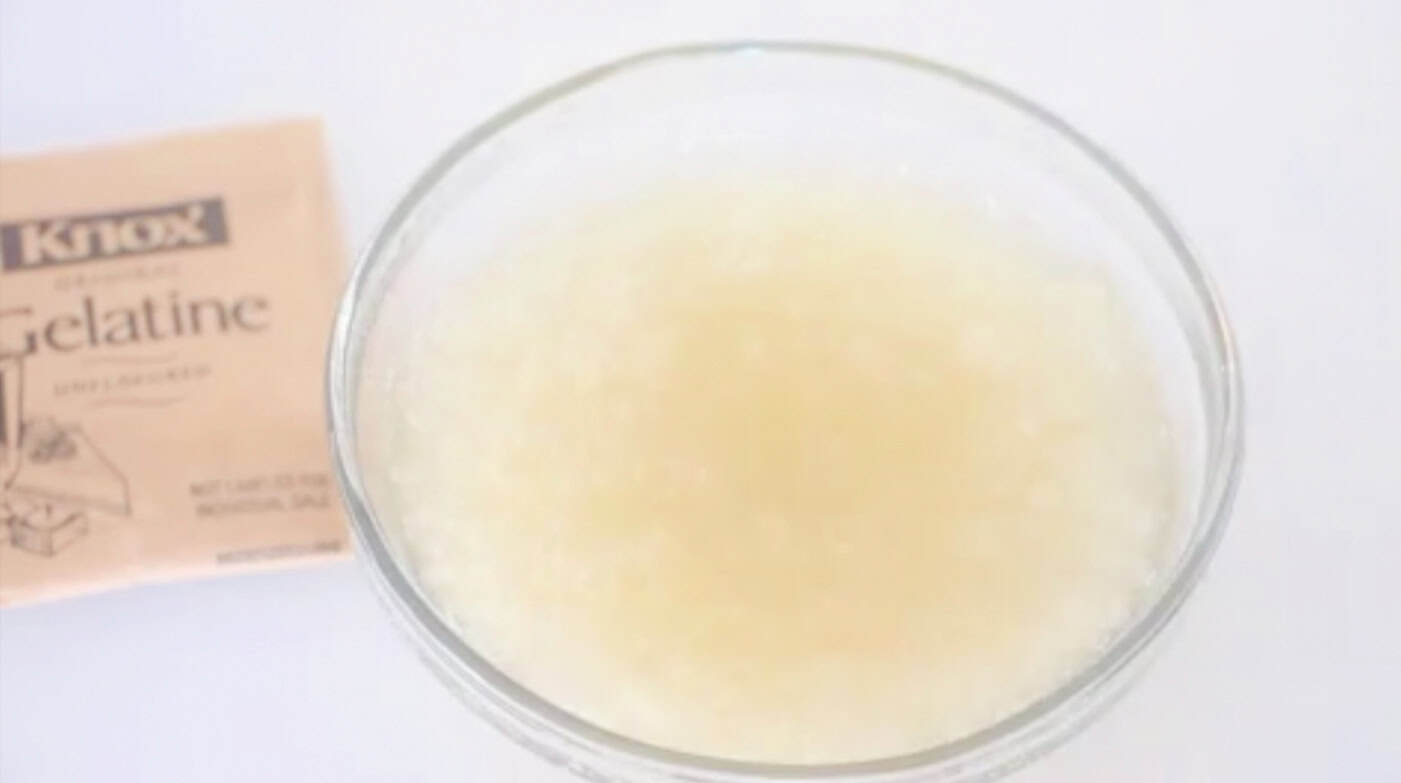
Step 1: Bloom the gelatin. Sprinkle the gelatin over the ice water and let it sit while you prepare the sugar syrup.
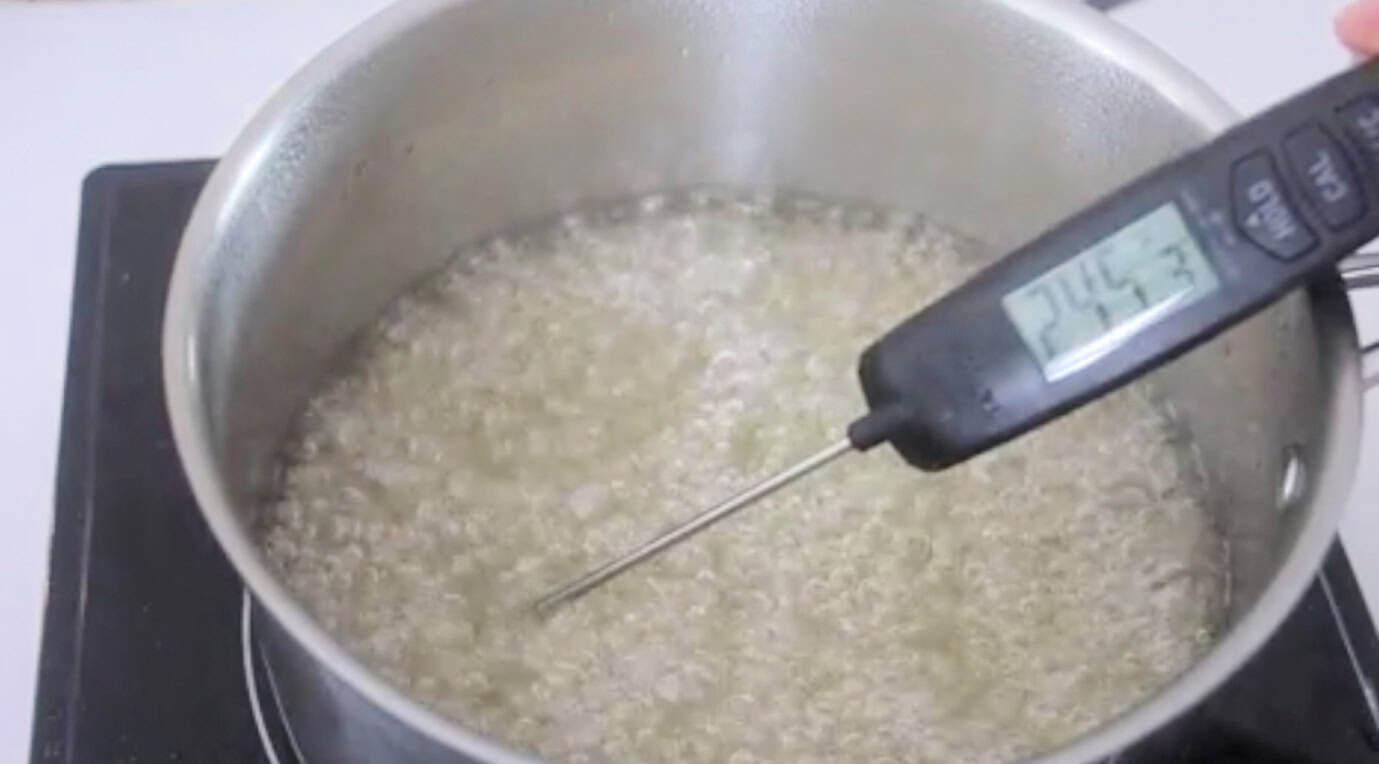
Step 2: Make the sugar syrup. Heat the sugar, water, corn syrup, and salt until boiling. Reduce to medium heat and continue cooking until the mixture reaches 243–245°F.
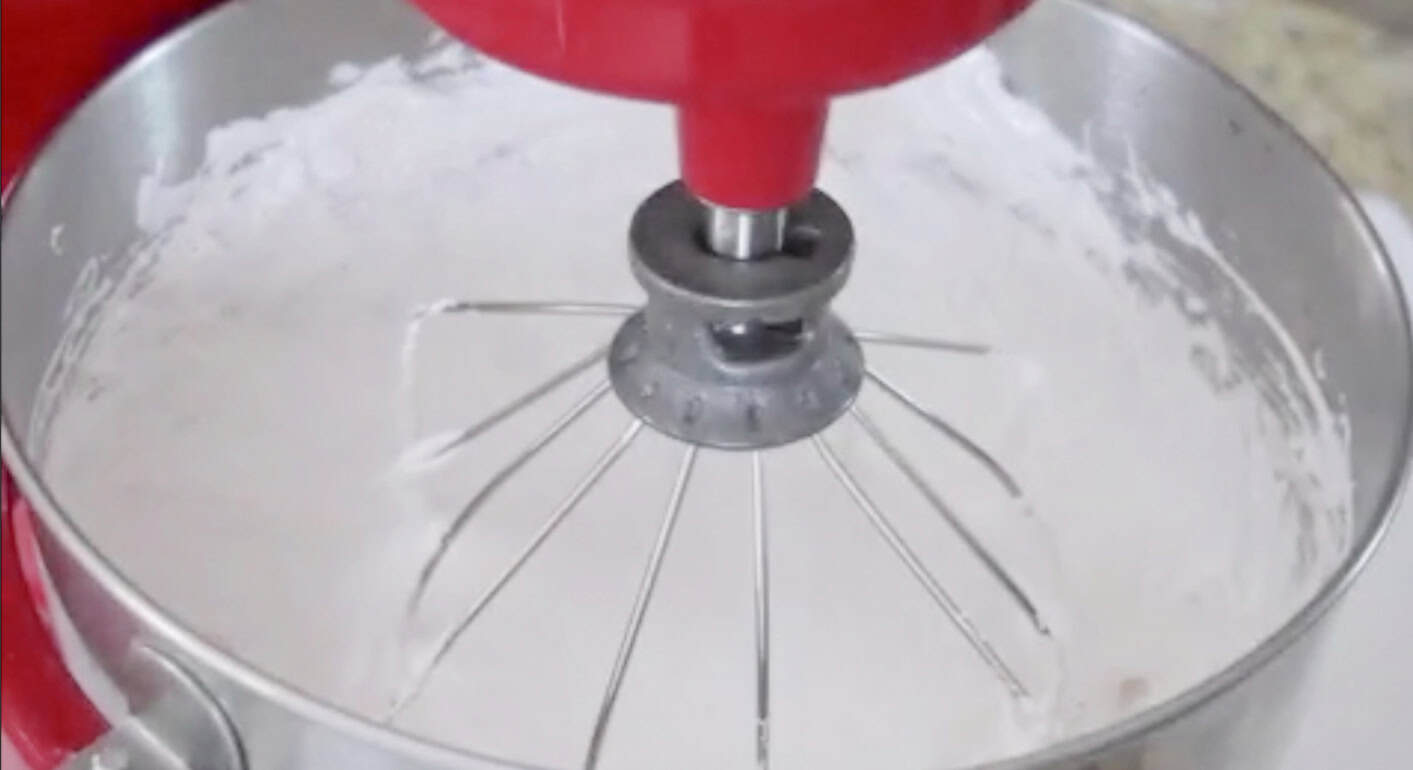
Step 3: Whip the marshmallows. Carefully pour the hot syrup into the bowl with the bloomed gelatin. Beat on medium-high speed for about 13 minutes, then add the vanilla. Continue mixing another minute or two.
At this point you'll have a huge bowl of warm marshmallow fluff—and yes, it's hard not to sneak a spoonful!
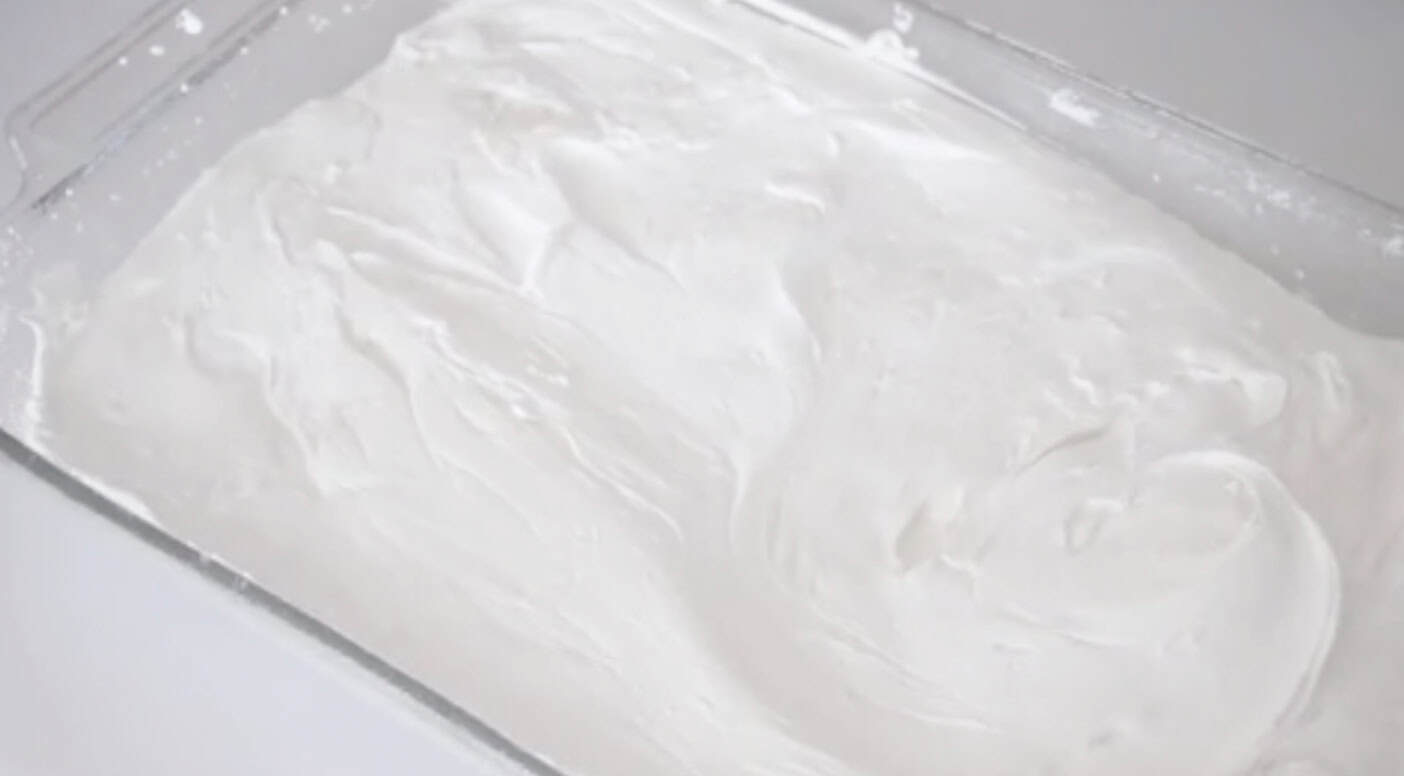
Step 4: Spread into the pan. Grease a 9x13-inch baking dish and coat it generously with powdered sugar.
Transfer the marshmallow mixture to the prepared pan. Spray your spatula with nonstick spray and gently smooth the top.
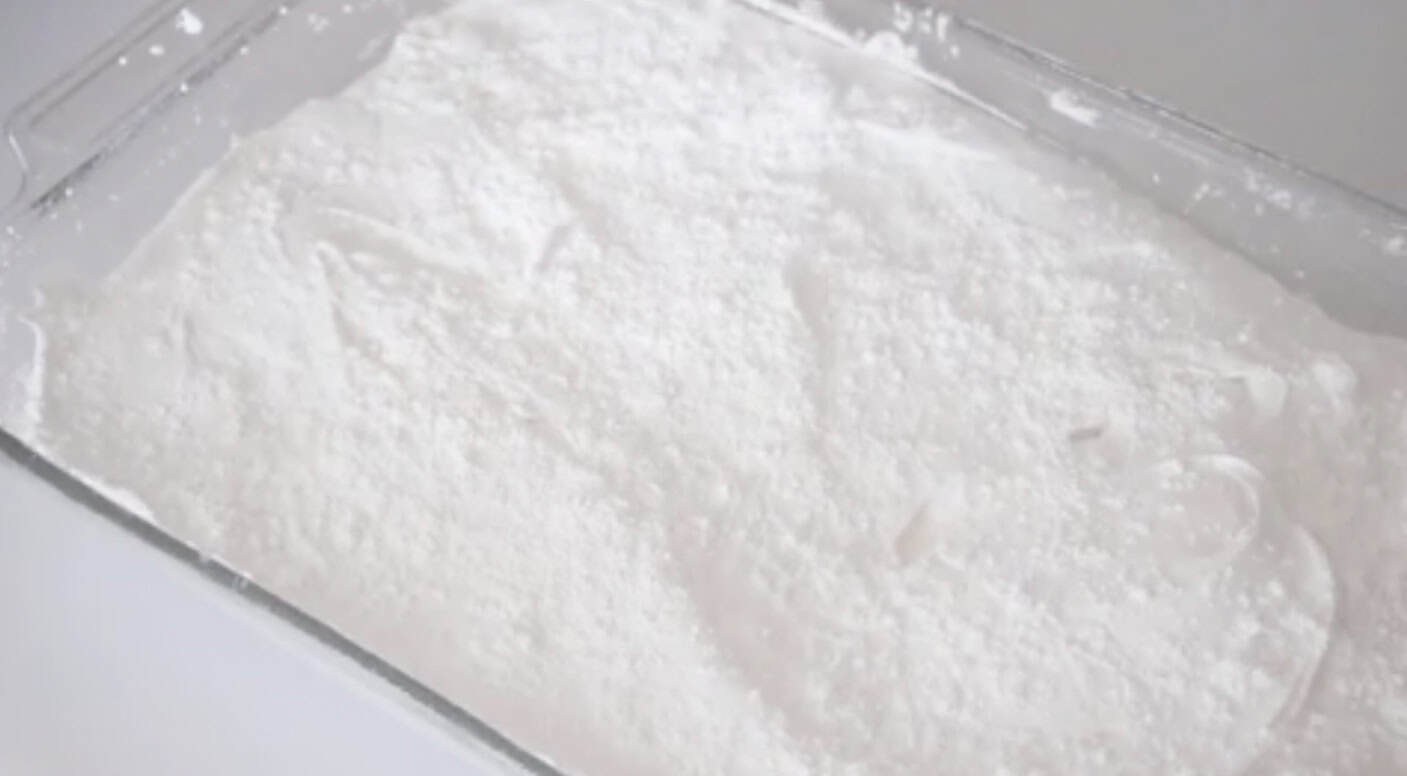
Step 5: Let the marshmallows set. Allow the marshmallows to cool for about an hour before dusting the top with sifted powdered sugar.
Cover loosely and allow them to sit overnight (or at least four hours).
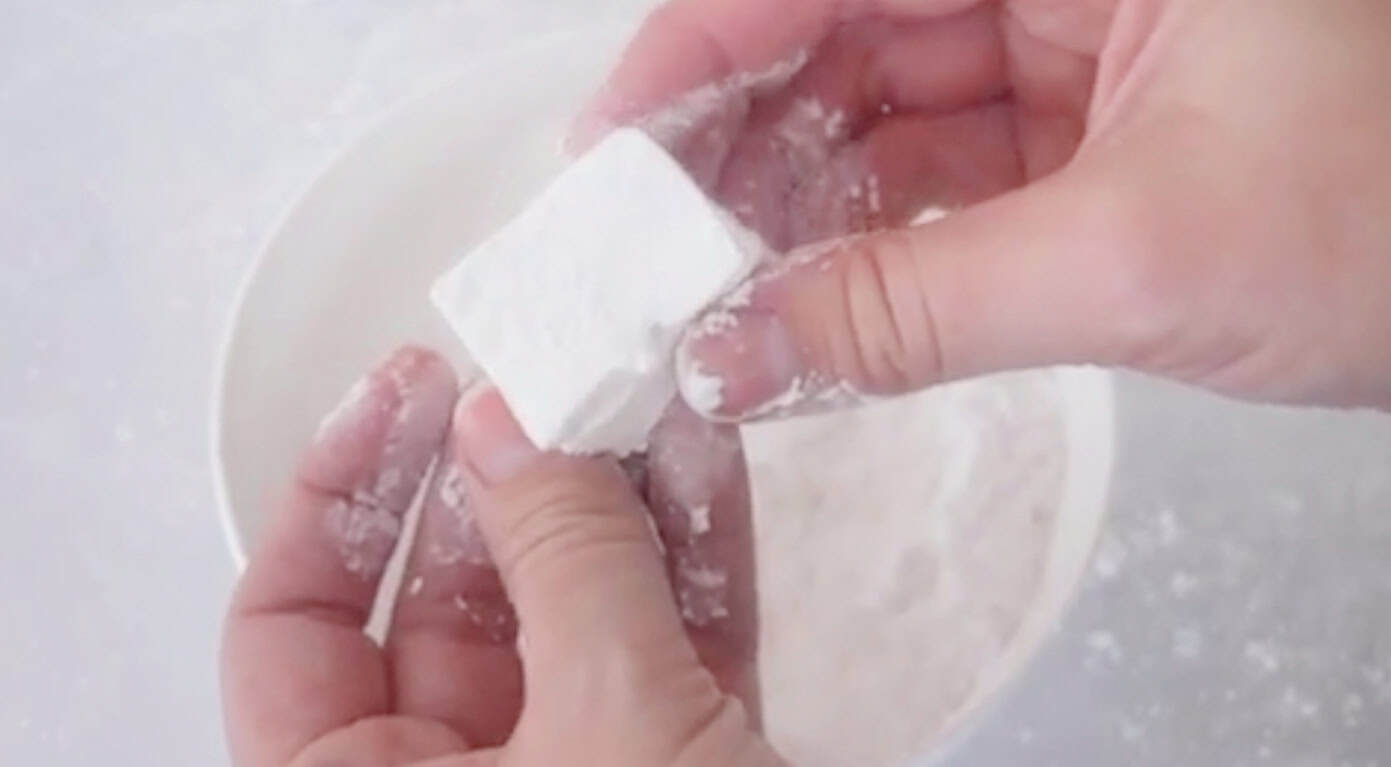
Step 6: Cut and coat. Turn the marshmallows out onto a cutting board. Use a pizza cutter or cookie cutters to create your desired shapes.
Roll every side in powdered sugar so they won't stick together.
Flavor Variations
Homemade marshmallows are incredibly easy to customize.
Try adding:
- Peppermint extract
- Almond extract
- Maple extract
- Cinnamon
- Lemon extract
- Orange extract
Vanilla is fairly mild, so I use two teaspoons. Stronger extracts usually only need about ½ to 1 teaspoon.
Color Variations
Want festive marshmallows?
Simply add a few drops of gel food coloring during the final minute of mixing.
Gift Ideas
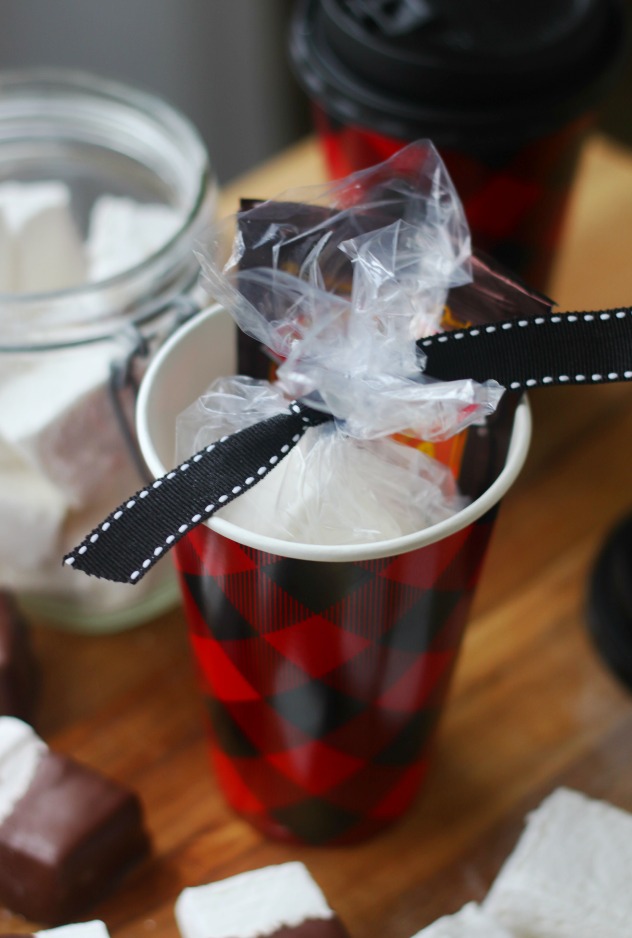
Homemade marshmallows make one of my favorite edible Christmas gifts.
Package them with:
- Homemade hot chocolate mix
- Gourmet cocoa packets
- A festive mug
- Disposable coffee cups with lids
- Holiday ribbon
- Gift tags
They're inexpensive to make but feel incredibly thoughtful.
Ways to Use Homemade Marshmallows
Homemade marshmallows are delicious straight from the pan, but they're also perfect for:
- Hot chocolate
- Hot chocolate bombs
- S'mores
- Rice Krispie treats
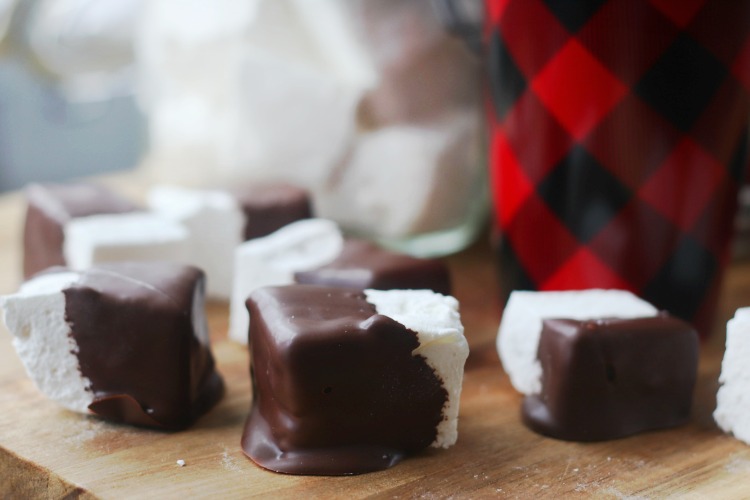
- Chocolate-dipped marshmallows
- Holiday dessert boards
- Gift baskets
- Hot cocoa gift mugs
- Marshmallow pops
- Homemade marshmallow cereal treats
Homemade Marshmallow FAQs
Yes, but be prepared to hold a hand mixer for about 15 minutes.
Yes. Unlike recipes that rely on color or texture, marshmallows depend on reaching the correct syrup temperature.
Absolutely. Vanilla, peppermint, almond, maple, and citrus extracts all work beautifully.
Yes! Add gel food coloring during the last minute of mixing.
Definitely. Holiday cookie cutters make homemade marshmallows especially fun.
Store them in an airtight container for about one week at room temperature.
Yes. Freeze them in an airtight container for up to three months.
Fresh marshmallows are naturally sticky. Coating them thoroughly with powdered sugar prevents them from sticking together.
Yes. Spread the marshmallow mixture slightly thinner, or cut the finished marshmallows into smaller cubes with a pizza cutter or sharp knife. Mini marshmallows are perfect for hot chocolate and homemade hot chocolate bombs.
More Homemade Candy Recipes To Make
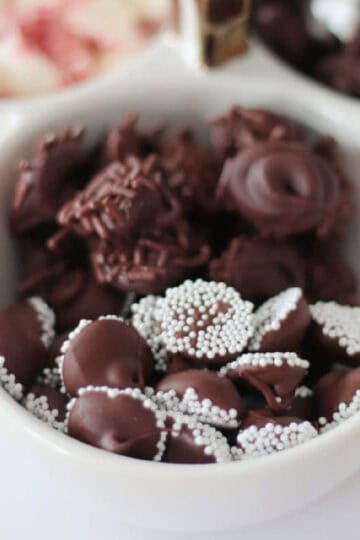
If you love making homemade treats, don't miss my collection of holiday candy recipes, including English Toffee, Homemade Butterfingers, Peppermint Patties, Churro Toffee, Christmas Crack, and Take 5 Toffee.
Easy Homemade Marshmallows
Equipment
- stand mixer
- candy thermometer
Ingredients
- 3 packets unflavored gelatin
- ½ cup ice water
- 1 ½ cups sugar
- ¼ teaspoon salt
- 1 cup light corn syrup
- ½ cup water
- 2 teaspoons vanilla
- ⅔ cup sifted powdered sugar (confectioner's sugar) divided
Instructions
- Mix 3 packets of unflavored gelatin with ice water in a small bowl. Set that aside.
- Heat sugar, water, salt, and corn syrup until it comes to a boil. Reduce heat to medium and let the mixture simmer until it reaches 245 degrees. Depending on your stove, pan, etc. this could take 8-10 minutes. Just keep an eye on the mixture and stir occasionally.
- Scoop the gelatin mixture in the bowl of a stand mixer. Carefully pour the hot syrup mixture into the bowl (it will be HOT).
- Beat on med-high speed for 13 minutes.
- Add vanilla and beat another minute or two. It should be lukewarm at this point.
- Grease a 9×13 baking dish (metal or glass) and sprinkle or dust with a handful of SIFTED powdered sugar (you don't want clumps). Gently shake and rotate around until the entire pan is covered, then turn over and dump out excess sugar. We’ll use it later.
- Spoon marshmallow mixture into the prepared pan. Spray a rubber spatula with nonstick spray (the marshmallow mixture is super STICKY!) and smooth the mixture until it is evenly distributed. It may not be perfectly smooth and that’s fine.
- Let the pan sit at room temperature for 30-60 minutes to cool then sprinkle a handful of powdered sugar over the marshmallows and smooth with your hand to make sure everything is coated.
- Cover with plastic wrap and let sit at least 4 hours at room temperature. You can even let it sit overnight.
- Remove marshmallows from the pan and cut into shapes using cookie cutters or a pizza cutter.
- Roll the marshmallows in powdered sugar and tap off excess. This prevents the sides from being sticky after you sliced them with the pizza cutter.


Beth (www.livinglifeintentionally.blogspot.com) says
YUM!! I had no idea you could make your own marshmallows!
Beth (TGIF)
Jamie H says
Who knew you could make your own marshmallows?!? I'd love for you to link up and share this with our readers at Toys In The Dryer!
http://www.toysinthedryer.com/2011/12/fun-stuff-fridays-2.html
mellywoods5 says
roll them in toasted coconut Yum!
Mommy Provost says
I was thinking about making these this year too. They look yummy!
Karyn says
I have been wanting to try making these for a while... Looks amazing! If you have a chance, I would love to have you link up to my blog this week.
http://cookingwithkaryn.blogspot.com/2011/11/what-makes-you-say-mmmmm-4-and-bread.html
Nancy says
These look amazing. I think you convinced me to try and make them. Thanks for the inspiration.
Scary Mommy says
I have always wanted to try and make these- I bet you'll never eat packaged ones again!
April says
Ooooooo! I bet my kids would love to make these....they are marshmellow fanatics! Come link up...
http://wildflowersandwhimsy.blogspot.com/2010/12/startin-early-for-orphaned-no-more.html
Steph says
Mmmmmmmmmmmm! I really want to make these, especially the chocolate ones. Love how you presented them in that cute jar!
Southern Fried Gal says
I have always wanted to make my own marshmallows but just never do. These look delicious and your container is precious! Merry Christmas!
Jana says
Cute!
Come enter for a free paper bead necklace from Heart Strings for Orphans!
http://gigglesglitzandglam.blogspot.com/2010/12/gifts-that-give-back-heart-strings.html
Steve Finnell says
you are invited to follow my blog
KJ@letsgoflyakite says
Visiting via the Weekend Wrap Up. Thanks for this post, I love homemade marshmallows, I've just been too nervous to try them out. I will now. thank you, thank you, thank you!
Stacy says
Lol. Okay, so guess what I made yesterday to give out as gifts? One of the things I made was (store bought) marshmallows dipped in chocolate and crushed candy canes. Nice. 🙂 Yet again we're on the same page...
linsey grae says
how creative! you'd never think you could make something like marshmellows!