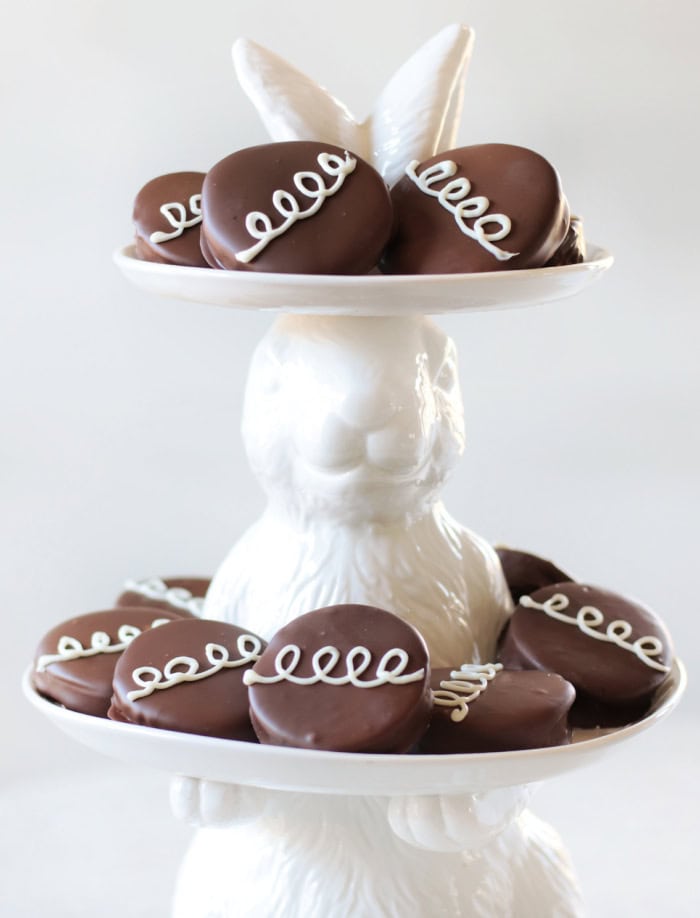
Chocolate marshmallow eggs are easy to make and fun to eat! Once you try homemade marshmallows, you'll be hooked. Make a batch for Easter!
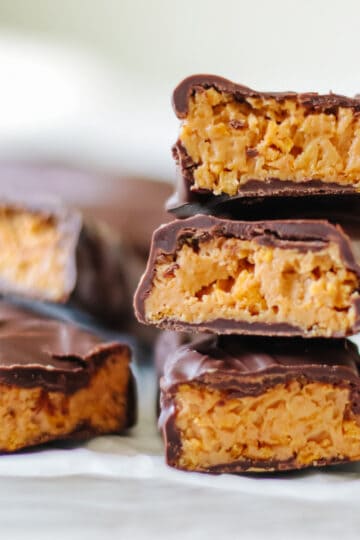
You might also like our coconut cream eggs, chocolate peanut butter eggs, or scotcheroo eggs.

I don't like Peeps, but I love these homemade chocolate-dipped marshmallow eggs. They are fun to customize and super yummy!
Why I Like This Recipe
- Made with Homemade marshmallows. Once you try homemade marshmallows, you'll never go back. I have a great recipe that I've used for years. They are so much softer than store-bought marshmallows but still hold their shape beautifully and are easy to customize. After cutting into shapes, you can use the scraps in hot chocolate!
- Simple ingredients: everything you need to make marshmallows is available at your local grocery store.
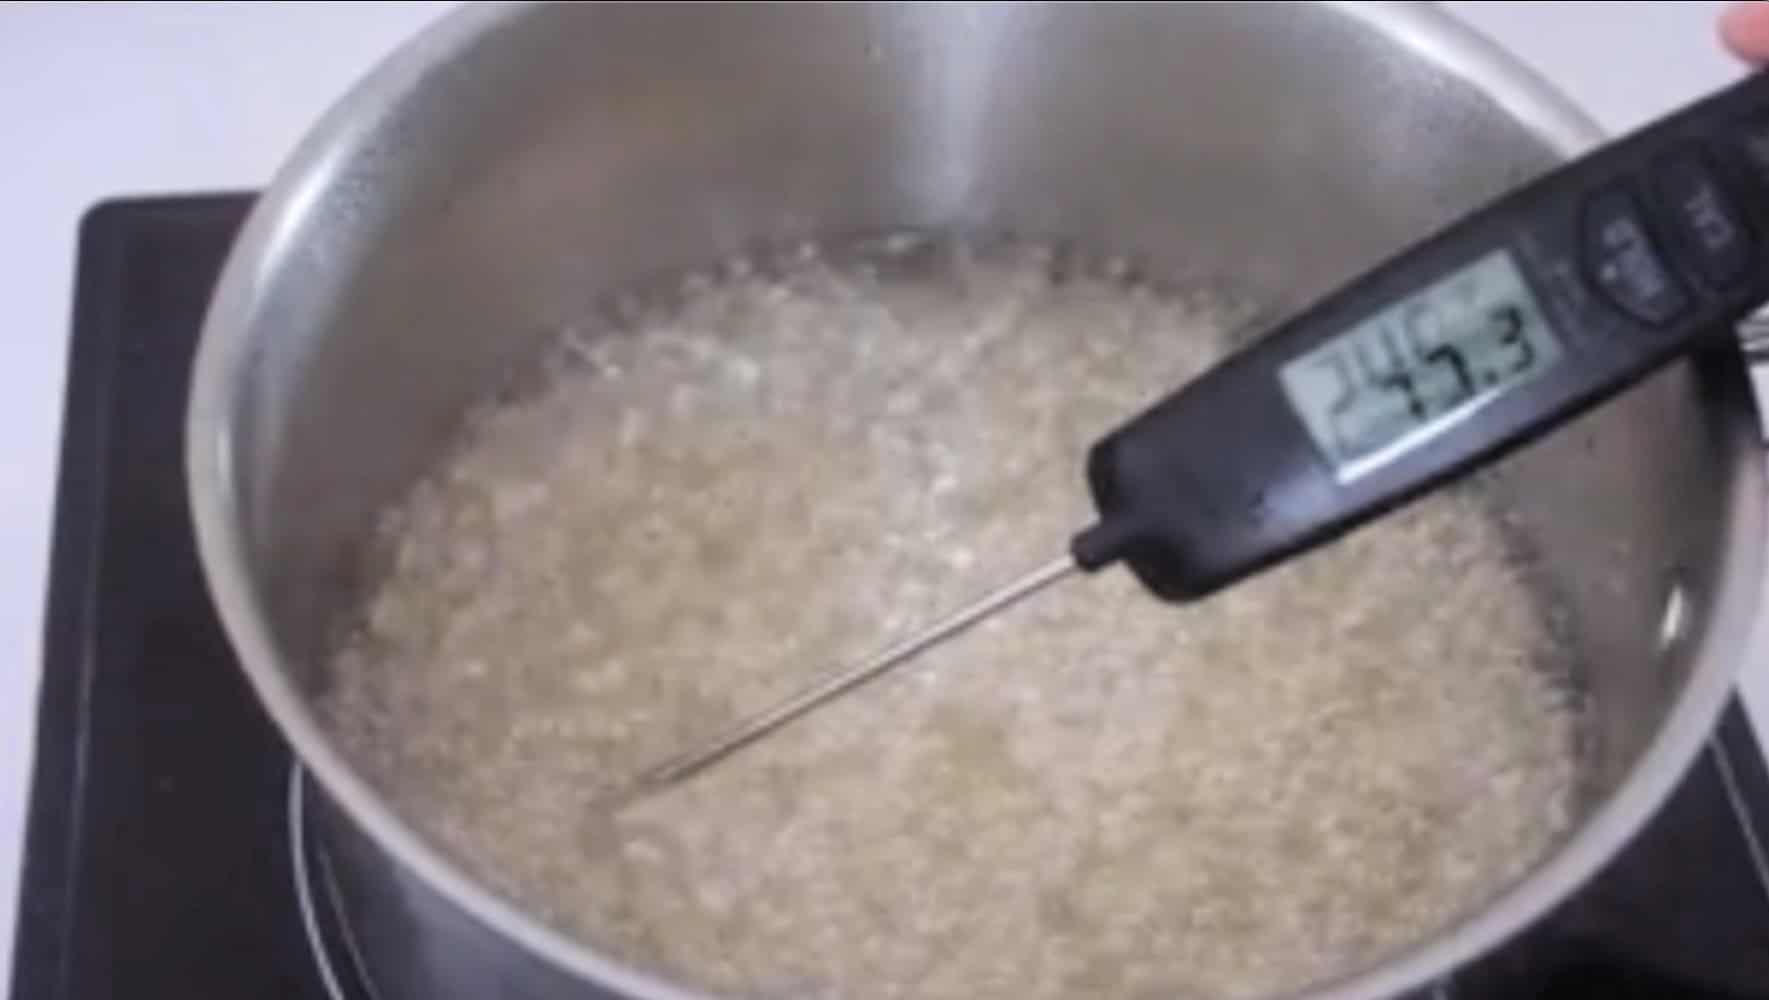
- Easy to make: You might see the candy thermometer and wonder if this is a fussy recipe — don't worry. The mixture simmers low and slow for about 10 minutes. You just need to keep an eye on it, and once it hits 245 degrees, it's done. Easy!
- Makes a lot of marshmallows: one batch easily fills a half-sheet pan, making at least 36 eggs.
- Easy to Shape: I used an oval/egg cookie cutter to create the egg shapes.
Jump to:

Tips and Tricks
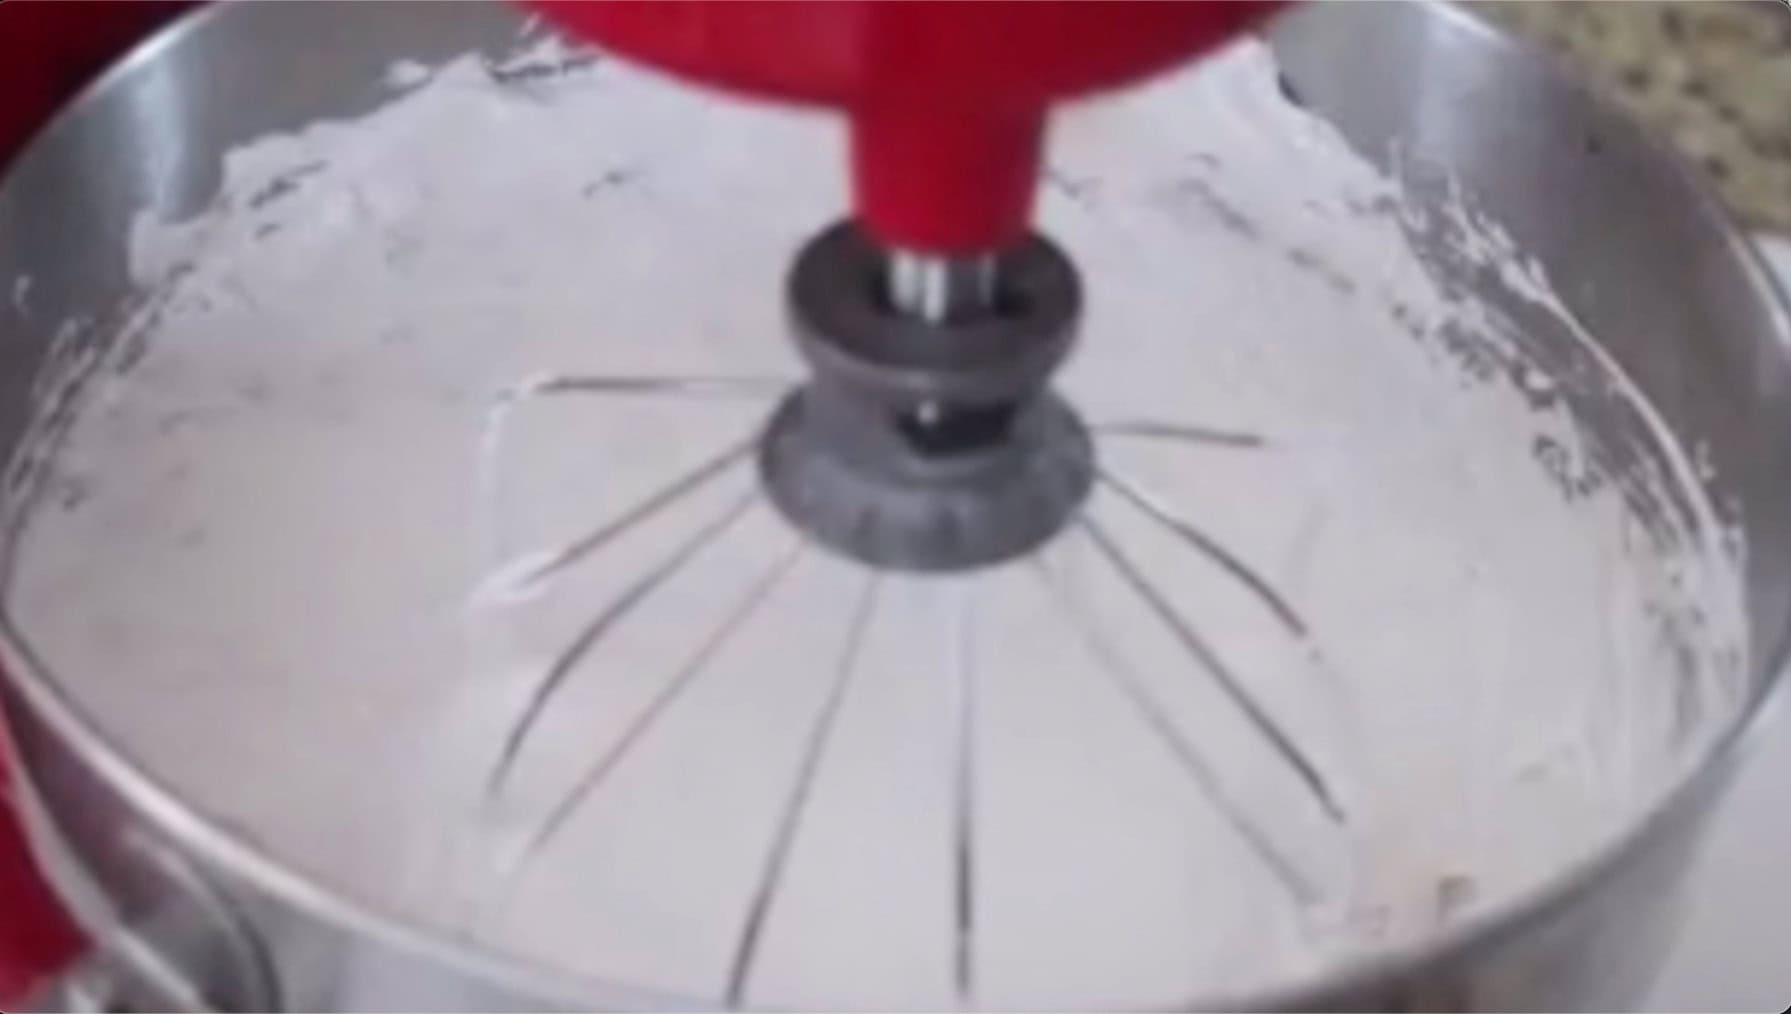
- Stand mixer: You can use an electric hand mixer, but just remember that you are beating the marshmallow whip for 15 minutes—that could get tedious.
- Candy thermometer: an absolute must. When making homemade toffee, I can get away without using a thermometer because you just set a timer and watch for the toffee to turn color. That isn’t the case when working with a clear syrup like this recipe. You need to let the mixture simmer until it reaches 245 degrees. That’s easy to do with the help of a thermometer. One that clips onto your pan makes it even easier, but you can use one that you hold, like I did.
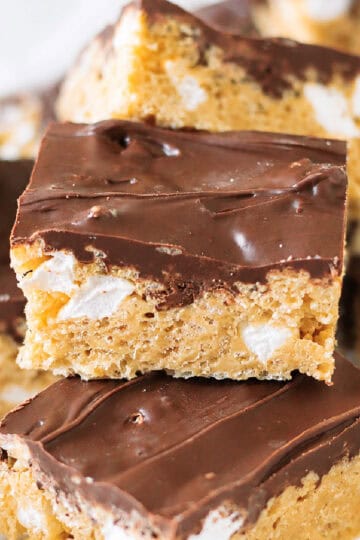
- Customization tips: Dip in chocolate (milk or dark), drizzle, or add sprinkles. These marshmallow eggs are fun to customize! I used melted white chocolate and a frosting tip to pipe squiggles across mine to resemble Hostess cupcakes with marshmallow filling.
INGREDIENTS
- Unflavored gelatin: This is what gives the marshmallows their bouncy, fluffy texture.
- Water: You'll need ice water and cold water
- Sugar: White granulated sugar for sweetness and structure.
- Salt: for flavor.
- Corn syrup: Prevents sugar crystallization, giving the marshmallows a smooth, not grainy texture.
- Vanilla extract: for flavor.
- Powdered sugar: A dusting of powdered sugar coats the stickiness on the marshmallow, making them easy to pick up.
- Melting chocolate: wafers (Ghirardelli, Wilton, or almond bark) work well.
- White chocolate: optional for making squiggles. Can also decorate with sprinkles or buttercream details.
See the recipe card for full information on ingredients and quantities.
How To Make Homemade Marshmallow Eggs
Step 1: Mix 3 packets of unflavored gelatin with ice water. Set that aside.
Step 2: Heat sugar, water, salt, and corn syrup until boiling. Reduce the heat to medium and let the mixture simmer until it reaches 245 degrees. Depending on your stove, pan, etc., this could take 8-10 minutes. Just keep an eye on the mixture and stir occasionally.
Step 3: Add the gelatin mixture (which will look like a gelatinous blob) and the hot syrup mixture to the bowl of a stand mixer. Be careful not to splash as you pour the hot mixture into the stand mixer bowl.
Step 4: Beat on med-high speed for 13 minutes. Add vanilla and beat another minute or two.
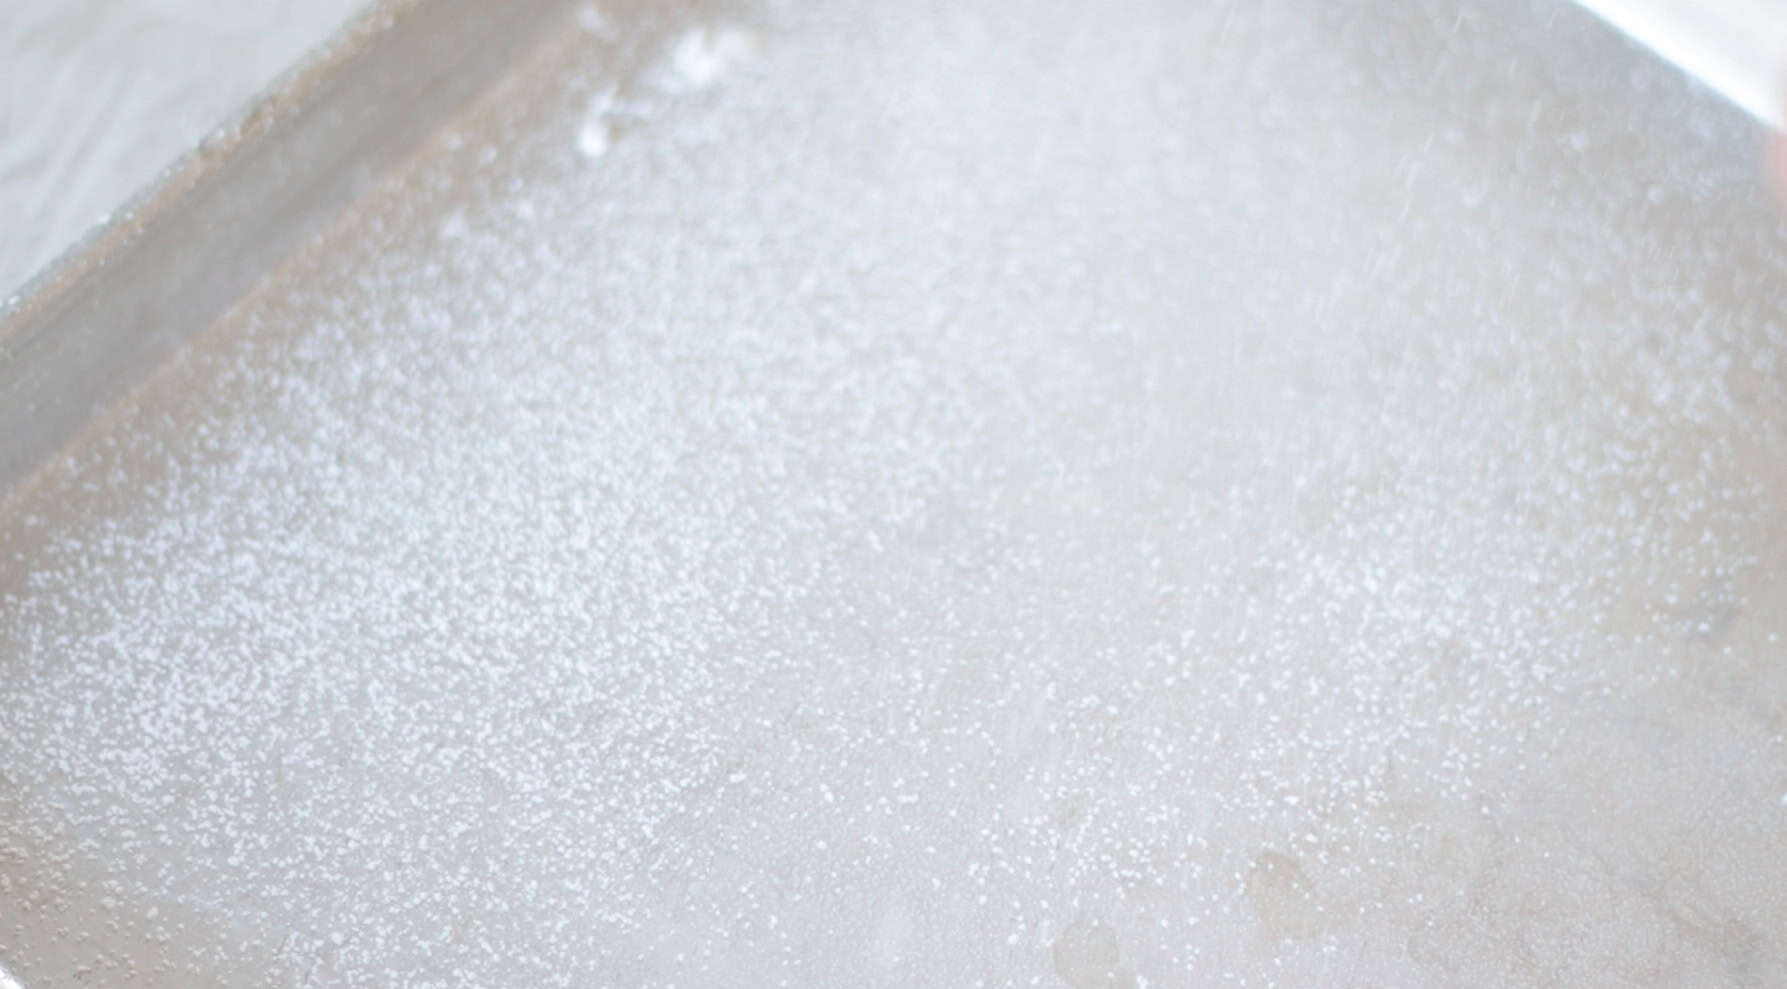
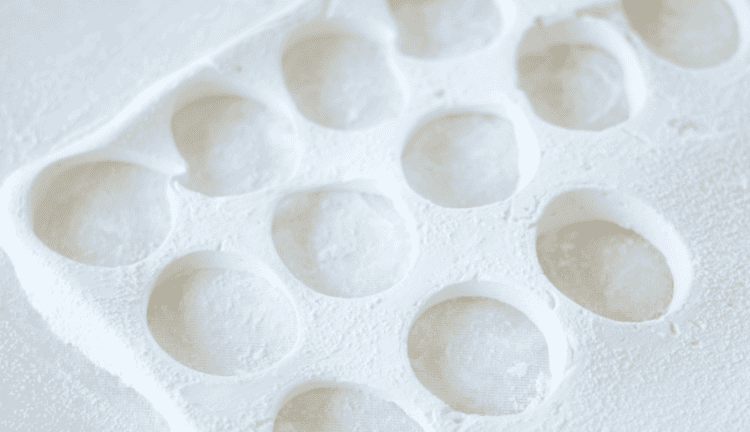
Step 5: Grease a cookie sheet (half-sheet pan) and sprinkle with powdered sugar. Lift the pan and rotate it, covering the bottom and sides, then turn it over and dump out the excess sugar. We’ll use it later.
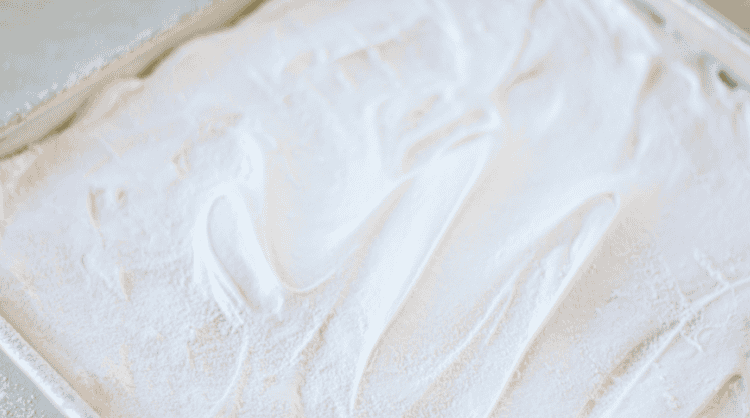
Step 6: Spoon the marshmallow mixture into the pan. Spray a spatula with nonstick spray, then smooth the mixture until evenly distributed.
Step 7: Let the pan sit out for 30 minutes to cool, then sprinkle or dust a handful of SIFTED powdered sugar over the marshmallows and smooth with your hand to make sure everything is coated.
Step 8: Cover with plastic wrap and let sit for 3-4 hours.
Step 9: Remove marshmallows from the pan and cut into egg shapes using a cookie cutter.

Step 10: Rub powdered sugar onto the sides of each marshmallow. This prevents the sides from being sticky after you cut them.
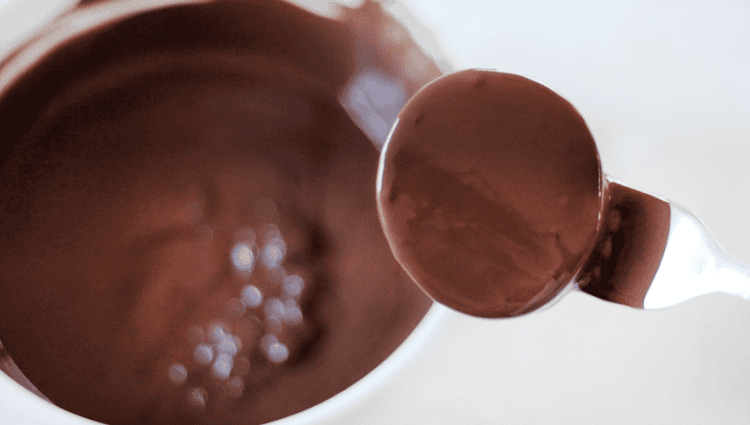
Step 11: Melt chocolate according to package instructions. I use a microwave, but a double boiler works well too.
Step 12: Dip each marshmallow into melted chocolate and let the excess drip off.
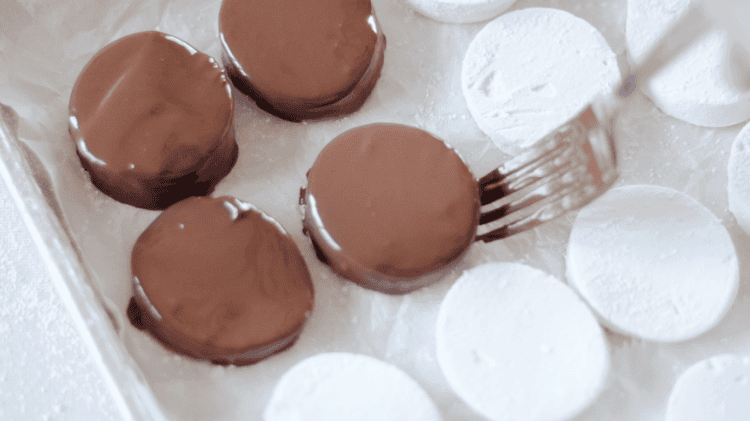
Step 13: Place dipped marshmallows onto a baking sheet lined with parchment paper.
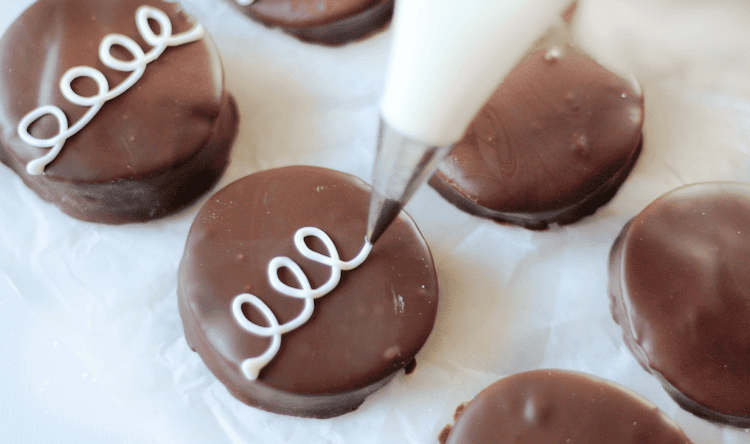
Step 14: Drizzle or pipe melted white chocolate over the tops; optional. I used a small round tip (size 2).
Marshmallow Eggs FAQs
A candy thermometer is an absolute must. You need to let the mixture simmer until it reaches 245 degrees. That’s easy to do with the help of a thermometer. One that clips onto your pan makes it even easier, but you can use one that you hold, like I did.
Toward the end of the mixing process, I added 2 teaspoons of vanilla extract. If you’d prefer a different flavor of marshmallows, you can add a teaspoon or two of your favorite flavoring. Vanilla is mild, so adding 2 teaspoons is a safe bet, start with ½ teaspoon of more potent flavors like mint.
Add a few drops of food coloring to tint your marshmallows before the mixing process ends.
These can be stored in an airtight container or in plastic bags for at least a week at room temperature or in the refrigerator. They can also be stored in the refrigerator or freezer.
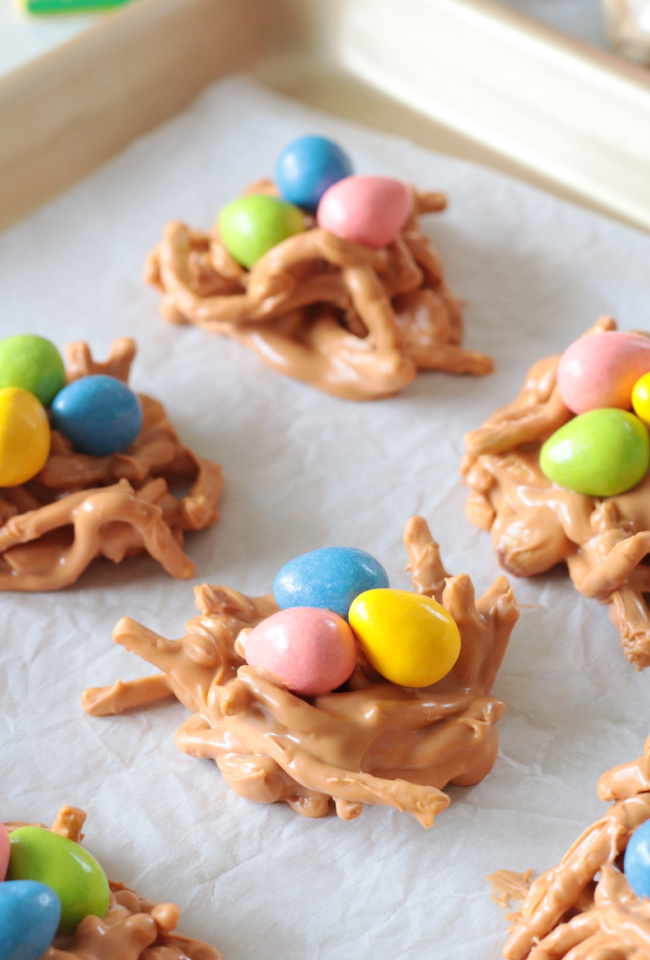
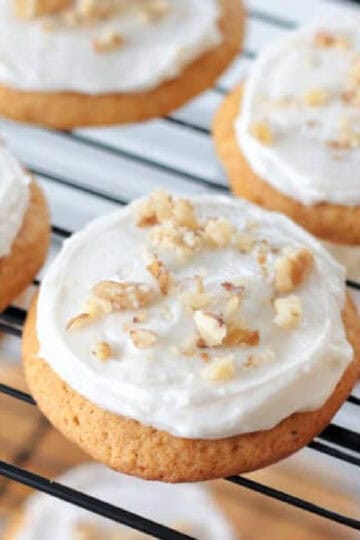
More Easter Treats To Make


MADE THIS RECIPE AND LOVED IT? 💛 Please leave a STAR rating and COMMENT below! Post it to Facebook or Pinterest to easily share with friends!

Chocolate Marshmallow Eggs
Equipment
- stand mixer
- candy thermometer
Ingredients
- 3 packets unflavored gelatin
- ½ cup ice water
- 1 ½ cups sugar
- ¼ teaspoon salt
- 1 cup light corn syrup
- ½ cup water
- 2 teaspoons vanilla
- ⅔ cup sifted powdered sugar (confectioner's sugar) divided
- 20 ounces melting chocolate wafers
Instructions
- Mix 3 packets of unflavored gelatin with ice water in a small bowl. Set that aside.
- Heat sugar, water, salt, and corn syrup until it comes to a boil. Reduce heat to medium and let the mixture simmer until it reaches 245 degrees. Depending on your stove, pan, etc. this could take 8-10 minutes. Just keep an eye on the mixture and stir occasionally.
- Scoop the gelatin mixture in the bowl of a stand mixer. Carefully pour the hot syrup mixture into the bowl (it will be HOT).
- Beat on med-high speed for 13 minutes.
- Add vanilla and beat another minute or two. It should be lukewarm at this point.
- Grease a cookie sheet (half sheet pan) with nonstick spray or butter and sprinkle or dust with a handful of SIFTED powdered sugar (you don't want clumps). Gently shake and rotate around until the entire pan is covered, then turn over and dump out excess sugar. We’ll use it later.
- Spoon marshmallow mixture into the prepared pan. Spray a rubber spatula with nonstick spray (the marshmallow mixture is super STICKY!) and smooth the mixture until it is evenly distributed. It may not be perfectly smooth and that’s fine.
- Let the pan sit at room temperature for 30 minutes to cool then sprinkle a handful of powdered sugar over the marshmallows and smooth with your hand to make sure everything is coated.
- Cover with plastic wrap and let sit for at least 3 hours at room temperature.
- Remove marshmallows from the pan and cut into shapes using an egg-shaped cookie cutter.
- Rub powdered sugar onto the sides of each marshmallow. This prevents the sides from being sticky after you cut them.
- Melt chocolate according to package instructions. Dip each marshmallow in melted chocolate and allow the excess to drip off.Place dipped marshmallows on parchment paper lined baking sheet.
- Pipe a squiggle across each one with melted white chocolate, optional.
Brandy says
Hi everyone! Brandy here, if you haven't made marshmallows before, you should really try this recipe! They are easier than you might think. Dipped in chocolate, they are even better. I brought these to a youth group get-together and they were a hit!