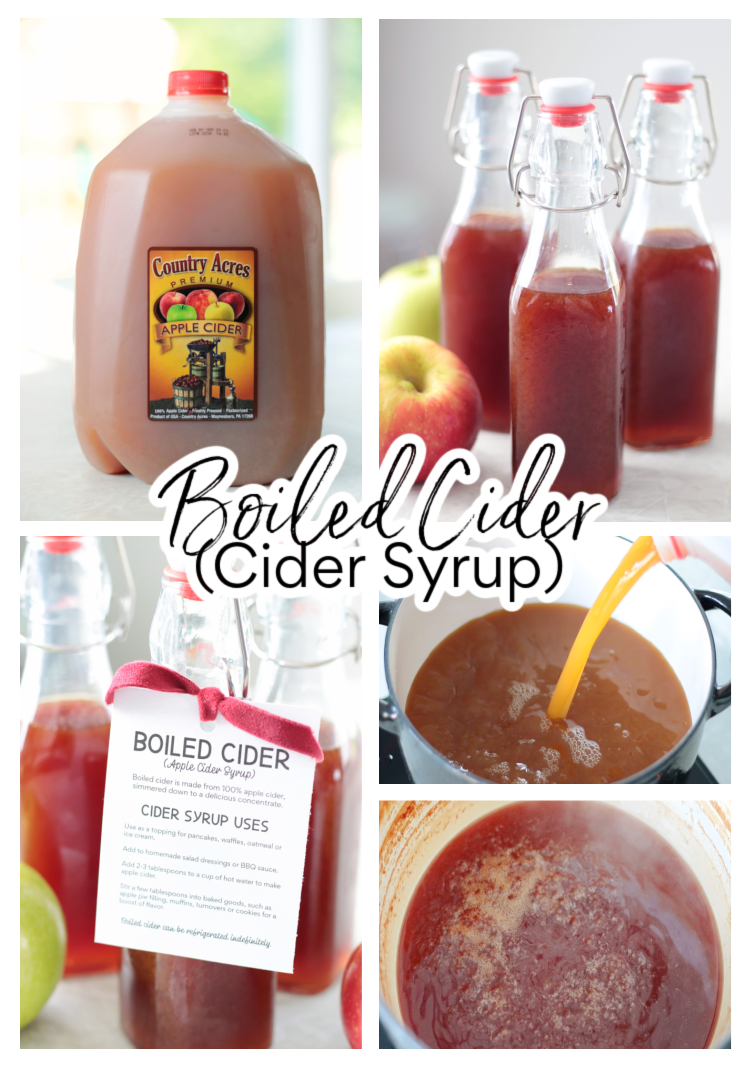
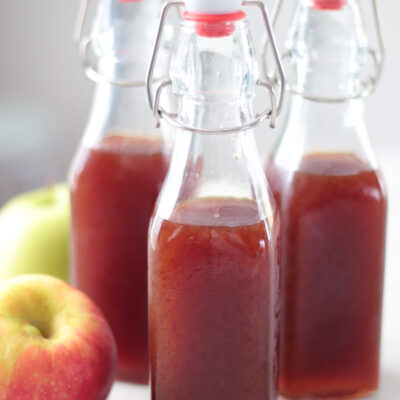
100% apple cider, simmered down to create a delicious concentrate. Pour boiled cider over pancakes or waffles, stir into muffin or donut batter, or use as a glaze! Boiled cider makes a great gift and is made from only ONE INGREDIENT---cider! No added sugar, canning, or fancy process. Just cider and patience.
You might also like our easy freezer berry jam, our easy caramel syrup, or our homemade applesauce--made three ways!
Watch our step by step video!
What Is Boiled Cider?
Boiled cider, also known as cider molasses or cider syrup, is liquid gold. It might sound like it's sickeningly sweet, but it actually has some tartness to it, which I love. According to Edible Nutmeg, boiled cider dates back to the 1600s in Colonial America as a way to preserve apple crops each year.
You're probably wondering what makes boiled cider different than hot apple cider. I'll tell you! Boiled apple cider is a reduction. The cider simmers for hours until it is ⅛th its original volume, allowing the water to evaporate and leave a syrup-like consistency.
Once the water has evaporated, the syrup that is left can be preserved for quite a while and can even be reconstituted into cider again by adding 2 Tablespoons of boiled cider to a cup of hot water.
One gallon of cider will be reduced to a pint or 2 cups. A half gallon of cider will be reduced to a half pint or 1 cup. Boiled cider is a great way to use fresh apple cider nearing its expiration.
Ways to Use Boiled Cider
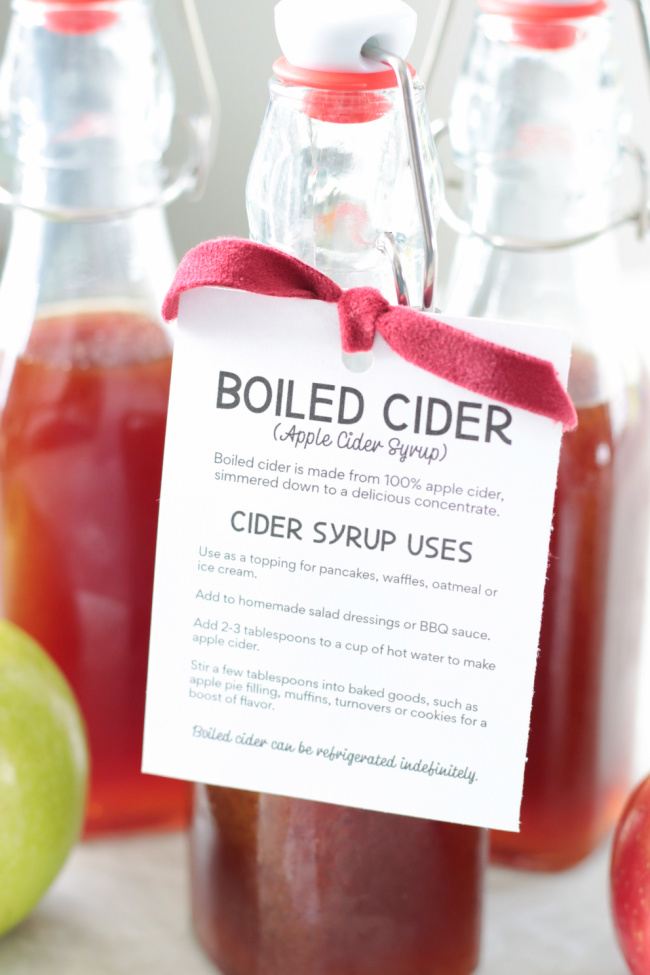
I'd be happy eating it by the spoonful, but there are many ways to use this syrup. I even made a little tag to include when giving it as a gift. It has ideas for use and directions for reconstituting the syrup to make hot apple cider.
Remember: boiled cider is highly concentrated and VERY flavorful. A little goes a long way.
- Pour over pancakes, crispy waffles, or cinnamon and vanilla French toast.
- Use in a glaze for grilled meats and vegetables.
- Add to quick bread, scones, or apple cider donut batter as a flavor booster.
- Drizzle over your apple slab pie filling before adding the top crust.
- Drizzle over vanilla ice cream or apple crisp.
- Mix 2 Tablespoons into a mug of HOT water to reconstitute and make hot cider.
- Mix with powdered sugar to create a glaze to pour over a bundt cake or pound cake.
- Add to homemade caramel candy recipes.
- Mix into homemade applesauce for even more apple flavoring.
- Stir boiled cider into tea, stovetop wassail, and cocktails.
- Pour over ice and add sparkling water or soda.
Click here to download printable tags that you can add to the cider bottle when giving it as a gift!
Best Apple Cider To Use for Cider Syrup/Boiled Cider
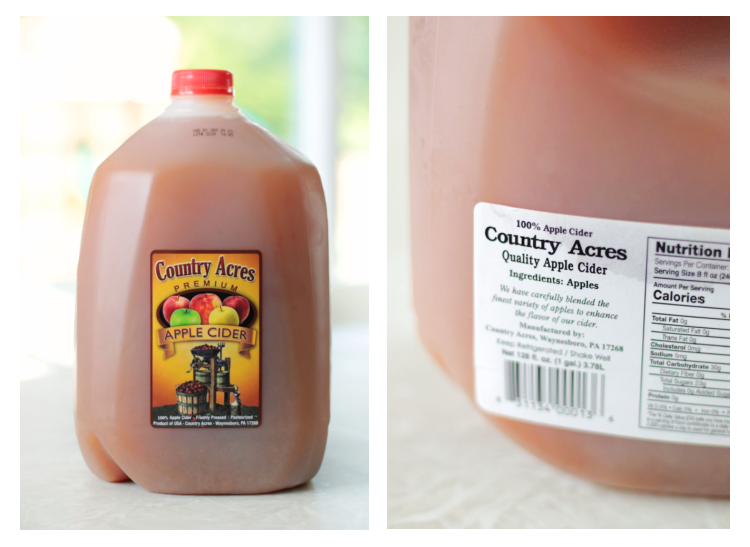
When selecting what kind of cider to reduce to make boiled cider, choose one that is 100% apple cider. This means when you look at the ingredient list, the only thing listed is "apples." Avoid ciders that have added preservatives, as they may not reduce and thicken properly. Any apple cider that is preservative-free will work (pasteurized or unpasteurized).
If you live near one, the best place to purchase this kind of cider is from a local orchard or farmer's market. I've bought it from Whole Foods before, and Trader Joe's often carries it too. For my latest batch, I ordered some from Amazon Fresh; yes, Amazon! It was delivered the same day in a chilled bag and was exactly what I needed.
How To Make Boiled Cider
process adapted from King Arthur Baking
Step 1: Decide how much cider you'd like to process. I like having multiple pots (each with a gallon of cider inside) to maximize my time, but you can do a gallon or even half a gallon of cider. For your first time, just one gallon to get your settings and timing perfected is a good idea. Once you know how long your stove takes to simmer down the cider, you can make more at a time without worrying about wasting cider on a ruined batch.
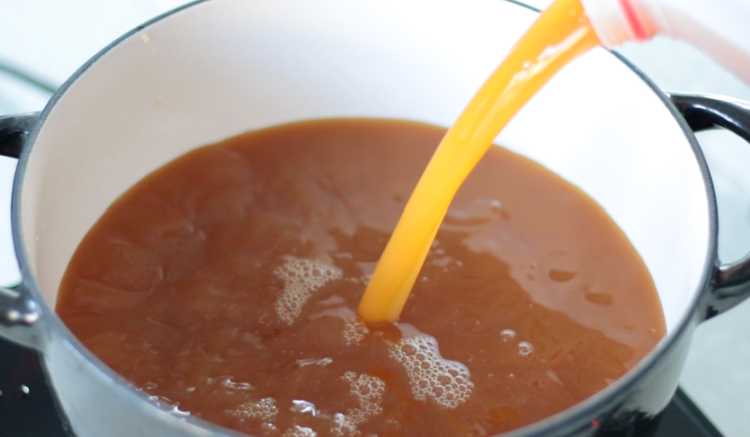
Step 2: Pour a gallon of apple cider into a large, sturdy stock pot or Dutch oven. My favorite kind of pot to use is an enamel-coated cast iron Dutch oven. The white enamel makes it easy to see the cider. Do not use a regular cast iron pot (not coated in enamel).
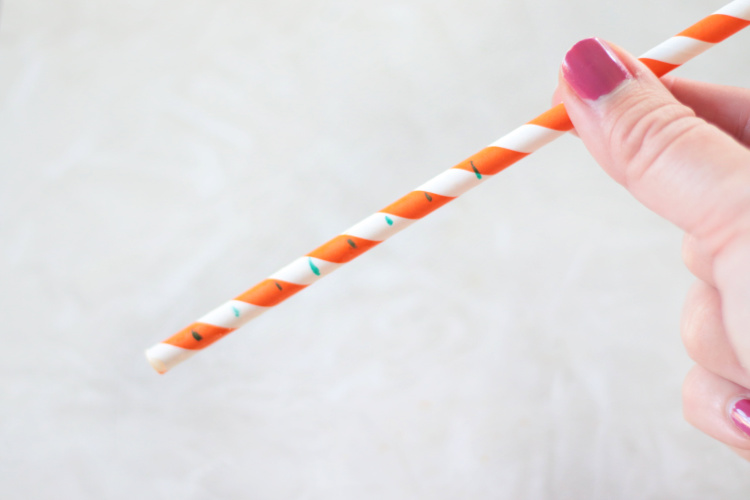
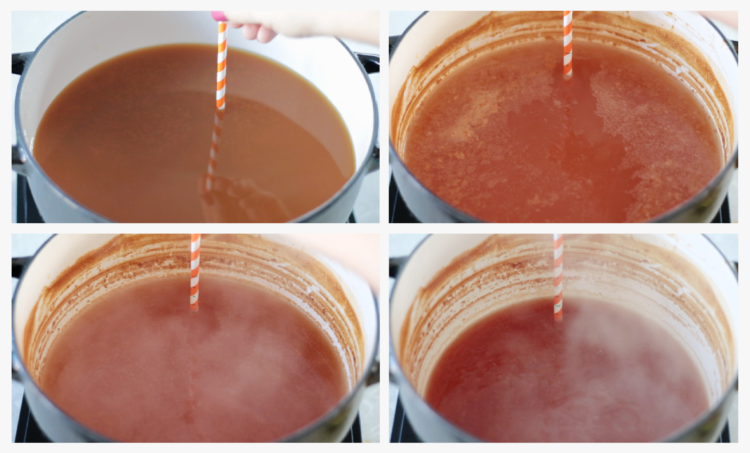
Step 3: Use a wooden skewer, chopstick, dowel, or ruler to measure the depth of the cider in the pot. Dip the skewer into the cider until it hits the bottom of the pot. Using a permanent marker, make where the cider's surface is. Section the rest of the skewer into eight sections. The boiled cider will be done when the surface simmers down to the last marking on the skewer. (You'll notice I used a cardboard straw since I was fresh out of wooden skewers that day.)
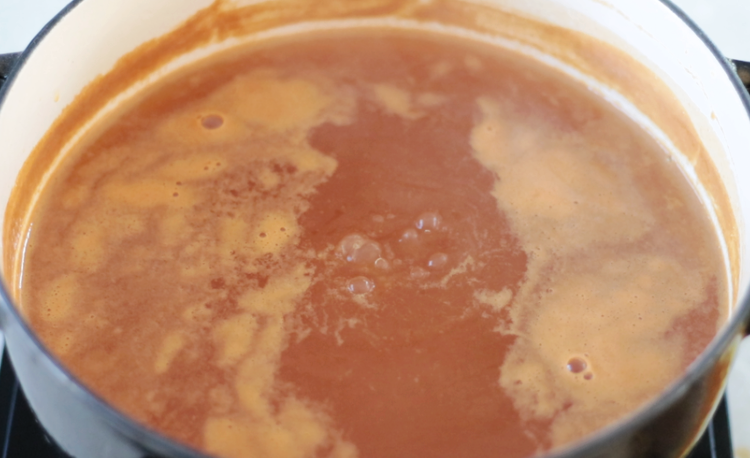
Step 4: Bring the cider to a boil over medium-high heat. Reduce the heat to a simmer and continue to simmer uncovered (no lid). Do not speed up the process by keeping the cider at a rolling boil the entire time. This is a low and slow process, so keep it at a low simmer. Every stove is different, but my perfect setting is low to medium-low heat.
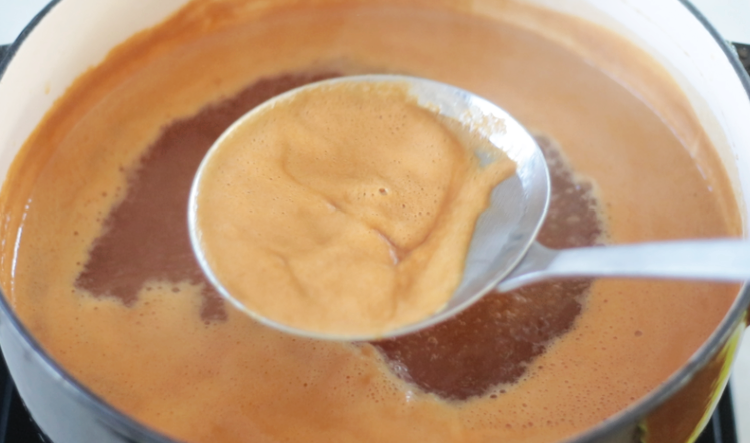
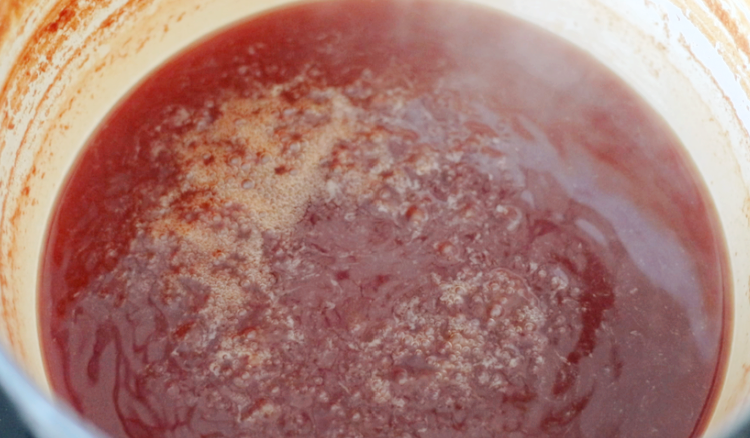
Step 5: Skim the foam from the top of the cider as it simmers.
Step 6: Stir the pot once every hour until the cider simmers close to the skewer's last marking. At that point, stay close and stir every 15 minutes or so. The process could take 4, 5, or even 6 hours. I've made boiled cider multiple times, and it consistently takes 5 hours*.
*5 hours for a gallon. If starting with only a half gallon of cider it will take around 3 hours.
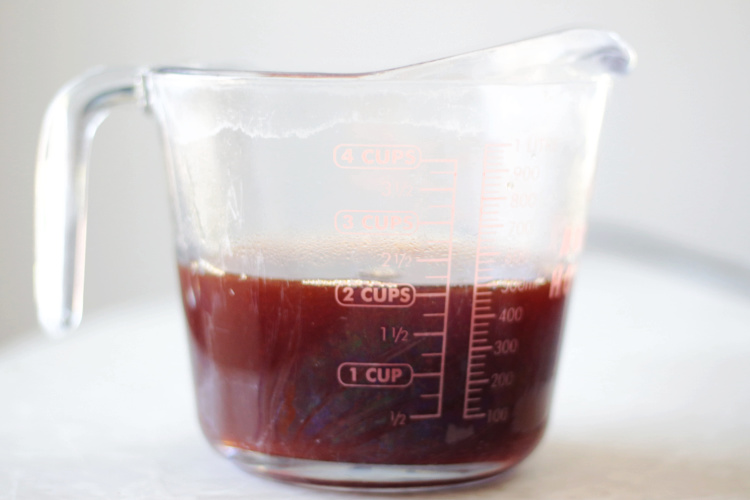
Step 7. Pour cider into a glass measuring cup. If it hits the 2-cup line, the cider is done. If you have more than 2 cups left, pour it back into the pot and continue to simmer until you only have 2 cups. Don't simmer until it thickens, just until you have 2 cups. If you cook it until it looks like thick syrup or molasses, it'll cool and be too thick/hard to use.
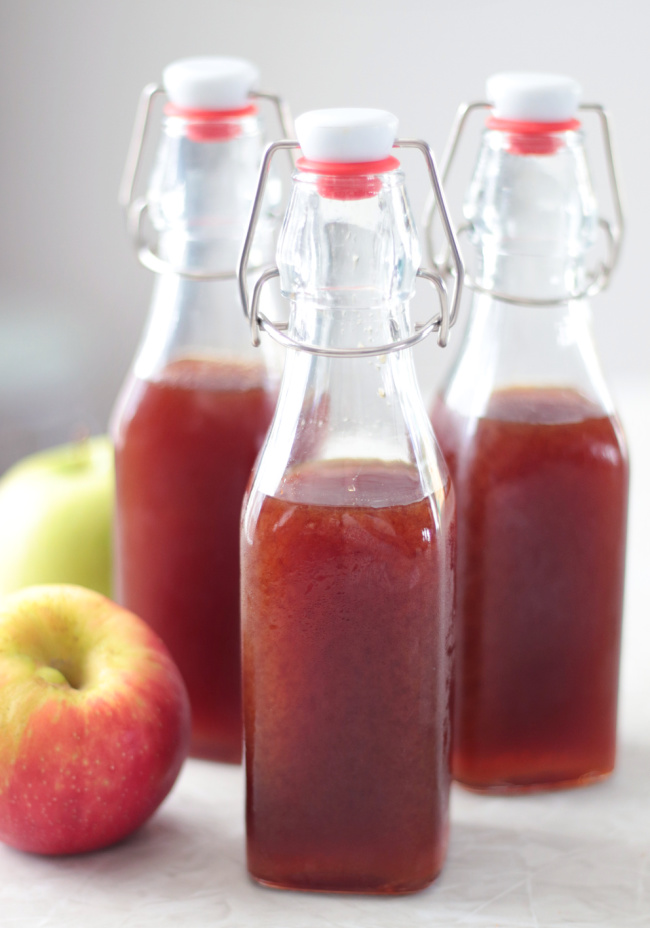
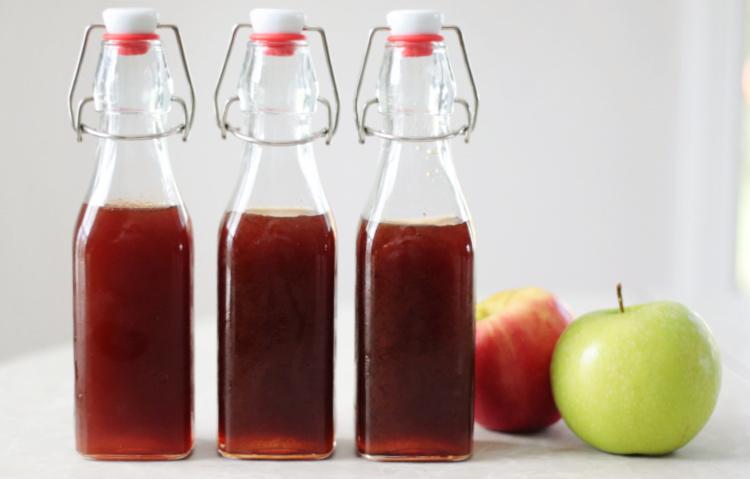
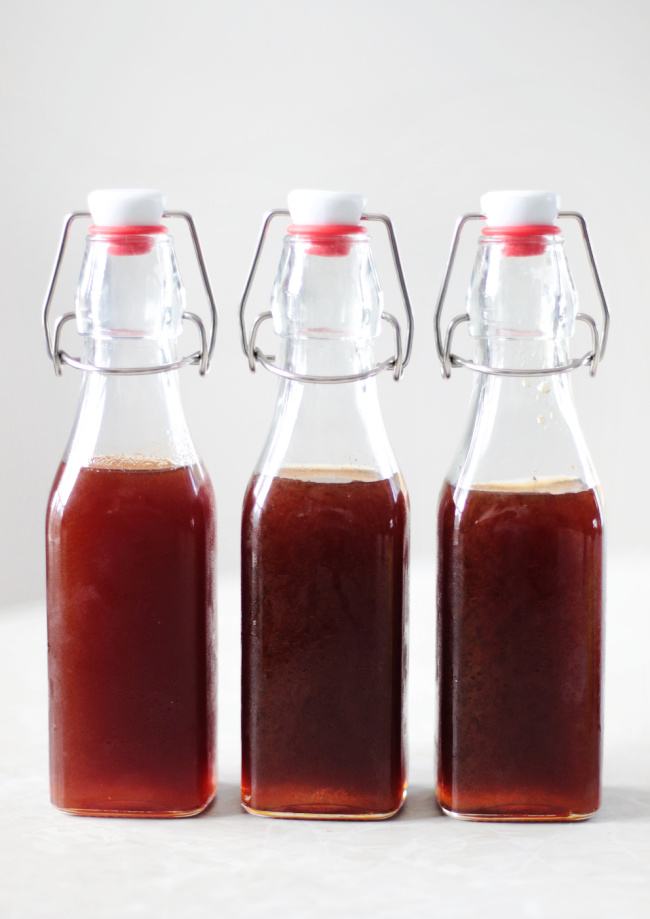
Step 8: Strain the cider, if desired, then pour it into a canning jar or small glass bottles.
Notes
- The boiled cider will be the consistency of hot syrup or honey but will thicken as it cools in the jar.
- If the mixture is quite thick, like molasses, it was heated a little too much. It might still be usable but not ideal, and the flavor might be sour or slightly bitter.
- If it turns to a taffy texture, it is unfortunately ruined.
- Watch closely as it gets to the last marking on the dowel, and you shouldn't have any problems.
How To Store Boiled Cider
The boiled cider is easier to pour at room temperature than it is chilled. The printable tags that I made say to store it in the refrigerator, which I feel is a safe spot for most people to keep it and it will last indefinitely. Just pull it out and let it sit on the counter before trying to pour it.
According to Practical Self Reliance, properly boiled cider will last for at least a few months if stored in a cool, dark place.
For the most extended shelf life, you can process it the same way you'd process maple syrup: pour the boiled cider into hot, sterilized jars, then add canning lids and rings. The jar lid will make a popping sound, meaning it is sealed.
Boiled Cider Recipe and Instructions
How To Make Boiled Cider
Ingredients
- 1 gallon apple cider (no preservatives)
Instructions
- Pour a gallon of apple cider into a large, sturdy stock pot or Dutch oven. If using cast iron make sure it's enamel coated.
- Use a wooden skewer, chopstick, dowel, or ruler to measure the depth of the cider in the pot. Dip the skewer into the cider until it hits the bottom of the pot. Using a permanent marker, make where the cider's surface is. Section the rest of the skewer into eight sections. The boiled cider will be done when the surface simmers down to the last marking on the skewer. (You'll notice I used a cardboard straw since I was fresh out of wooden skewers that day.)
- Bring the cider to a boil over medium-high heat. Reduce the heat to a simmer and simmer uncovered (no lid). Do not speed up the process by keeping the cider at a rolling boil the entire time. This is a low and slow process, so keep it at a low simmer. Every stove is different, but my perfect setting is low to medium heat.
- Skim the foam from the top of the cider as it simmers.
- Stir the pot once every hour until the cider simmers close to the skewer's last marking. At that point, stay close and stir every 15 minutes or so. The process could take 4, 5, or even 6 hours. I've made boiled cider multiple times, and it consistently takes 5 hours.
- Pour cider into a glass measuring cup. If it hits the 2-cup line, the cider is done. If you have more than 2 cups left, pour it back into the pot and continue to simmer until you only have 2 cups. Don't simmer until it thickens, just until you have 2 cups. If you cook it until it looks like thick syrup or molasses, it'll cool and be too thick/hard to use.
- Strain the cider, if desired, then pour it into a jar.
Notes
If the mixture is quite thick, like molasses, it was heated a little too much. It might still be usable but not ideal, and the flavor might be sour or slightly bitter.
If it turns to a taffy texture, it is unfortunately ruined.
Watch closely as it gets to the last marking on the dowel, and you shouldn't have any problems. HOW TO STORE BOILED CIDER According to Practical Self Reliance, boiled cider will last for at least a few months if stored in a cool, dark place. You can keep it in the refrigerator if you'd like to preserve it longer, even indefinitely. For the most extended shelf life, you can process it the same way you'd process maple syrup: pour the boiled cider into hot, sterilized jars, then add canning lids and rings. The jar lid will make a popping sound, meaning it is sealed.


Brandy says
Hi everyone! Brandy here, these jars of boiled cider make great gifts and are perfect to keep on hand for hot cider whenever you want! I also use it to flavor batters like donuts. I've had a bottle of mine in the refrigerator for 18 months now, and it's still good!
Toni says
Will the boiled cider still turn out if an apple cider that does have preservatives is used? The jug I bought doesn’t list whether there are preservatives. Why only use apple cider without preservatives(other than the obvious, that they aren’t particularly healthy)? Also just wanted to add, I don’t see anywhere in your recipe that states to simmer uncovered(without the lid). After 3 hours it had not reduced by much so I looked up someone else’s recipe that states to simmer without the lid. In your opinion does it speed up the process if it is simmered uncovered? Thank you.
Brandy says
Hi Toni! Yes, you are trying to have the cider evaporate out, leaving the syrup behind, so you don't need a lid. I'll review the post to make sure that is more clear! Apple juices and ciders with preservatives don't condense down to syrup like fresh cider does. Here is a photo from google images that shows what cider without preservatives looks like boiled down vs. cider with preservatives. You definitely want the one on the left which is 100% cider. Hope that helps!https://www.scotchandscones.com/wp-content/uploads/2022/10/boiled-apple-cider-comparison.jpg