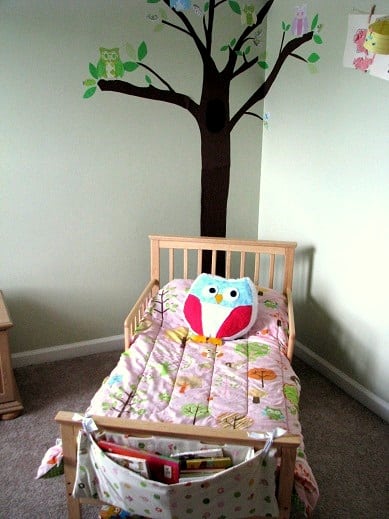
While browsing Toys R Us & Babies R Us last weekend, we came across a cute Tinkerbell canopy bed that Kaylee just loved. She already had a nice toddler bed, so we didn't give it much though, or at least I didn't. Daddy had other plans...
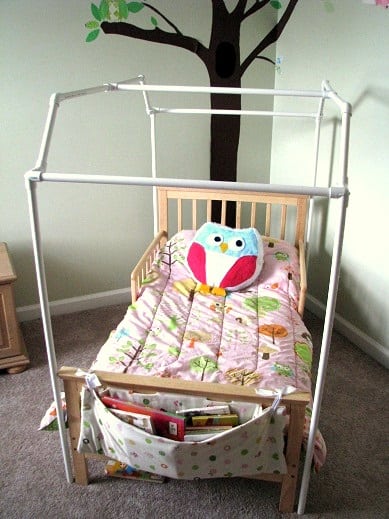
Derrick thought that it would be pretty simple to make her a canopy for her existing bed from a PVC frame. He is the king at PVC pipe creations...

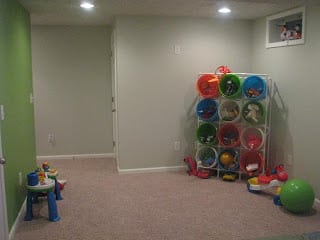
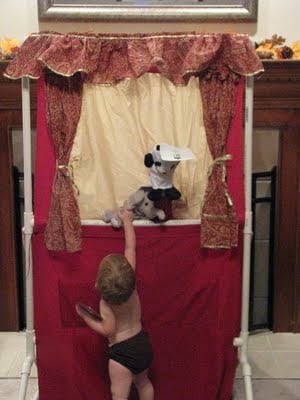
(Just to name a few 🙂
And he was right. He was able to put this frame together in a matter of minutes and Kaylee was thrilled! She loved having just the frame, never mind having any sort of canopy attached. Kids are easy to please. I took her to the fabric store and she chose a couple of fabrics for the project. A pink kitty fabric and turquoise tulle.

After a couple of hours of stressing (I'd never done something like this before and did not have a pattern) and sewing, here is the finished product!
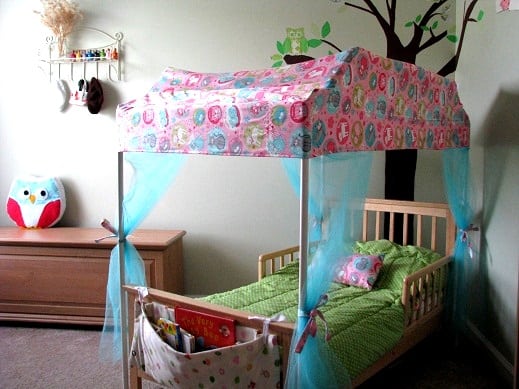
It fits perfectly, thanks to a few minor adjustments and an extra seam through the center to tighten it up a bit in the end. I've already had some requests for a tutorial. If I had any idea what I was doing(when I was doing it), I might have written down some dimensions and instructions, but it was a first time project for me that would probably turn out differently if I did it again. Basically...

You can see that both side panels are kind of a triangle shape. I followed the outline of the frame that Derrick made and added an ½" all the way around for seam allowances. I used a ⅜" seam and that gave it a little room for error. I used newspaper to make pattern pieces (taped it to the pipes) and then cut out the fabric shape. The top is one long piece that is the width of the pipes and stops where you see the crease on the front. That is a seperate piece so that it would fit the angle. It is also the width of the pipes, but only 4" or so in length. Then there is another piece directly on the front attached to the small 4" one. I made it long enough so that it was flush in length with the side panels. So the sides are each 1 panel and the top is 1 large panel + 2 smaller ones on the front and another 2 smaller ones (the same size as the front) on the back. This probably doesn't make any sense. Just use your frame as a guide. I'm not sure what it would have looked like if I just did one piece for the top and didn't use seperate pieces for the angles, it might have been fine. I'm not an expert so I just did what I thought would work. Then I hemmed it all the way around and sewed the little curtains to the hem. Total fabric for the project 3 ½ yards pink + 4 yards tulle.
***
I used extra fabric to make ties for the faux curtains and a throw pillow. This is the reverse side of her owl comforter in the first photos. It matched the new canopy perfectly!
***
I used extra fabric to make ties for the faux curtains and a throw pillow. This is the reverse side of her owl comforter in the first photos. It matched the new canopy perfectly!
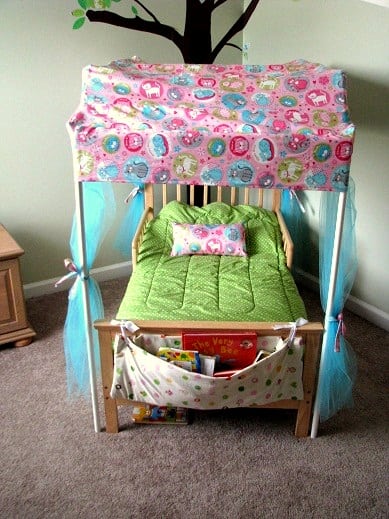
She loves her kitty bed (although she calls it a Tink bed after seeing the Tinkerbell one at the store) and sleeps, not only in comfort, but in style!
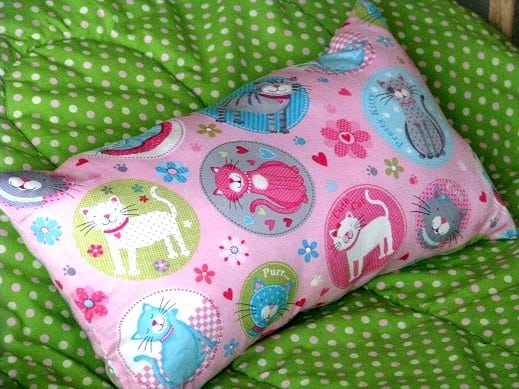
Here is a close-up on the fabric. It was found at Joann's in the juvenile apparel selection at 60% off last week. I picked up several prints since it is so bright and cheerful, and nice and sturdy! So much better than calico.

Sarah says
I just found you blog, such a cute idea. Quick question...I saw the book caddy's that you made for your boys, then notice the one on your daughters bed. Totally want to make these for my kids, so I was wondering, is the one on your daughters bed the same basic pattern as the boys or is it different. Thanks!
Sarah says
This comment has been removed by the author.
Katie says
love this canopy you guys made! Thank you for linking up last week at Sew Woodsy! Please come back tomorrow and link up your most recent project!
Confessions of a Stay at Home Mommy says
That is SO cool! Is PVC expensive? I've always wanted to make one of those puppet theaters. I would be thrilled if you linked this up to my Tuesday Confessional link party going on now: http://www.craftyconfessions.com/2011/07/tuesday-confessional-link-up-party.html
See you soon!
~Macy
Janet says
How sweet! You did a great job with the canopy and your husband with the frame. This is so creative and fun!
The Queen says
That is SOOO cute!!!! And looking at it I can see how if you had a boy (which I don't so no idea why the idea came to me 🙂 )you could totally turn it into a school bus bed by simply making the cover yellow and the flap of fabric stretch down to the bed frame with a window, etc.
Tonia @ TheGunnySack.com says
Just what every little girl dreams of...a canopy bed!! I love how you did it!!
Misty @Creative Itch says
LOVE this!! Thanks for sharing @'Sew Cute Tuesday'! I'll be featuring you tomorrow, so be sure to stop by and grab a 'featured' button!
Misty @Creative Itch says
This comment has been removed by the author.
Jen-CraftOManiac says
THAT IS FLIPPEN AWESOME. I love the fabric and materials you used to dress the canopy too. Going to share this on COM-FB winks-jen
Stephanie says
That has got to be like the cutest thing ever! And how creative to use pvc pipe...looks like you are a pro with that stuff though! I love the book bag at the foot of the bed.
nila1920 says
you did a wonderful job! very creative! oh and I love that book caddy you made out of the flat sheet! brilliant:D
Sachiko says
This is such a great idea! Thank you for sharing!
Prissyville says
How cool is that?!? I would never have thought of that. Great blog and projects BTW!
the cape on the corner says
oh my gosh, what a fabulous space for a little one! i would have loved to curl up with a book in that special bed!