
Homemade vanilla paste is one of my favorite baking ingredients. It's thicker than vanilla extract, packed with real vanilla bean flecks, and adds incredible vanilla flavor to frosting, cookies, cakes, and homemade ice cream. Best of all, it's easy to make at home for a fraction of the cost of store-bought vanilla bean paste.
You might also like my homemade vanilla extract, simmer pot potpourri, or beeswax candles.
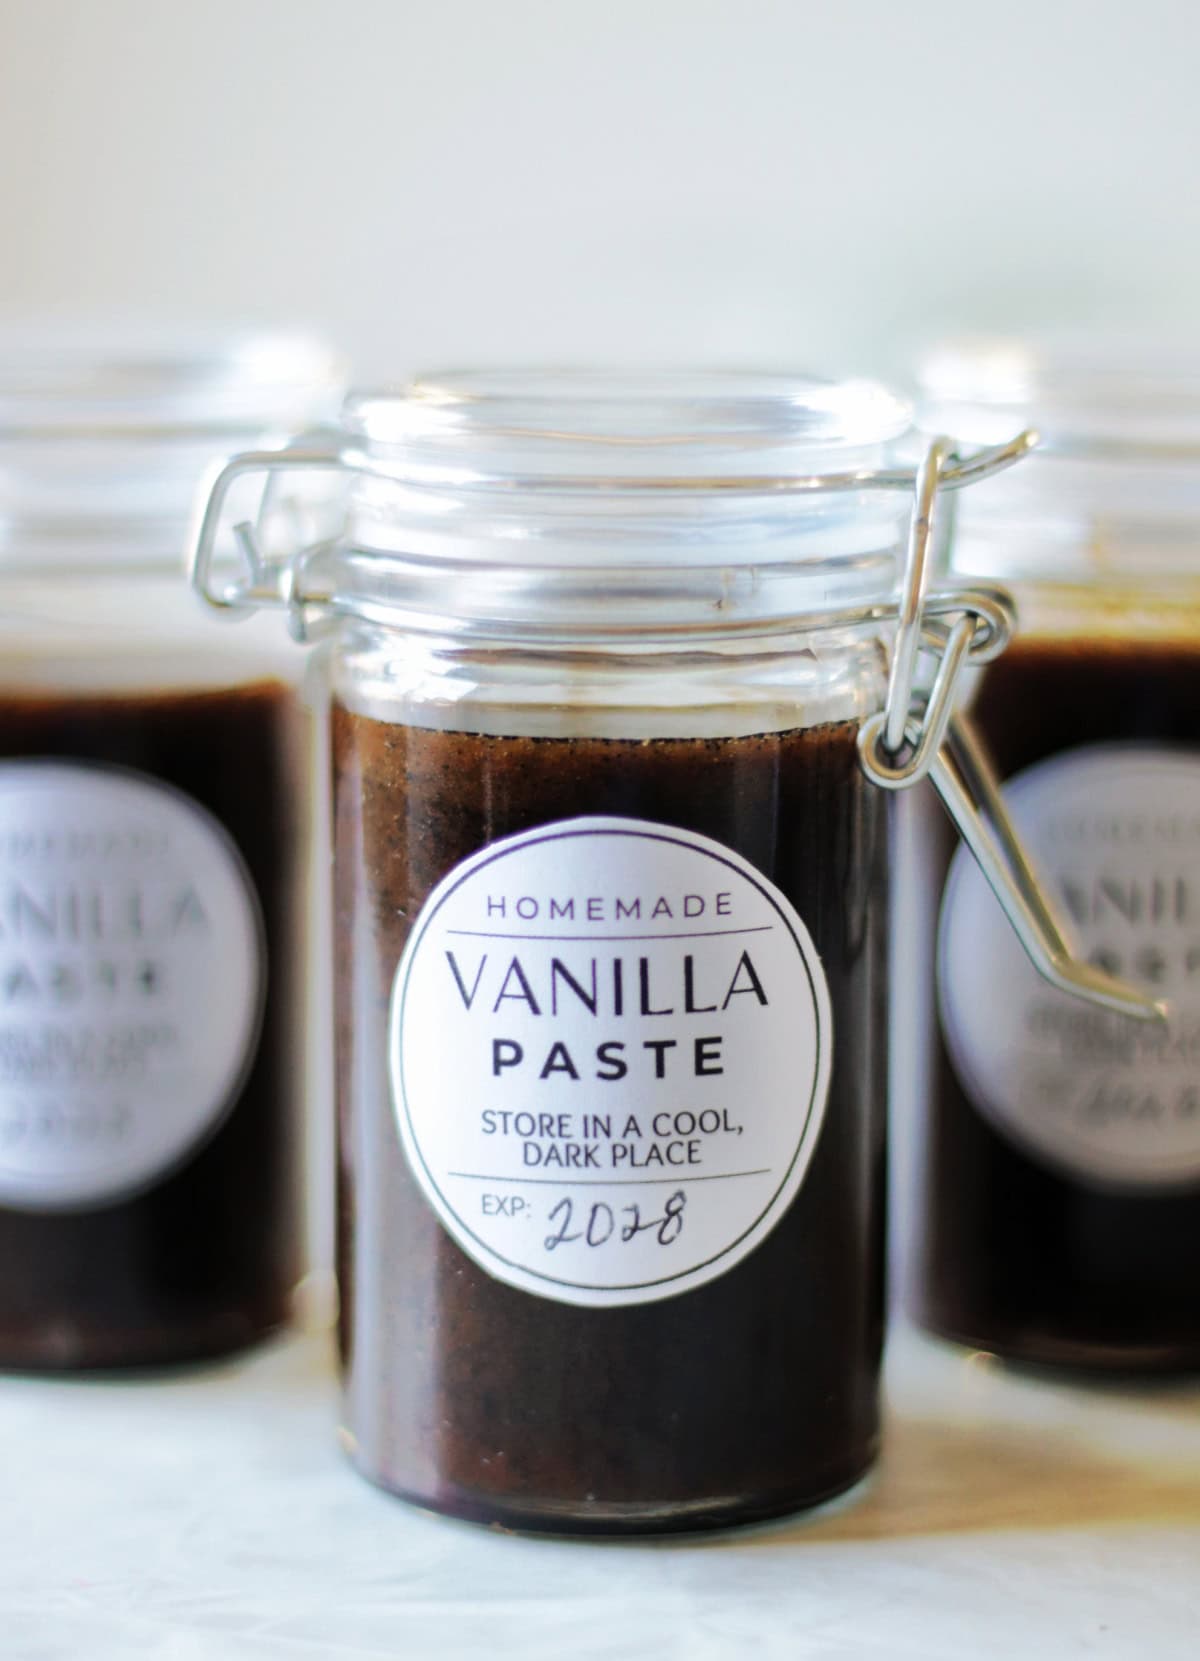
My husband gave me a bottle of vanilla paste for Christmas last year, and I call it my "fancy vanilla". It adds a rich vanilla taste to anything I add it to, and I especially like adding it to vanilla buttercream because it adds small flecks of vanilla bean throughout the frosting. Vanilla paste is highly concentrated, thicker than extract, and has a long shelf life (although not as long as extract). Bonus: it's super easy to make — and quicker to make than vanilla extract. I love that I can make my own "fancy vanilla" at home!
There are numerous recipes and methods for making vanilla paste. Some are made with honey, others with glycerin, some with rum or vodka, and others without any type of alcohol at all. My preferred method for making vanilla paste comes from Vanilla Bean Kings, originally shared by Alex Green. I like this recipe because the ingredients list is the closest I found to the bottle of vanilla paste that I wanted to replicate: Sugar, vanilla extract (alcohol), vanilla beans, and gum (xanthan gum). It can also be made in a blender and does not need to be strained.
What Is Vanilla Paste?
Vanilla paste is a thick, concentrated form of vanilla flavoring made with real vanilla beans, vanilla extract, and a natural thickener. Unlike vanilla extract, it contains tiny vanilla bean specks that add beautiful flecks and rich flavor to everything from cookies and cakes to buttercream frosting and homemade ice cream. You can use it the same way you'd use vanilla extract 1:1.
One of the best things about vanilla paste is that it can be used as a 1:1 substitute for vanilla extract in almost any recipe. You'll get the same delicious vanilla flavor, but with a richer appearance and those signature vanilla bean specks that make homemade desserts look bakery-quality. If you've ever admired the tiny black flecks in premium ice cream, frosting, or crème brûlée, chances are vanilla bean paste was the secret ingredient.
Why I Like This Recipe
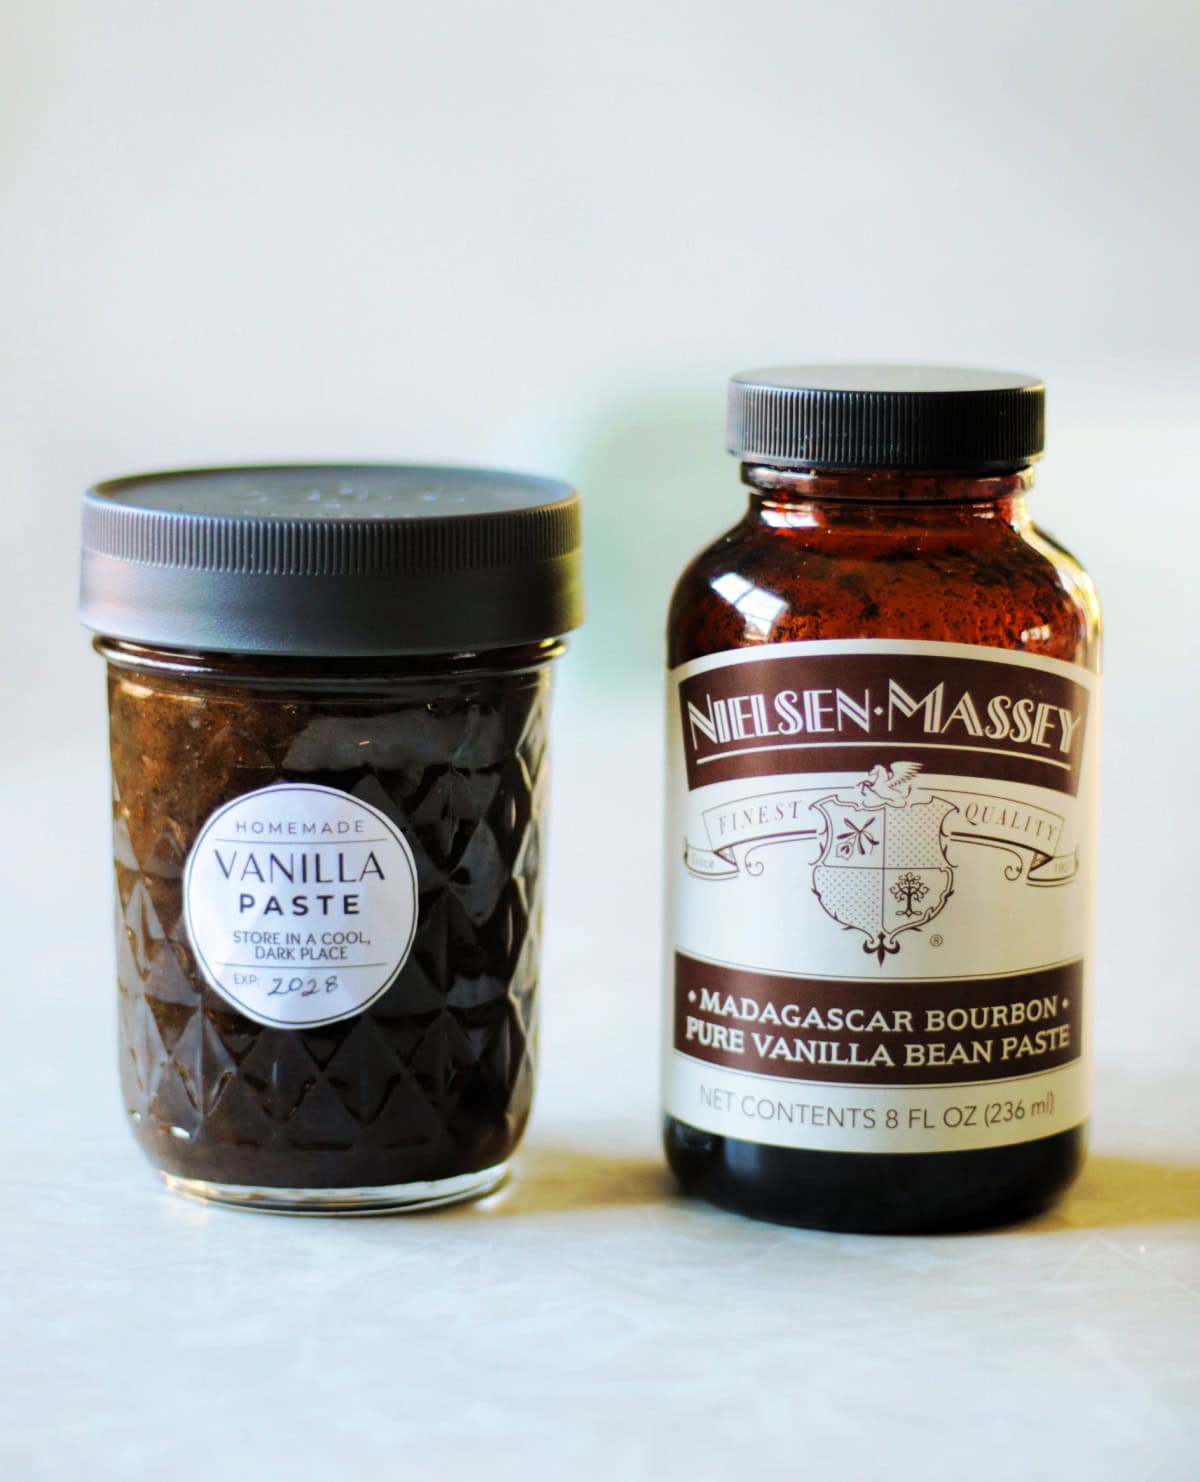
- Cost-effective: The bottle on the left is my homemade vanilla paste, and the bottle on the right is my "fancy vanilla". Both are 8 ounces. The store-bought jar retails for $28. I spent around $30 and made 20 ounces of vanilla paste. TWENTY OUNCES for the price of 8 ounces.
- Quick and easy: Unlike vanilla extract, which requires 9-12 months of aging, vanilla paste can be made and used immediately, although it is recommended to let it sit for a couple of weeks for optimal results. The ingredients are blended, then poured into jars; it couldn't be easier!
- Simple ingredients: The only ingredient you may need to order is the vanilla beans; everything else can be easily found at the grocery store and liquor store.
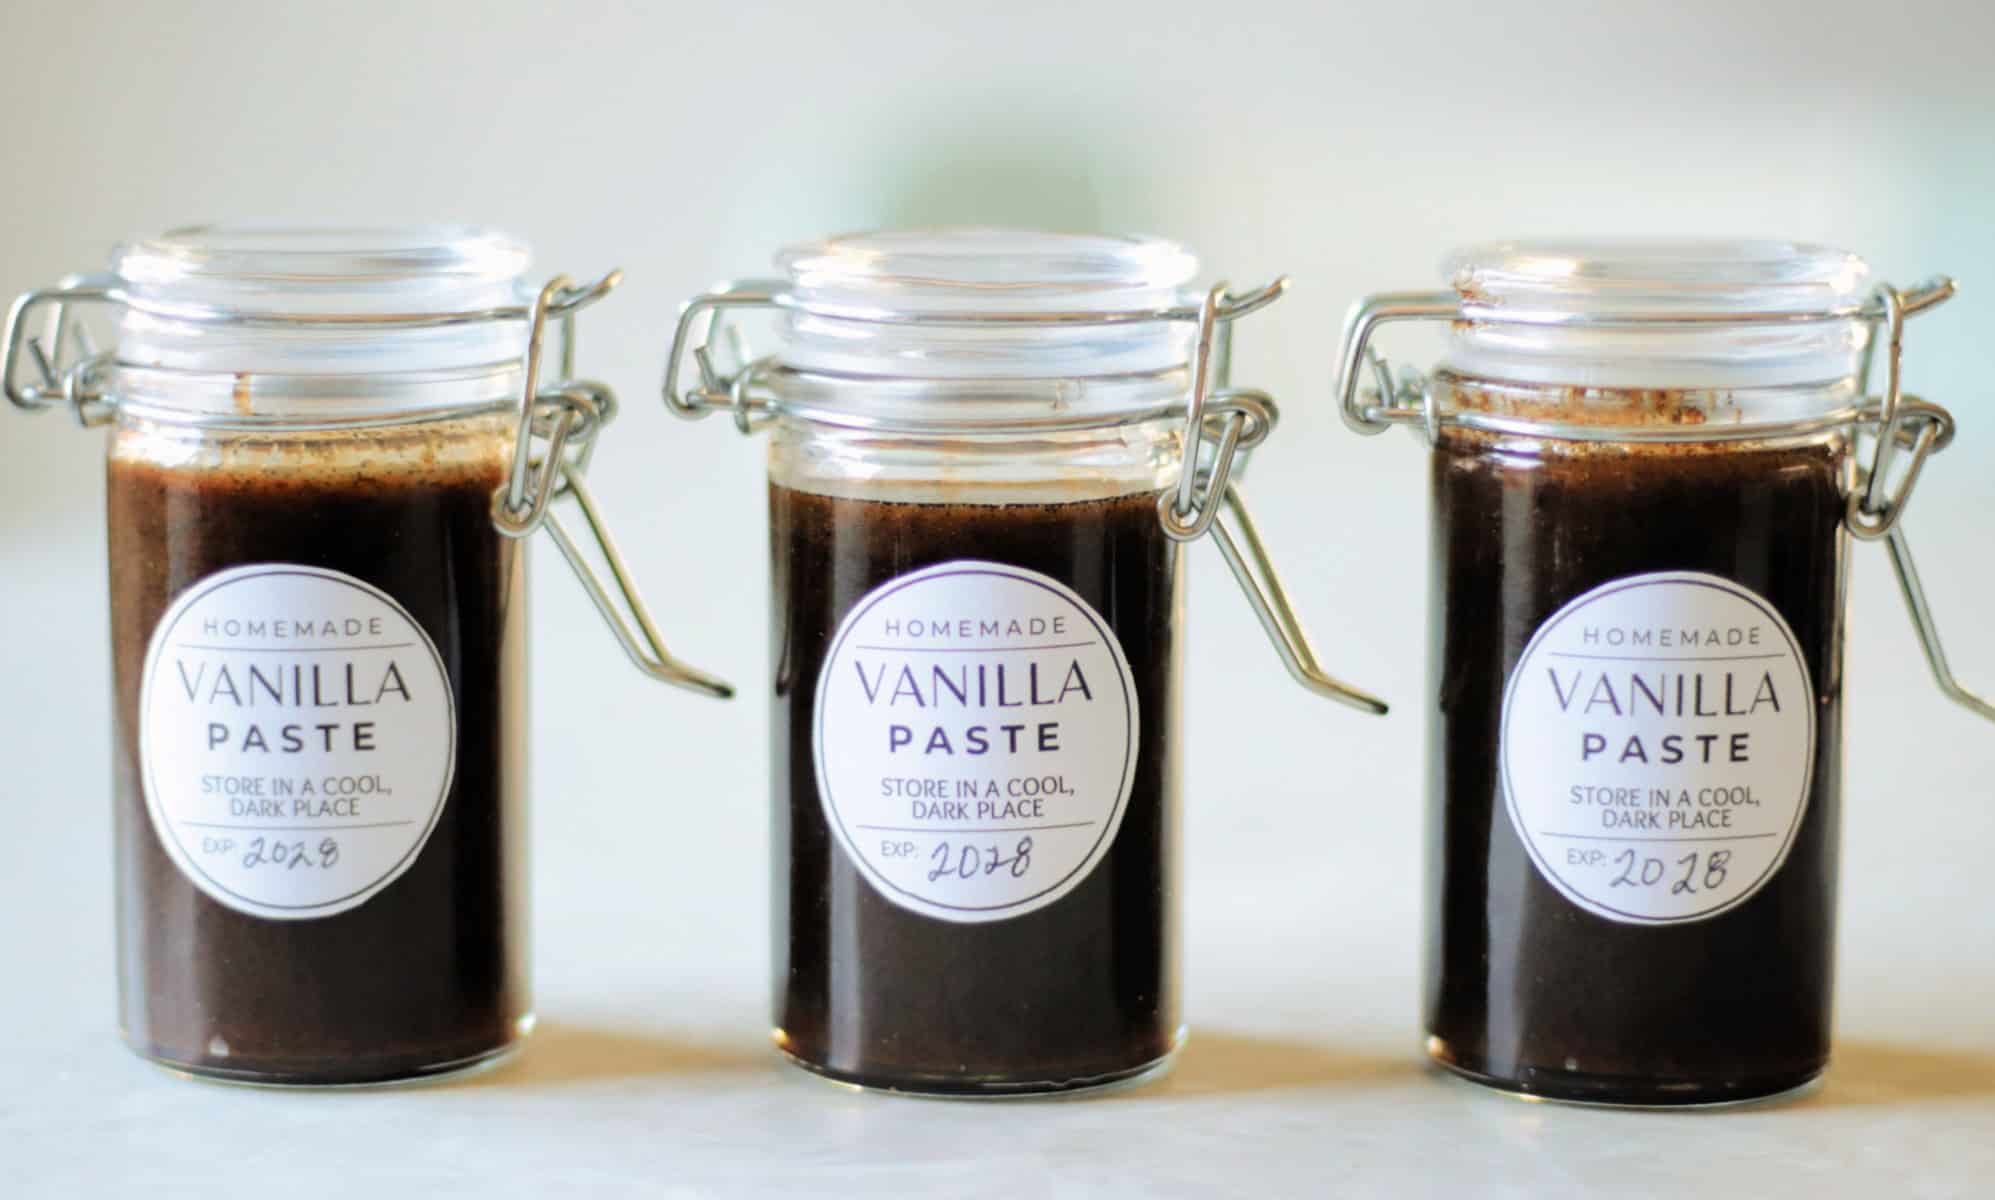
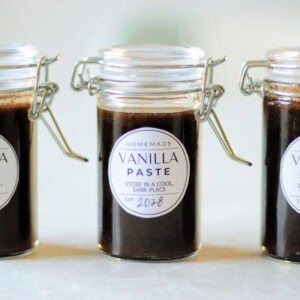
- Holiday gift: I bottled the ones I am giving out as gifts in mini 2-ounce jars, which yield 12-15 teaspoons of vanilla paste—the perfect amount for holiday baking! I printed label stickers to put on each bottle, with the 3-year expiration date. Feel free to use my vanilla paste label template to print your own on 1.5" round stickers.
Jump to:
Vanilla Paste vs Vanilla Extract
| Vanilla Paste | Vanilla Extract |
|---|---|
| Thick | Thin |
| Vanilla bean flecks | Clear |
| Strong vanilla flavor | Mild |
| Beautiful in frosting | No flecks |
| Shelf life: up to 3 years | Shelf life: indefinitely |
Both vanilla paste and vanilla extract can be substituted for one another using a 1:1 ratio. The biggest difference is that vanilla paste contains real vanilla bean flecks and has a thicker consistency, making it especially beautiful in frostings, custards, cheesecakes, ice cream, and other desserts where the vanilla is visible.
What Can You Use Vanilla Paste In?
anilla paste can be used anywhere you'd normally use vanilla extract—and because it's a 1:1 substitute, there's no need to adjust your recipes. The rich vanilla flavor and beautiful vanilla bean flecks make homemade desserts look and taste extra special.
Here are some of my favorite ways to use it:
- Buttercream Frosting: Vanilla bean flecks give homemade buttercream a beautiful bakery-style appearance and rich vanilla flavor.
- Sugar Cookies: Add vanilla paste to cut-out cookies, drop sugar cookies, or frosted sugar cookies for a more pronounced vanilla flavor.
- Chocolate Chip Cookies: A spoonful of vanilla paste adds warmth and depth that complements chocolate beautifully.
- Cakes and Cupcakes: Vanilla paste shines in vanilla cake, yellow cake, cupcakes, and pound cake where its flavor can really stand out.
- Cheesecake: The tiny vanilla bean specks make homemade cheesecake look elegant while adding incredible flavor.
- Homemade Ice Cream: If you've ever wondered how premium vanilla ice cream gets those beautiful black flecks, vanilla bean paste is often the answer.
- Whipped Cream: Stir a little vanilla paste into homemade whipped cream for a simple but delicious upgrade.
- Pancakes, Waffles, and French Toast: Add it to breakfast batters for a rich vanilla flavor that makes weekend breakfasts feel extra special.
Because vanilla paste can be substituted 1:1 for vanilla extract, it's an easy way to elevate almost any baking recipe with richer vanilla flavor and beautiful vanilla bean specks.
Tips and Tricks
- Type of vanilla beans to use. For vanilla extract, I use Grade B vanilla beans; for vanilla paste, I use Grade A vanilla beans. Grade A are plump and squishy — loaded with vanilla caviar. Grade B works well for extracts, and as they sit, they seep vanilla flavor. However, you definitely want all the vanilla bean goodness found in Grade A beans for vanilla paste. This recipe requires 2 ounces of vanilla beans, and you need to measure them by weight, as different varieties of beans can vary in weight. The package I purchased had 25 beans and weighed just over 2 ounces.
- Type of alcohol to use for vanilla paste. I used 80 proof vodka, the same alcohol that I use for making extract. It's inexpensive (don't waste your money on an expensive brand), and you don't need very much since vanilla paste uses far less alcohol than vanilla extract.
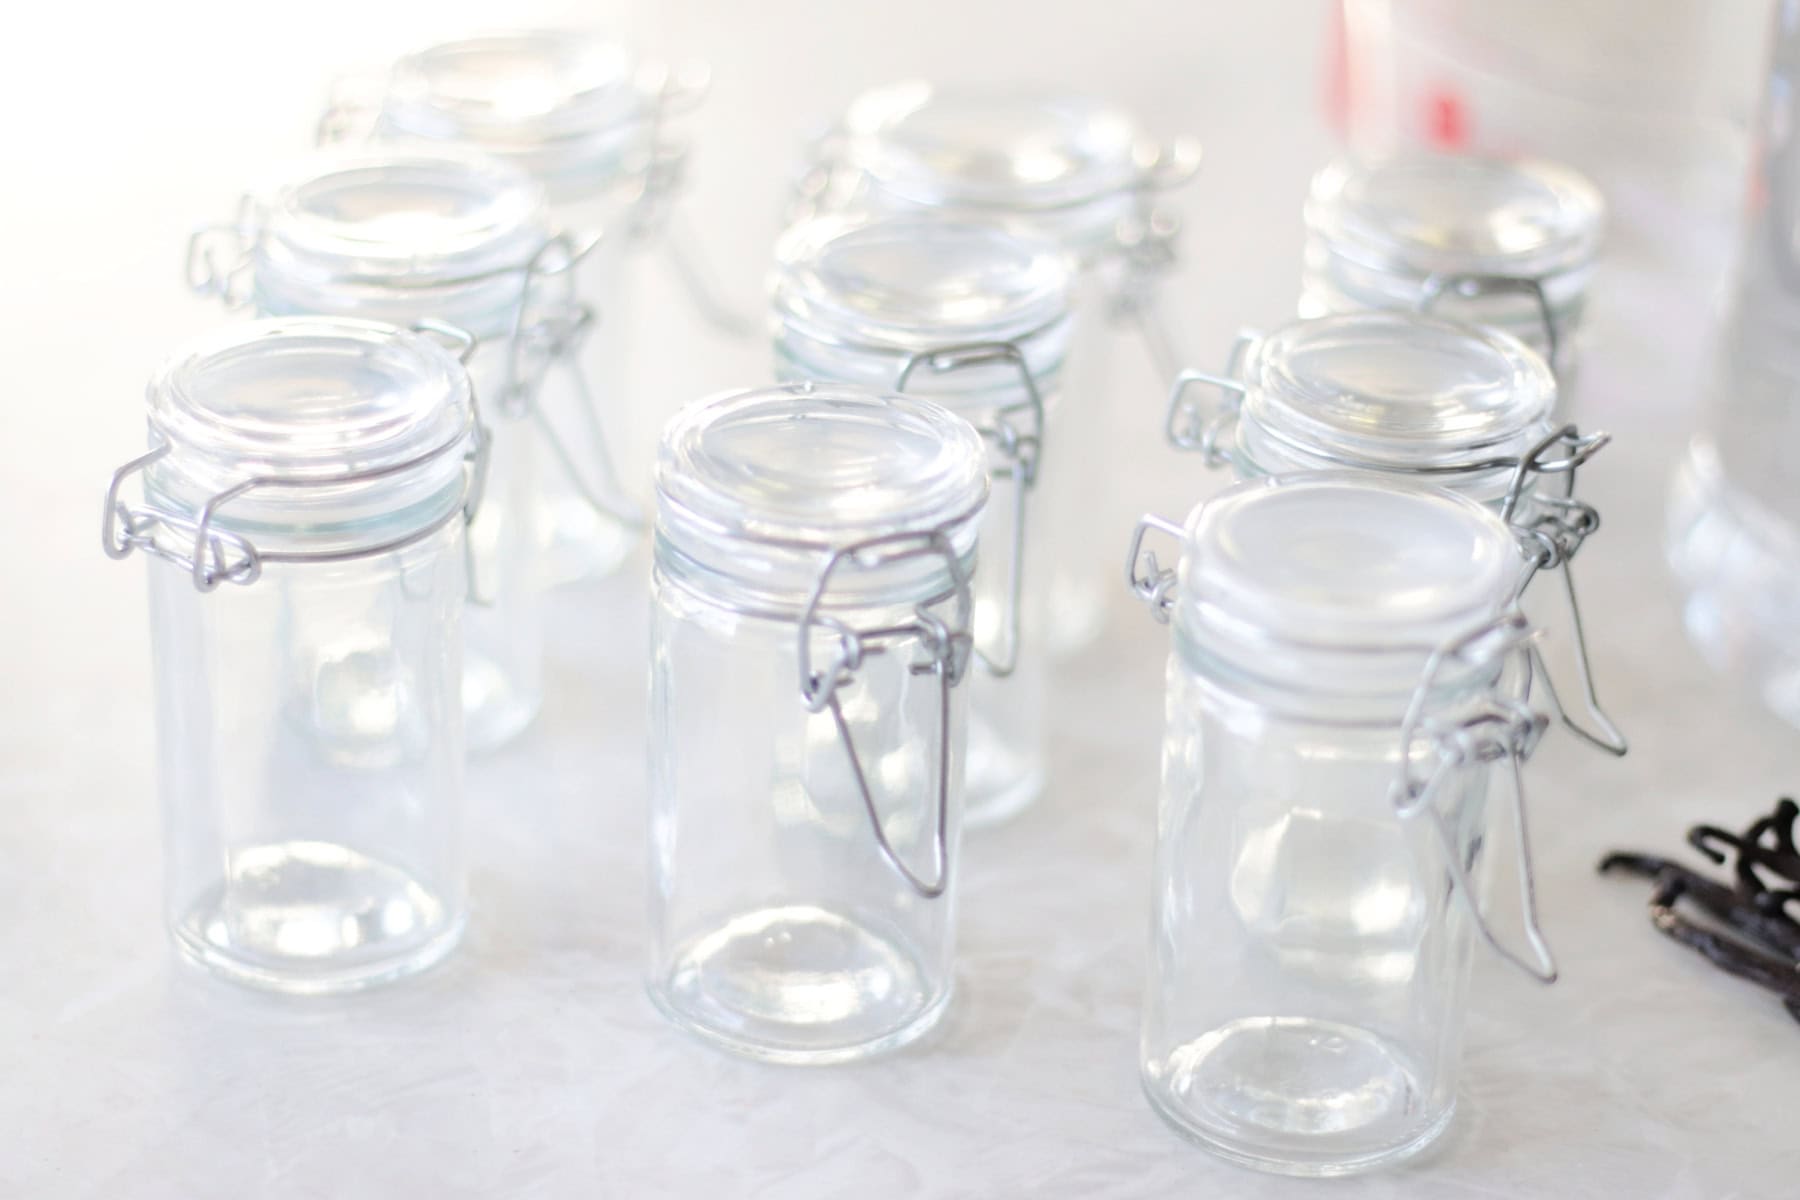
- Best jars for storing vanilla paste. The best jars for storing vanilla paste are glass jars with a lid. Amber-colored jars work well, but if you plan to store your vanilla paste in a dark cupboard rather than out in the open, a clear jar is also suitable. When I make myself a jar of vanilla paste, I use an 8-ounce canning jar. This is the perfect size to fit on the shelf in my pantry. For gift giving, I prefer using smaller 2-ounce jars. This allows me to easily make and share the vanilla paste with more people at an affordable price. I found these cute jars at Michael's. They usually are $19.99 for 18 jars, and I paid $16 with a coupon ($.88 each)
- High-powered blender. You'll want a high-powered blender to grind down the vanilla beans. I used my Ninja, but any decent blender will work just as well.
- Storage. Vanilla paste has a shelf life of 2-3 years if stored in a cool, dark place. Do not store it in the refrigerator, as it will absorb moisture and ruin the flavor. Store it in a cupboard, as you would vanilla extract.
Ingredients
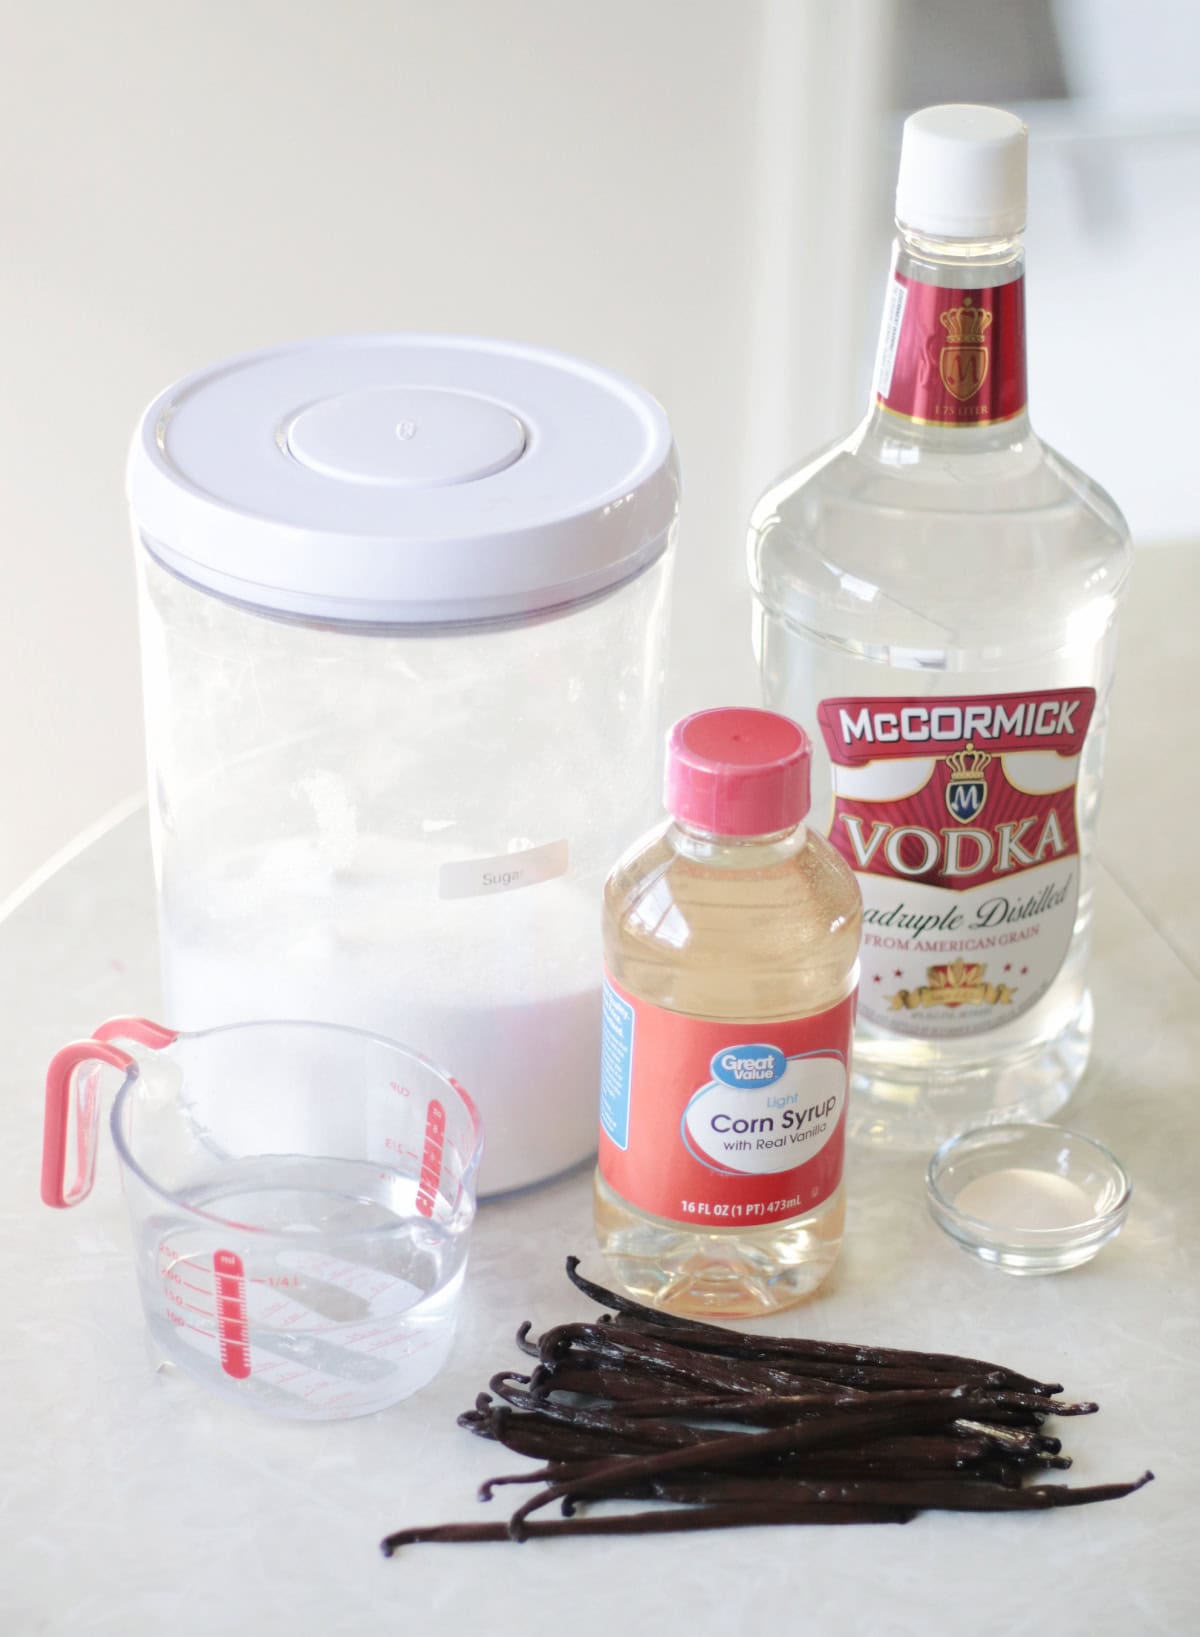
- Vanilla Beans: Use Grade A for best results. They are plump, squishy, and full of vanilla pulp/caviar. You'll need 2 ounces. I purchased a package containing 25 beans, which weighed just over 2 ounces. Always use weight when measuring vanilla beans.
- Water
- Vodka: 80 proof. Alcohol draws out and preserves the vanilla flavor from the beans. For even more vanilla flavor, you could use the same amount of pure vanilla extract (made with vodka and vanilla beans) in place of straight vodka.
- Sugar: Sugar is essential for creating a syrup-like texture. Do not substitue anything else for the sugar in this recipe. If you want to make a version using honey or agave syrup, search for a different recipe.
- Corn Syrup: keeps the vanilla paste smooth and pourable by preventing the sugar from crystallizing over time.
- Xanthan Gum: Xanthan gum is used as a thickener. When you add it to vanilla paste, it eliminates the need to stir or shake the paste before using, as it suspends the vanilla flecks throughout the paste. You can easily find a bag of xanthan gum in the baking aisle of the grocery store, as it is used as a thickener and stabilizer.
See the recipe card for full information on ingredients and quantities.
How To Make Vanilla Paste
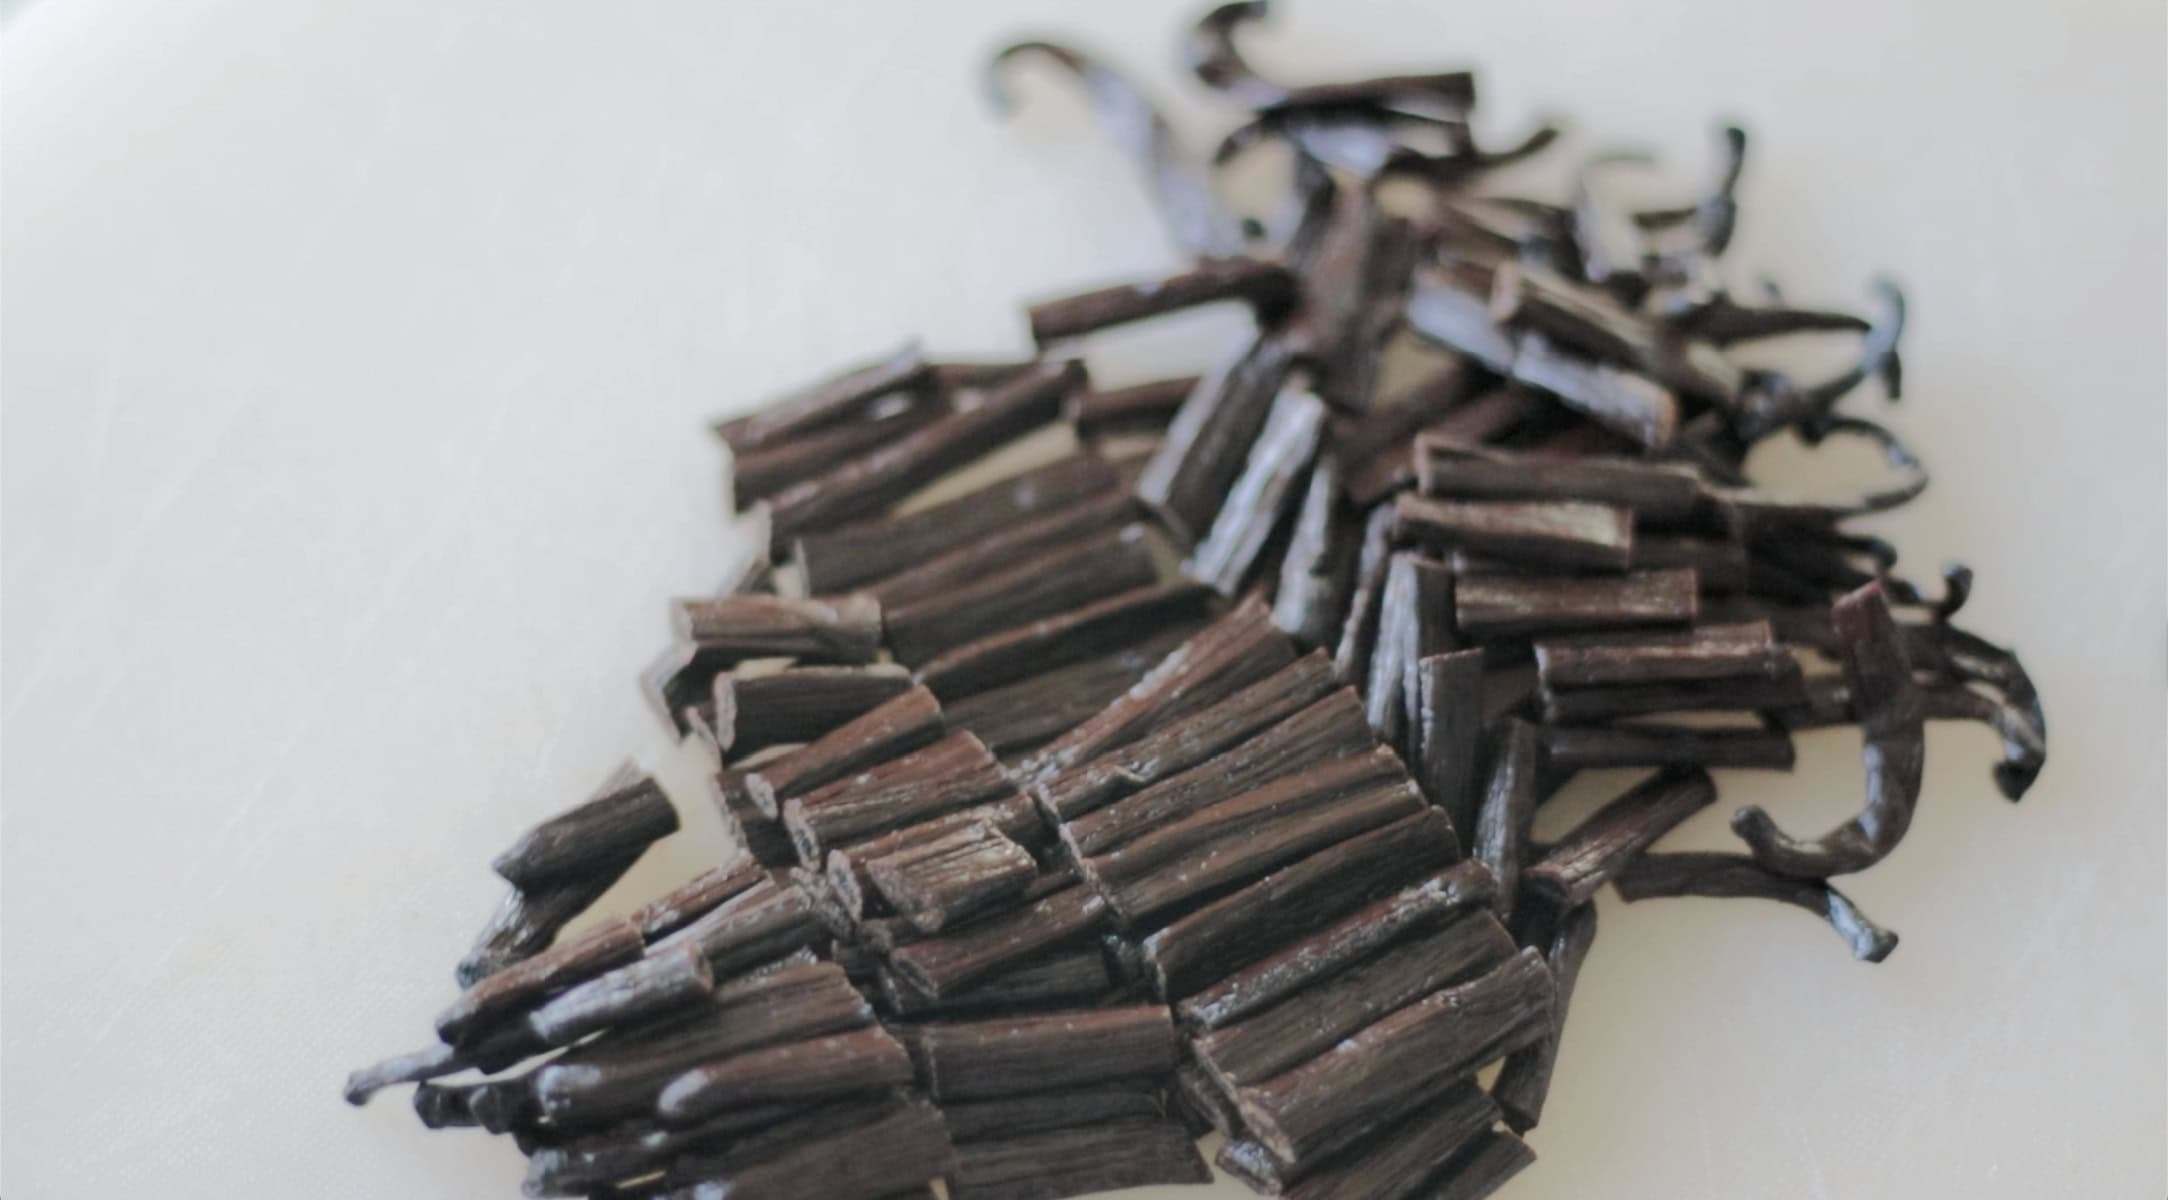
Step 1: Cut vanilla beans into small sections (1"-2").
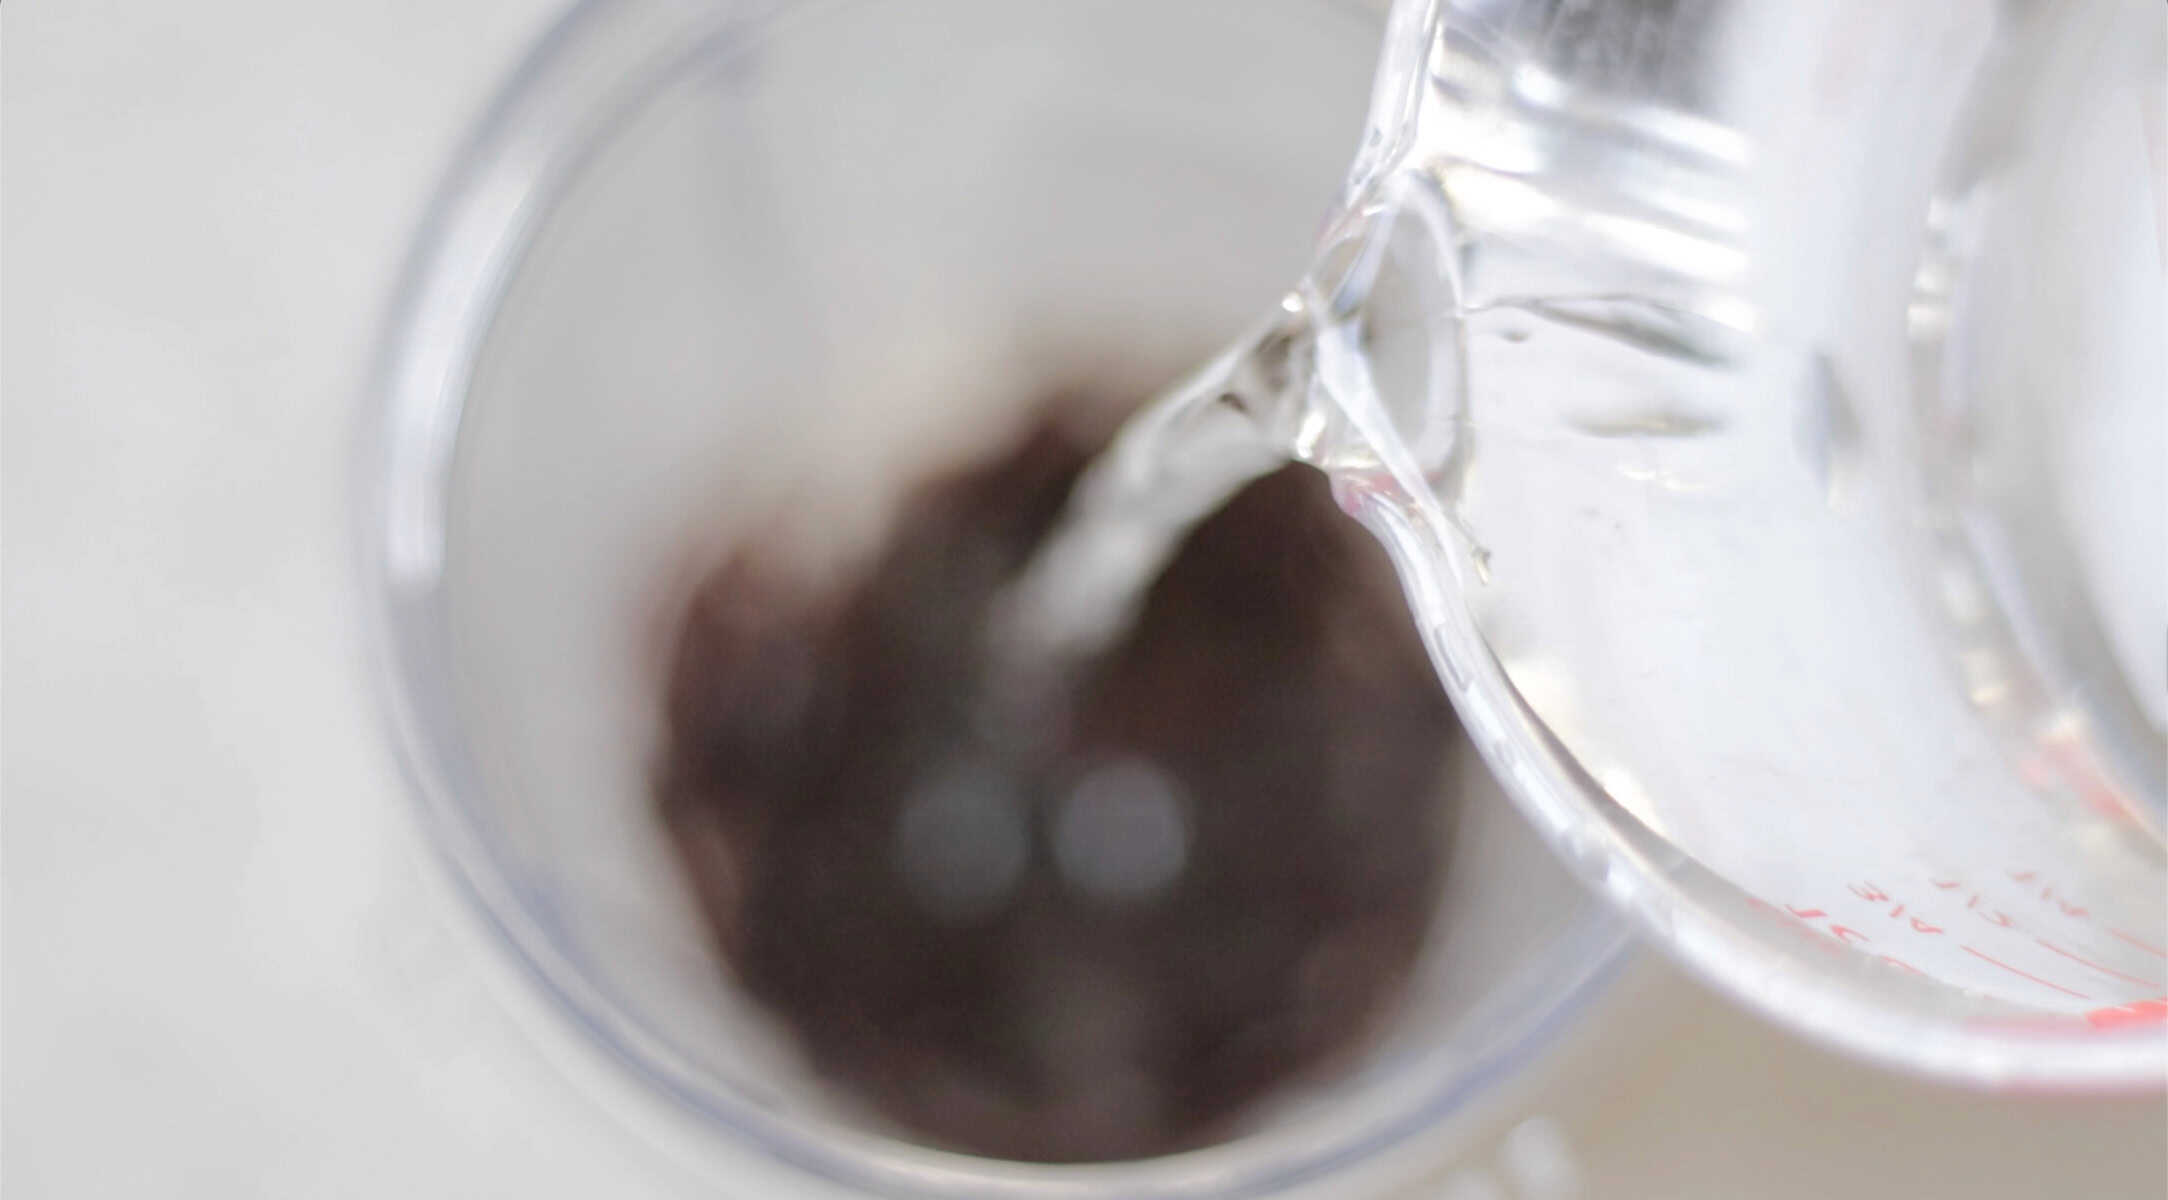
Step 2: Place all ingredients, except the xanthan gum, into a blender.
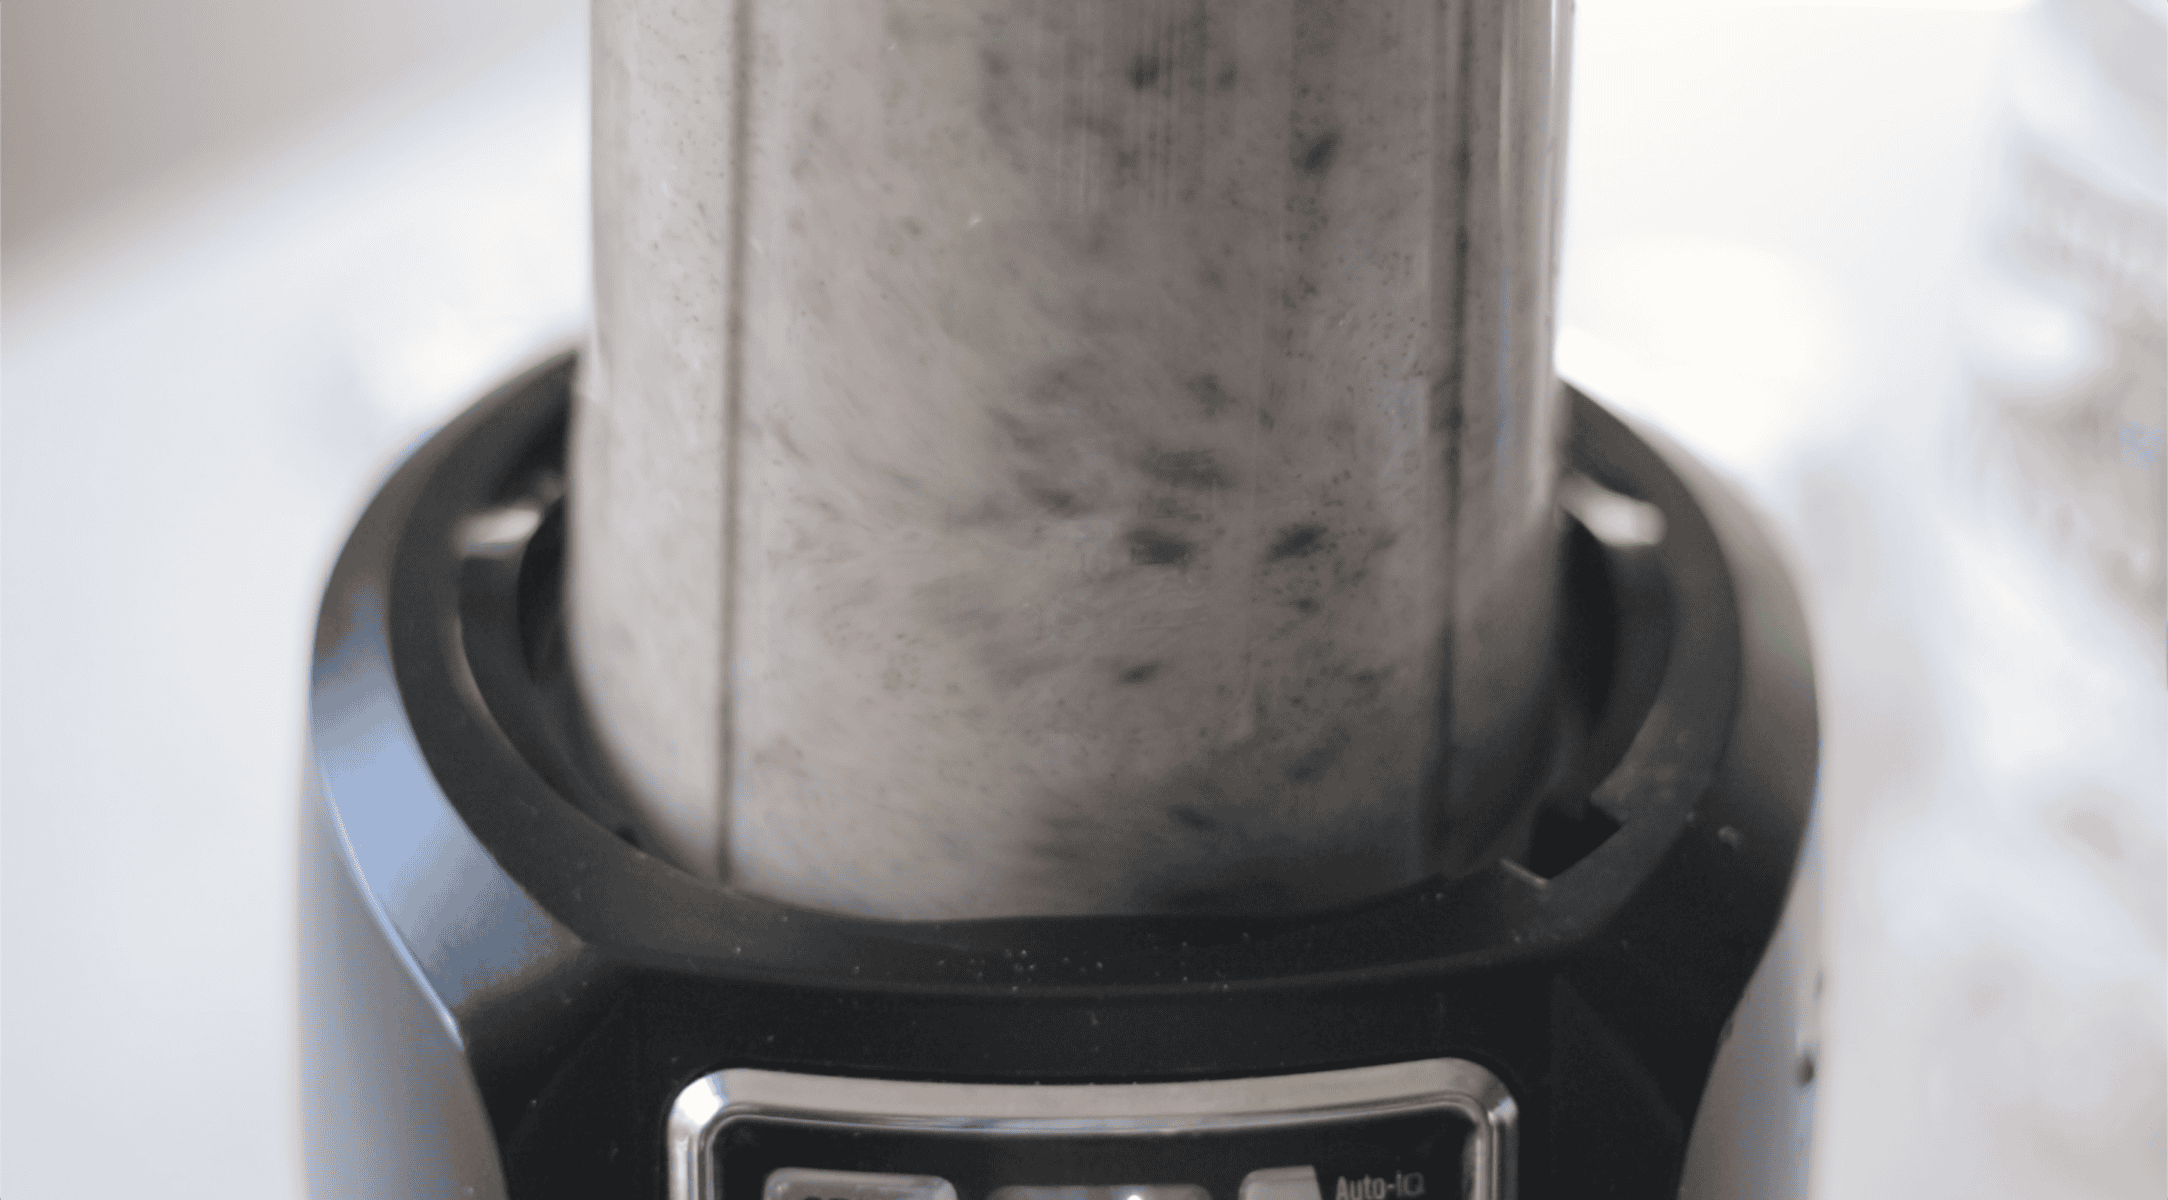
Step 3: Blend for 2 minutes. It is normal for the paste to appear greyish-brown at first.
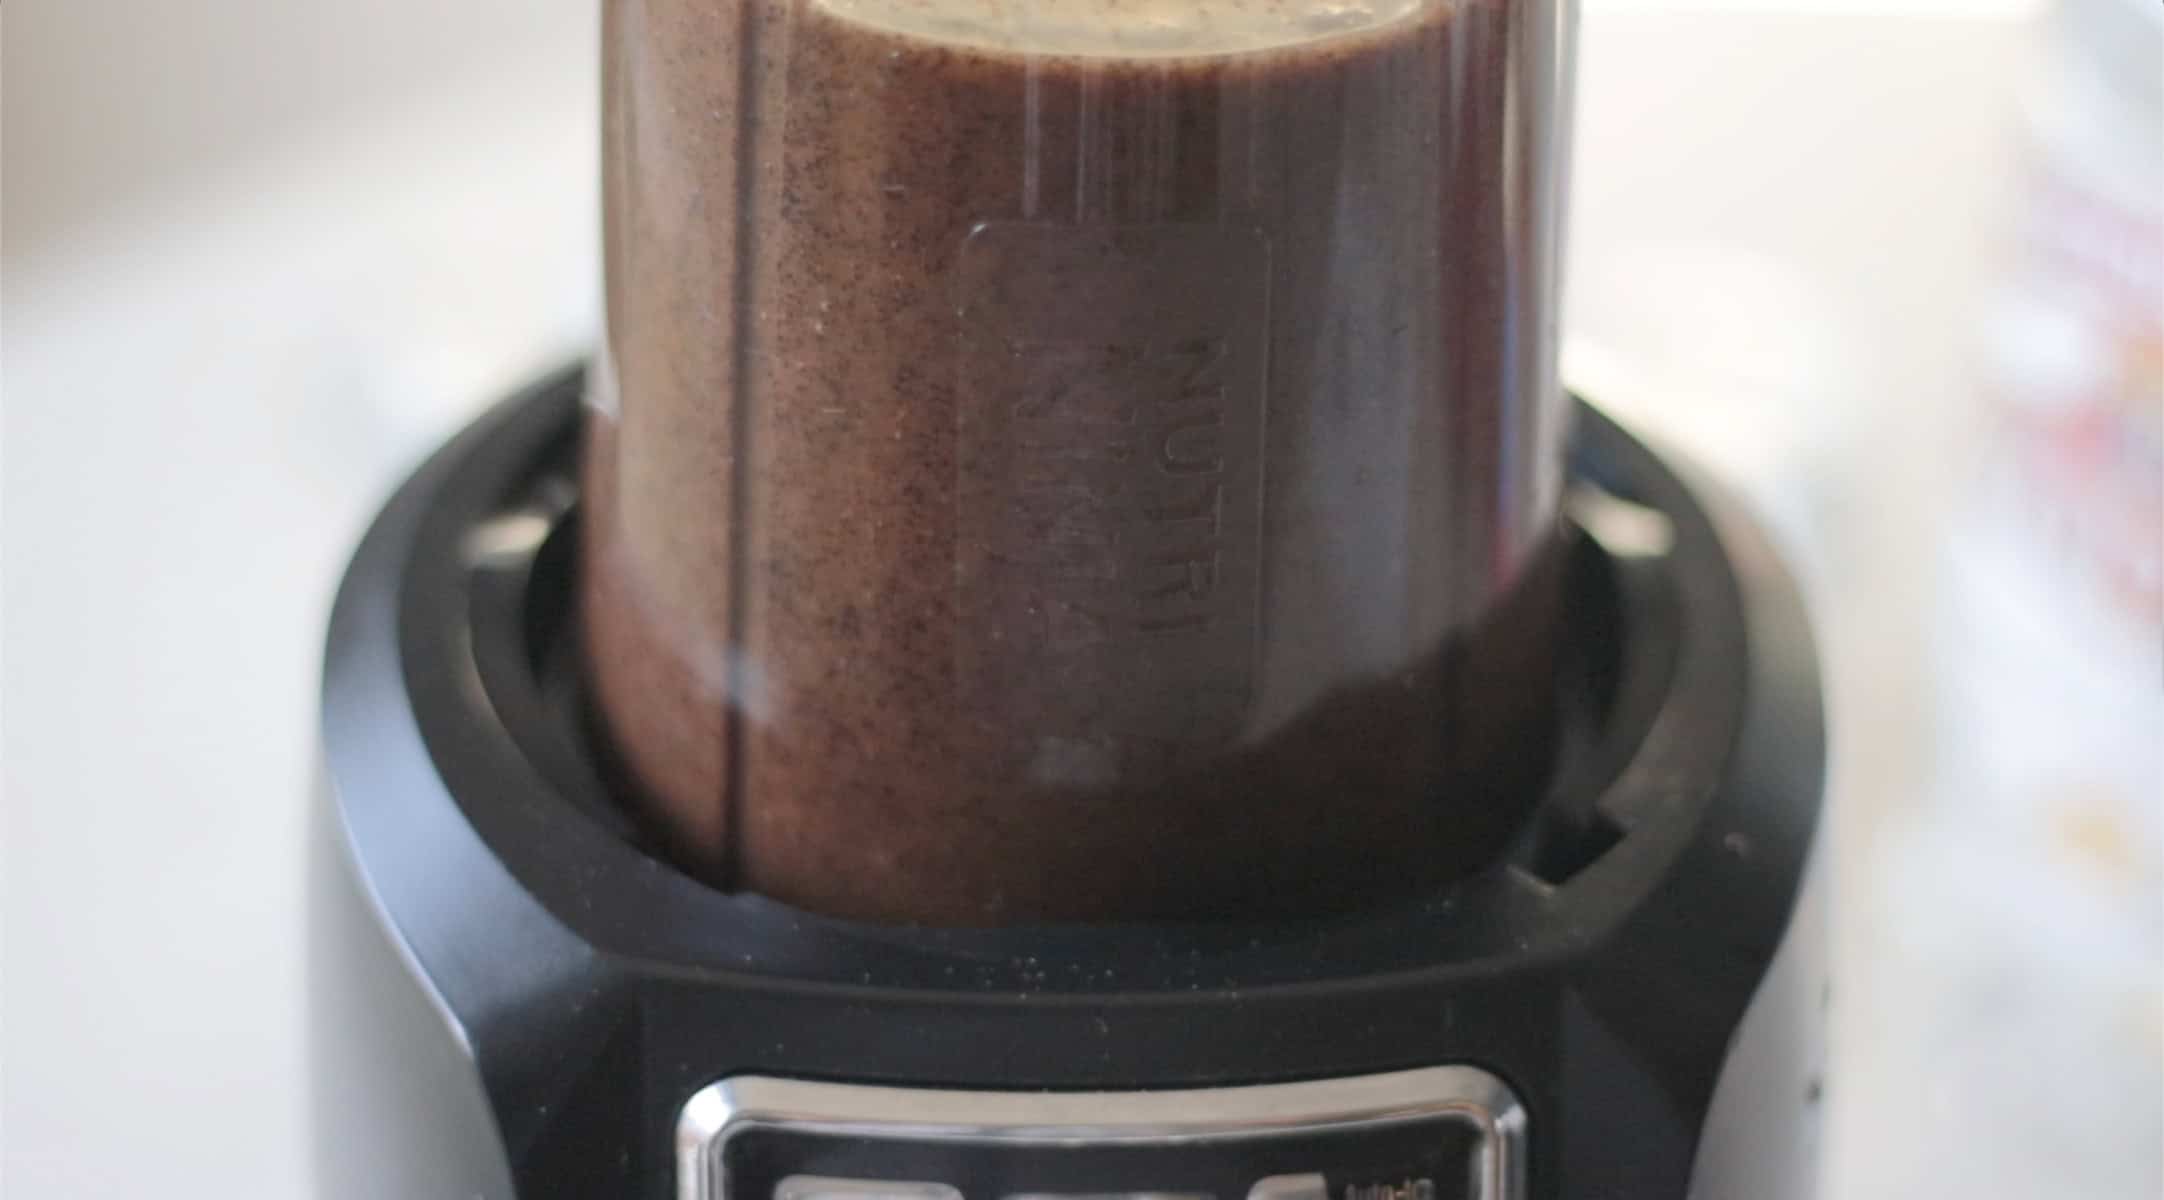
Step 4: After 2 minutes, the vanilla beans should have broken down, and flecks of vanilla should be throughout the syrup. The paste will be a deep brown color.
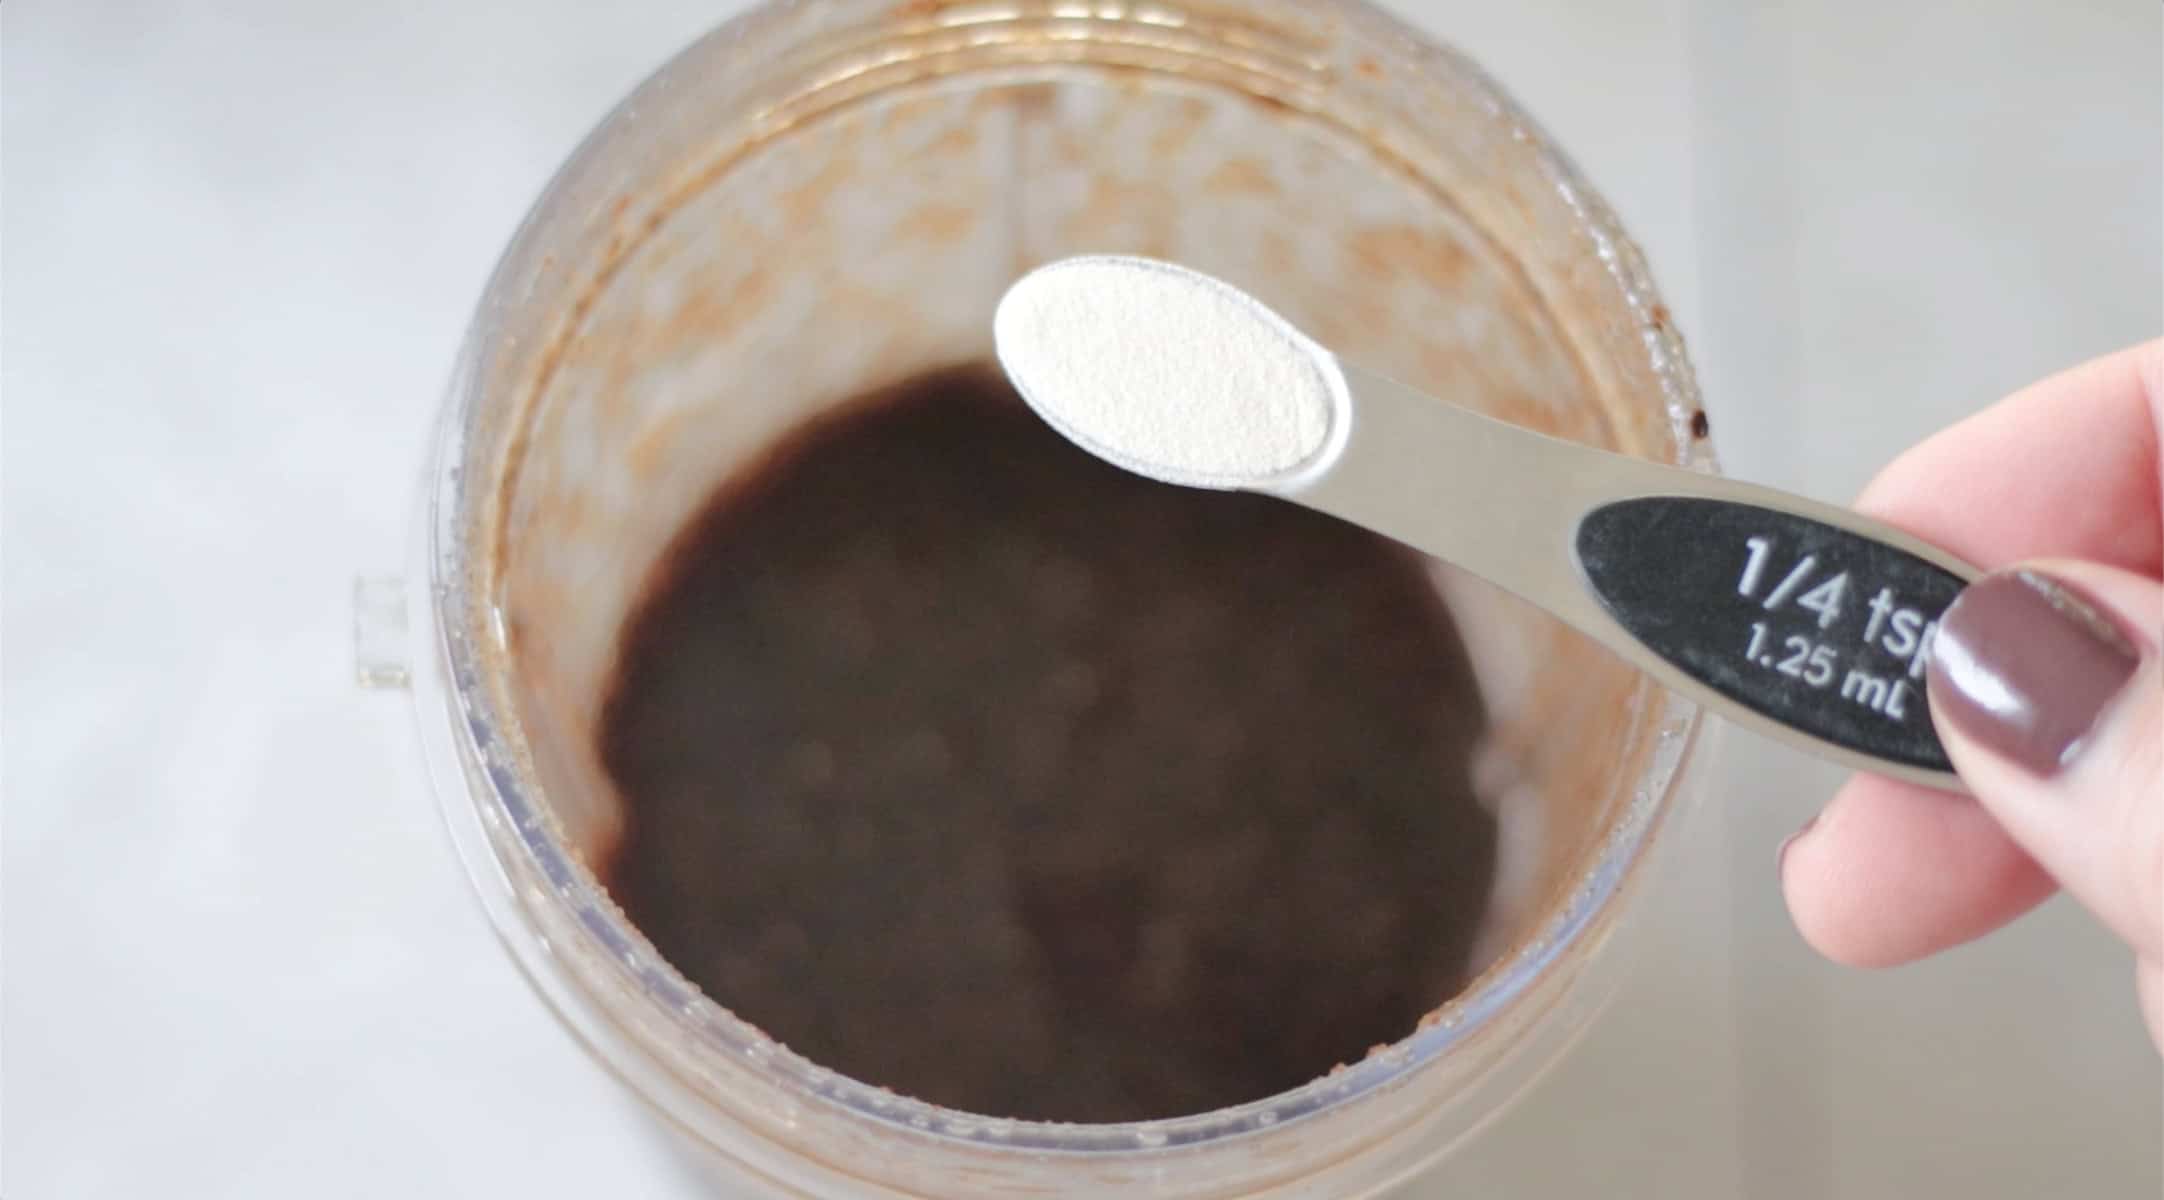
Step 5: Add xanthan gum and blend for another 30-60 seconds.
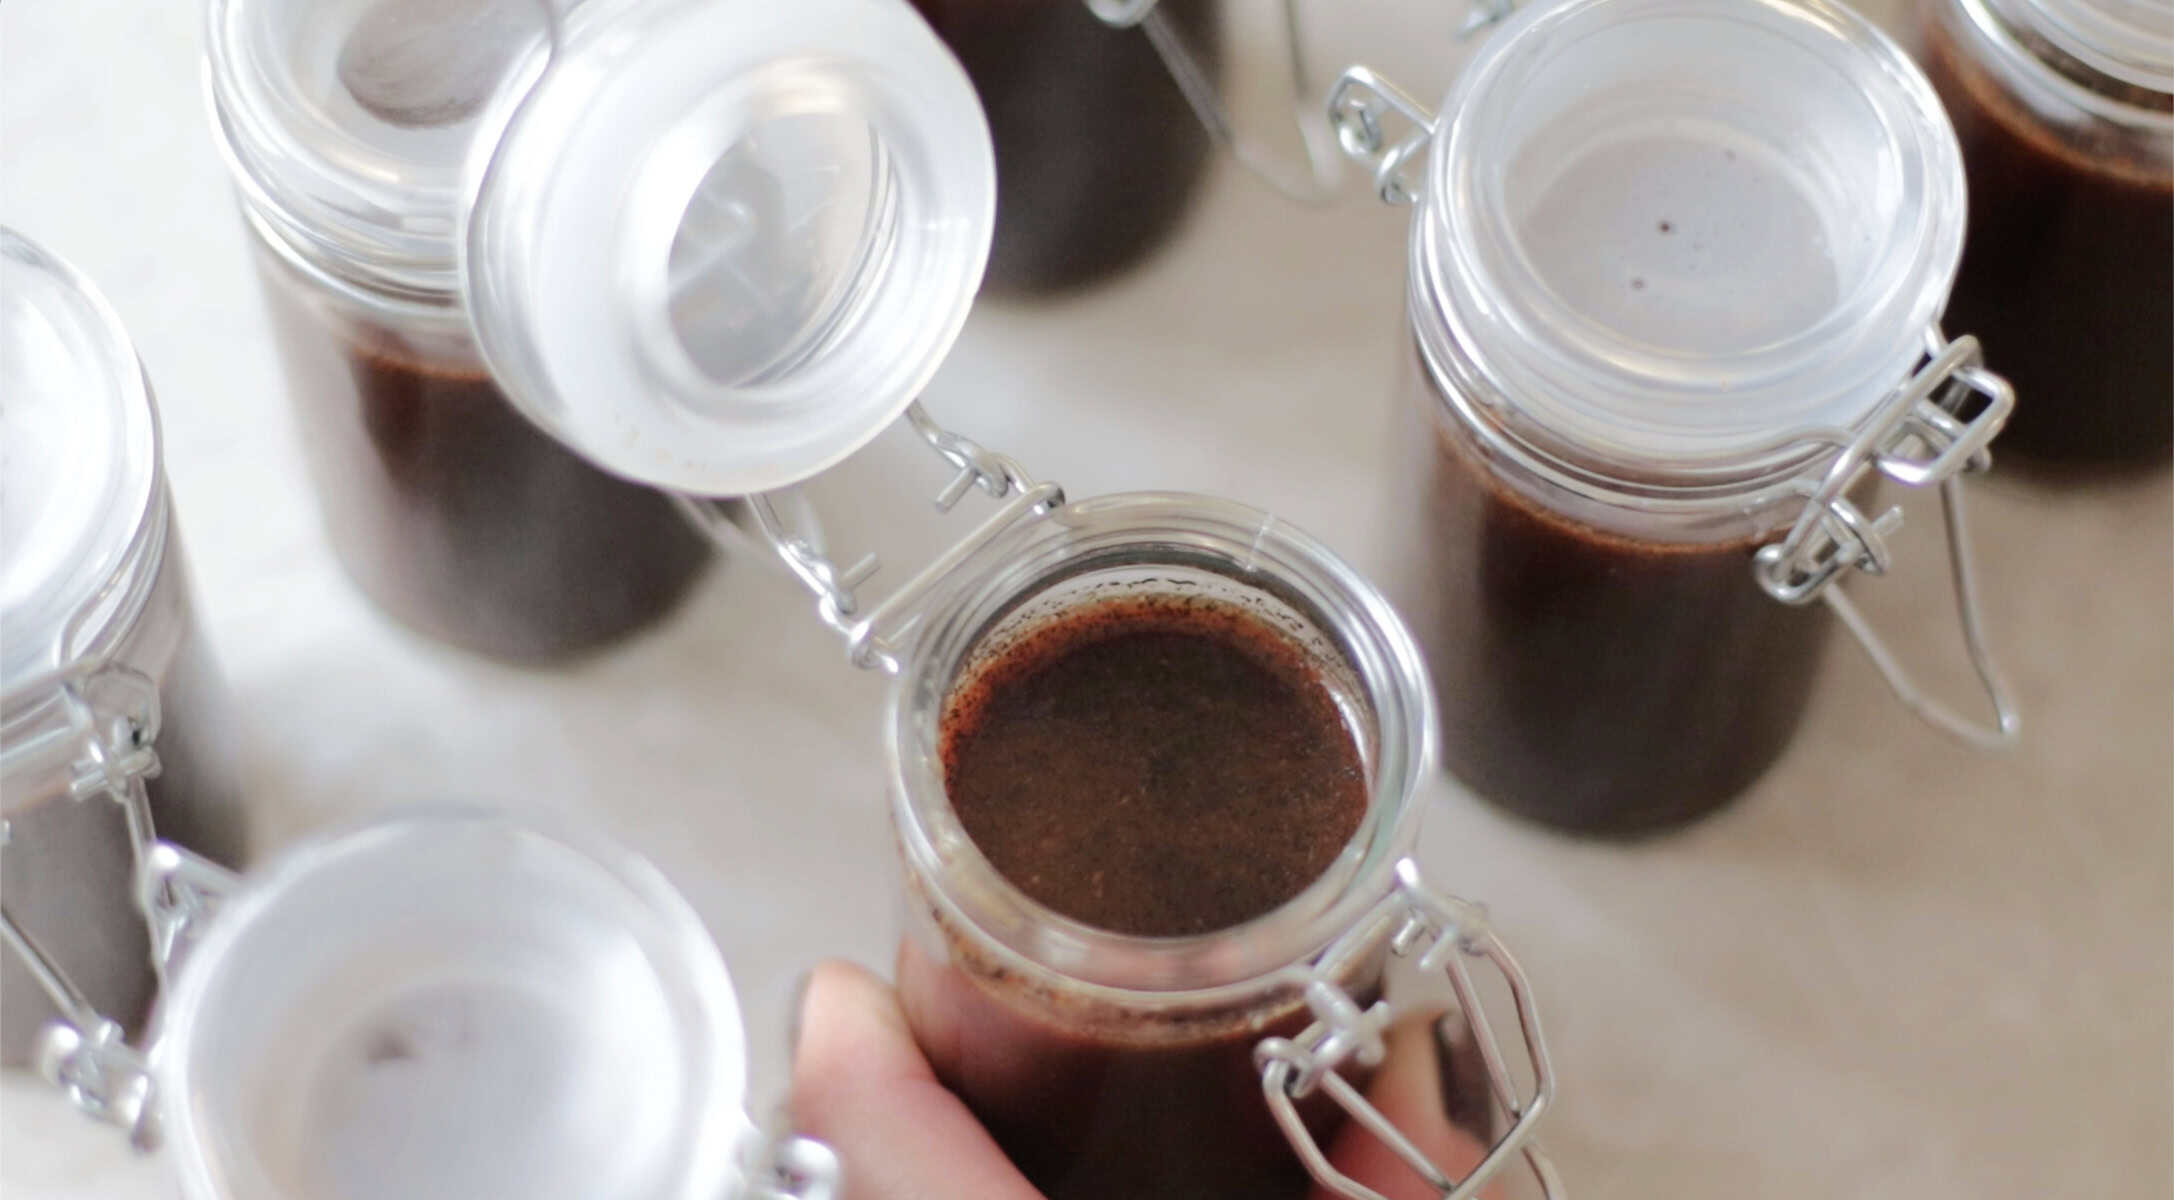
Step 6: Pour paste into jars. A small funnel can be helpful. The paste will thicken into a syrup as it stands. If the paste is warm to the touch (from blending), allow it to come to room temperature before adding a lid.
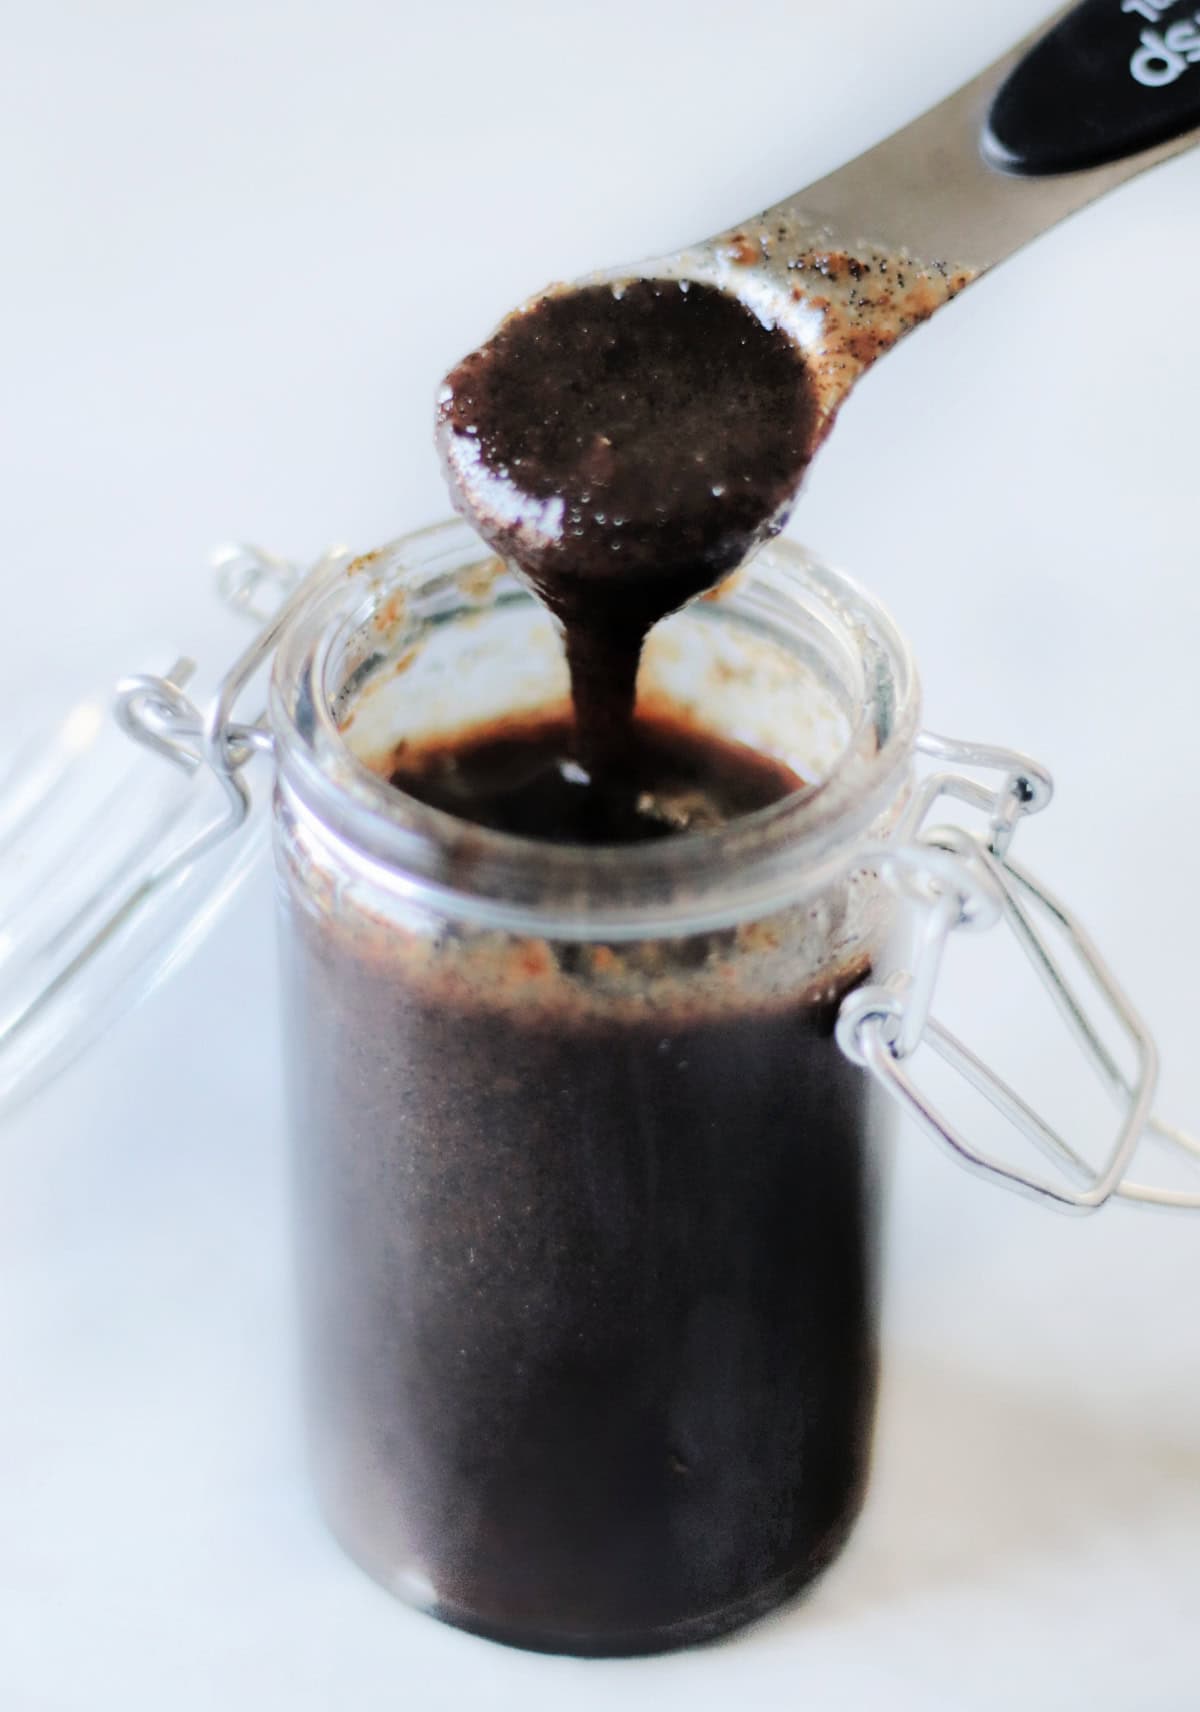
This recipe makes 2 ½ cups (20 ounces) of vanilla paste.
How Long Does Homemade Vanilla Paste Last?
Homemade vanilla paste will keep for 2–3 years when stored in an airtight container in a cool, dark pantry. There's no need to refrigerate it—in fact, refrigeration can introduce moisture and affect the texture. Like vanilla extract, the flavor continues to develop over time.
Vanilla Paste FAQs
Vanilla extract is made by steeping vanilla beans in alcohol, which slowly extracts their flavor over time. The process takes up to a year before the vanilla extract is ready for use. Vanilla paste is made by grinding or blending whole vanilla bean pods, combined with sugar, water, and alcohol to create a thick syrup/paste. Vanilla paste is much more concentrated than extract and can be used relatively soon after making it.
For vanilla extract, I use Grade B vanilla beans; for vanilla paste, I use Grade A vanilla beans. Grade A are plump and squishy — loaded with vanilla caviar. Grade B works well for extracts, and as they sit, they seep vanilla flavor. However, you definitely want all the vanilla bean goodness found in Grade A beans for vanilla paste.
You can absolutely make vanilla paste without sugar. Some recipes use honey or agave syrup. This recipe, however, requires sugar to form the vanilla paste syrup. If you'd like to make substitutions, search online for a different recipe.
The small amount of corn syrup (2 Tablespoons) prevents the sugar from crystallizing over time, ensuring that the paste stays smooth. If you would like to omit it, you can search online for a different recipe.
The best jars for storing vanilla paste are an airtight container. I prefer a glass jar with a lid. Amber-colored jars work well, but if you plan to store your vanilla paste in a dark cupboard rather than out in the open, a clear jar is also suitable. When I make myself a jar of vanilla paste, I use an 8-ounce canning jar. This is the perfect size to fit on the shelf in my pantry. For gift giving, I prefer using smaller 2-ounce jars. This allows me to easily make and share the vanilla paste with more people at an affordable price. I found these cute jars at Michael's. They usually are $19.99 for 18 jars, and I paid $16 with a coupon ($.88 each)
Do not store it in the refrigerator, as it will absorb moisture and ruin the flavor. Store it in a cupboard, as you would vanilla extract.
More Homemade Gifts To Make
MADE THIS RECIPE AND LOVED IT? 💛 Please leave a STAR rating and COMMENT below! Post it to Facebook or Pinterest to easily share with friends!
Homemade Vanilla Paste
Equipment
- small jars
- funnel optional
Ingredients
- 2 ounces Grade A vanilla beans
- ½ cup water
- 1 cup granulated sugar
- ¾ cup vodka 80 proof
- 2 Tbsp. corn syrup
- ¼ teaspoon xanthan gum
Instructions
- Cut the vanilla beans into smaller pieces (1"-2").
- Place all ingredients except for xanthan gum into a blender.
- Blend for 2 minutes. The vanilla beans should have broken down, and flecks of vanilla should be throughout the syrup.
- Add the xanthan gum and blend for another 30-60 seconds.
- Pour vanilla paste into jars or an airtight container. Allow to cool before adding a lid (it will be warm from blending). The vanilla paste will thicken as it stands.
- Store vanilla paste in a cool, dark place (pantry or cupboard).

Bonnie Olson says
Can you use a food processor instead of a blender for mixing?
Brandy says
I don't see why not!
Brandy says
This was really easy to make and I like that it's ready so much faster than extract!
Mary Anne gillespie says
How much does this make?
Brandy says
About 20 ounces.