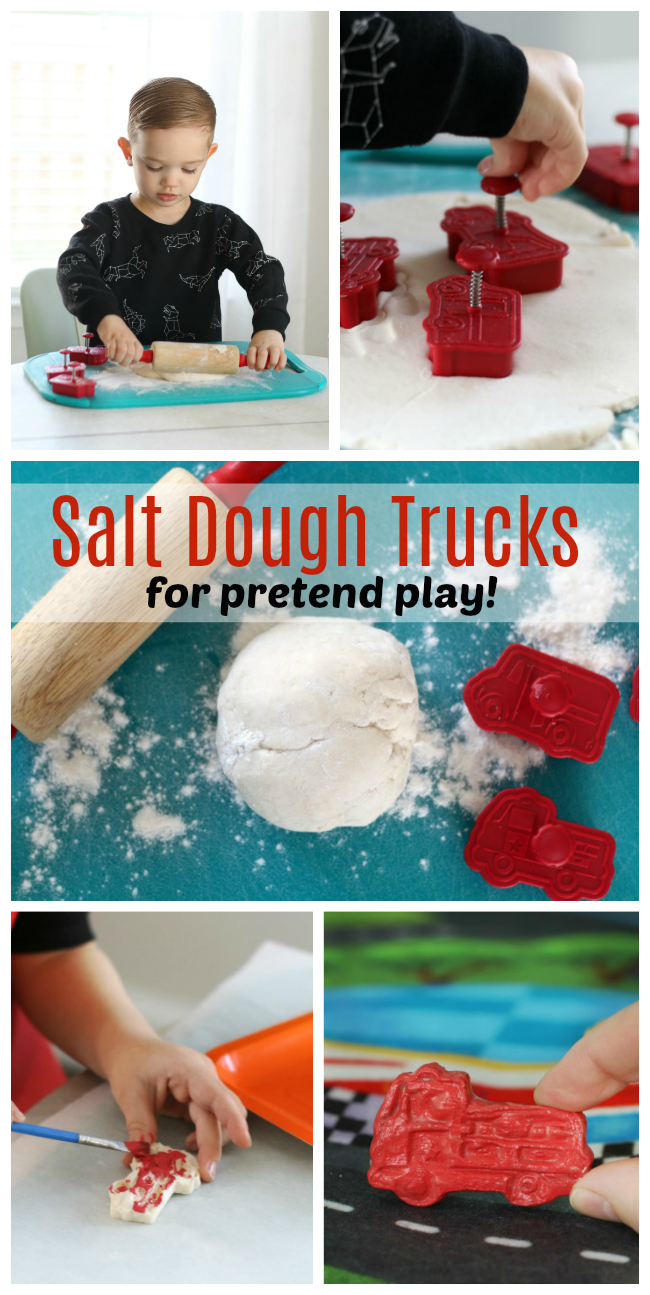
Watch our step by step video!
How fun is it to be able to MAKE your own toys? That's exactly what salt dough lets kids do!
How to Dry Salt Dough In The Microwave
You can let salt dough air dry or bake it, but microwaving it is the fastest way to dry the dough.
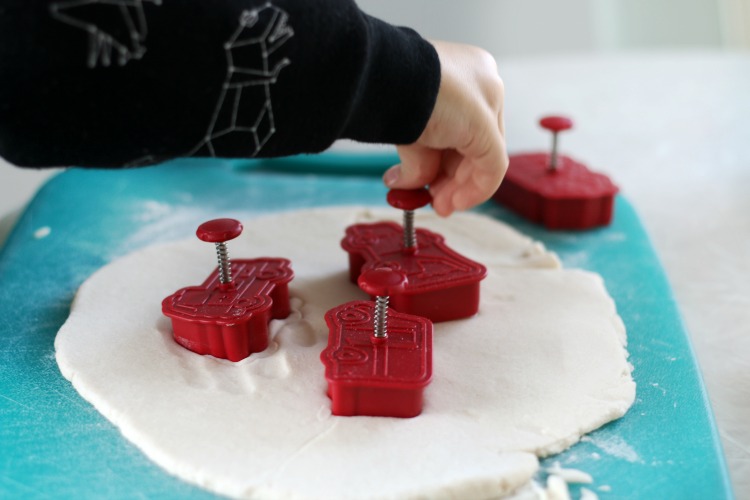
His favorite cookie cutters can be purchased here.
Every microwave is different and, depending on the thickness of the dough, the cook times are different. If your dough is thick, it's a great idea to poke a few holes in it using a toothpick so that it doesn't bubble while drying.
Cooking Times
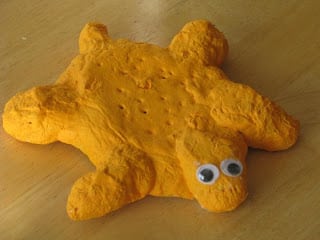
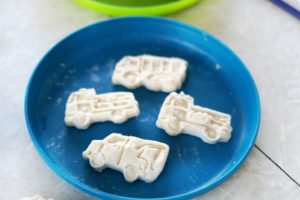
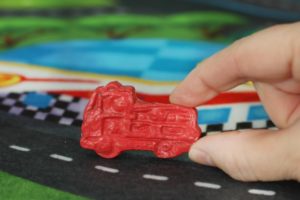
Aaron's turtle took abut 6 minutes to cook through, but these little trucks were nice and dry after about 30 seconds on each side plus an additional 10 seconds.
How to Paint Salt Dough
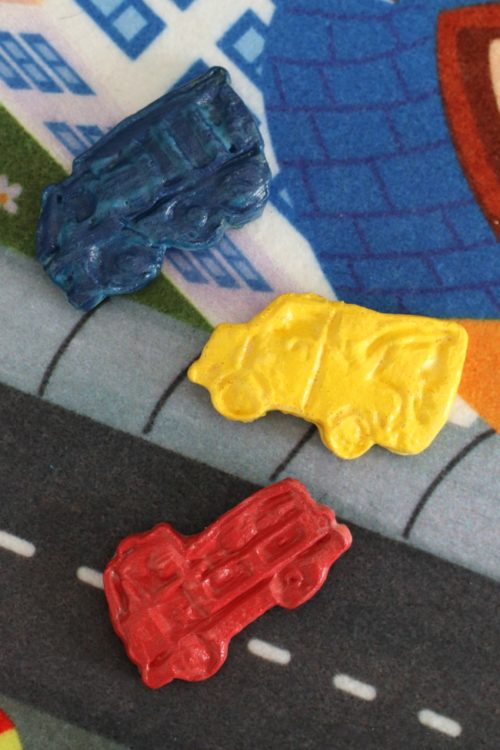
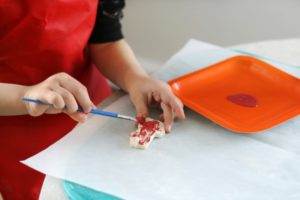
If you want a sturdy toy that will last the test of time you are going to want to seal it. We've found that painting it with acrylic paint works great, followed by a coat of mod podge to seal the paint. You can also spray the finished project with clear spray paint if you do not have mod podge.
WARNING: always keep salt dough creations out of reach of dogs as it is hazardous to their health if swallowed.
Microwave Salt Dough Trucks
Equipment
- microwave
Materials
- 1 cup flour
- ½ cup salt
- ½ cup water
- rolling pin
- cookie cutters
- microwave safe plate
- acrylic craft paint
- paint brush
- mod podge
Instructions
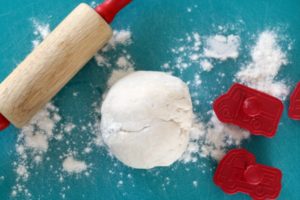
- Mix flour, salt and water until a soft dough forms.

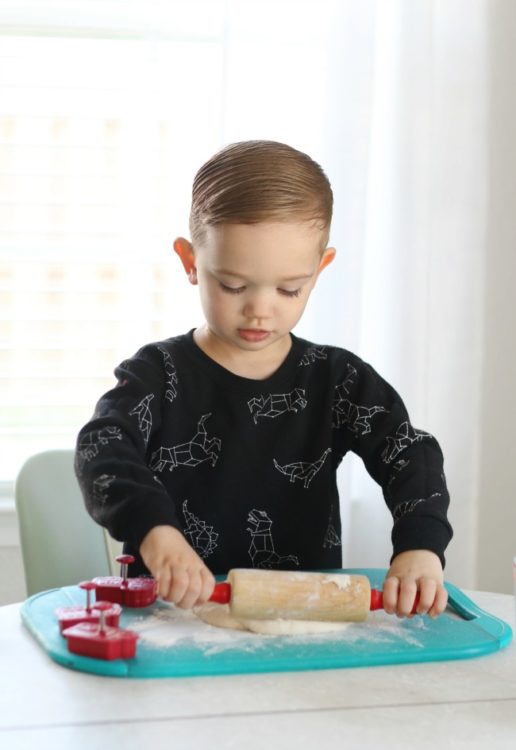
- Roll dough on a floured surface until it is about ¼" thick.

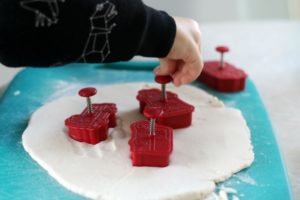
- Cut out shapes with cookie cutters.

- Microwave 4 at a time for 30 seconds on each side.

- If shapes are still soft, microwave an additional 10 seconds on each side until hardened, but not brown.
- Paint with acrylic craft paint. Let dry.

- Seal with mod podge. Let dry.






debbi Goodhart says
Although I’m an art teacher for older kids 9-14 year olds I found several of your crafts helpful and I will tweak them to be more age appropriate for my kiddos. 😊
Brandy says
Awesome! Glad they worked out for you!