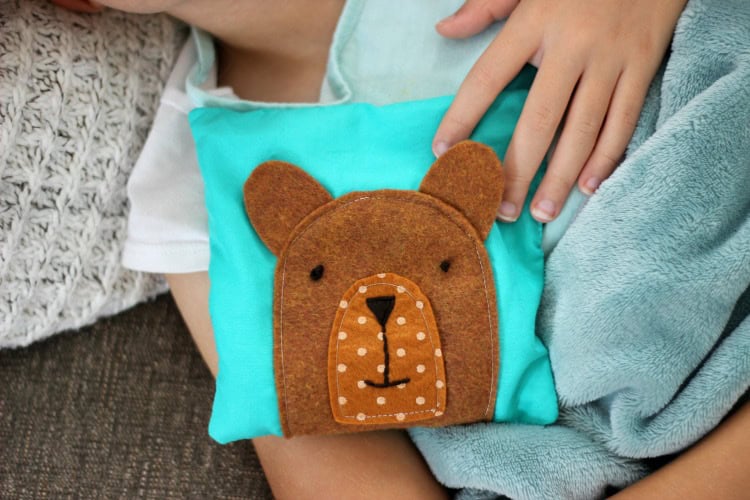
Keep little ones comfy and cozy with a hot/cold teddy bear rice pack. Make a few to keep on hand with this simple tutorial and printable template.
You might also like our lavender sachets, our sock gnomes, or our easy teddy bear tutorial.

Nothing makes a mama's heart more sad than seeing her child suffer. Whether it's a broken heart, a bad day at school, or when a little one is sick with a fever—it's Mom's job to make things all better.
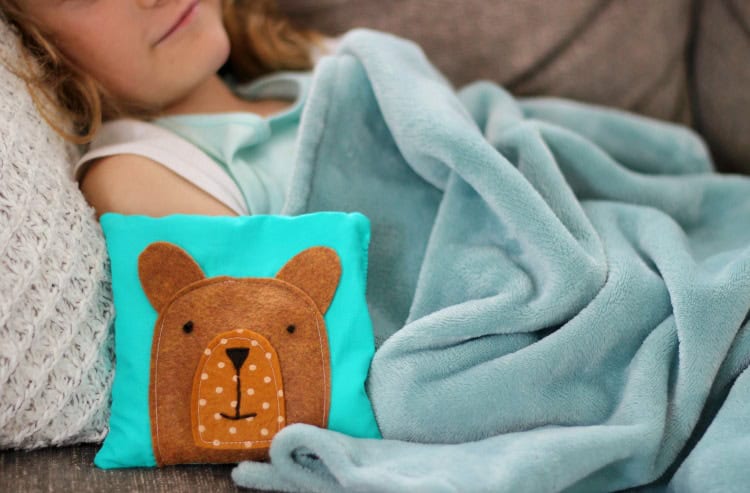
My kids all have a comfort item that they like snuggling with when they don't feel well. It's usually a soft blanket and stuffed animal. My mom gave my 13-year-old a rice pack shaped like a gingerbread man when he was 4 years old and he LOVED it. Everyone wanted to use it, so I had to make a few more to keep on hand. We still have that old gingerbread man rice pack, plus a few cute animal-shaped ones—like this teddy bear rice pack.
If you'd like to make your own, you are in luck! Some of our rice packs were looking a bit worse for wear, so I made a new one to add to the stash and snapped a few pictures along the way. I also made a simple template that you can use to make your own.
Nothing says childhood like a sweet teddy bear. Our teddy bear rice pack is made out of cotton, with soft felt for the bear face. Make your own with this printable template and step-by-step instructions below.
Teddy Bear Rice Pack Tutorial
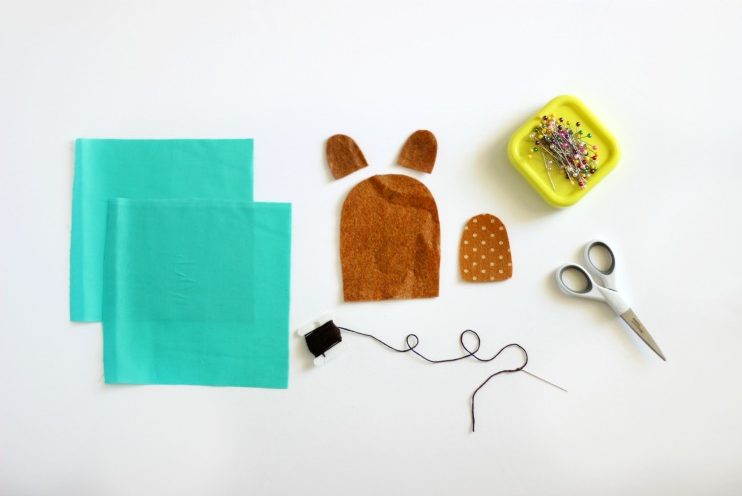
Supplies
- printable template
- 2 (6-½" x 6-½") pieces of fabric
- Felt scraps
- Scissors
- Embroidery floss
- Needle
- Pins
- Sewing Machine
- 2 c. rice
Instructions
- Using the template cut out 1 head, 2 ears, and 1 snout from the felt scraps.
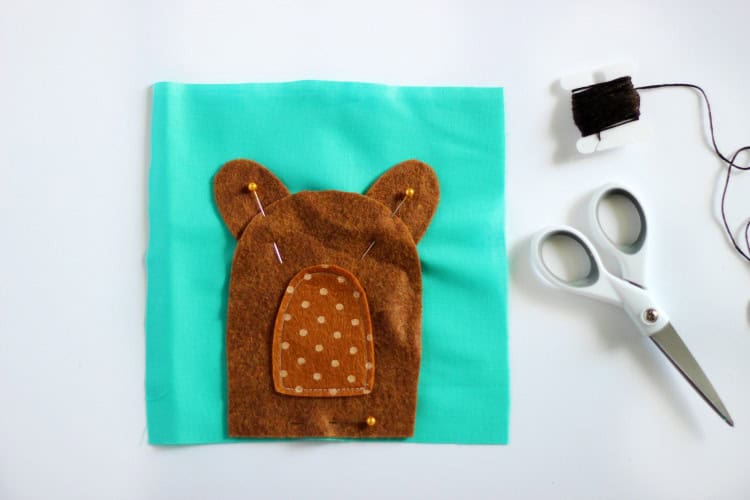
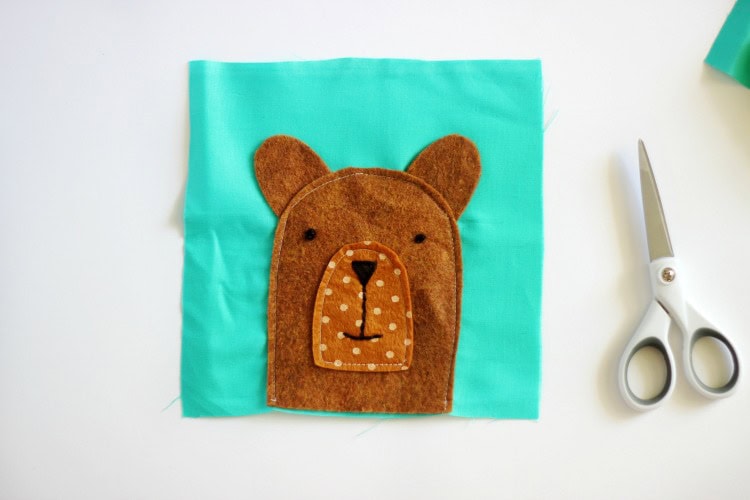
- Sew bear snout to bear head.
- Pin bear head to one of the 6-½" pieces of fabric.
- Tuck ears behind head and pin into place.
- Sew around the head of the bear. (The ears are meant to flap.)
- Cut a long piece of embroidery floss and thread a needle. Tie a knot at on the end.
- Make a nose by stitching 3 long stitches in the shape of a triangle.
- Stitch inside the nose, on a diagonal to fill in the nose.
- Stitch a few stitches to create a straight line below the nose, and a few more stitches across the bottom to create a mouth.
- Stitch 2 French knots for eyes.
- The bear face is now complete!
- Place it on to your work surface. Place the other 6-½" square on top, with right sides together.
- Pin in place, leaving an opening on the side (about 3").
- Sew around the perimeter using a ⅜" seam allowance, leaving the opening unstitched.
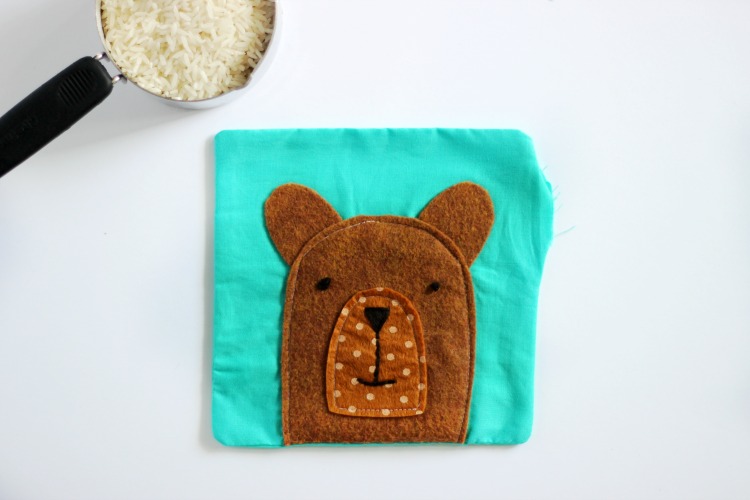
- Clip the corners and turn right side out.
- Fill with rice.
Fold over the open edges and pin in place. Hand stitch the opening closed.
How to use your Teddy Bear Rice Pack
This bear rice pack is perfect to keep cozy with when you aren't feeling well. Warm it up or cool it down to provide relief.
To warm your bear, heat in microwave for 30 seconds, or until warm.
To cool your bear place in freezer. Can be kept in the freezer indefinitely.


Leave a Reply