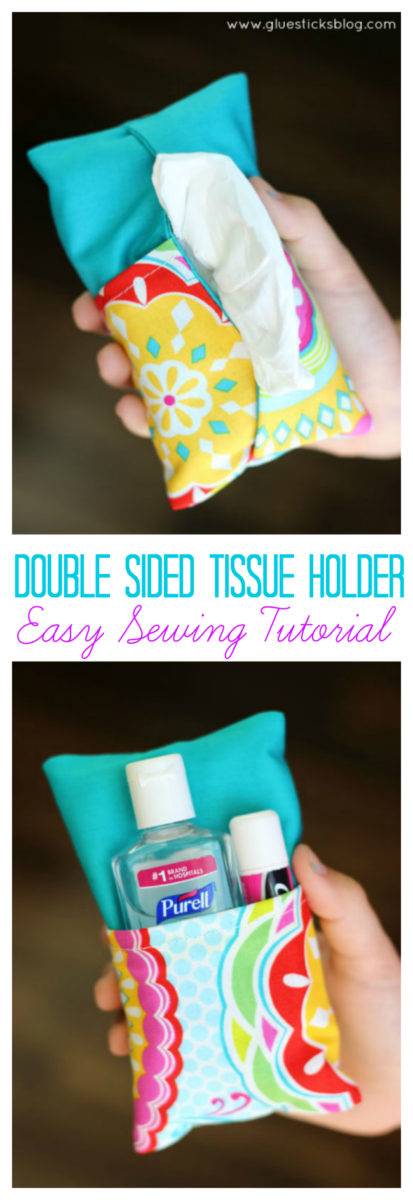
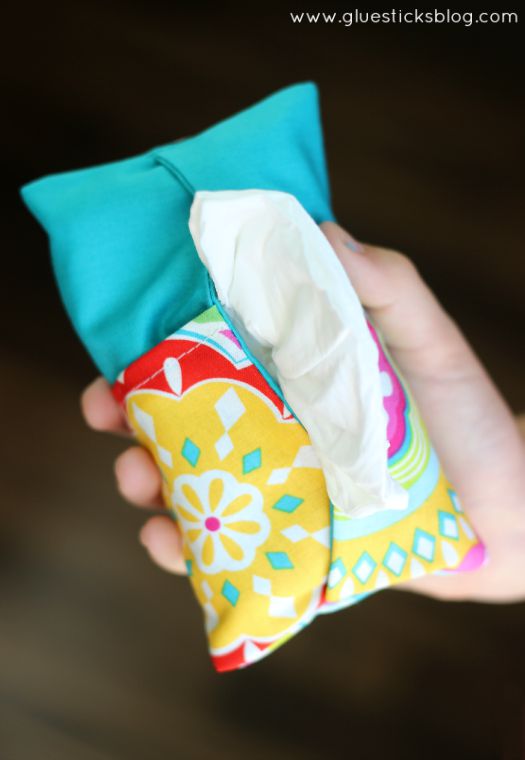
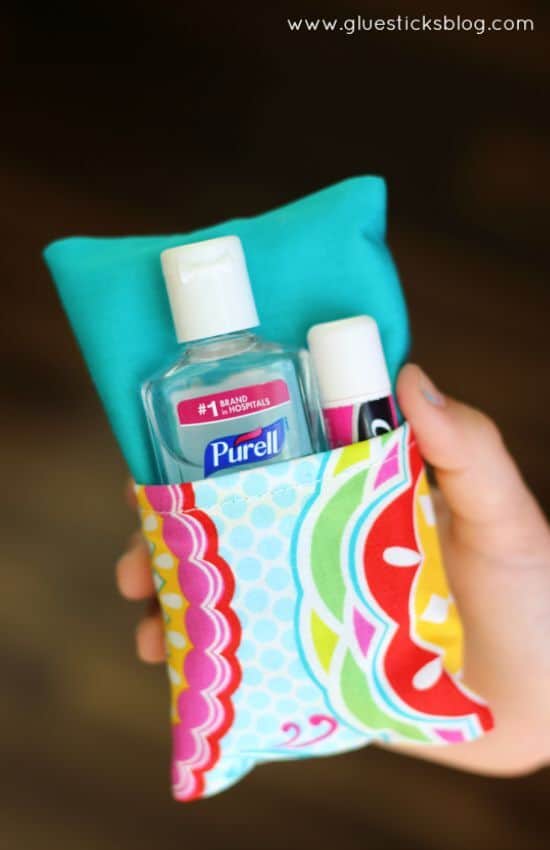
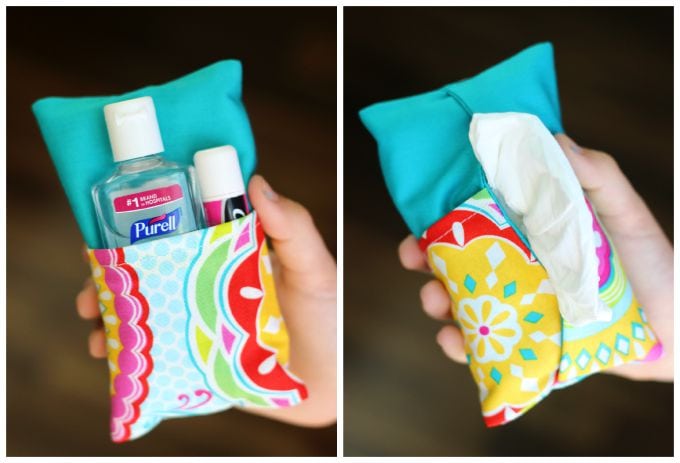
A two-sided tissue holder pouch is perfect for cold and flu season. One side can hold a pack of tissues, and the other side can hold a mini bottle of sanitizer and a lip gloss! Watch our video tutorial or scroll down for a step-by-step photo tutorial!
Watch our step by step video!
With cold and flu season approaching I decided to make some little tissue pouches to put in the kid's backpacks and one for my purse. They all like the single sized tissue packs, but they don't always hold up well being tossed around in a bag with books and binders.

For 60 more sewing projects, check out my sewing book for kids!
How to sew a two-sided tissue holder for your purse or backpack.
Supplies:
- Fabric Scraps
- Thread
- Measuring Tape
- Tissue Pouch (2x4.5") (affiliate)
- PURELL® Advanced Hand Sanitizer
- Lip gloss, optional
fabric tissue holder Instructions.
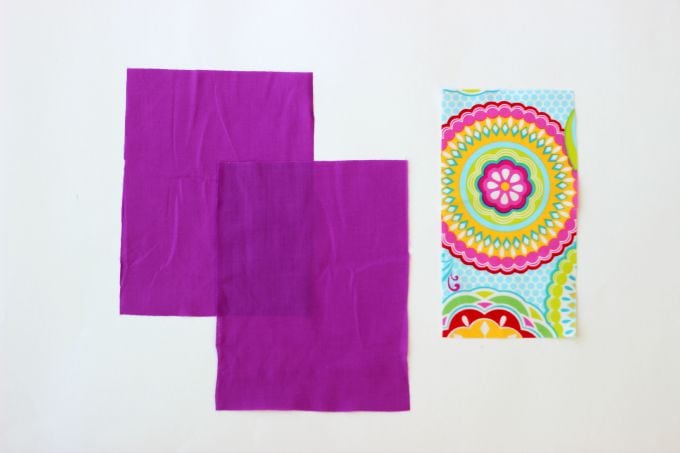
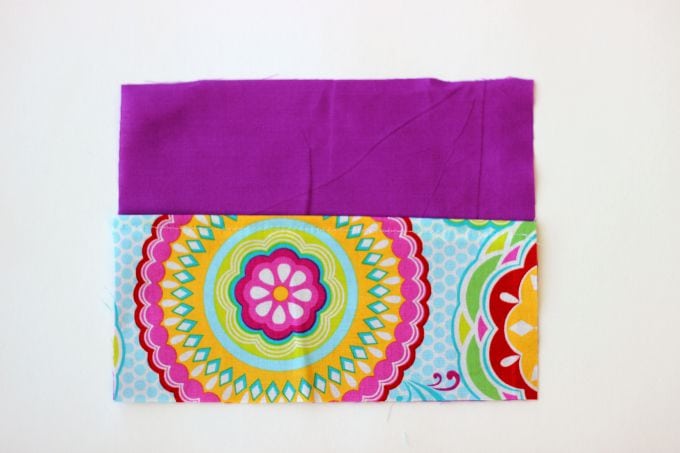
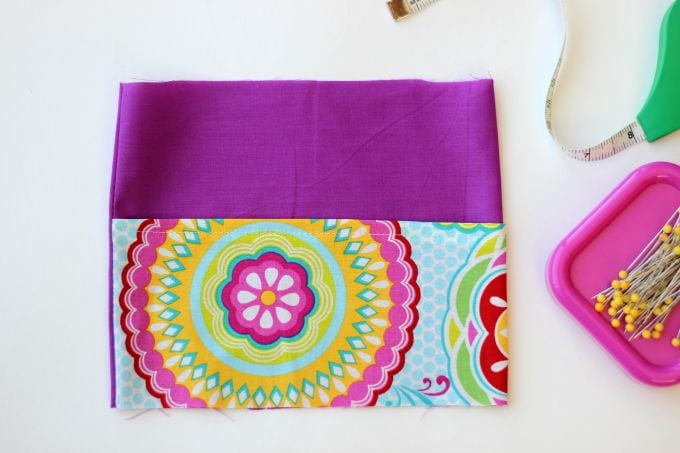
1. Cut your fabrics. You will need 1 main fabric for the body and 1 contrasting fabric for the pocket.
Body: (cut 2) 5 ¾" x 7 ½"
Pocket: (cut 1) 4" x 7 ½"
Seam allowance ¼"
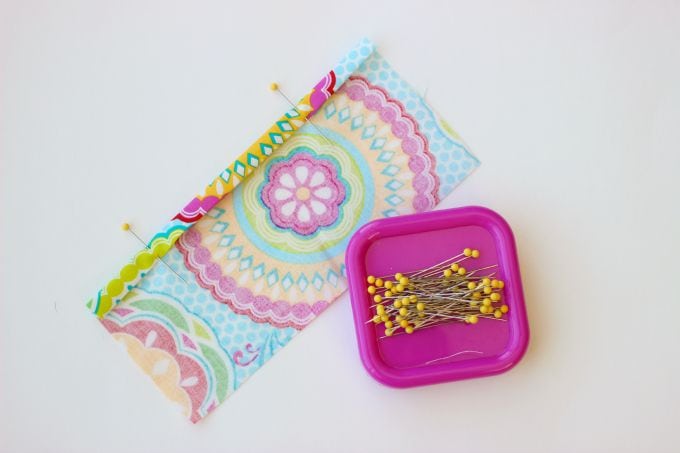
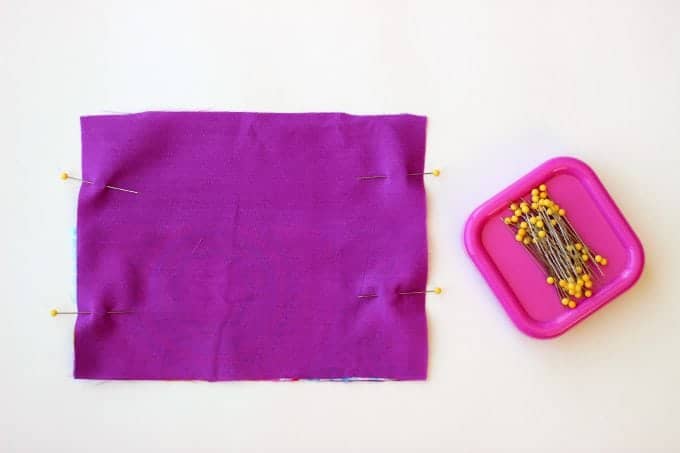
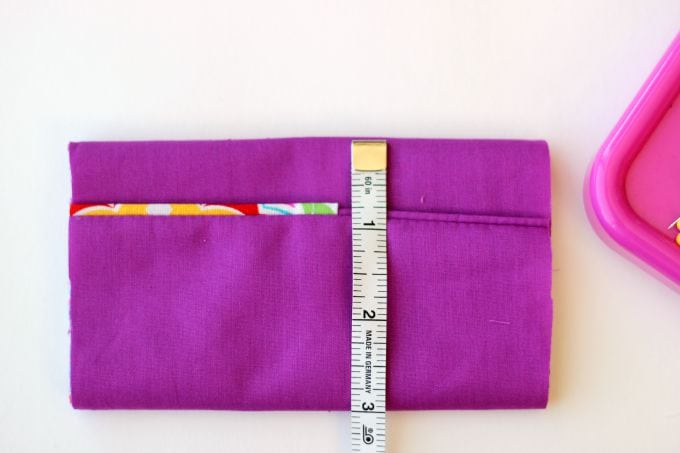
5. Pin sides and stitch both sides closed, leaving the top and bottom open.
7. Press seams flat.
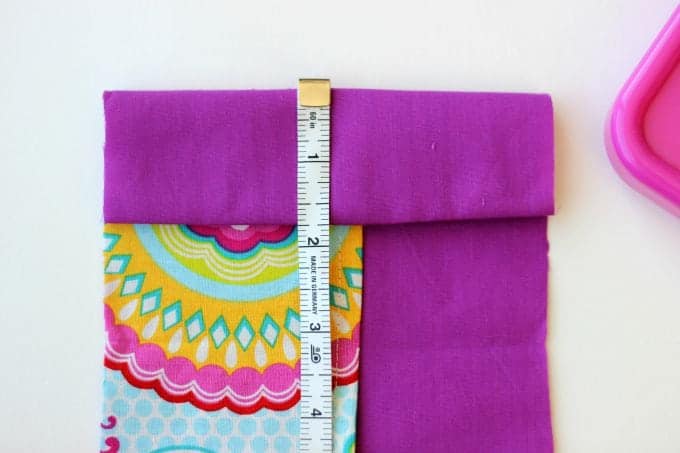
9. Fold the top down 1 ¾".
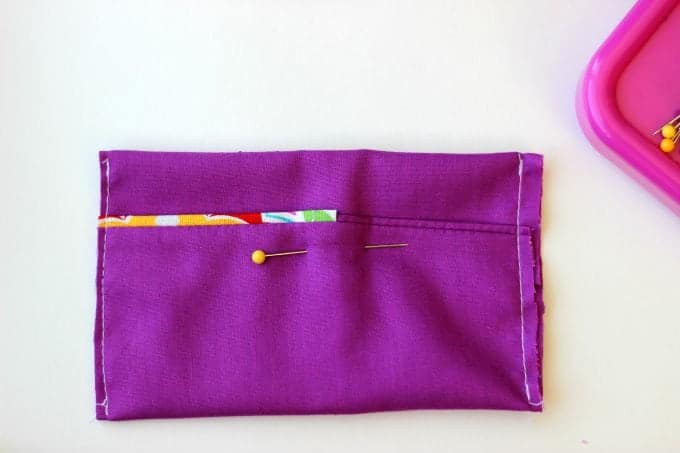
12. Stitch sides closed and trim close to seam.
13. Turn right side out.
You're going to love this double-sided tissue holder so much you'll want to make a few more to keep on hand for gifts!
This post was sponsored by GOJO Industries, the makers of Purel and contains affiliate links. This post is a refresh of my original tutorial, first shared in 2015.
You might also like...
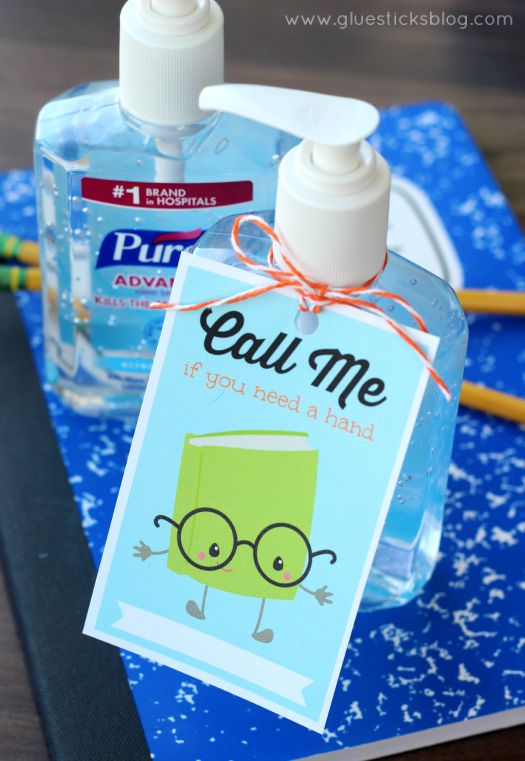
Hand Sanitizer Printable for Teachers


Mary Jo Munsey-Tyree says
Such a great Christmas gift for all of the girls in the club.
JESS44903 says
You're so talented and you always make everything look so easy! 🙂
I would love for you to share this with my Facebook Group for recipe, crafts, and tips: https://www.facebook.com/groups/pluckyrecipescraftstips/
Thanks for joining Cooking and Crafting with J & J!
Kim says
Really cute!Thanks for linking up to Merry Monday! Pinned! Have a great week!
Kim
Ana from The Lost Apron says
I love what you have done to make this simple project multi-functional. I think that tissue packs are one of the gateway projects in learning to sew. I have found you on Inspire Me Monday/Create with Joy. See my post on How to Run Your Own Summer Sewing Camp: http://www.thelostapron.com/2016/07/sewing-camp.html
Charlotte says
Awww, this is adorable--thanks so much for sharing 🙂 I love a cute and creative idea that doesn't look TOO terribly challenging (as I am not the biggest DIY'r!). Following over from SITS Sharefest and hope you're enjoying the weekend 🙂
Living in Mommywood says
I love your shares! Found you on Creative link 🙂 Great and compact for easy access and carry along.
Linda says
This is very awesome. I love the colors, too. Pinned to Pinterest. Best wishes for a wonderful summer, Linda @Crafts a la mode
CJ Huang says
Love how you've got these doublesided! So convenient to keep a few things together. 🙂
angie says
very cute love how they are created makes it easy to carry items without a large bag.
come see us at http://shopannies.blogspot.com
Janet Vinyard says
Cute idea! I've made a fabric tissue case before but not with a pocket! I look forward to trying this one! Blessings, Janet
WesTXGrl13 says
PERFECT for us germ-a-phobes!!! Pretty, fast, and useful--can't beat that!!! Thanks for sharing!!!
Organized 31 says
What an adorable and entirely useful sewing project. Can't wait to give it a try. Congrats, you're featured this week at the #ThisIsHowWeRoll Link Party.
Brandy says
Wow, thank you so much!
gracefulcoffee says
This is such a cool idea! I love that it's a multi-purpose pouch 🙂
Blessings,
Edye // Gracefulcoffee
Brandy says
Thank you, Edye! They are fun to make!
Candice Schenk says
Really cute ideas!! I love that the tissue holder has a pocket!
Brandy says
Thanks so much Candice!
Heather says
Thankyou so much. I've been thinking about these for a while and sometimes my brain doesn't let me come to a conclusion. So beautifully explained.
Theresa @DearCreatives says
Seriously love the double sided tissue pouch! I need to make mine like these. Pinning for later.
Brandy says
Thank you, Theresa! They are so fun to make!
Brandy Anthony says
I really enjoy your website and sewing progects!