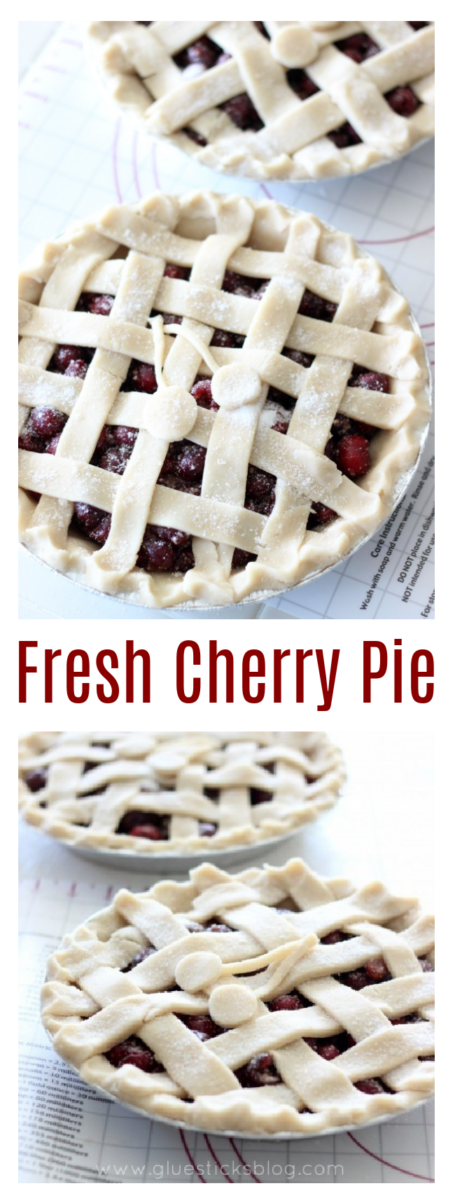
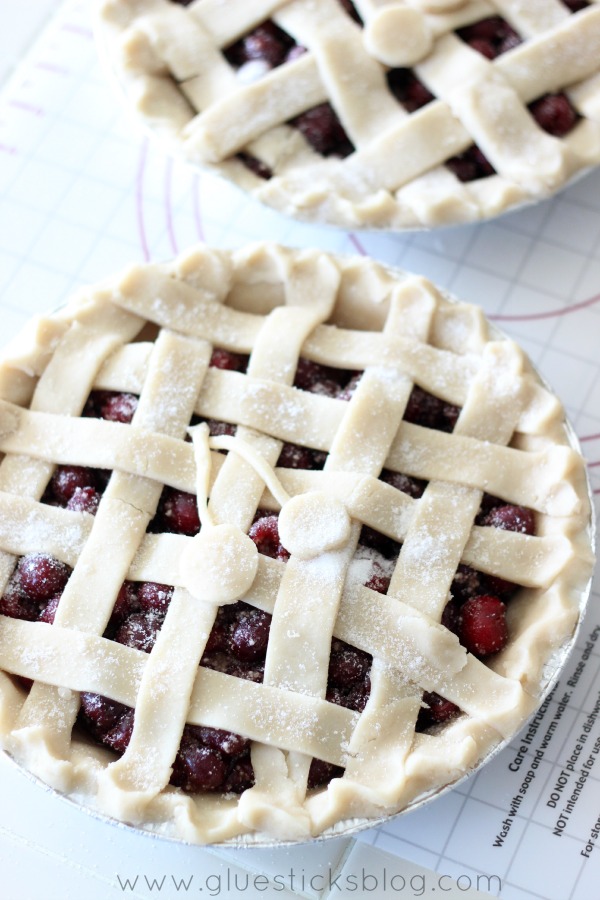
This fresh cherry pie recipe is delicious and a show stopper with its lattice crust. Made with a homemade cherry pie filling that can be used for a variety of cherry desserts. Simple, delicious and perfect for summer. This post contains an affiliate link. This post was originally shared in 2014 and now includes a video.
You might also like our cherry turnovers, fresh peach pie with buttermilk crust or fresh blackberry pie recipes! For lattice pie instructions check out our blueberry pie!
 Watch our step by step video!
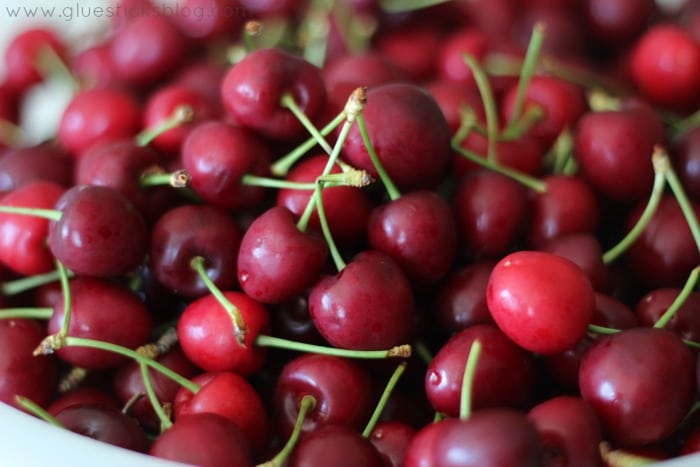
Is there anything better than fresh fruit from the tree? It's cherry season here and that is my favorite time of year! We picked these cherries from the most beautiful 35 year old cherry tree. It produces thousands of cherries each year. In order to reach them we had to climb up ladders and reach way up into the tree. Derrick and I enjoyed an impromptu date night and went to visit our friend, Lamarr, and help him pick some cherries. He said he would be so sad if any went to waste so I am very glad we could help him out and bring home a bucket for our family. We passed them out to friends and family and still had so many to enjoy.
Usually the cherries we bring home don't last long enough to do anything else but eat them fresh. Since we picked a large bucket of them I made some pies.
Lamarr said that most people say not to use bing cherries because they are too sweet, but if you lower the sugar content in the recipe they are just fine. Most canned pie fillings that you buy in stores are made with sour cherries. Sweet cherries are a lot easier to find so I've adapted my recipe for sweet cherries. Not too sweet, not too tart. Just right. Lamar also showed me his favorite pie containers that he buys at Walmart. They are just disposable aluminum pans with a top and bottom plastic cover so that you can stack and freeze them. I picked up a couple of packages of them at the store and was ready to get to pitting all of those cherries!
How to Pit a Cherry
For any method that you use, make sure to cover the work surface to avoid juice from staining your counter or clothing. Gloves are also a good idea unless you want your hands to look like you smeared self tanner on them. Cherry juice stains them brown. The fastest methods are the straw or frosting tip, but all 3 work!
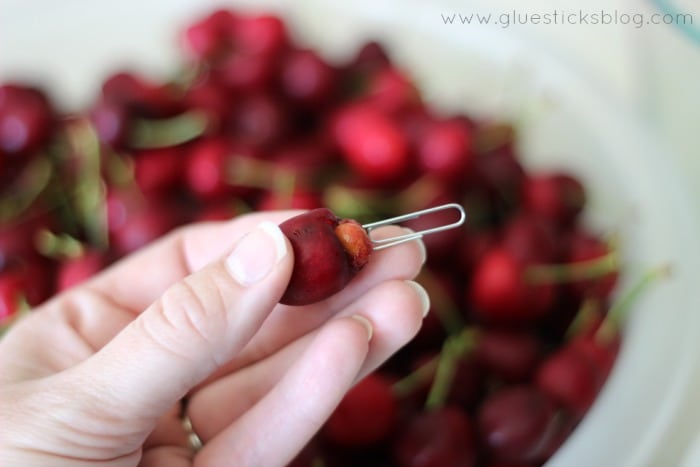
Paper Clip Cherry Pitter
Pull out the stem and poke the paper clip inside and it will loosen the pit. The pit falls right out. It still takes awhile to get enough for two pies, but it wasn't hard.
Metal Straw Cherry Pitter
If you watch our step by step video I'll show how to use a straw. Metal straws work great. Poke it into the cherry and push through. The pit will fall out the other side.
Frosting Tip Cherry Pitter
Place a frosting tip on top of a cutting board and pushed the cherries down onto it. As the frosting tip is pressed against the bottom of the cherry, the pit pops right out.
Last, but not least, you can pick up a cherry pitter on Amazon for under $20 that will pit 6 cherries at a time.
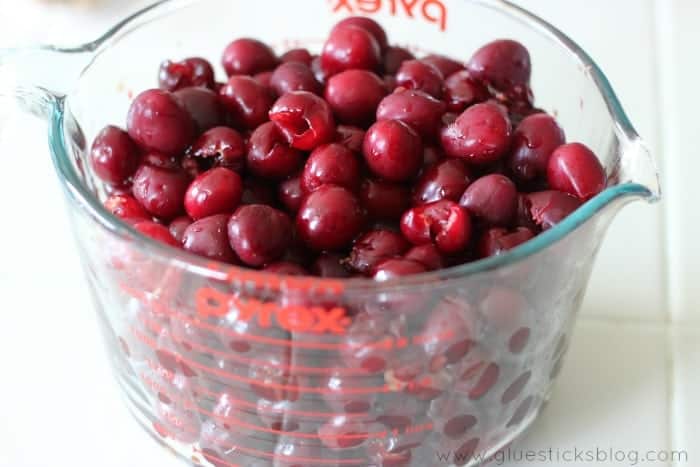
8 cups of fresh pitted bing cherries, enough for two pies! My recipe below is for 1 cherry pie, but can easily be doubled.
Fresh Cherry Pie Recipe
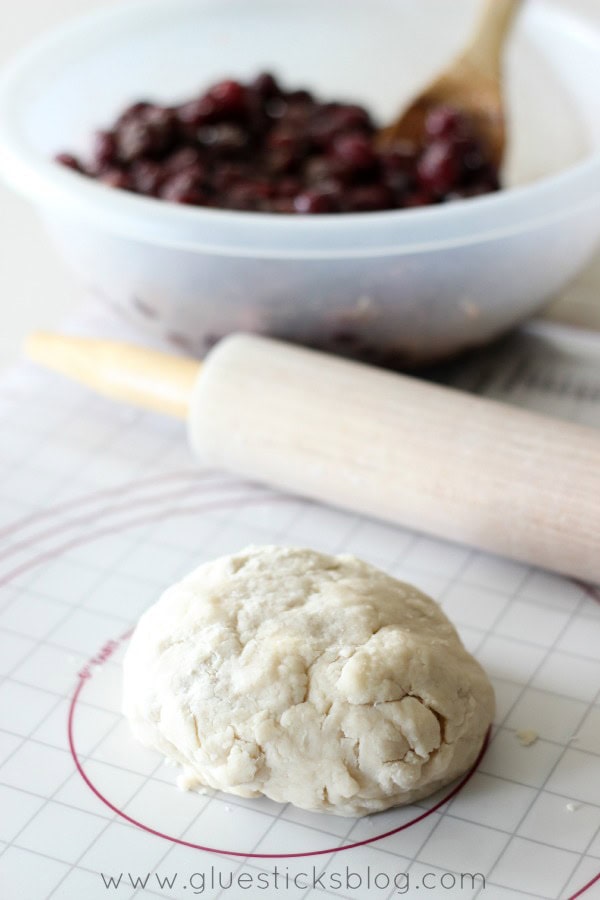
This is my favorite pie crust recipe because it uses both butter and shortening. The perfect, flaky, crust that is easy to work with.
Perfect Pie Crust Recipe
adapted from my trusty Betty Crocker Cookbook
(makes 2 crusts for a double layered pie)
- 2 c. flour
- 1 tsp. salt
- ⅔ c. shortening
- 3 T. cold butter
- 2 tsp. canola oil
- ⅓ c. milk
- 1 T. vinegar or lemon juice
Mix flour and salt in bowl. Cut in shortening and butter with a pastry blender or two forks until it resembles coarse crumbs the size of peas.
Combine milk and vinegar in a small bowl (or lemon juice) then add to the flour mixture, along with oil, and mix until all flour is moistened.
Divide dough in half and cover unused portion. Roll out the other portion and line the bottom of your pie pan with the crust.
Fresh Cherry Pie Filling
- 4 c. fresh cherries, pitted
- ¼ c. water
- 1 ½ T. lemon juice
- ⅓ c. sugar
- 3 T. corn starch
- ¼ tsp. almond extract
Heat cherries and all of the filling ingredients in a medium sauce pan. Bring to a boil, while stirring. Reduce heat to low and simmer, stirring frequently, until thickened (3-5 min). Allow filling to cool before pouring into pie crust.
If you liked this filling you'll love our cherry pie cookie bars.
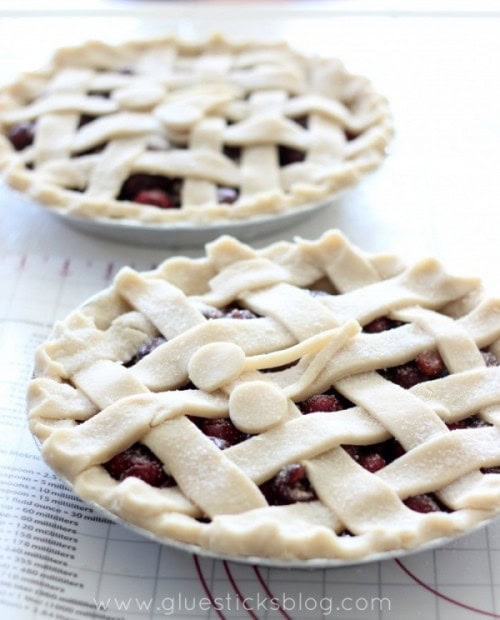
After pouring pie filling into the bottom crust, add the top layer of crust and place pie on a foil-lined baking sheet. If using a solid crust (not lattice) cut a few slits to allow venting while baking. If you'd like to make a lattice crust, use our step by step photos and instructions here.
Sprinkle with sugar and bake at 400 degrees for 65 minutes. If you notice the pie crust browning too quickly you can tent it with foil for the last 20-30 minutes of baking.
Cool 1 hour before serving.
Freezing Cherry Pie
I like making two pies at once. If you're going to make a mess in your kitchen might as well make it worth it! You can easily freeze an unbaked pie by wrapping it in plastic wrap then wrapping it in foil before placing it into the freezer. Pies can be frozen up to 4 months. DO NOT THAW before baking the frozen pie. Place unwrapped frozen pie on a baking sheet and bake at 425 degrees for 20 minutes then 350 for 60 minutes or until done.
Cherry Pie Printable Recipe
Cherry Pie
Ingredients
Filling
- 2 cup flour
- 1 teaspoon salt
- ⅔ cup shortening
- 3 Tbsp. cold butter
- 2 teaspoons canola oil
- ⅓ cup milk
- 1 Tbsp. vinegar or lemon juice
Cherry Pie Filling
- 4 cups pitted cherries
- ¼ cup water
- 4 ½ teaspoons lemon juice
- ⅓ cup sugar
- 3 Tbsp. cornstarch
- ¼ teaspoon almond extract
Instructions
Crust
- Mix flour and salt in bowl. Cut in shortening and butter with a pastry blender or two forks until it resembles coarse crumbs the size of peas.
- Combine milk and vinegar in a small bowl. Add to flour mixture along with oil and mix until all flour is moistened.
- Divide dough in half and cover unused portion. Roll out the other portion and line the bottom of your pie pan with the crust.
Filling
- Heat cherries and all of the filling ingredients in a medium sauce pan. Bring to a boil, while stirring. Reduce heat to LOW and simmer, stirring frequently to prevent burning, until thickened (3-5 minutes). Allow filling to cool before pouring into pie crust.
Baking Pie
- Pour filling into pie pan that has the botton crust. Roll out top crust and place on top, pinching edges to seal. Cut a few slits for venting.If you'd like to make a lattice top follow our step by step instructions linked in the post.
- Sprinkle with sugar and bake at 400 degrees for 65 minutes. If pie begins to brown too much you can tent it with foil for the last 20 minutes of baking.
- Cool 1 hour before serving.

Ally says
Use some lemon or orange zest, try adding a bit more sugar or agave. 🙂
Making this today! My 7 year old has been begging for a cherry pie. We will be making gluten free crust.
Thanks for the great recipe!
Brandy says
You're welcome! And your suggestions sound delicious!
Pam Kurkowski says
I find frsh cherry pie is very acidic as compared to the sour pitted cherries packed in water. What can I use to cut the acid?
Brandy says
Hi Pam! I'm not sure. Hopefully someone else can answer this for ya!