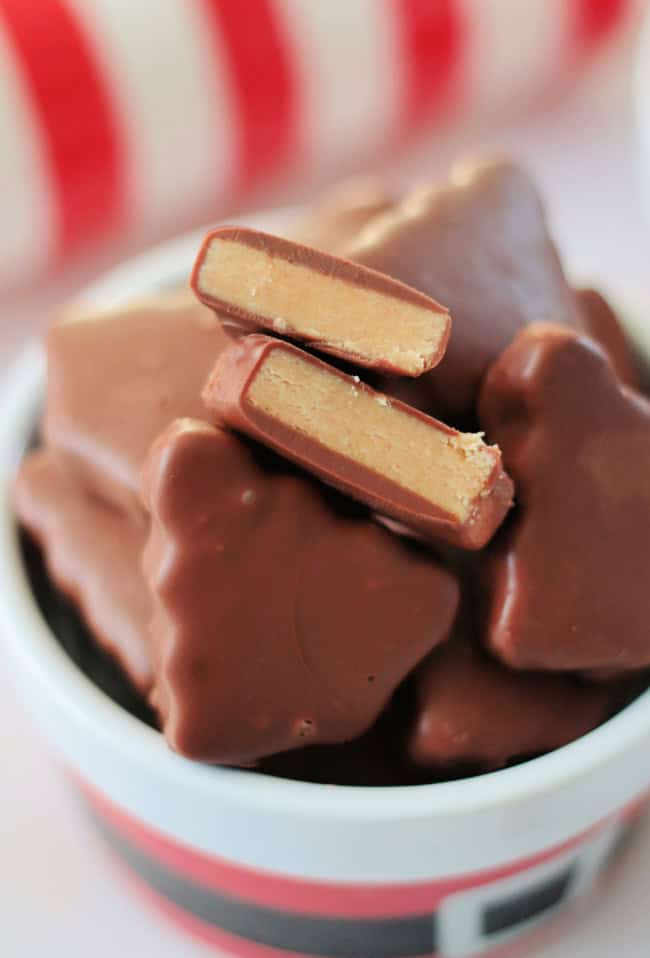
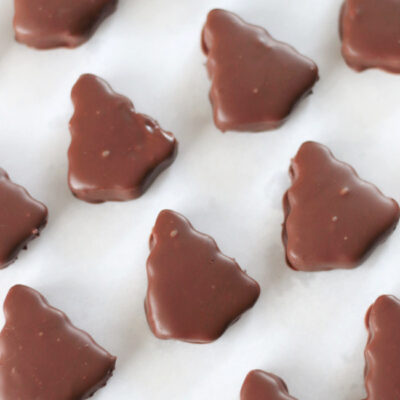
These copycat Reese's peanut butter trees are easy to make. Dipped in chocolate they are the perfect addition to holiday treat plates!
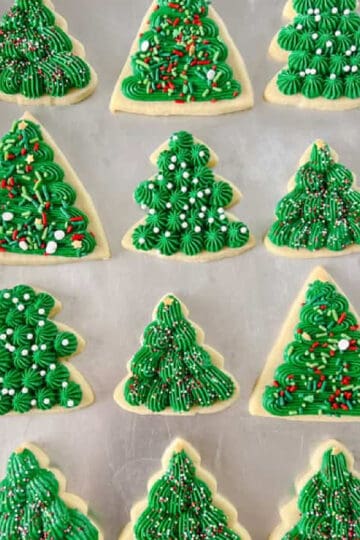
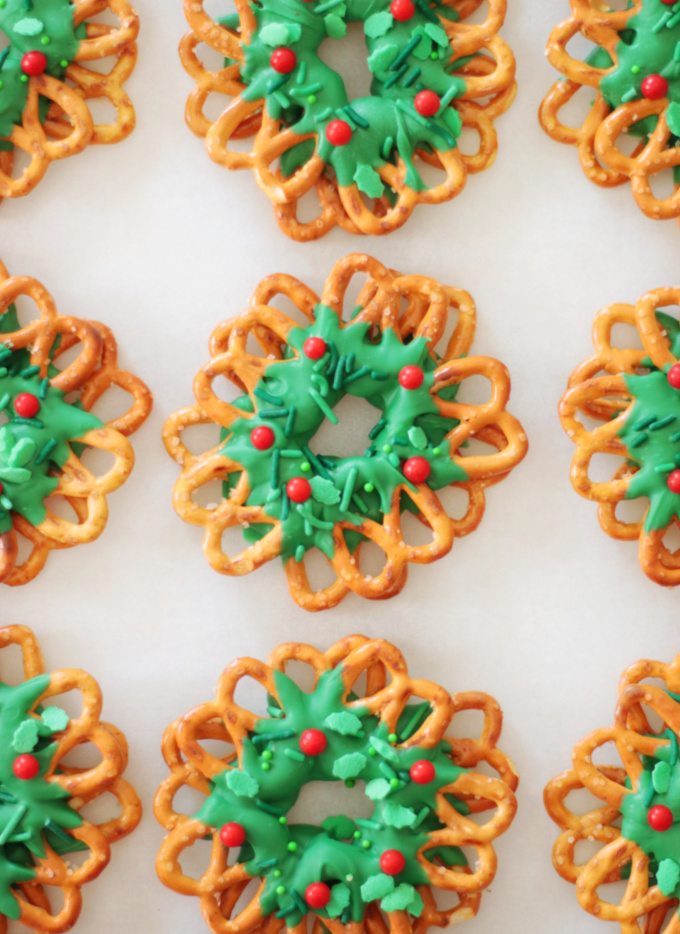
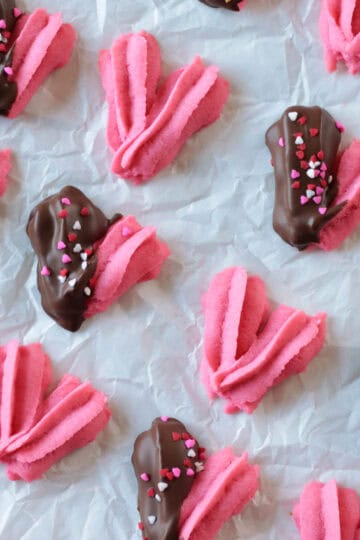
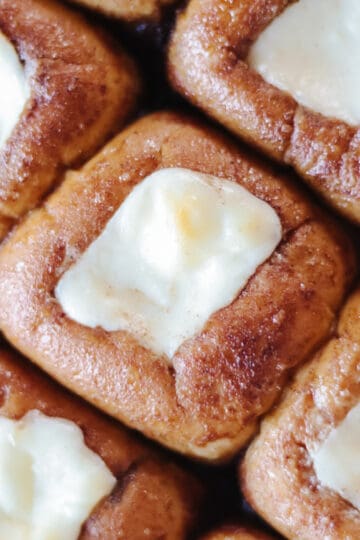
You might also like our copycat Reese's peanut butter ghosts, our shortbread tree cookies, or our pretzel trees!
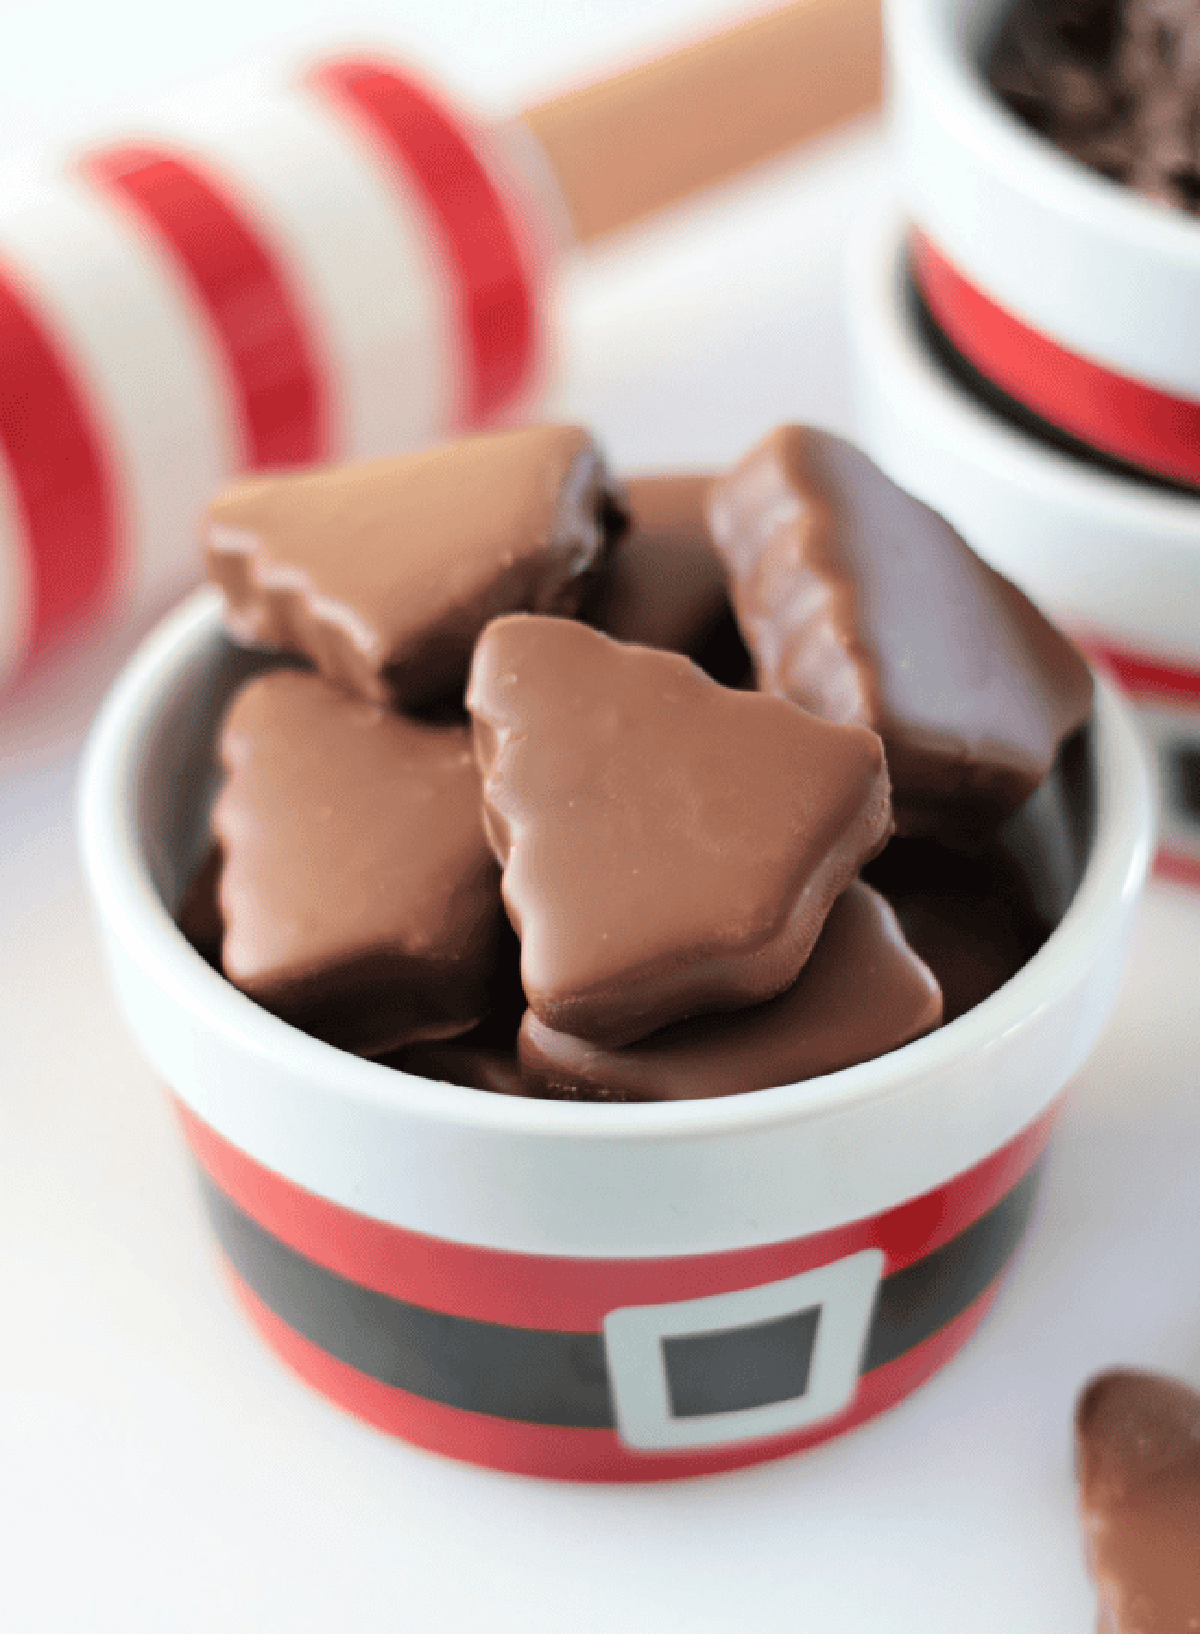
Reese's peanut butter trees are such a classic holiday candy. My mini versions are just as tasty and the perfect bite-sized treat. Peanut-buttery, chocolatey, and delicious. Add these to holiday treat plates for that special "wow" factor!
Why I Like This Recipe
- Tried and true filling recipe. The filling is the same recipe that I use for peanut butter ghosts and peanut butter eggs. It is easy to work with and tastes amazing!
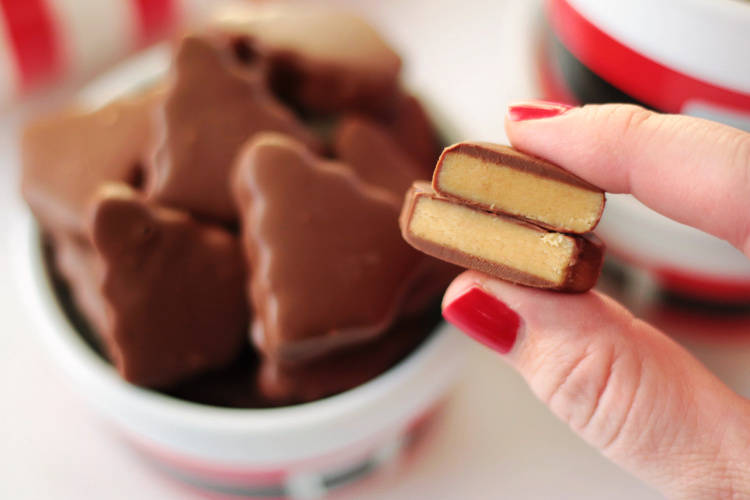
- Easy to shape. I used a TINY cookie cutter to cut out the peanut butter filling before dipping the trees in milk chocolate. If you'd like to make larger peanut butter trees simply use a bigger cookie cutter!
- One batch makes a lot! These come together fairly quickly, so it's easy to make 40 mini trees in no time. They store well, too, so feel free to make an entire batch to enjoy for the week!
Jump to:
Tips and Tricks
- How to heat candy melts. I microwave chocolate chips in 20-30 second increments. When I use candy melts I microwave at 50% power in 30-second increments. This is the best method for working with candy melts. If you find that your chocolate isn't as thin as you'd like for dipping, you can add a teaspoon of solid vegetable shortening or coconut oil to thin it out (solid vegetable shortening is preferred).
- Tip for dipping trees in chocolate. The peanut butter filling may start to soften by the time you get to the last few trees. No worries, just pop them back into the freezer for a few minutes. You can also keep half of the undipped trees in the freezer while you dip the first half and then pull them out later.
- How to store peanut butter trees. Layer the trees between pieces of parchment or waxed paper in an airtight container and store in the refrigerator for up to 2 weeks.
Ingredients
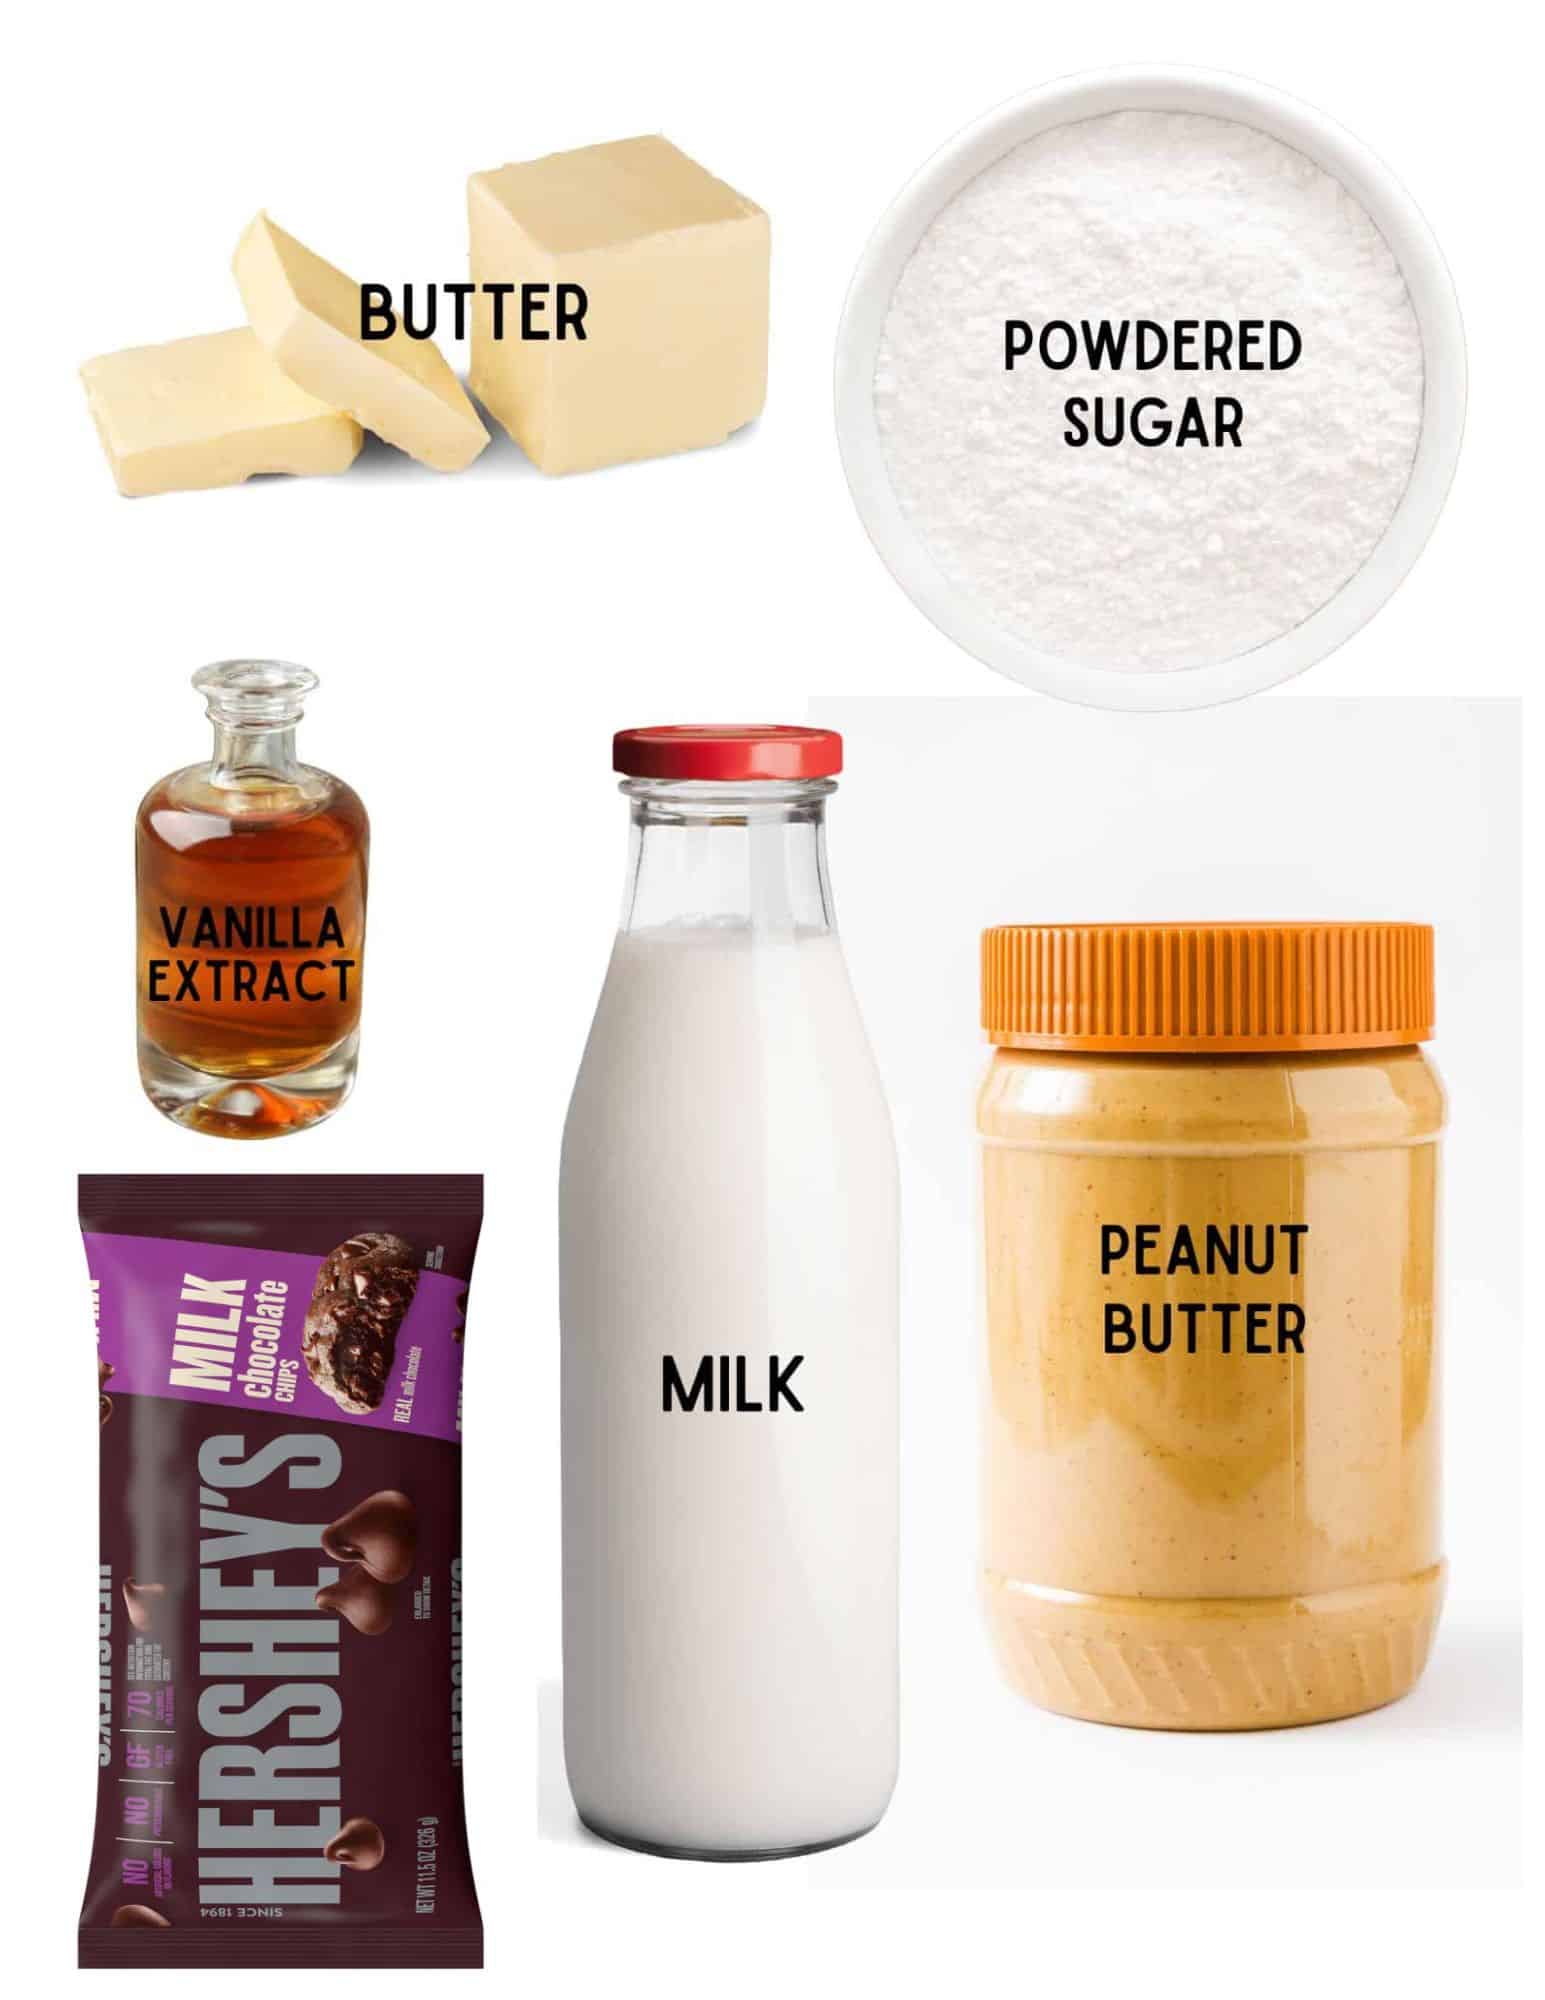
- Butter: just a small amount to make the filling smooth and easy to handle. I use salted butter exclusively for all of my baking and cooking, but you can use unsalted.
- Peanut butter: obviously. I prefer creamy peanut butter to closely resemble Reese’s peanut butter filling.
- Vanilla: just a splash for flavor. Have you tried making your own vanilla extract?
- Powdered sugar: for texture. The powdered sugar gives the dough stability and makes it easy to form into shapes.
- Milk: This helps thin the dough a bit. You can use more or less than what I used to achieve the perfect consistency.
- Milk chocolate: you can use almond bark, chocolate chips, or melting wafers. I used chocolate chips and thinned them out with a teaspoon of coconut oil.
See the recipe card for full information on ingredients and quantities.
How To Make Chocolate Peanut Butter Trees
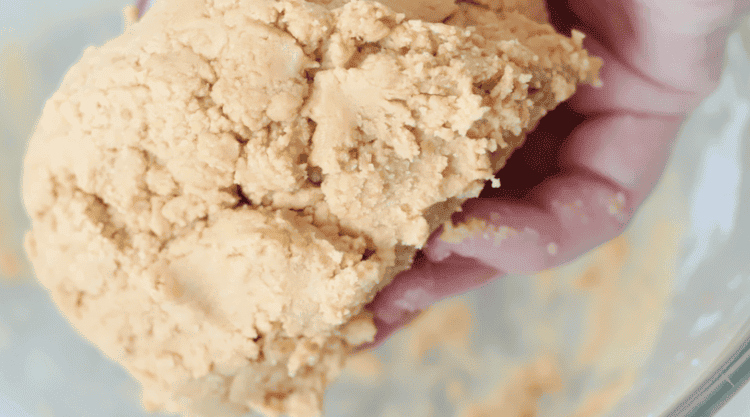
Step 1: Combine softened butter, powdered sugar, vanilla, peanut butter, and milk in a mixing bowl. Mix until a soft dough forms. If your dough feels a little dry, you can add an additional teaspoon of milk. The dough will be soft and easy to form.
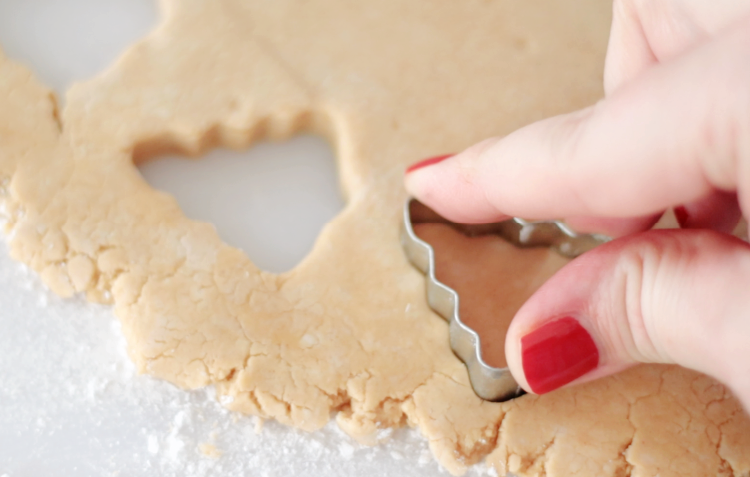
Step 2: Lightly cover your work space with powdered sugar. Roll the peanut butter dough out to about ½" thick and cut into shapes using a cookie cutter. Transfer trees to a parchment paper lined baking sheet.
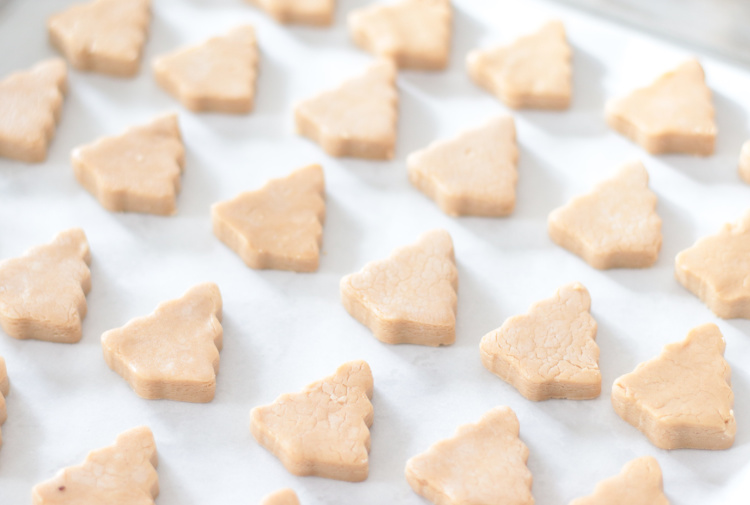
Step 3: Freeze for 1 hour, or until hard. The colder the trees, the easier they are to dip.
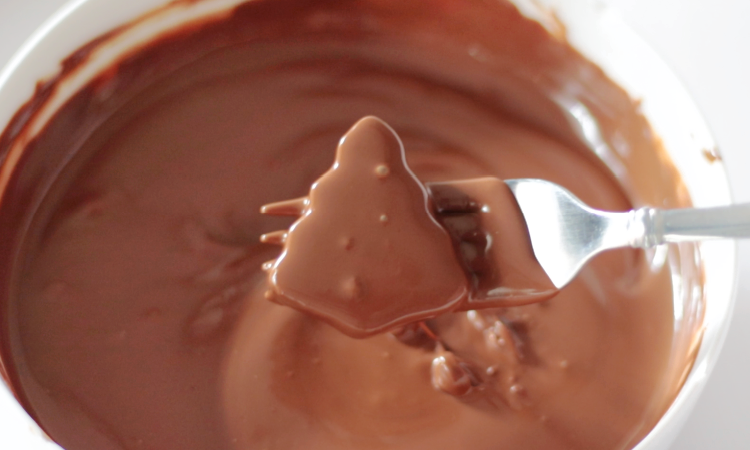
Step 4: Melt the chocolate according to the package instructions, or in a double boiler.Dip frozen peanut butter trees into the melted chocolate using a fork. Tap the fork against the side of the bowl to allow excess to drip off. Drag the fork against the side of the bowl to remove even more chocolate then slide the trees onto the parchment or wax paper-lined baking sheet.
Note: The peanut butter filling may start to soften by the time you get to the last few trees. No worries, just pop them back into the freezer for a few minutes. You can also keep half of the un-dipped trees in the freezer while you dip the first half and then pull them out later.
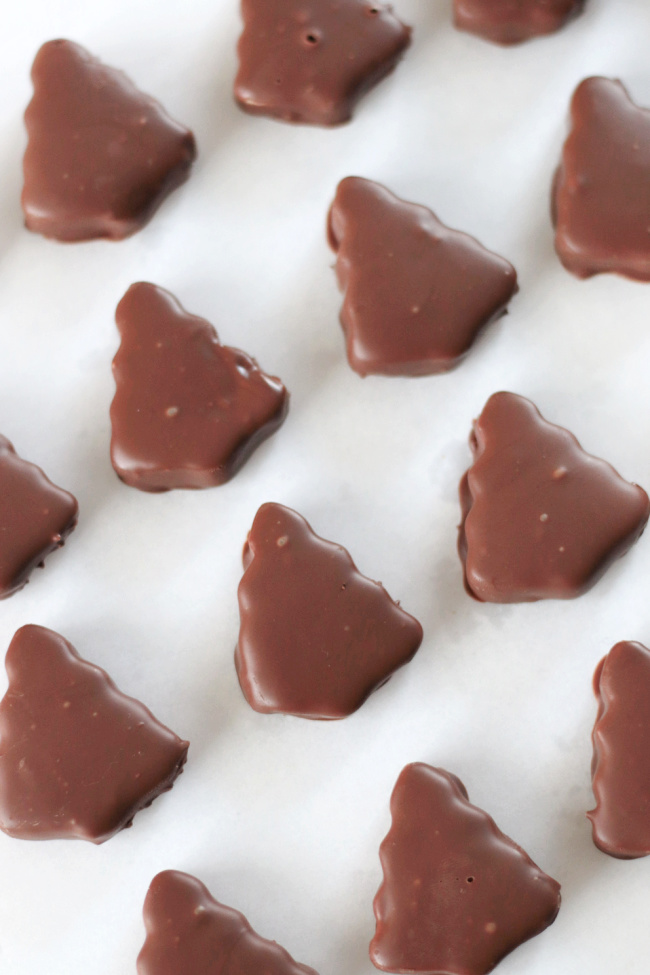
Step 5: Allow chocolate to harden.
Copycat Reese's Trees FAQs
The easiest "chocolate" to work with for dipping is almond bark or candy melts. You can also use chocolate chips with a bit of coconut oil or shortening to thin them out for dipping.
Layer the trees between pieces of parchment or waxed paper in an airtight container and store in the refrigerator for up to 2 weeks.
The brand doesn't matter as much as the texture. Smooth peanut butter works best for a copycat Reese's, but crunchy is delicious if you'd like to add a bit of crunch to the peanut butter trees.
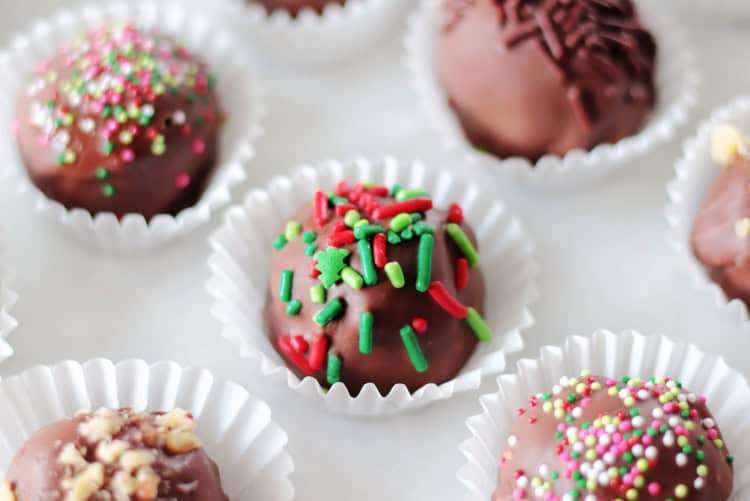
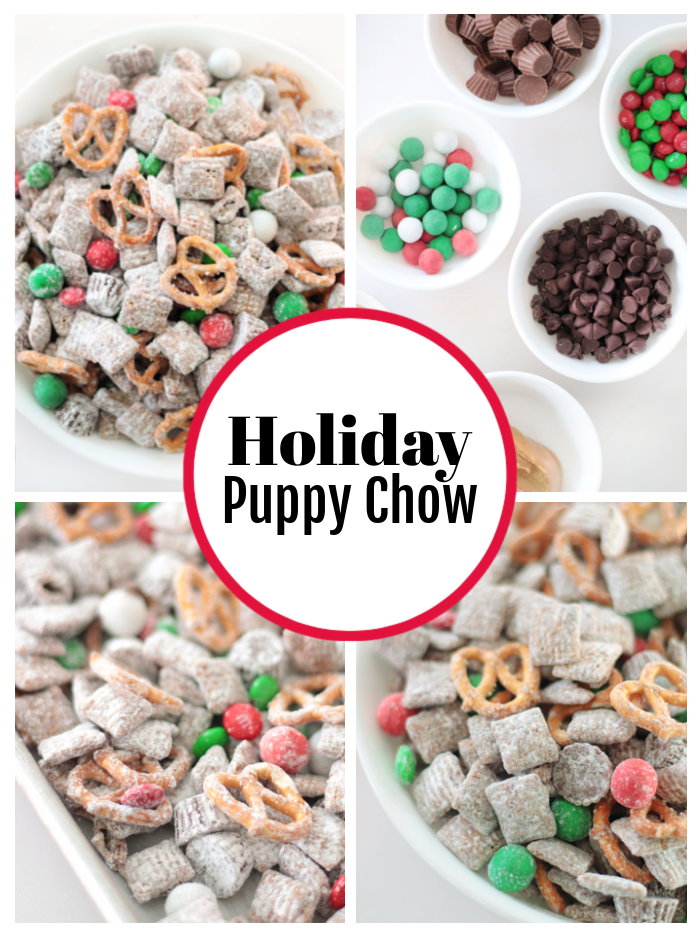
More Holiday Treats To Make
MADE THIS RECIPE AND LOVED IT? 💛 Please leave a STAR rating and COMMENT below! Post it to Facebook or Pinterest to easily share with friends!
Peanut Butter Trees
Ingredients
- ¾ cup creamy peanut butter
- 2 Tbsp. butter softened
- 1 ½ cups sifted powdered sugar
- 1 teaspoon vanilla
- 1-2 Tablespoons milk
- 12 oz. chocolate wafers or milk chocolate chips
Instructions
- Mix all ingredients together (except for chocolate) using an electric stand mixer until it forms a soft dough. Start with 1 Tablespoon of milk and add more, 1 teaspoon at a time if necessary.
- Roll dough to ½" thickness and cut out trees using a cookie cutter. Repeat until all dough has been used up. Note: you can sprinkle a small amount of powdered sugar onto your work surface if you find that your dough is sticking.
- Place peanut butter trees on a baking sheet lined with parchment paper. Place in the freezer for 45-60 minutes or until hardened.
- Melt chocolate in a microwave-safe bowl (in the microwave) in 20-30 second intervals (stirring after each interval) until melted and smooth. DO NOT overheat or chocolate will not be usable.
- Dip peanut butter trees in chocolate, tapping the fork against the side of the bowl to allow excess chocolate to drip off. Drag the bottom of the fork against the edge of the bowl to allow even more chocolate to dip off.
- Slide the trees onto the baking sheet lined with wax or parchment paper. If you find that the trees are softening and losing their shape while dipping, place them back into the freezer for 10 minutes to harden back up.
- Allow chocolate to harden.


Jessica K says
Very easy direction and so tasty. Great hit in my house as well as holiday party's 🌲🌲🎄🎄
Brandy says
Love hearing this Jessica!
Brandy says
Hi everyone! Brandy here, these peanut butter trees are legit. I make them in all sorts of shapes for different holidays, and they turn out perfect every time. Enjoy!