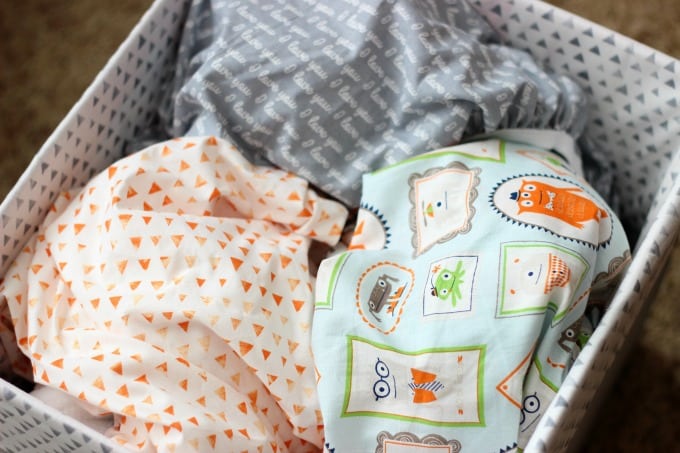
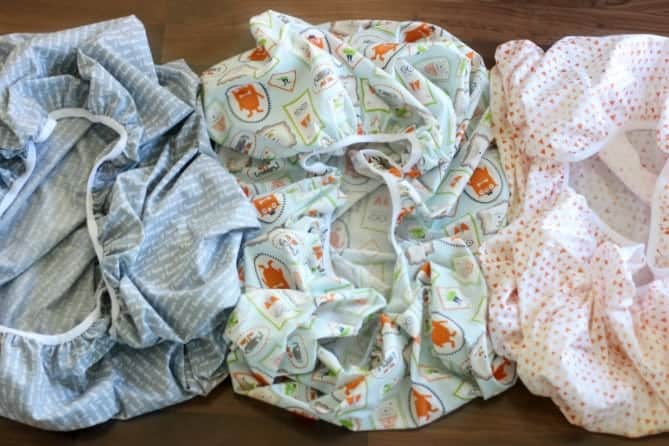
Here is a quick and easy DIY crib sheet that only takes 30 minutes to make. Make a few to keep on hand for baby gifts! This post contains affiliate links.

For 60 more sewing projects, check out my sewing book for kids!
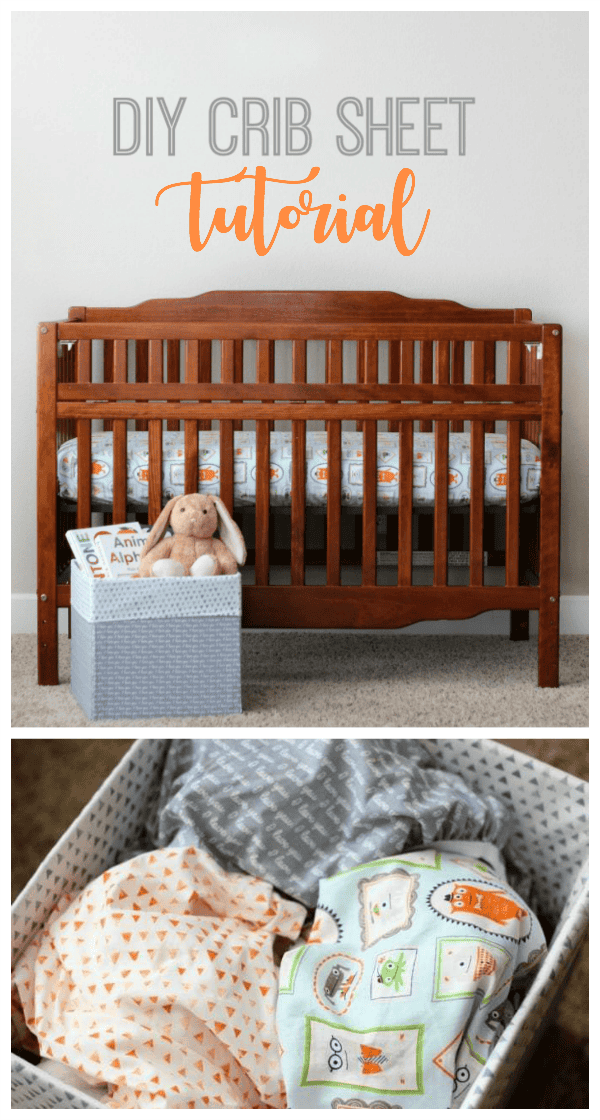
DIY Crib Sheet Tutorial
Time: 30 minutes
Skill Level: Beginner
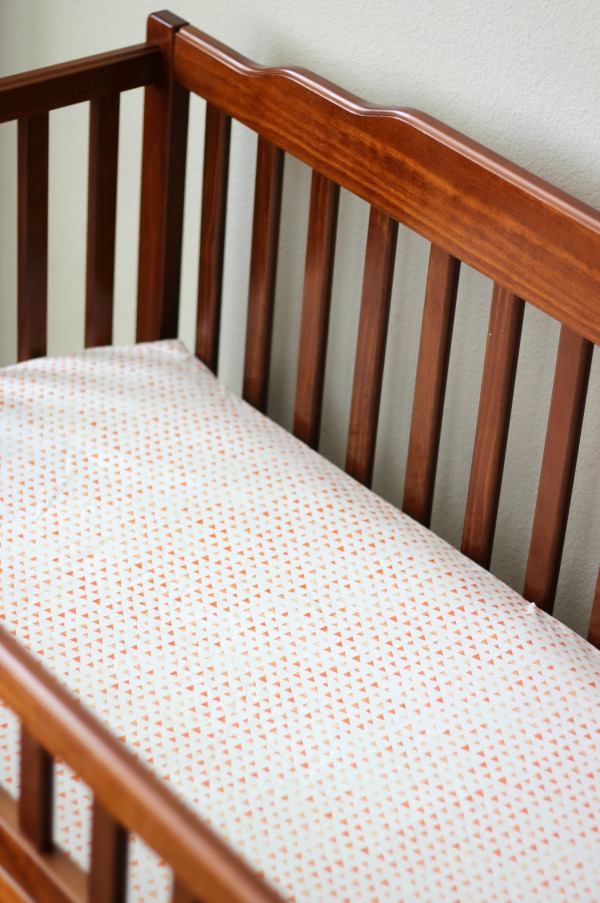
The size for a standard crib mattress can vary by ½" or so in each direction. The goal is to make a tight-fitting sheet for safety. This DIY crib sheet tutorial will stretch and fit snug for any mattress fitting the standard dimensions of 52” x 27.5” x (5.5"). This is the dimensions for the mattress shown.
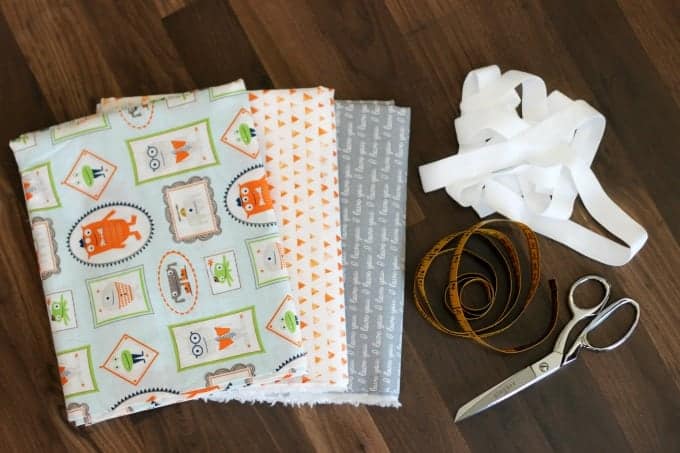
2 yards fabric
2 ½ yards fold over 1" elastic
scissors
measuring tape
sewing machine (the one I use!)
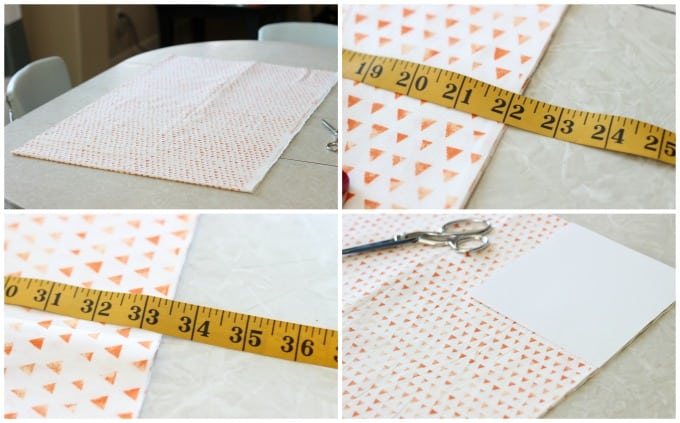
Most fabric comes in a 45" width. That makes it nice and easy to cut out your crib sheet since the width needs to be 44".
Leave it folded in half and fold it one more time so that it looks like the first photo above. It will have a fold along the bottom and a fold to left. The selvage will be on the right.
Trim the width so that it measures exactly 22" (when you open it, it will be 44").
Leave the fabric folded and trim the length to be 33.5". (It will be 67" in length when you unfold it).
Once again, leave the fabric folded and cut out an 8" square from the top right corner.
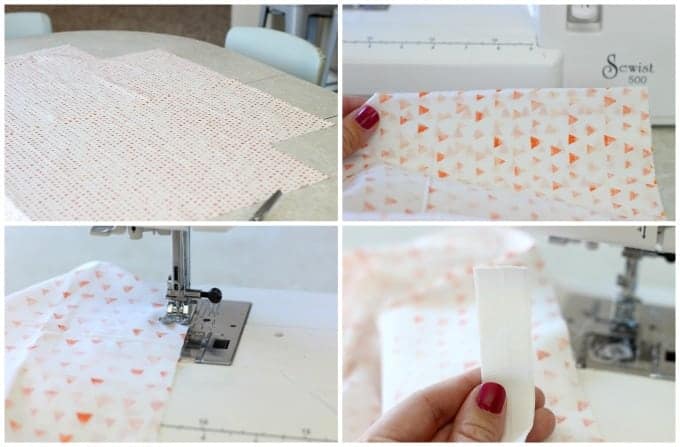
With right sides together, bring the two sides from one corner together and sew them down the side with a ⅜" seam allowance.
Repeat for the other 3 corners. This will create a box shape for your sheet so that it tucks around the mattress.
Now for the elastic!
I use fold over elastic in a 1" width. This is much quicker than creating an elastic casing and feeding your elastic through.
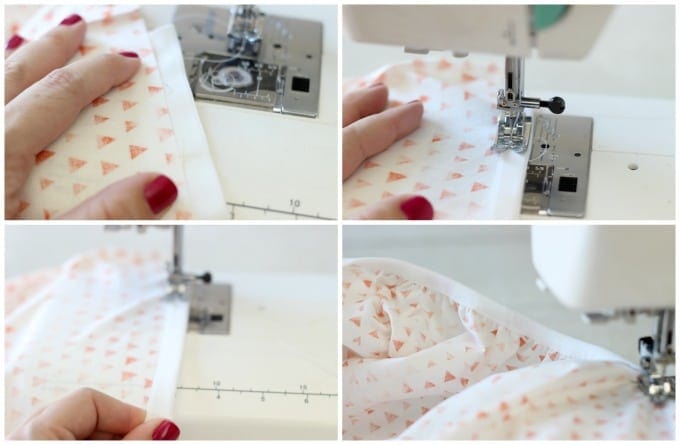
STRETCH the elastic as you go, pulling hard. Remember to stretch when the needle is IN the fabric so that it doesn't move around. Sew around entire sheet, pulling the elastic hard as you go, and sandwiching the fabric inside.
This will make it stretchy and bounce back when finished. Overlap the elastic when you get back to your starting point and backstitch to finish the seam.
You might also like...
![]()


JESS44903 says
WOW! I love these! 🙂
I would love for you to share this with my Facebook Group for recipes, crafts, tips, and tricks: https://www.facebook.com/groups/pluckyrecipescraftstips/
Thanks for joining Cooking and Crafting with J & J!
bonbon says
You make it look easy. Thanks for the tutorial and for sharing at Inspire Me Monday link party. Can't wait to see what you share next week at http://www.farmhouse40.com/inspire-me-monday-103. Enjoy your week.
Tiffany R says
I would love to give this to a friend that is expecting.
Jennifer Marie says
My cousin would receive this.
Monica Cobbs says
I will use it! We have a new baby on the way and had already gotten rid of our baby supplies from our older kids.
dianne hall says
It would be for my best friend
jollyandhappy says
This is an awesome tutorial!